Introduction
Year-round cauliflower is a favorite among gardeners who want a steady supply of this nutritious veggie no matter the season. Cauliflower ‘All Year Round’ is renowned for its ability to adapt to various climates, making it possible to enjoy fresh heads from your own garden in spring, summer, fall, or winter. Wondering how to make the most of this versatile plant? In this post, we’ll cover tips for growing and caring for year-round cauliflower, the best ways to harvest for peak flavor, and solutions to common problems so you can enjoy a successful crop, whatever the weather.
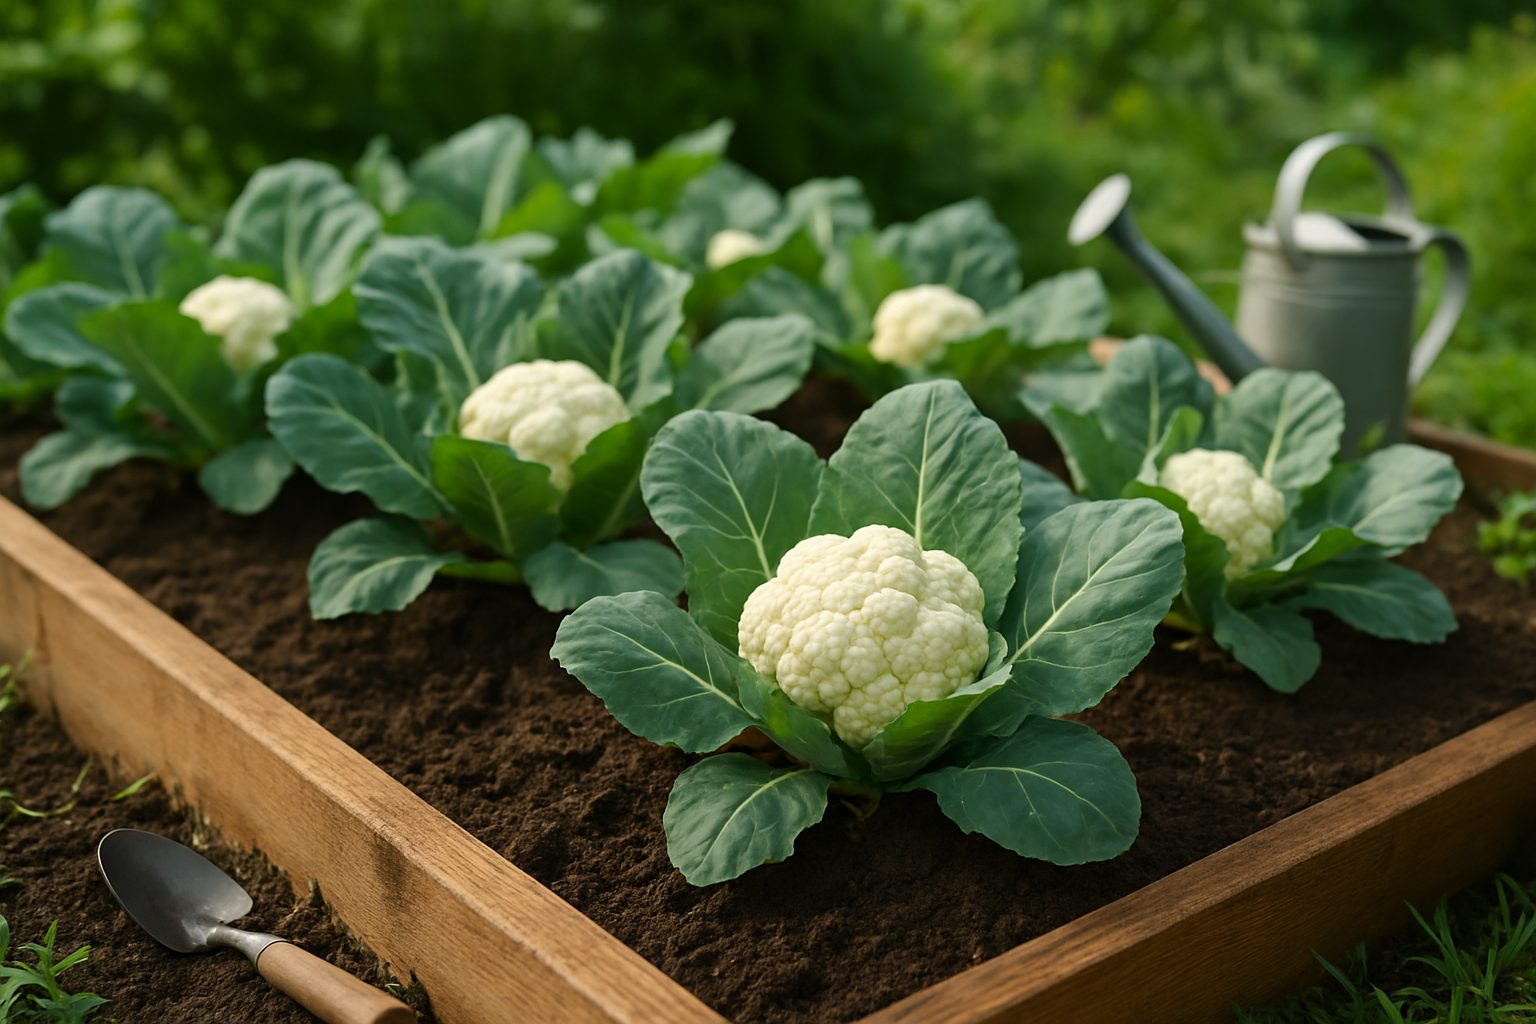
Key Facts About Cauliflower ‘All Year Round’
Cauliflower ‘All Year Round’ is a popular and dependable heritage variety, known for its versatility and reliability in the garden. This compact, medium-sized plant produces firm, white curds surrounded by lush green leaves, making it an attractive addition to any vegetable bed.
Its name, “All Year Round,” comes from its ability to be sown and harvested in almost any season, provided the climate is mild and frost-free. This means gardeners can enjoy fresh cauliflower nearly any time of year. It’s particularly well-suited to cooler climates but can thrive in a range of conditions with a little care.
For home gardeners, this variety offers the big benefit of staggered sowing. You can plant seeds at intervals and enjoy a continuous supply instead of a single large harvest.
Cauliflower ‘All Year Round’ is also highly versatile in the kitchen, perfect for roasting, mashing, or adding a nutritious crunch to salads and stir-fries.
Getting Started: Sowing and Planting
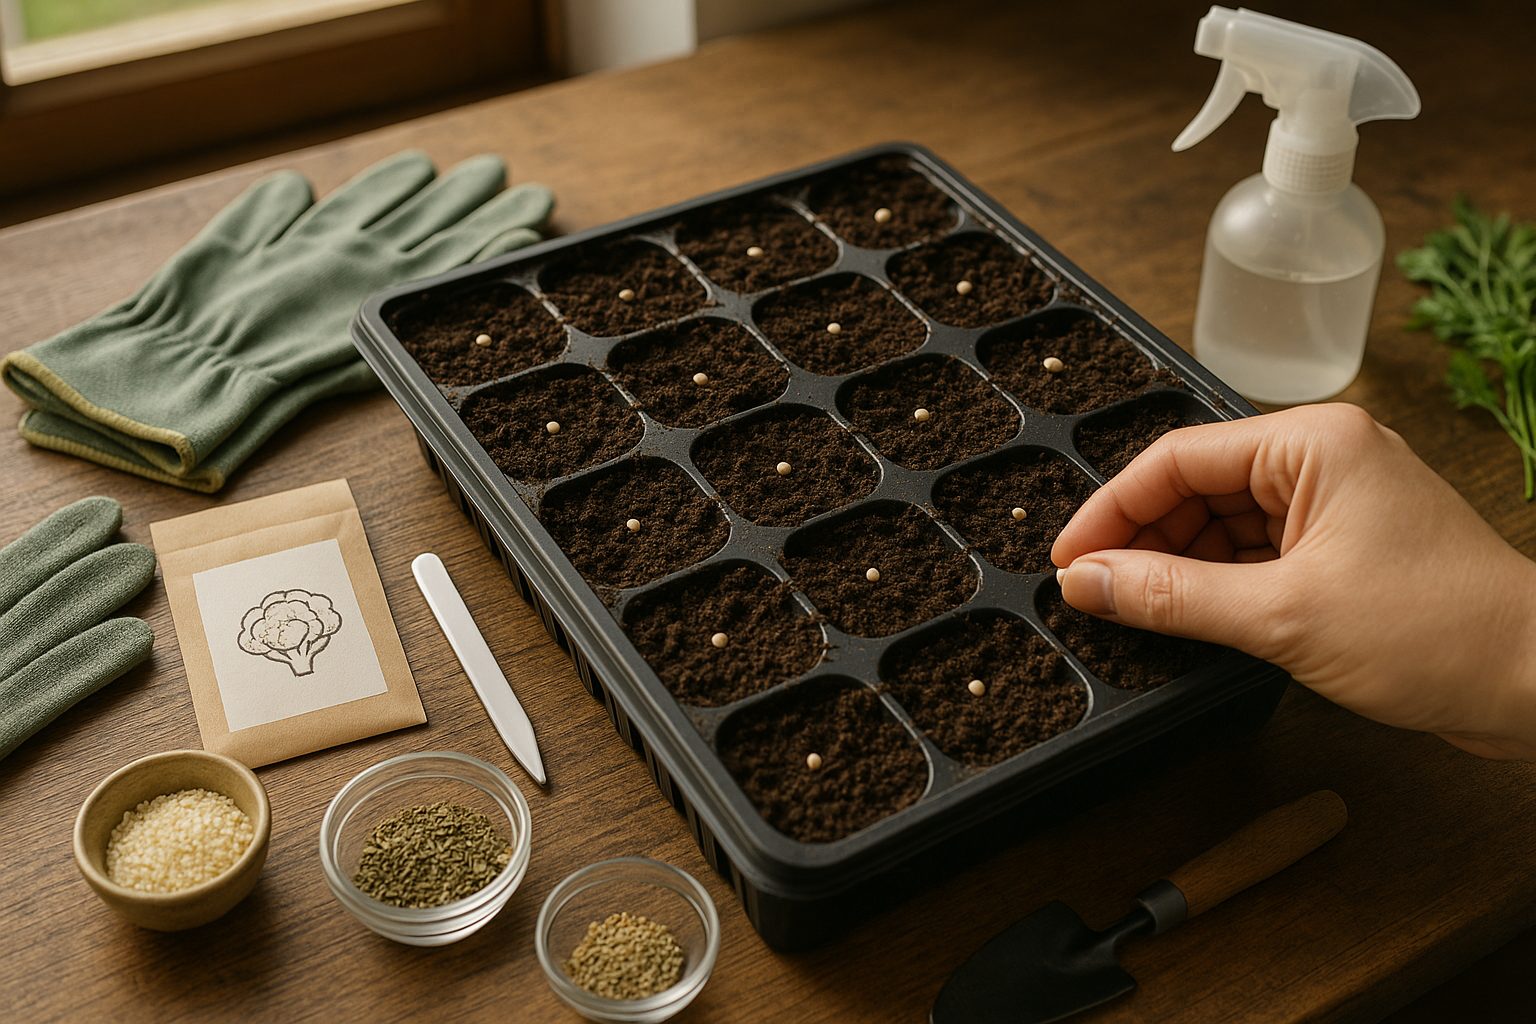
Getting started with sowing and planting begins with understanding the best time to sow seeds, which can vary greatly depending on your climate. In colder regions with late frosts, start seeds indoors about 6-8 weeks before your last expected frost date—common for tomatoes, peppers, and herbs. For those in milder or warm climates, many seeds can be sown directly outdoors as early as late winter or early spring. Always check your seed packet for local recommendations.
For soil preparation, loosen your garden bed or container soil to a depth of 6-8 inches, removing rocks and mixing in compost for good drainage and nutrients. Each seed type has an ideal spacing—tiny lettuce seeds might need just half an inch apart, while bush beans might require three inches. Light is crucial—most vegetables and flowers thrive in full sun, meaning at least six hours of direct light daily, though leafy greens can tolerate partial shade.
When transplanting seedlings, choose a calm, overcast day to reduce shock. Gently remove each seedling, keeping as much soil around its roots as possible, and plant it at the same depth as it was in its original pot. Water well afterward and provide some temporary shade if the sun is intense, helping your young plants settle in and grow strong.
Caring for Cauliflower Plants
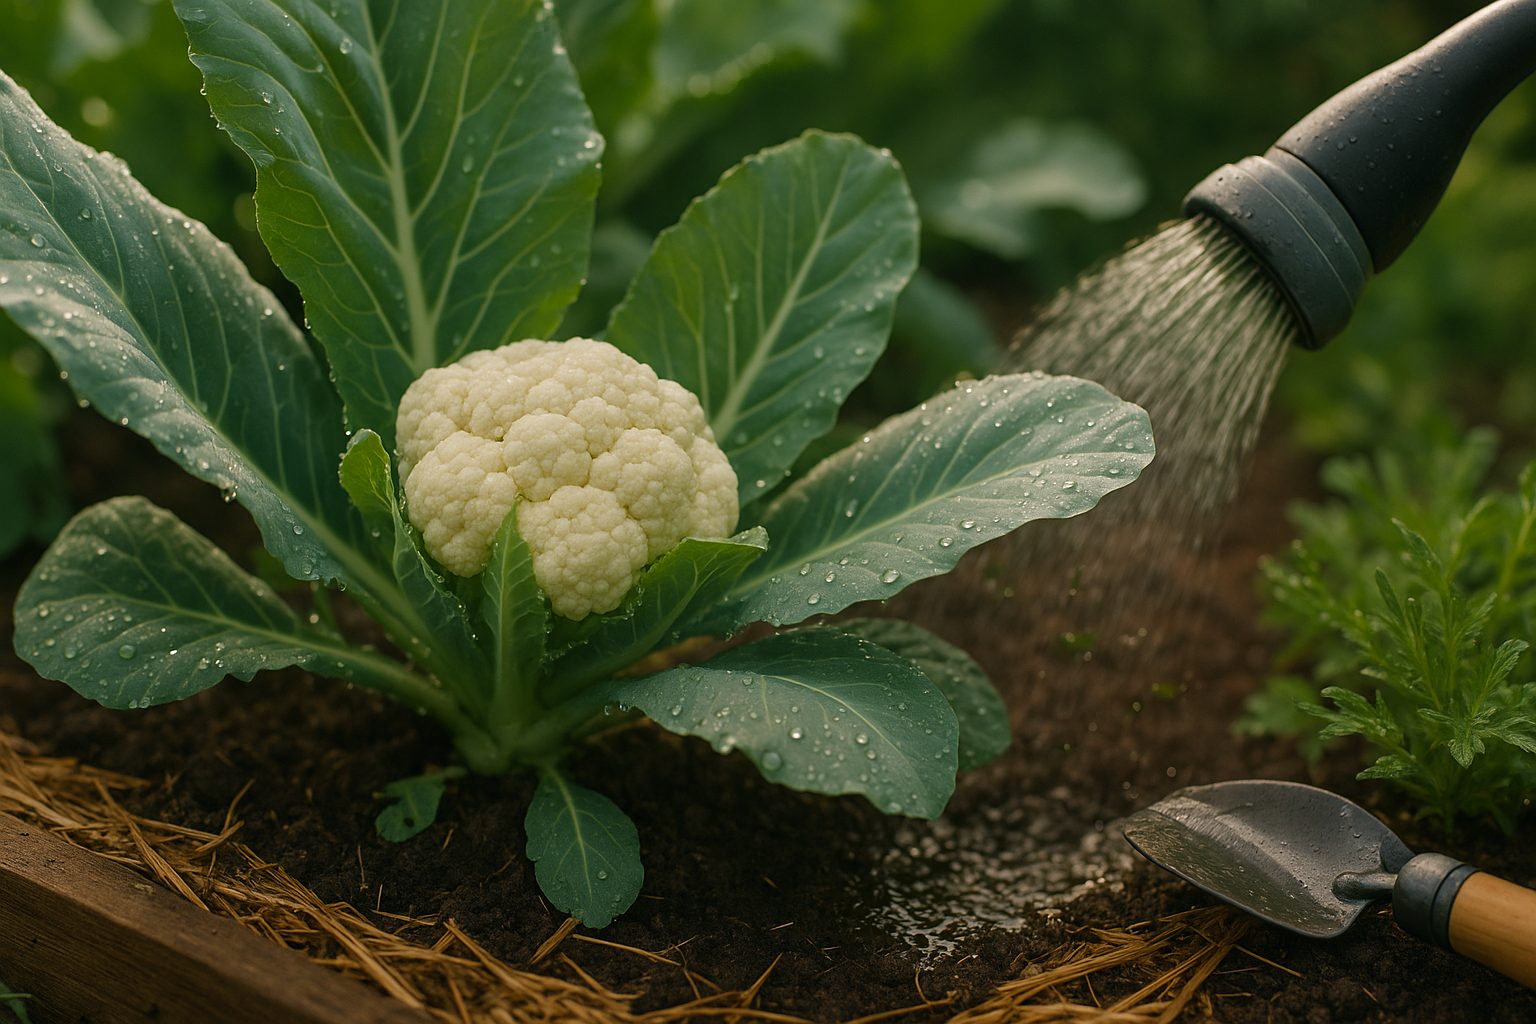
Proper care is key to growing healthy cauliflower plants, and it starts with maintaining consistent soil moisture. Cauliflower roots need steady water, so aim to keep the soil evenly moist but never soggy—about 1 to 1.5 inches of water per week, either from rainfall or gentle soaking at the base. Water in the morning to help leaves dry and avoid diseases.
Pair this with a balanced fertilizing routine; apply a nitrogen-rich fertilizer when the seedlings develop true leaves, then feed again as the heads begin to form.
Mulching around your plants—using straw, shredded leaves, or compost—helps regulate soil temperature, retain moisture, and block pesky weeds. Mulch also makes it harder for soil-borne pests to reach the cauliflower heads.
Regularly check your plants for common invaders like aphids or cabbage worms, removing them by hand or with a blast from the hose. Consider using row covers as a physical barrier.
Rotate your crops each year and avoid overhead watering to reduce the risk of disease. Cauliflower can suffer in sudden heat or cold snaps, so use garden fleece or shade cloth when temperatures swing.
Keeping a close eye on soil moisture, feeding schedules, and pest pressures will set your cauliflower up for a strong harvest.
Harvesting and Using Your Cauliflower
Knowing when to harvest your cauliflower is key to getting the best flavor and texture from your crop. Look for firm, compact heads that are 6–8 inches in diameter and still tightly closed. Once the heads start to separate or yellow, they’ve passed their prime. For most varieties, this happens about 7–12 days after the heads first appear, but always check the seed packet for guidance.
To harvest, use a sharp knife to cut the head off the plant, leaving several inches of the outer leaves to protect it. Avoid twisting or pulling, as this can damage both the head and the plant itself. After harvesting, rinse the head thoroughly and pat it dry.
Cauliflower can be eaten raw with hummus, roasted with olive oil, or even used as a low-carb alternative to rice or pizza crust.
To store, wrap the head loosely in a damp paper towel and place it in a perforated plastic bag in your refrigerator’s crisper drawer. It should stay fresh for up to a week. Freezing is also an option: blanch florets for three minutes, then cool and pack them into freezer bags for long-term storage.
Common Problems and Solutions
Growing cabbage at home can be rewarding, but it comes with its share of challenges—bolting, poor head formation, and pests like cabbage fly and aphids are common issues. Bolting, or premature flowering, often occurs when young plants experience a cold snap. To prevent this, plant after the risk of frost has passed and choose bolt-resistant varieties.
Poor head development may indicate overcrowding or nutrient-deficient soil. Make sure plants have enough space (at least 18 inches apart) and feed them regularly with compost or organic fertilizer every few weeks.
Pests like cabbage fly can be kept at bay by covering plants with fine mesh netting. Aphids can generally be managed by spraying with a soapy water solution or by encouraging natural predators, such as ladybugs. Regularly check the undersides of leaves for signs of infestation, and promptly remove affected areas to keep your cabbages healthy without relying on harsh chemicals.
Frequently Asked Questions
Container growing is absolutely feasible for tomatoes—just choose a pot that’s at least 5 gallons with good drainage and place it in a sunny spot.
Ideal companion plants include:
- Basil, which can boost tomato growth and flavor
- Marigolds, which naturally repel pests
When it comes to harvest time, most tomato varieties take 60 to 85 days from transplanting outdoors to ripen, though cherry tomatoes may mature a bit faster. Be sure to check seed packet details for exact timing.
For best results, water regularly and use a tomato-specific fertilizer throughout the growing season.
Conclusion & Next Steps
Growing cauliflower ‘all year round’ is surprisingly straightforward, offering a continuous harvest and a forgiving nature that makes it ideal for both new and seasoned gardeners. Its resilience to changing seasons and adaptability to different soil types means you can enjoy fresh, homegrown cauliflower with just a little effort.
If you’re just starting out, don’t be intimidated—this is a perfect choice to build confidence in your gardening skills. For more tips and guidance, explore online gardening forums, video tutorials, or local extension services. These resources provide helpful advice tailored to your region, so you can get the most from your cauliflower patch.