Introduction
Choosing the right arugula pot size can make all the difference when growing this peppery, fast-growing green—especially if you’re working with limited space or experimenting with container gardening. Arugula is a favorite among home gardeners and urban growers, not just for its vibrant, fresh taste but also for its ability to thrive in small or unconventional spaces. This makes it perfect for balconies, windowsills, or patios where traditional gardening isn’t an option.
In this article, we’ll explore how to select the best container size for arugula plants, covering everything from pot depth and width to drainage and soil recommendations. You’ll discover why the correct arugula pot size helps your greens avoid overcrowding, ensures healthier root development, and leads to more abundant, flavorful harvests.
Whether you’re a first-time gardener looking to add a punch of flavor to salads or a seasoned pro aiming for optimal yields, we’ll provide practical, real-world tips to help you grow lush, productive arugula right at home. Get ready to transform even the smallest outdoor or indoor nook into a thriving edible garden!
Choosing the Right Container for Arugula
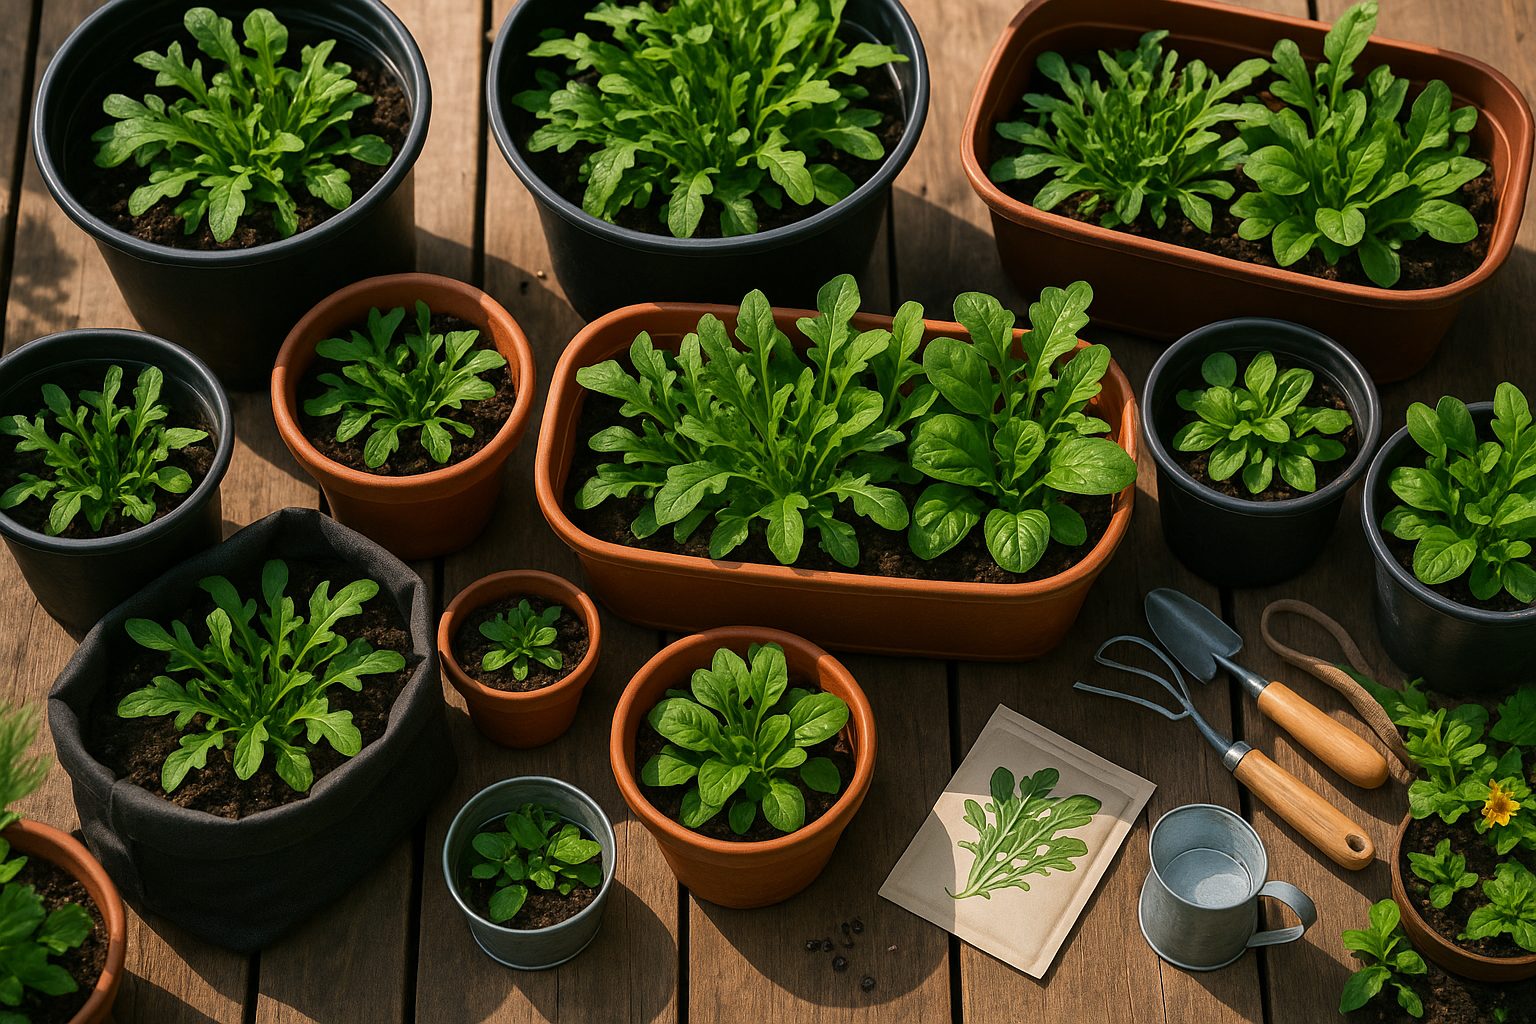
When growing arugula in containers, selecting the right pot is crucial for healthy, productive plants. Start by choosing a container that’s at least 6 to 8 inches deep to allow ample space for root growth—shallow pots will dry out too quickly, and cramped roots can stunt your arugula’s development. Aim for a minimum width of 10 to 12 inches if you want to grow several plants together or stagger sowings for a continuous harvest.
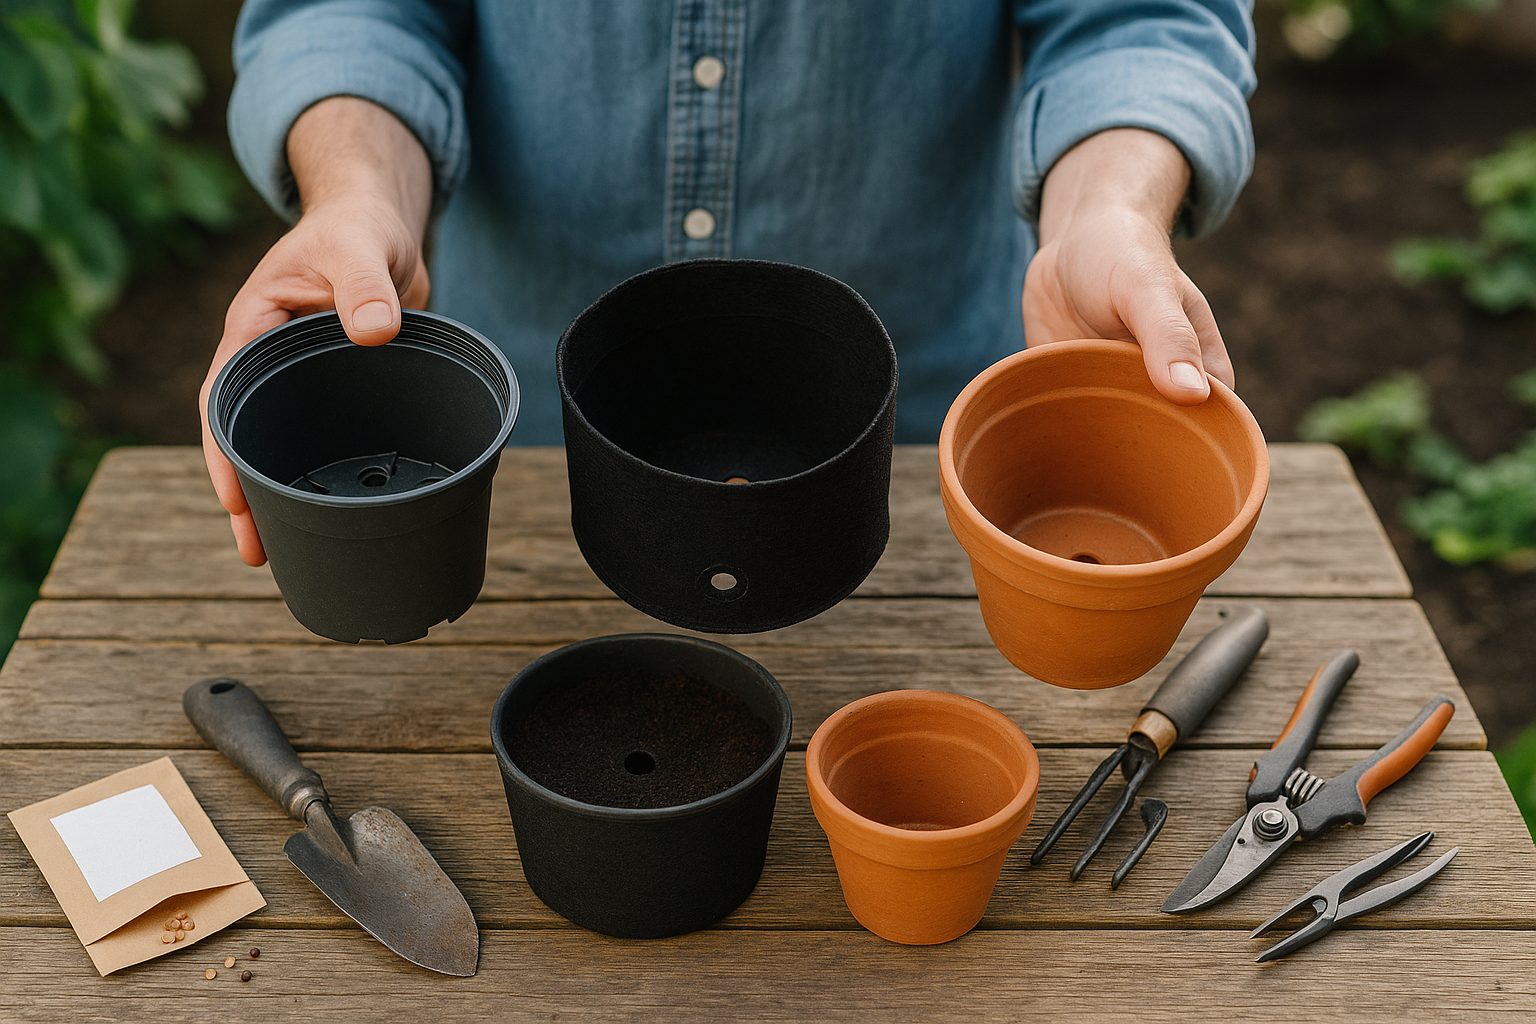
When it comes to pot materials, you have a few options: plastic, terracotta, and fabric pots are all popular choices.
- Plastic pots are lightweight and retain moisture well, making them practical for busy gardeners or those growing arugula on balconies where weight matters. However, they can heat up quickly in direct sun.
- Terracotta containers are classic and allow for excellent breathability, which helps prevent overwatering. But they dry out faster and may require more frequent watering.
- Fabric pots have gained popularity due to their portability and superior drainage—roots get plenty of air, though the soil can dry rapidly in warm weather, so extra monitoring is needed.
Regardless of which type you choose, always ensure the container provides good drainage. Check that there are multiple drainage holes at the bottom, and line the base with a thin layer of gravel or broken pottery shards if needed to prevent soil compaction and blocked holes. Elevating your container slightly, using pot feet or small bricks, can help water drain freely and prevent roots from sitting in soggy soil.
With the right container, your arugula will be set up to thrive—just remember to match your watering and care to your chosen pot to enjoy peppery greens all season long.
Selecting Soil and Location
Choosing the right soil and location is crucial for healthy plant growth, whether you’re gardening indoors or outdoors. Start with a high-quality potting mix rather than native garden soil for containers—it’s lighter, drains well, and contains nutrients tailored for potted plants.
Look for mixes with peat moss, perlite, or coconut coir; these ingredients help with moisture retention and aeration. For outdoor beds, enrich your existing soil by mixing in compost or well-rotted manure to boost fertility and texture. If the soil is heavy clay or very sandy, add organic matter like leaf mold, compost, or aged bark to improve structure, drainage, and nutrient content.
Sunlight is just as important: most herbs and vegetables need at least six hours of direct sunlight a day. Choose a sunny south- or west-facing window for indoor plants or a bright, open spot for your outdoor beds. If your home doesn’t get enough sun, consider using grow lights indoors. Outdoor gardens can be shaded by large buildings or trees—observe how sunlight moves through your yard before picking a spot.
Don’t forget to prepare your soil by loosening it to a depth of 8–12 inches (20–30 cm) and removing rocks or debris, then work in your compost or organic additives. This gives plant roots the best start possible and sets the stage for strong, resilient growth all season long.
How to Plant Arugula Seeds or Seedlings
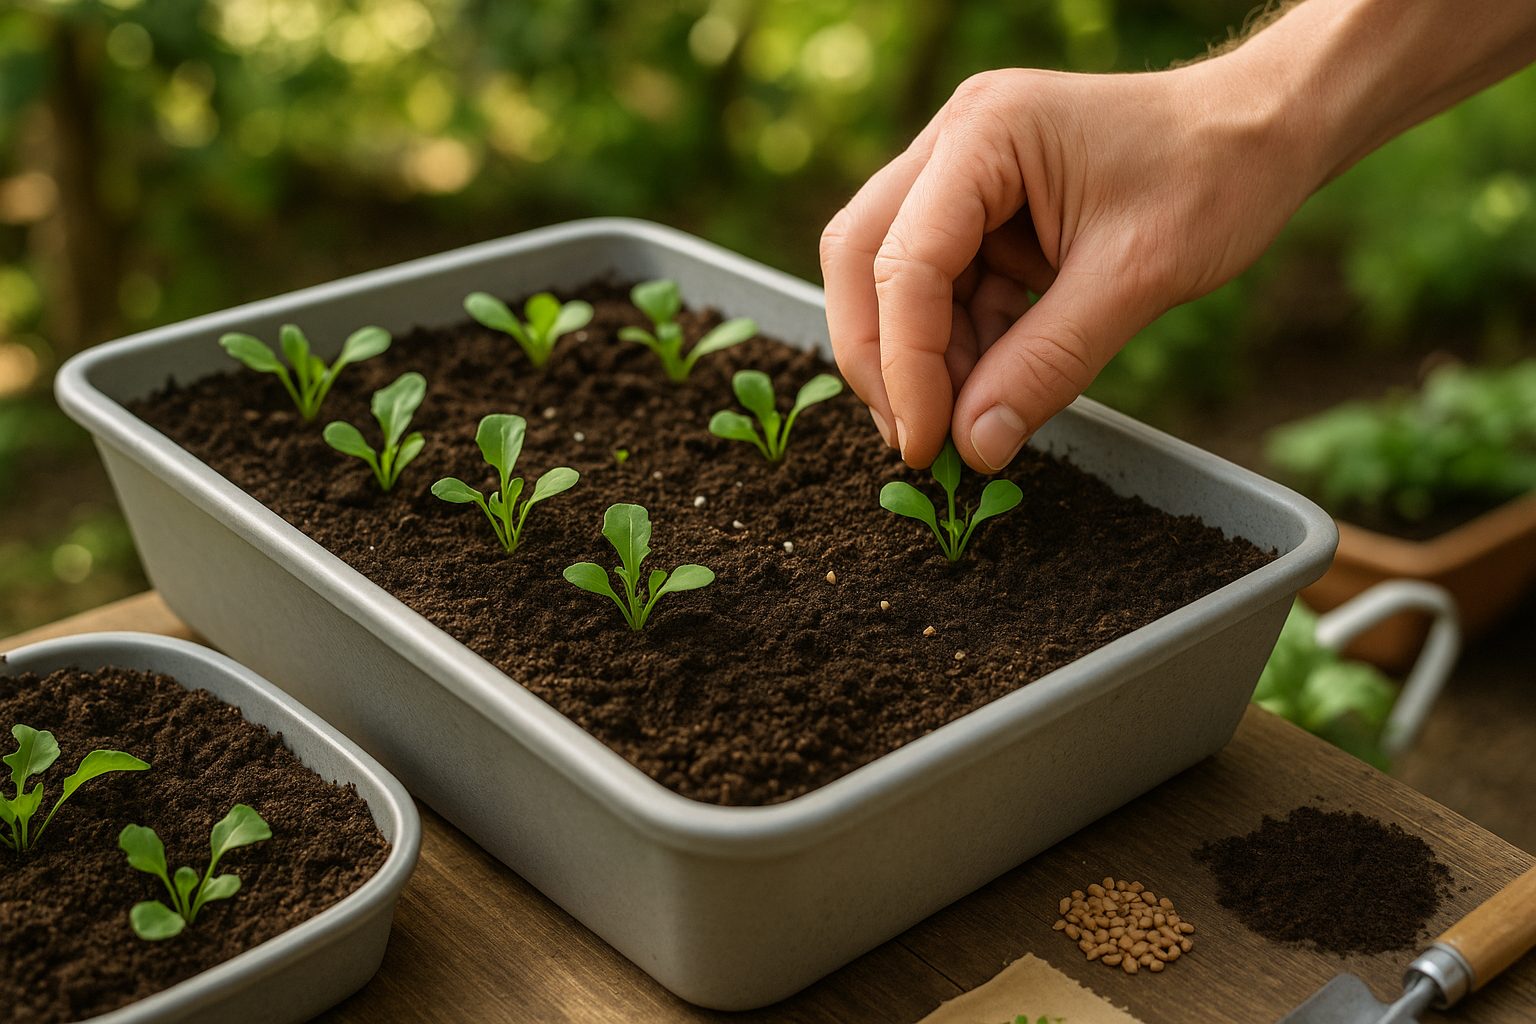
Planting arugula is refreshingly simple and yields quick rewards for gardeners of all levels. To start with seeds, choose a patch of well-drained soil that gets at least partial sun. When the soil temperature reaches about 40°F (4°C), you can begin direct sowing—arugula thrives in cool conditions, so early spring or fall works best.
Sow seeds about ¼ inch deep and lightly cover them with soil; spacing seeds roughly an inch apart in rows 6–12 inches apart encourages good airflow and healthy growth. Once seedlings have a couple of true leaves, thin them to about 3–4 inches apart so each plant gets enough space.
For those using seedlings, transplant when they have at least two sets of leaves. Dig small holes at the same spacing (3–4 inches apart), gently loosen the roots, and settle each seedling in, keeping the base at soil level. Water your seeds or seedlings right after planting—moist (but not soggy) soil is key for germination and reducing transplant shock.
To ensure a steady harvest, practice succession planting: sow a small new batch of seeds every two to three weeks so as one crop matures, another is taking its place. This approach lets you enjoy fresh arugula leaves all season long, especially since arugula can quickly bolt in warm weather.
With a bit of planning and regular watering, your salad bowl will always be within arm’s reach of peppery, tender greens.
Caring for Arugula in Pots
Caring for arugula in pots differs a bit from tending it in traditional garden beds, mainly because of limited soil volume and faster drying rates. For watering, check the pot daily—container arugula needs more frequent watering, especially in warm weather. Aim to keep the soil evenly moist but not soggy. A good rule is to water when the top inch of soil feels dry.
To feed container arugula naturally, mix in compost or worm castings before planting, then top-dress with a thin layer every 3–4 weeks. Homemade compost tea or diluted fish emulsion (applied every 2–3 weeks) can give arugula a gentle nutrient boost without overwhelming the roots.
Arugula in pots is prone to pests like flea beetles and aphids; the simplest organic defense is to cover plants with lightweight row cover or mesh as soon as you sow. For aphids, a strong spray of water or introducing ladybugs can help.
yellow leaves or moldy growth may signal overwatering or poor air circulation—space pots a few inches apart and ensure your container has drainage holes. Leggy growth often means your arugula isn’t getting enough light; move pots to a sunny spot with 4–6 hours of direct sun daily or supplement with a grow light indoors.
To make the most of limited space, harvest leaves often to promote new growth, and plant quick-maturing cut-and-come-again varieties that thrive in containers. Rotate where you place your pots every couple of weeks to ensure even light, and always remove faded or diseased leaves promptly to keep your arugula patch fresh and productive.
With these easy adjustments, you’ll enjoy a healthy, continuous harvest of peppery greens right from your patio or windowsill.
Harvesting Arugula from Containers
Harvesting arugula from containers is easy and rewarding, especially when you know what to look for to get the best flavor and texture. The ideal time to harvest arugula is when the leaves are tender and about 3 to 4 inches long, usually around 3 to 4 weeks after sowing. At this stage, the leaves have a mild, peppery taste that’s perfect for salads or sandwiches.
For the best results, use the cut-and-come-again method: snip the outer leaves with scissors, leaving the inner, smaller leaves to continue growing. Space your cuts about an inch above the soil, and avoid removing more than one-third of the plant at a time, so it has enough energy to regrow. Harvesting this way allows you to enjoy fresh arugula for several weeks.
Keep an eye out for signs of bolting, such as the center stem elongating quickly and the leaves becoming smaller and more bitter. Once you see flower buds or the taste turns sharp, it means the plant is past its prime for eating. At this stage, it’s best to pull out the bolting plants and replace them with new seedlings for another crop.
Regular harvesting and watching for signs of bolting will help you get the most out of your container arugula, ensuring a continuous supply of flavorful greens right from your own patio or windowsill.
Tips for Success and Common Mistakes to Avoid
To get the most from your container garden, keep things simple but intentional. watering is crucial, but overwatering is one of the most common pitfalls—always check if the top inch of soil is dry before giving plants a drink, and make sure every pot has drainage holes to avoid root rot.
Give each plant enough room to spread; overcrowding leads to weak growth and poor harvests. Be sure to look up spacing guidelines for each variety before planting.
Boost your yields with companion planting by grouping veggies and herbs that benefit each other (like basil with tomatoes or chives with carrots). This technique can help control pests and maximize space.
Don’t forget to repot your crops or refresh the soil mix every season—a fresh start helps prevent disease buildup and nutrient depletion.
For year-round growing, try cool-weather crops like kale or lettuce in early spring and fall, or use portable containers to move tender plants indoors when frost hits.
In mild climates, you can often overwinter peppers, herbs, or even strawberries by placing pots in sheltered spots or covering them during the coldest nights.
These small changes go a long way, helping you avoid common mistakes and enjoy a bountiful, healthy container garden all year.
Conclusion and Next Steps
Growing arugula at home, especially in containers, offers so many rewards—fresh flavor, easy access, and the satisfaction of nurturing your own food. Even if you have limited space, container gardening makes it simple to enjoy crisp, peppery leaves just steps from your kitchen.
Once you’ve mastered the basics, don’t hesitate to experiment: try different arugula varieties for unique tastes and textures, or mix arugula with other greens in a single container for custom salad blends. Your planter can become a mini salad bar!
If you have questions or want to share your own experiences, drop a comment below—we’d love to hear from you. For those ready to dive deeper, plenty of advanced guides online can help you refine your gardening skills and explore new techniques.
Happy growing, and remember: each season’s crop is a delicious chance to learn something new!