How to Make Homemade Arugula Fertilizer
If you want to enjoy zesty, vibrant arugula from your own garden, understanding how to make homemade arugula fertilizer can make all the difference in your crop’s taste and yield. Arugula thrives with the right balance of nutrients—especially nitrogen for leafy growth, plus phosphorus and potassium for strong roots and flavorful leaves. Commercial fertilizers can be expensive and often contain additives that don’t align with eco-friendly gardening values. Making your own fertilizer at home is not only cost-effective but also lets you control exactly what goes into your soil and, ultimately, your kitchen.
In this article, you’ll find simple recipes and proven methods to craft DIY fertilizers tailored to arugula’s needs, using everyday household scraps like coffee grounds, eggshells, and compost. We’ll also share tips on when and how to apply these natural mixtures for the tastiest, healthiest greens possible. Whether you’re a seasoned gardener or just starting your salad patch, these homemade solutions will help you grow arugula that’s fresh, flavorful, and nurtured with care. Let’s dig into the best ways to boost your home harvests sustainably!
Understanding Arugula’s Nutrient Needs
Arugula thrives when it receives a well-balanced supply of nutrients. Knowing its specific requirements is the first step to creating an effective homemade arugula fertilizer. Nitrogen is essential, encouraging rapid leaf growth and that signature tender, peppery bite. Without enough nitrogen, leaves may turn pale or yellow, and growth can become stunted.
Phosphorus plays a crucial role in root development and overall plant vigor, helping arugula establish quickly—especially important for young seedlings. Purple-tinged leaves or weak roots often indicate a phosphorus deficiency. Potassium supports strong cell walls and boosts the plant’s resistance to disease and drought, promoting lush, crisp leaves. A lack of potassium can cause browning leaf edges or weak stems.
Don’t forget trace minerals like calcium, magnesium, and iron—these are vital for healthy plant metabolism, deep green color, and complex flavor. For example, magnesium deficiency may cause interveinal yellowing, while calcium shortage can lead to leaf tip burn or poor growth. Watching your arugula for these signs throughout its life cycle helps you adjust your homemade fertilizer mix accordingly.
If you notice pale leaves or slow growth, try adding composted manure for nitrogen or a sprinkle of wood ash to boost potassium. By carefully observing your plants and fine-tuning nutrient levels, your homemade arugula fertilizer will support vibrant growth and deliver rich, satisfying flavor with every harvest.
Ingredients You Can Use for Homemade Fertilizer
When making homemade arugula fertilizer, it’s important to start with the right mix of kitchen scraps and garden waste. Coffee grounds are a great choice because they’re rich in nitrogen, a key nutrient that promotes healthy leaf growth—perfect for leafy greens like arugula. Eggshells provide a slow-release source of calcium, which helps prevent issues like tip burn and strengthens cell walls in your plants. Vegetable peelings, such as potato, carrot, and cucumber skins, break down to supply a balanced mix of nutrients, including potassium and phosphorus, essential for root development and overall plant health.
Banana peels, often overlooked, are especially valuable for their potassium content, which supports strong stems and disease resistance. You can also add crushed nutshells (avoiding walnuts, which can be toxic to some plants) and spent tea leaves to enhance texture and add micronutrients.
However, when putting together your homemade arugula fertilizer, avoid adding meat, dairy products, or oily foods, as these decompose slowly and can attract rodents and unwanted pests. Also, steer clear of processed foods or anything heavily salted or sauced, since excess salt can harm plant roots. By choosing the right ingredients and keeping out the problematic ones, you’ll create a nutrient-rich, safe fertilizer that encourages vigorous arugula growth without inviting pests or damaging your garden ecosystem.
Simple DIY Liquid Fertilizer Recipes
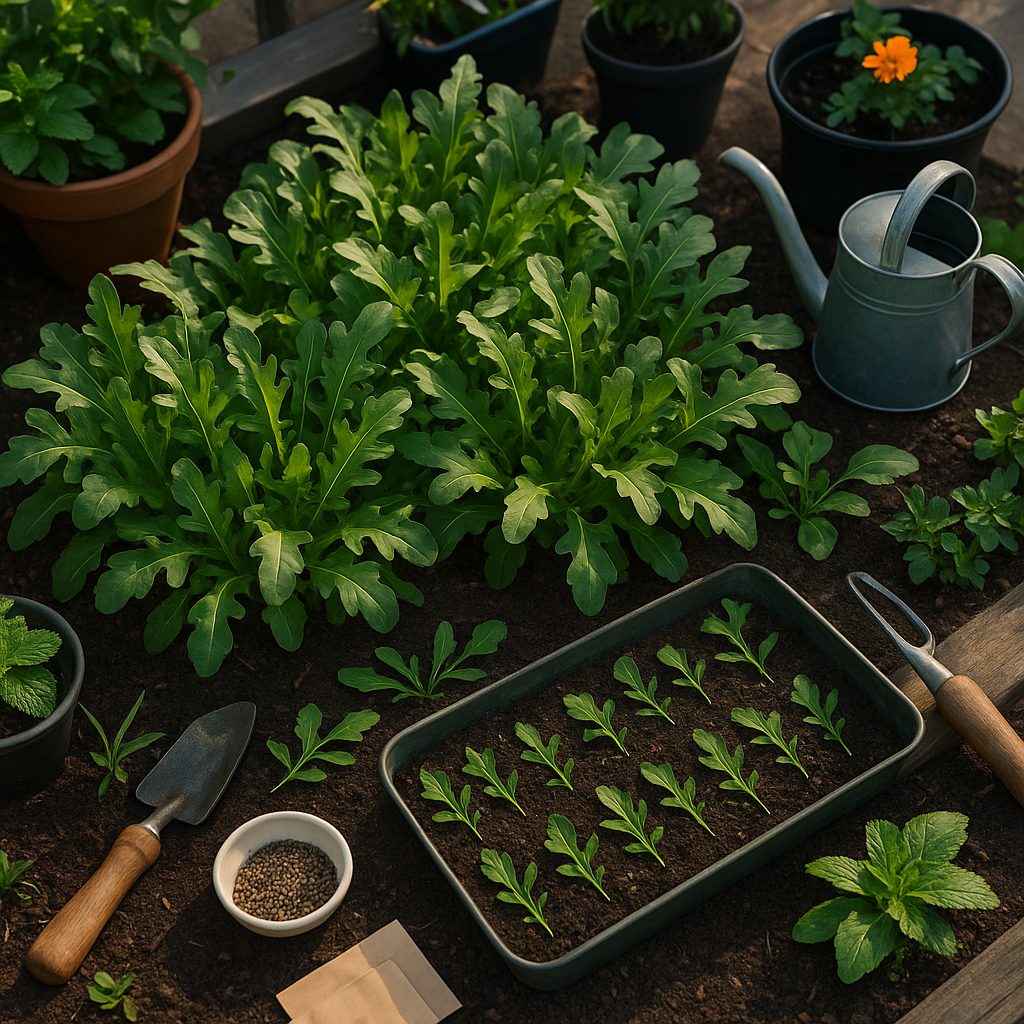
Creating homemade arugula fertilizer is both sustainable and simple with a few DIY liquid recipes designed to promote robust, leafy growth. Start with compost tea, a nutrient-rich brew perfect for arugula and other greens. Fill a five-gallon bucket one-third full with well-aged, finished compost, then top it off with non-chlorinated water—rainwater works best. Stir thoroughly and let the mixture steep for 24–48 hours, stirring occasionally to aerate. Strain the liquid through cheesecloth or a fine mesh to remove large particles.
To use, dilute the compost tea with water at a 1:3 ratio (one part tea to three parts water) and gently pour it around the base of your arugula every two weeks during the growing season.
For a potassium boost that supports vibrant, strong foliage, try banana peel water: chop two fresh banana peels, place them in a quart jar, and fill with water. Let this steep for 48 hours, strain, and dilute with an equal amount of water before applying as a monthly drench around your plants.
Alternatively, eggshell water provides calcium to help prevent leaf deformities. Rinse and crush four to five clean eggshells, boil them in a quart of water for 10 minutes, then cool completely and strain. Water your arugula with this mixture once a month.
With all these homemade arugula fertilizer options, be careful not to overapply—too much can stress young plants or cause salt build-up. Always water your arugula thoroughly after fertilizing to help nutrients absorb and to prevent root burn. These easy, affordable recipes not only boost growth but also help your greens thrive naturally and reliably, season after season.
Making a Balanced Slow-Release Homemade Arugula Fertilizer
To create a balanced, slow-release homemade arugula fertilizer, blend three common household ingredients: crushed eggshells, wood ash, and mature compost. Start by thoroughly rinsing and drying the eggshells, then crush them into a fine powder. This adds valuable calcium and helps prevent nutrient deficiencies in your arugula.
Next, collect wood ash from a fireplace or outdoor firepit using only untreated wood. This ash provides a gentle dose of potassium and other trace minerals, but use it sparingly since it can raise soil pH. The foundation of your mix is well-aged compost, which offers a wide range of nutrients and beneficial microbes that encourage steady, healthy growth.
Mix together one part eggshell powder, one part wood ash, and four parts compost to create a balanced, slow-release blend. At planting time, gently work 1–2 handfuls of the mixture into the top few inches of soil for each row or garden bed, ensuring nutrients will be available as your arugula seeds germinate.
During the growing season, apply a thin layer (about a handful per square foot) around the base of each plant every four to six weeks. Lightly scratch it into the soil surface and water thoroughly afterward. Keep in mind that arugula is a fast-growing, delicate green; over-fertilizing can cause excessive leaf growth, bitterness, or plant burn.
It’s better to under-fertilize and observe your plants. Look for pale or slow-growing arugula as a sign that a little boost is needed, and adjust your homemade fertilizer application accordingly.
Tips for Fertilizing Arugula Organically
To get the most out of your homemade arugula fertilizer, start by paying close attention to when and how you feed your plants. Apply your organic fertilizer—such as compost tea, worm castings, or diluted fish emulsion—in the early morning or late afternoon, when temperatures are mild. This ensures the best nutrient absorption and helps avoid burning delicate leaves.
Always water your arugula either before or right after applying fertilizer. This helps nutrients reach the roots quickly and prevents salt buildup on the soil surface. mulching around your arugula with straw or shredded leaves helps keep moisture consistent and suppresses weeds, making your homemade arugula fertilizer more effective by maintaining stable soil conditions.
crop rotation is another important organic strategy: avoid planting arugula or other brassicas in the same bed season after season. This not only maintains soil fertility but also reduces disease pressure. Likewise, companion planting arugula with crops like carrots or onions can help deter pests and optimize nutrient use.
Keep an eye on your arugula’s appearance throughout the season. Yellowing leaves may indicate a need for more nitrogen, while spindly growth could signal overcrowding or a nutrient imbalance. Adjust your fertilizer routine based on these signs, and always opt for smaller, regular doses of homemade fertilizer rather than a single heavy application.
By combining smart watering habits, mulching, crop rotation, and attentive observation, you’ll create an ideal environment for lush, flavorful arugula—all without synthetic chemicals.
Troubleshooting Common Problems
When growing arugula, recognizing nutrient issues early can save your crop and improve your homemade arugula fertilizer routine. If your arugula leaves turn pale or yellow, especially on older foliage, it’s often a sign of nitrogen deficiency—common since arugula thrives in nitrogen-rich soil. On the other hand, stunted growth, red or purplish leaf tints, or weak stems may indicate a lack of phosphorus or potassium in your homemade mix.
Symptoms of over-fertilizing include burned leaf edges, overly rapid leafy growth with a bitter flavor, or soil crusting, suggesting you may have applied too much fertilizer. If you notice any of these problems, act quickly. For deficiencies, top-dress with diluted homemade compost tea or add a nitrogen boost using worm castings or well-rotted manure, gently mixing it into the soil around your plants. For over-fertilized beds, flush the soil with water to dilute excess salts and hold off on feeding until your plants recover.
Regular observation is key—monitor your arugula’s response over one to two weeks, making small adjustments instead of drastic changes. For the best results, consider conducting a simple soil test before planting and mid-season. Home test kits or local extension services offer clear insights into pH and nutrient levels, ensuring your homemade arugula fertilizer provides exactly what your plants need. With careful troubleshooting and a willingness to adjust, your homemade fertilizer can yield lush, flavorful greens straight from your garden.
Conclusion & Encouragement to Experiment
Making your own homemade arugula fertilizer offers many benefits—not only do you save money and reduce waste, but you also control the ingredients, ensuring your greens get safe, natural nutrients. Every garden is unique, so don’t hesitate to tweak recipes based on what you have at home or what your arugula responds to best. For example, if you notice stronger growth after using compost tea, try blending it with eggshell calcium for an extra boost.
Whether you’re new to gardening or a seasoned pro, experimenting with different homemade mixtures can lead to healthier plants and often surprising results. We’d love to hear about your successes, mishaps, or creative twists—share your experiences or questions in the comments below, and let’s grow a thriving arugula community together!