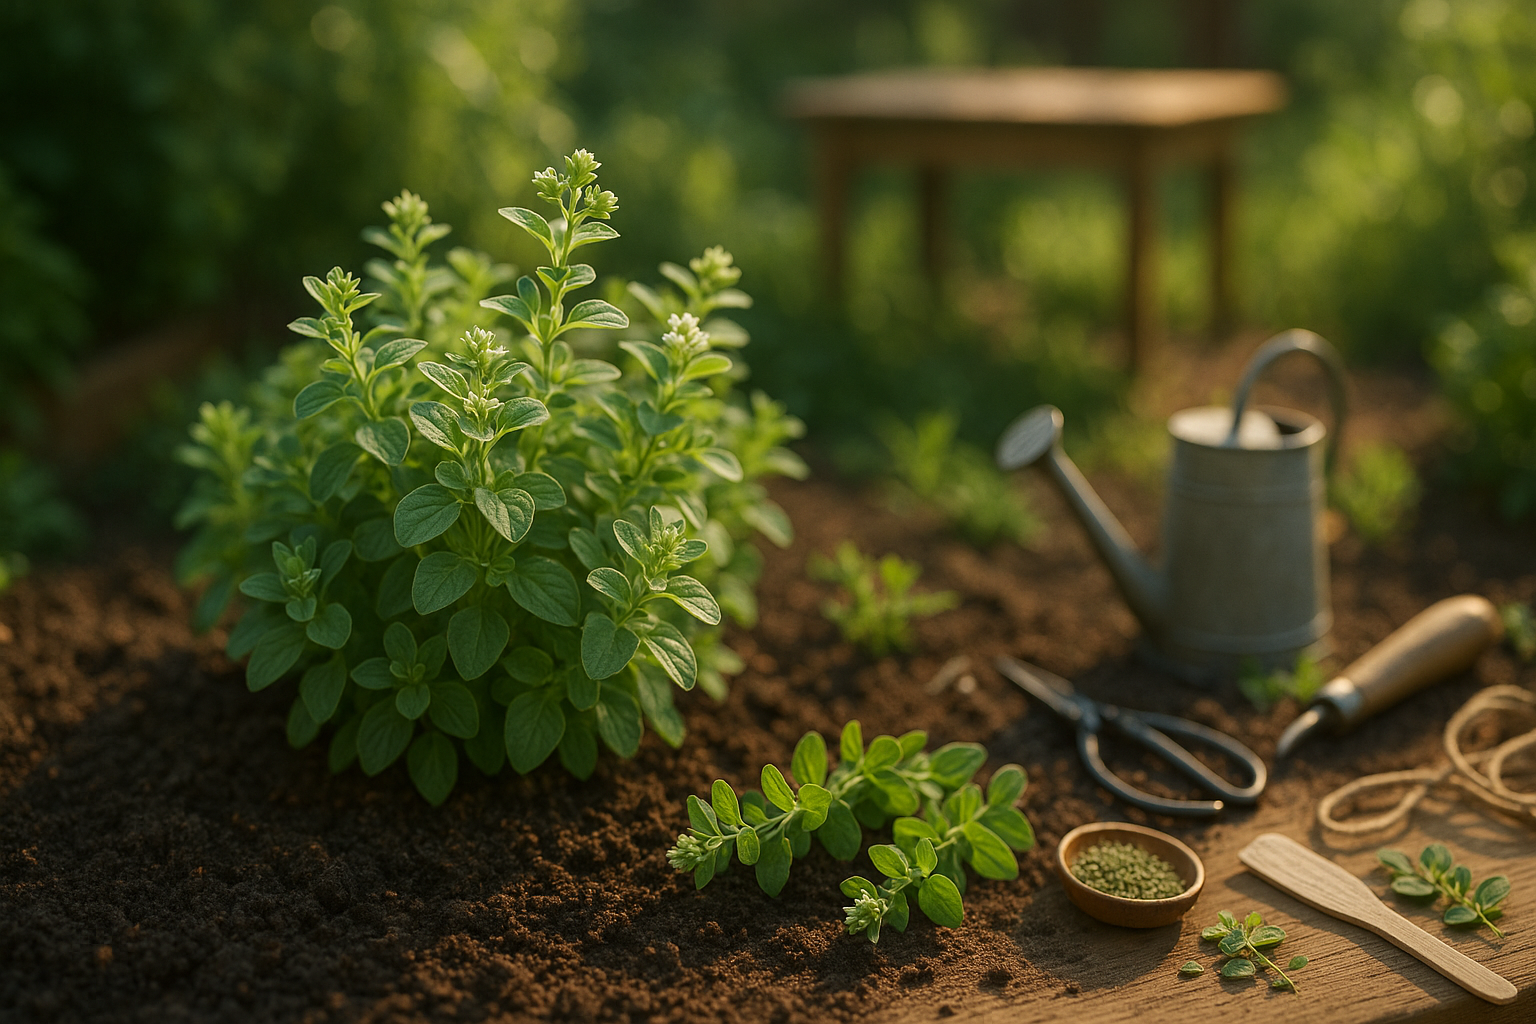
Getting Started with Marjoram
Pruning marjoram is one of the best ways to encourage lush, bushy growth in your herb garden, whether you’re growing this versatile plant for its aromatic leaves or attractive blooms. Marjoram is more than just a flavorful addition to your culinary collection—it’s also a charming ornamental herb.
At first glance, it’s easy to confuse its types: sweet marjoram (Origanum majorana) is loved for its delicate, mildly sweet flavor that complements salads, sauces, and meats, while wild marjoram (commonly known as oregano, Origanum vulgare) offers a bolder, earthier taste and a slightly hardier growth habit. Knowing which variety you’re growing helps tailor your care approach.
No matter the type, marjoram thrives when pampered in the right environment. This sun-loving herb prefers a spot that receives at least 6 hours of direct sunlight daily, making it perfect for bright garden beds or sunny windowsills. Marjoram doesn’t like to have wet feet—choose well-draining soil with a bit of added compost for a nutrient boost, but avoid heavy, clay soils that stay damp.
Mild climates are ideal, but marjoram will tolerate cooler nights as long as there’s no risk of frost. If you garden in a region with harsh winters, consider growing marjoram in pots that can be brought indoors. Getting familiar with these basics ensures a strong start for your marjoram, laying the groundwork for pruning techniques that will keep your plants compact, healthy, and abundantly leafy.
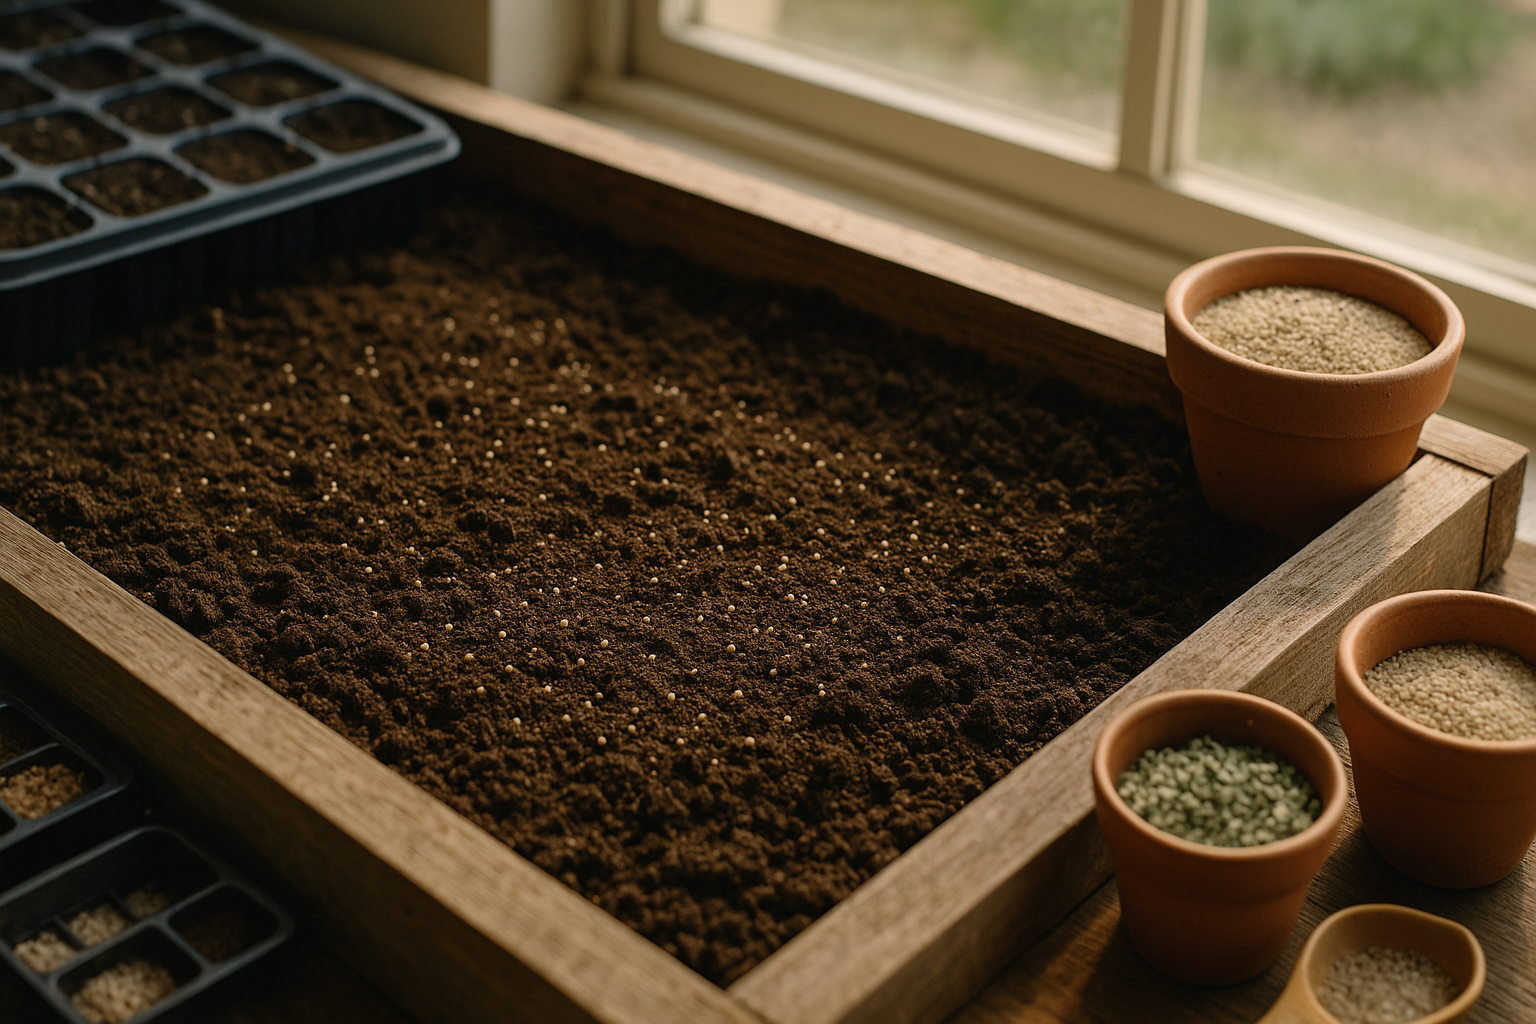
Sowing and Planting Marjoram
Starting marjoram from seeds is an easy way to grow this fragrant herb, whether you want to plant indoors or directly outside. For best results, sow seeds indoors about 6-8 weeks before the last expected frost. Simply press the tiny seeds onto the surface of a seed-starting mix without covering them, as they need light to germinate. Keep the soil moist but not soggy, and place containers somewhere warm and bright; seeds should sprout in 7-14 days.
If you’d prefer to sow directly outdoors, wait until all danger of frost has passed and daytime temperatures are consistently above 60°F (16°C). Prepare the garden bed with well-draining, loosened soil enriched with compost, and scatter seeds thinly—remember, marjoram doesn’t like wet feet, so good drainage is essential.
Once seedlings have developed two sets of true leaves, thin or transplant them so each plant is spaced about 8-12 inches apart; this gives them room to spread and allows for healthy airflow. If using nursery plants or transplanting your own seedlings, dig holes at the same spacing and set each plant at their original depth.
Marjoram also thrives in containers, provided you use a pot at least 6-8 inches wide with drainage holes. Fill it with a well-draining potting mix—adding sand or perlite can improve drainage.
For both container and garden planting, ensure your marjoram receives plenty of sunlight and avoid overwatering, letting the top inch of soil dry out between waterings. This fuss-free herb is as happy on a patio as it is in a vegetable garden, making it perfect for beginners and seasoned gardeners alike.
Ongoing Marjoram Plant Care
Caring for your marjoram plant is mostly straightforward, but a few simple habits will keep it thriving. Start with watering—marjoram prefers soil that’s lightly moist but never waterlogged. Let the top inch dry out between waterings to avoid root rot, and use either a watering can with a narrow spout or drip irrigation for precision.
Fertilize marjoram every month during the growing season using a balanced, diluted liquid fertilizer; don’t overdo it, as too much fertilizer can dilute the plant’s flavor.
When it comes to sunlight, marjoram loves warmth and light—aim for at least six hours of direct sunlight daily. If you’re growing indoors, place pots near a south-facing window or supplement with grow lights.
Good soil drainage is crucial, so use a potting mix with added perlite or sand, and if planting outdoors, pick a spot on a gentle slope or raised bed.
Mulching helps conserve moisture and suppress weeds: lay down a thin layer of straw or shredded bark, but keep it a few inches away from the plant’s base to avoid trapping moisture against the stems.
Pest and Disease Management
Watch for common pests like aphids and spider mites; a gentle spray with water or insecticidal soap can control small infestations, while introducing ladybugs may provide natural pest management.
Diseases such as powdery mildew or root rot often stem from excess moisture—improving air circulation, keeping leaves dry, and ensuring that soil drains well will go a long way to prevent problems.
Pruning and Maintenance
Regularly pinch back stems to encourage bushier growth and promptly remove any yellowing or diseased foliage.
By blending these basic practices into your gardening routine, your marjoram will reward you with lush, fragrant leaves all season long.
Pruning Marjoram for Health and Flavor
Pruning marjoram at the right time is key to keeping your plant lush, healthy, and bursting with flavor. Start pruning once your marjoram has reached about four to six inches tall, usually a few weeks after planting. Early and regular pruning encourages the plant to branch out, creating a fuller, bushier shape that results in higher yields.
Use the pinching method for young plants: simply use your fingertips to remove the top one or two sets of leaves on each stem. This tricks the plant into thinking it’s lost its growing point, so it sends out side shoots.
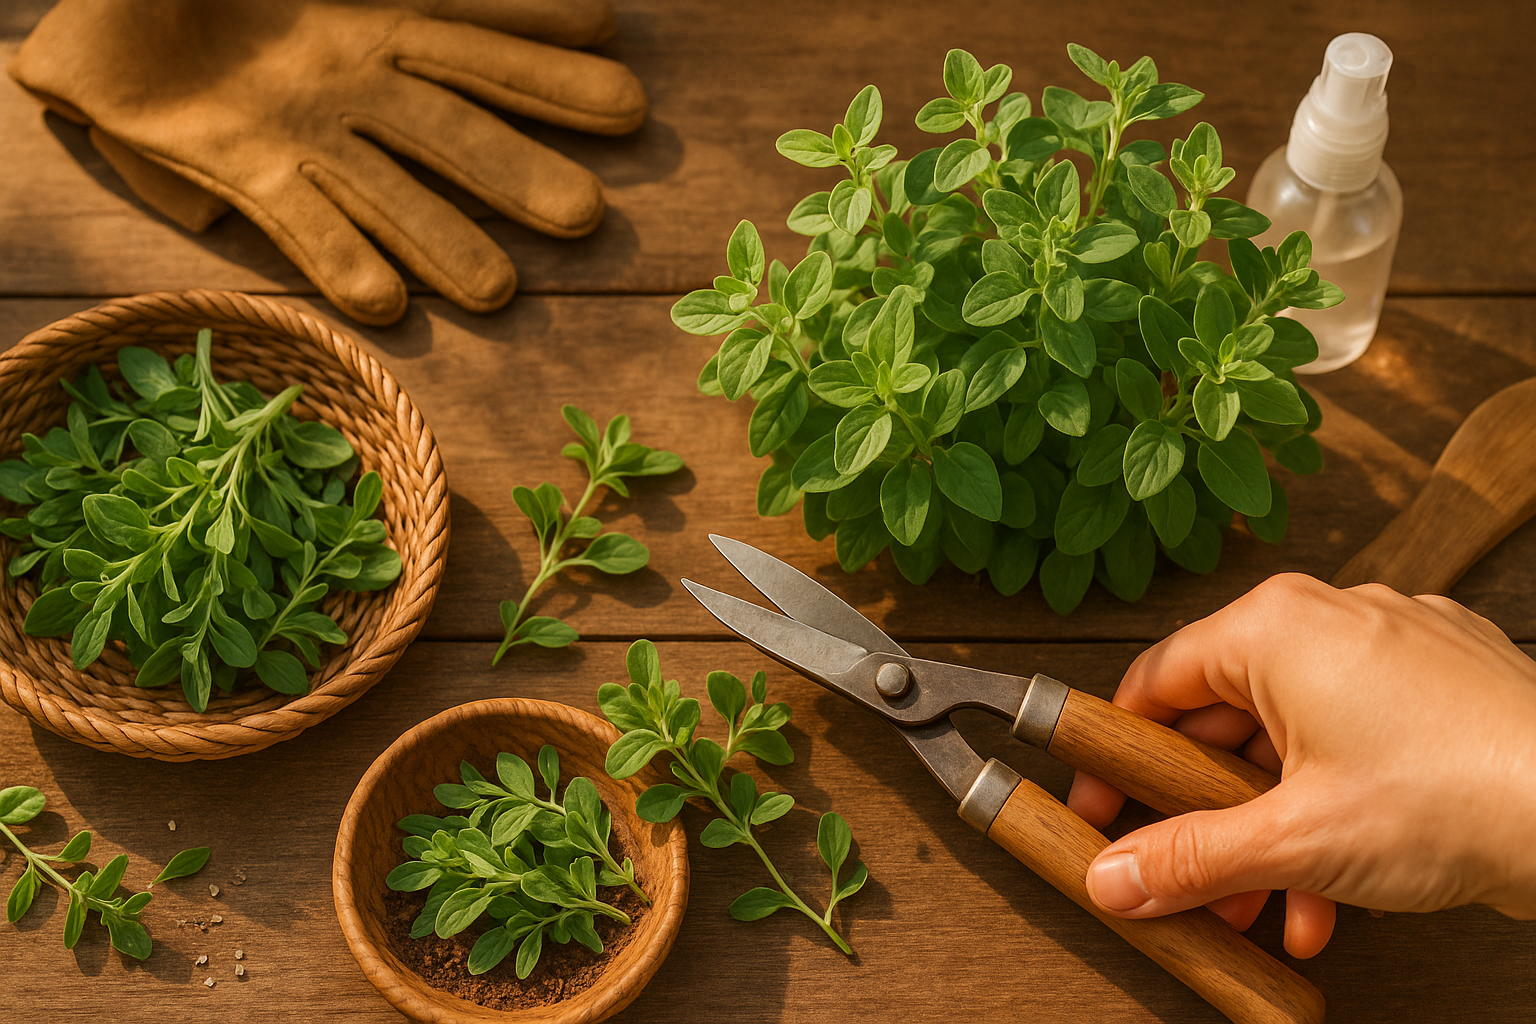
As marjoram matures, switch to cutting back with clean garden scissors—trim stems down by about one-third, always cutting just above a leaf node to stimulate robust regrowth. It’s best to prune in the morning, after the dew dries but before the heat of the day, as this helps minimize plant stress.
Regularly removing flower buds before they bloom also channels the plant’s energy back into leaf production, preserving the best flavor, since flowering can make leaves taste bitter and woody. Consistent pruning lets light and air reach the inner parts, reducing the risk of fungal problems and pests.
With these simple steps, you’ll keep your marjoram thriving for months, ensuring a steady supply of aromatic, flavorful leaves for your kitchen. Remember, a little attention goes a long way—prune often and your marjoram will reward you with its best performance season after season.
Harvesting Marjoram at Its Best
Harvesting marjoram at its best means catching the plant when its essential oils—and therefore its flavor—are at their peak. The ideal time is just before it starts to flower, usually in late spring or early summer, when the plant is bushy and the leaves look vibrant green with a pronounced, sweet, herbal aroma.
You’ll know marjoram is ready when the leaves are full-sized and feel slightly soft to the touch rather than tough or dry. To harvest, use clean, sharp scissors or garden shears and snip stems in the morning after the dew has dried but before the midday sun hits.
Cut above a leaf node, leaving at least half the plant (about 4 inches of growth) intact—this encourages bushier regrowth and stronger plants. Only take up to a third of the plant at a time to avoid stressing it. Immediately gather the cut stems in a basket away from direct sunlight.
For healthy regrowth, water the plant well afterward and consider feeding with a mild organic fertilizer. Regular light harvesting not only maintains flavor but helps the marjoram stay lush and productive all season long.
Preserving and Storing Marjoram
Preserving marjoram’s delicate flavor and aroma starts with gentle harvesting: pick the leaves in the morning after the dew dries but before the midday sun hits. For drying, tie small bundles of stems together and hang them upside down in a cool, well-ventilated space away from direct sunlight—this helps retain their essential oils and green color.
Once fully dry and crumbly, store the leaves whole in an airtight container and crush them just before use to maximize aroma.
Freezing is another excellent way to preserve marjoram; simply wash and pat dry the leaves, then chop and pack them into ice cube trays with a little water or olive oil—perfect for dropping into soups and stews.
If you’re storing marjoram fresh, wrap unwashed sprigs in a damp paper towel and tuck them into a resealable bag in your fridge, where they’ll stay vibrant for up to a week.
After preservation, marjoram can be used much like fresh:
- Toss dried leaves into roasted vegetables
- Sprinkle frozen cubes into pasta sauces
- Use chilled sprigs to infuse vinegars and dressings
With these tips, you’ll keep marjoram’s bright, earthy notes on hand for all your culinary creations, all year round.
Common Problems and How to Solve Them
Growing marjoram can sometimes be frustrating due to pests like aphids and spider mites, which suck sap and weaken the plants. Regularly inspect the leaves, and if you spot an infestation, spray with insecticidal soap or a homemade solution of water and mild dish detergent.
Marjoram is also prone to fungal diseases such as powdery mildew, especially when humidity is high or airflow is poor. Spacing plants well and watering at the base reduces this risk.
If plants develop yellowing leaves or stunted growth, it’s often due to overwatering or poor drainage—make sure the soil is well-draining and allow the top inch to dry out before watering again.
For stubborn slow growth, check sunlight exposure: marjoram needs at least six hours of sun daily. Keep weeds down and mulch lightly to retain moisture while avoiding stem rot. Promptly removing dead or infected leaves helps prevent problems from spreading.