Introduction to Bay Leaf Plants
If you’re curious about how to grow bay leaf at home, you’re in good company—this classic herb is a staple in kitchens around the world and adored for its aromatic leaves and rich, savory flavor. The bay leaf, or Laurus nobilis, isn’t just a pantry essential; it’s a handsome, evergreen shrub that doubles as an attractive addition to your garden or a stylish potted plant indoors.
The beauty of bay leaf is in its simplicity: not only does it add depth to soups, stews, and sauces, but it’s remarkably easy to care for. This makes it an excellent choice for beginners and seasoned gardeners alike. Whether you have a spacious backyard or a small balcony, bay leaf is incredibly adaptable—it thrives equally well in the ground or in containers, so anyone can enjoy fresh leaves regardless of space constraints.
Plus, its slow growth and resistance to most pests mean less maintenance and fuss. If you’re seeking an herb that elevates your cooking and brings year-round greenery to your home, learning how to grow bay leaf could be the perfect starting point for your gardening journey.
Choosing the Right Bay Leaf Plant and Variety
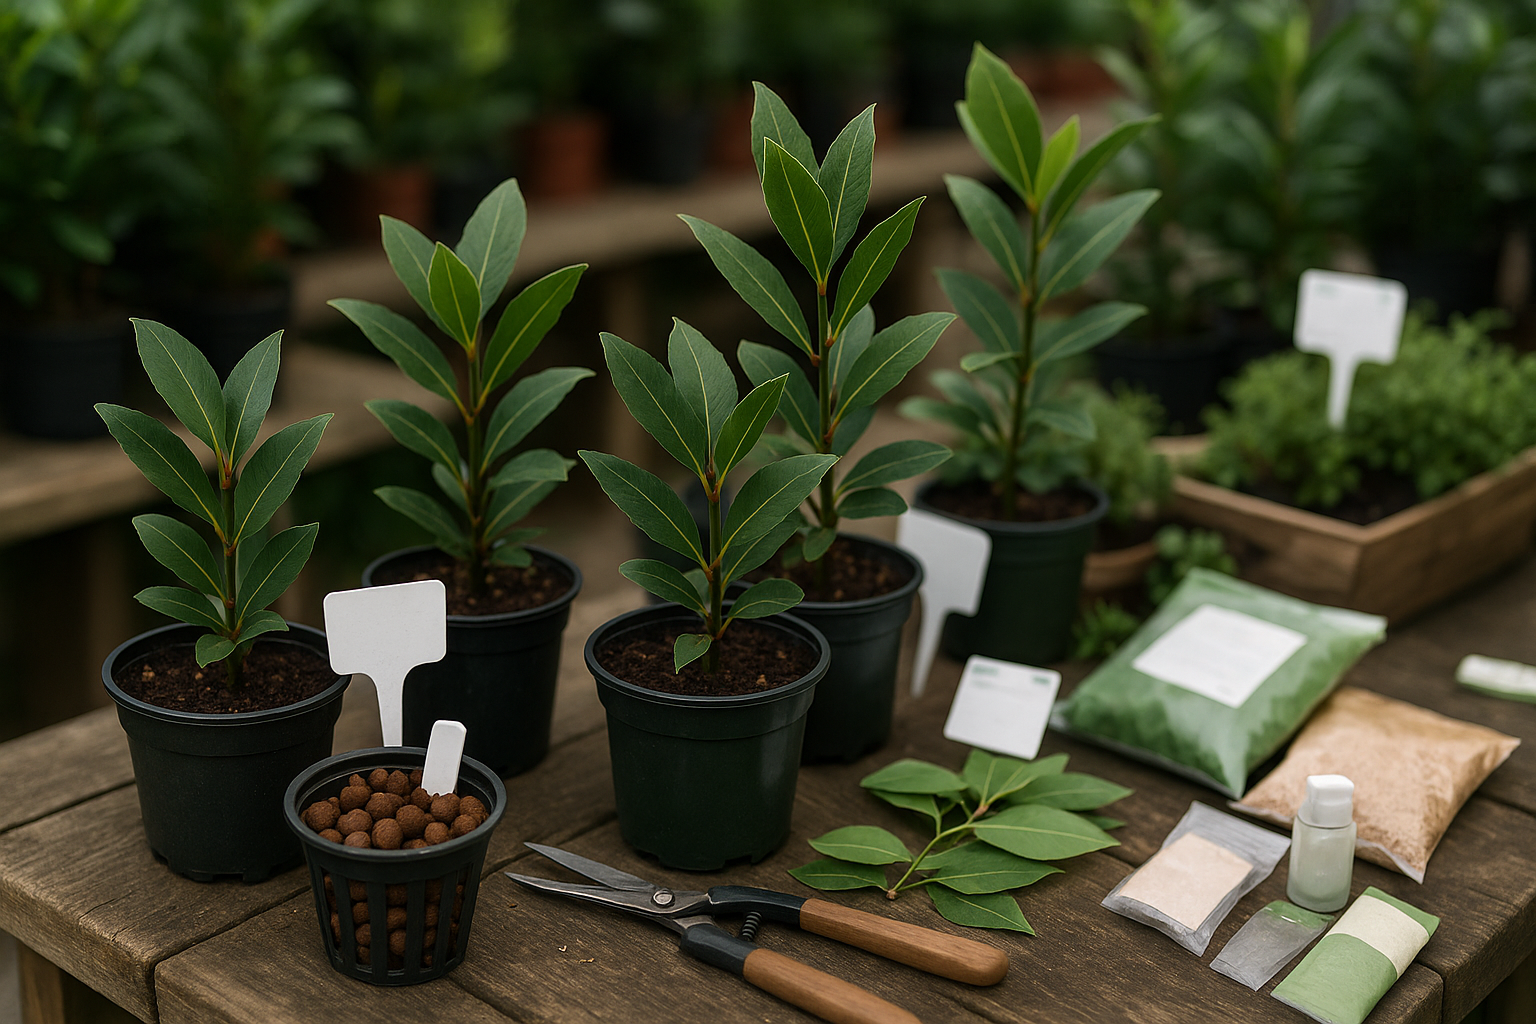
When it comes to growing bay leaf plants, beginners will have the best success starting with young plants rather than seeds. Bay laurel seeds can be notoriously slow and tricky to germinate, sometimes taking months just to sprout, which can be frustrating if you’re eager to add fresh bay leaves to your kitchen. Young plants, often called “starts,” provide a head start and are widely available at garden centers, giving you a healthy, established root system to work with.
For home gardens or indoor pots, Laurus nobilis is the classic culinary bay and the variety most often recommended. Compact cultivars like ‘Saratoga’ or ‘Little Ragu’ are excellent for containers and smaller spaces because they naturally grow into manageable, bushy forms.
When shopping for bay plants, choose a reputable nursery or garden center—ideally one with a good turnover of stock—to ensure you’re getting a healthy specimen. Inspect each plant carefully:
- Look for vibrant, deep green leaves without spots or signs of pests.
- Pass on any plants that seem wilted, droopy, or have brown edges.
- Healthy bay leaf plants should have sturdy, upright stems, as well as a full, bushy shape.
Avoid bargain-basement plants that look stressed or potbound. It pays off to invest a little extra in a robust starter plant that will thrive in your home or garden for years, providing you with a steady supply of fragrant, flavorful leaves.
How to Plant Bay Leaf (Pot or Ground)
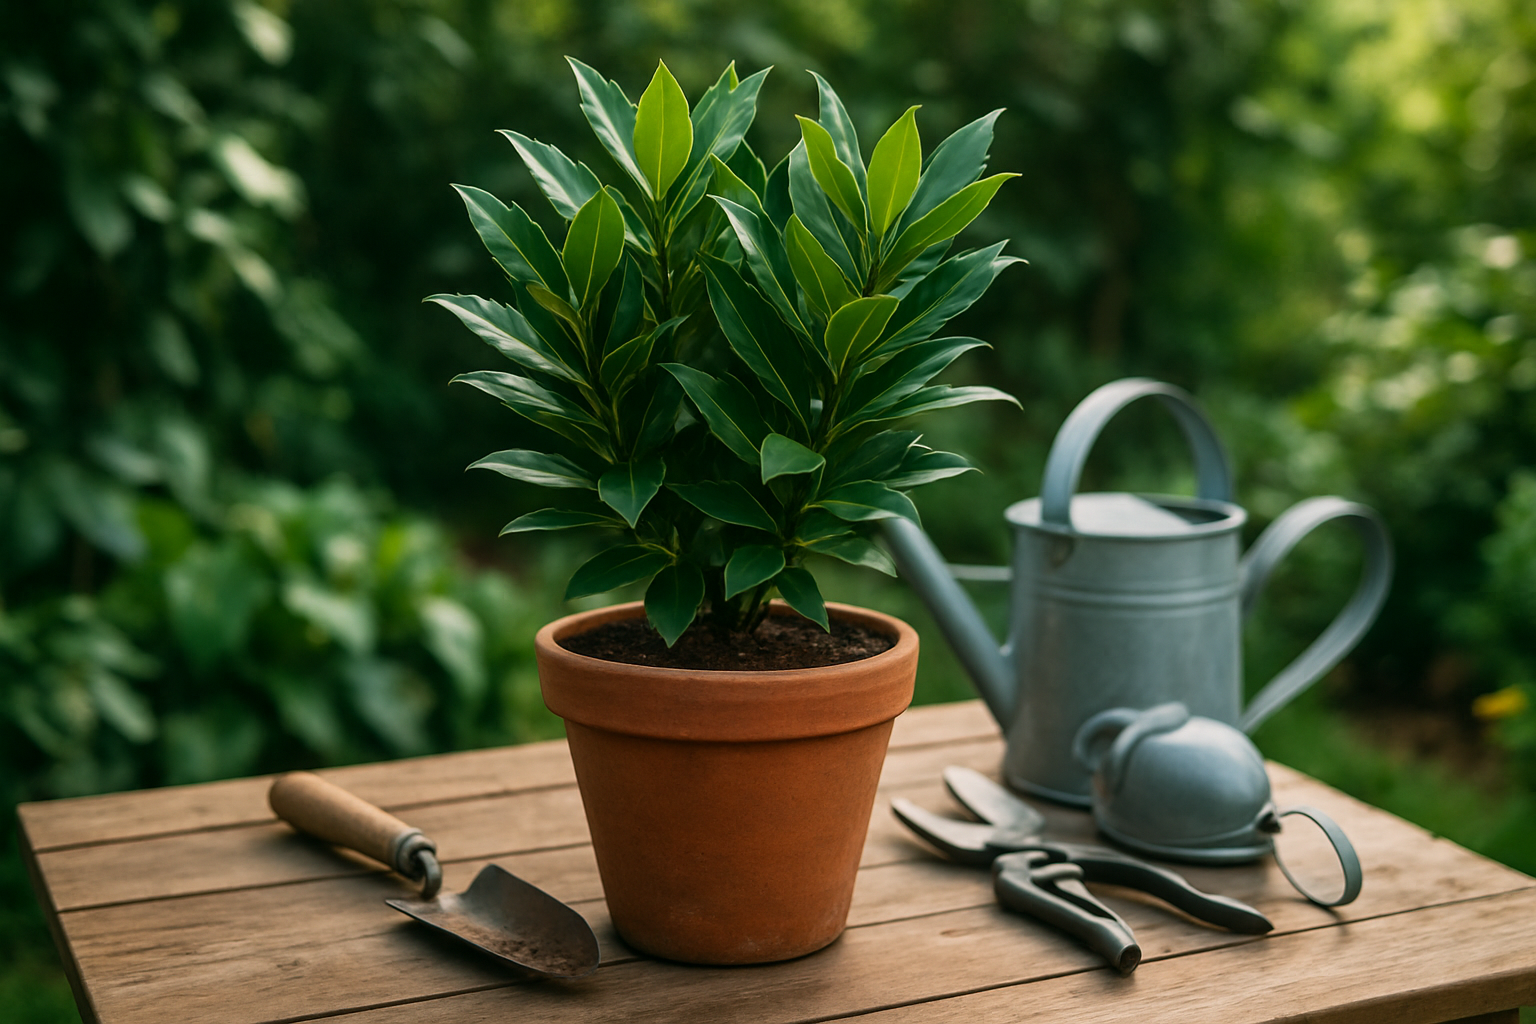
Planting bay leaf (Laurus nobilis) is easy, whether you’re using a pot or planting directly in your garden. If you choose a container, pick one that’s at least 12 inches wide and deep to give the roots plenty of room to grow. Make sure the pot has drainage holes to prevent soggy soil.
Fill the container with a well-draining soil mix—standard potting soil combined with a handful of sand or perlite works well. For planting in the ground, select a sunny or lightly shaded spot with fertile, loamy soil that drains well.
If you’re planting more than one bay plant, space them at least three feet apart to allow enough room for their slow-growing but eventually bushy shape. Dig a hole as deep as the plant’s root ball, carefully remove the young bay from its nursery pot, and place it in the hole. Backfill with soil, press gently, and water thoroughly to help the roots settle.
Whether in pots or ground, add a layer of mulch to keep moisture consistent—but avoid piling mulch up against the stem. Bay laurels thrive in full sun but will tolerate partial shade, especially in hot climates; just ensure they get at least six hours of sunlight daily.
If your bay plant outgrows its pot, gently loosen the root ball and move it to a larger container in spring, or transplant it to the garden after the last frost when the plant is well established. Remember, good drainage is essential since bay hates “wet feet.” If your garden soil is heavy, consider raised beds or amending the soil generously with sand or compost.
By following these steps, your bay plant will grow slowly but steadily, providing fragrant leaves for your home cooking year after year.
Care Tips for Healthy Bay Leaf Plants
Caring for bay leaf plants is surprisingly straightforward, but a few consistent practices make all the difference in keeping them lush and aromatic. Whether your bay is growing in the ground or thriving in a pot, watering correctly is key—these Mediterranean natives prefer their soil to dry slightly between waterings. Aim for a deep soak once the top inch feels dry, usually about once a week outdoors, or slightly more often in pots where soil dries faster. Avoid letting potted bays sit in saucers of water, as this can cause root rot.
Fertilize bay leaf plants in early spring and mid-summer with a balanced, slow-release fertilizer. Apply lightly and water it in; overfeeding is unnecessary and can actually weaken growth.
Pruning is critical both for shape and plant health: snip back leggy stems and pinch out tips in late spring or midsummer to encourage a fuller, bushier plant. This also provides an opportunity to harvest leaves for kitchen use.
The care for indoor versus outdoor bays differs somewhat. Indoors, pick a bright spot like a sunny windowsill or under grow lights, and be cautious not to overwater, as homes tend to have less air circulation. Outdoor bay laurel can handle full sun but should be sheltered from harsh winter winds.
In colder climates (zones 7 and below), bring your bay plant inside before frost arrives, placing it in a cool but bright spot away from radiators and blasts of dry heat. If your outdoor bay is in the ground, mulch heavily in late fall or wrap the plant with horticultural fleece for protection.
With these easy routines, your bay leaf plant will reward you with glossy leaves and robust growth, ready to flavor your soups and stews all year long.
Common Problems and Solutions
Houseplants can face a range of common problems, but a little attention goes a long way in keeping them healthy.
Pests like scale insects and aphids are notorious for hiding on leaves and stems, causing yellowing or sticky residue. Inspect your plants weekly, wipe leaves with a damp cloth, and use a spray of mild soapy water or neem oil to keep pests at bay.
If you notice brown, mushy roots—a sure sign of root rot—immediately repot the plant in fresh, well-draining soil and trim away affected roots.
Leaf spots, which appear as brown or yellow patches, are often caused by overwatering or poor air circulation. Be sure to water only when the top inch of soil is dry, and avoid letting leaves sit wet.
Common signs of an unhealthy plant include wilting, yellowing leaves, stunted growth, or a general droopy appearance. For a quick revival, move the plant to a spot with appropriate light, prune damaged foliage, and let the soil dry out before the next watering.
Regularly cleaning your plant’s leaves and choosing the right pot size also help prevent many issues. By staying attentive and acting quickly, you can often restore a struggling plant and keep your indoor jungle thriving.
Harvesting and Using Your Bay Leaves
To get the most flavorful bay leaves, wait until your bay tree is at least two years old and harvest in late summer when the leaves have matured and their oils are most concentrated. Snip off the biggest, healthiest leaves using clean, sharp scissors or garden shears, and try not to remove more than one-third of the plant’s foliage at a time—this helps the tree stay healthy and keeps it producing.
After picking, rinse the leaves and pat them dry with a towel. Air-drying is one of the simplest techniques: just lay the leaves flat on a baking sheet in a single layer and keep them in a dry, shaded spot for about two weeks, flipping them every few days.
Once completely dry, store the leaves whole in airtight containers away from direct sunlight and heat—glass jars or sealed plastic bags work well. This preserves their flavor for up to a year.
For cooking, add whole bay leaves early in soups, stews, or sauces so they can slowly release their aroma. Remember to remove them before serving, as their tough texture isn’t pleasant to eat.
If your garden is small, consider selective harvesting by pinching off leaves from various parts of the plant rather than concentrating on one area. This helps maintain a balanced, healthy shape.
By handling your bay tree gently and harvesting thoughtfully, you’ll ensure a steady supply of aromatic leaves for all your favorite dishes.
Bonus
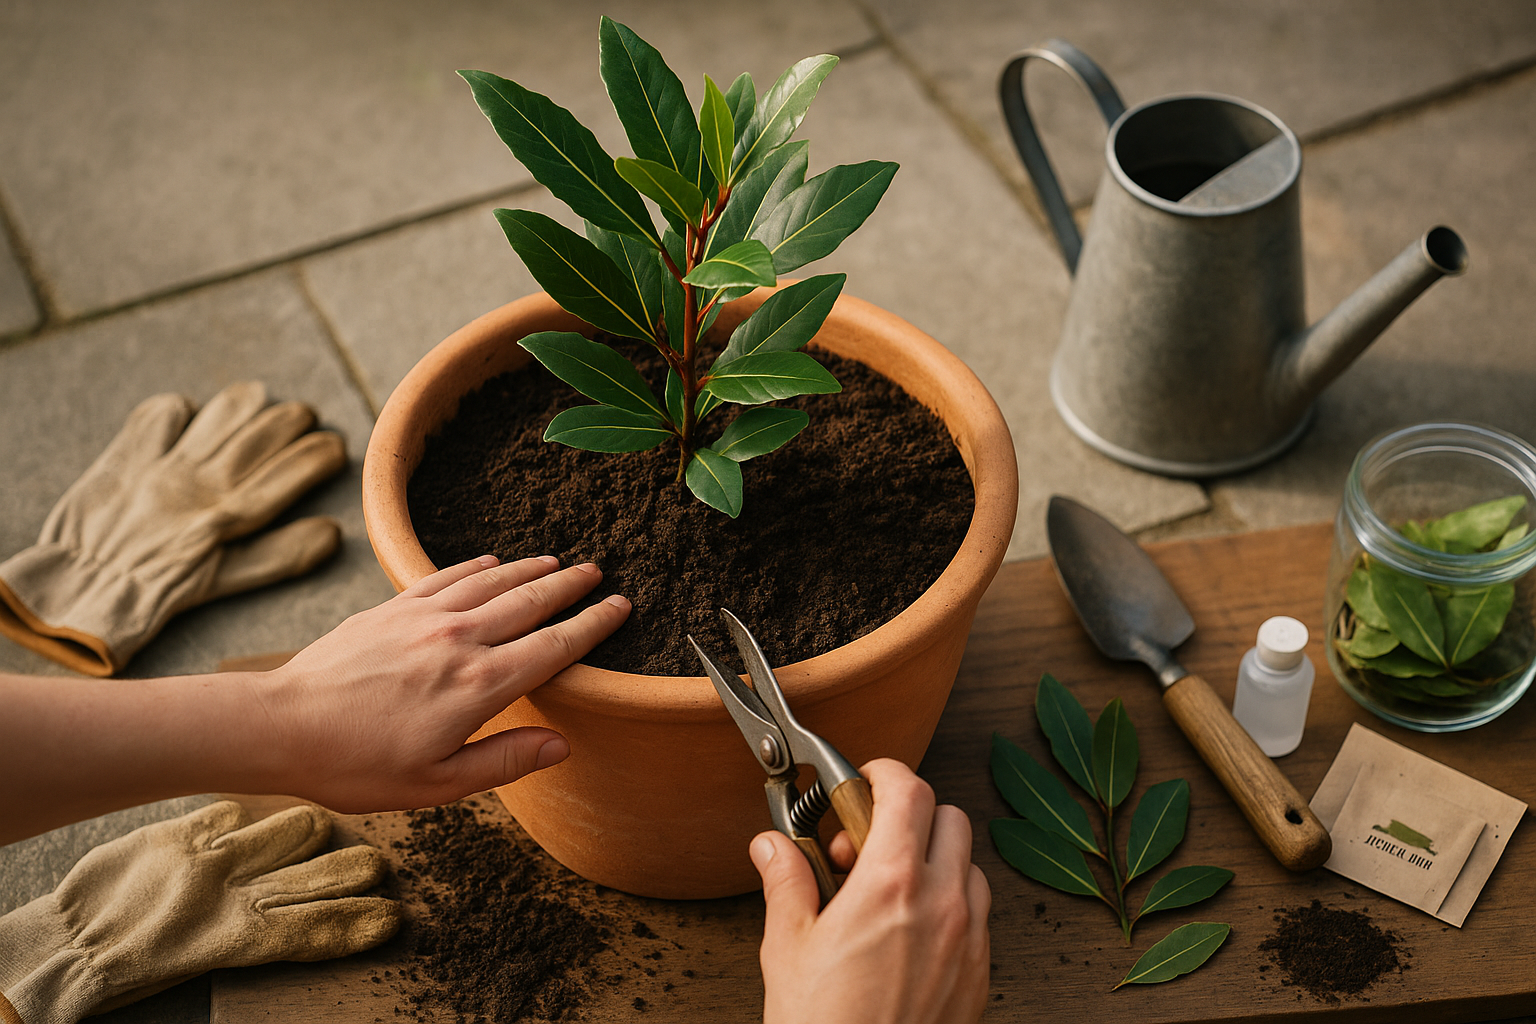
Propagating bay leaf from cuttings is a great way to expand your collection without spending extra money. The best time to take bay leaf cuttings is in late spring or early summer, when the plant is actively growing and the stems are semi-hardwood—not too soft, but not fully woody.
To get started, snip a healthy, non-flowering stem about 4 to 6 inches long. Remove the lower leaves on the cutting, leaving two or three at the top. Dip the cut end in rooting hormone to encourage faster root development, then plant it in a small pot filled with a light, well-draining mix like peat and perlite.
Keep the pot in a warm, bright spot out of direct sunlight, and maintain high humidity by covering the pot with a clear plastic bag or using a propagator. Mist occasionally to keep things moist, but avoid soaking the soil. Roots typically form in 4 to 8 weeks; you can check by giving the cutting a gentle tug.
Once your cutting has rooted and shows new growth, transplant it into a larger container or directly into your garden, making sure to acclimate it to outdoor conditions slowly. Regular watering and some patience will give you healthy new bay plants in just a few months.