Why Grow Lavender from Cuttings?
Growing lavender from cuttings offers several advantages over starting from seed, making it a favorite method for gardeners of all skill levels. One of the biggest benefits is speed—cuttings root and develop into mature plants much faster than seeds, often producing blooming plants within a single season.
Unlike seeds, which can result in unpredictable offspring due to hybridization, cuttings produce “true-to-type” plants that are exact genetic copies of the parent. This guarantees you get the specific fragrance, growth habit, or flower color you desire, especially important for varieties like ‘Munstead,’ ‘Hidcote,’ and ‘Grosso’—all popular for their reliability and beauty.
Growing lavender from cuttings can also save money, as you can propagate multiple new plants from a single healthy mother plant, avoiding the cost of nursery-grown starts.
Many gardeners propagate lavender this way to quickly fill out a border or create a uniform hedge, while others enjoy the tradition of sharing home-grown plants with friends and family as gifts. It’s also a smart way to replace older, woody lavender plants that are declining in vigor; instead of buying new ones, you can regenerate your favorite varieties without hassle.
Whether you’re looking to multiply classic English lavender for a cottage garden, expand a patch of Spanish or French lavender, or keep culinary favorites going year after year, propagation by cuttings is efficient, rewarding, and accessible for almost anyone.
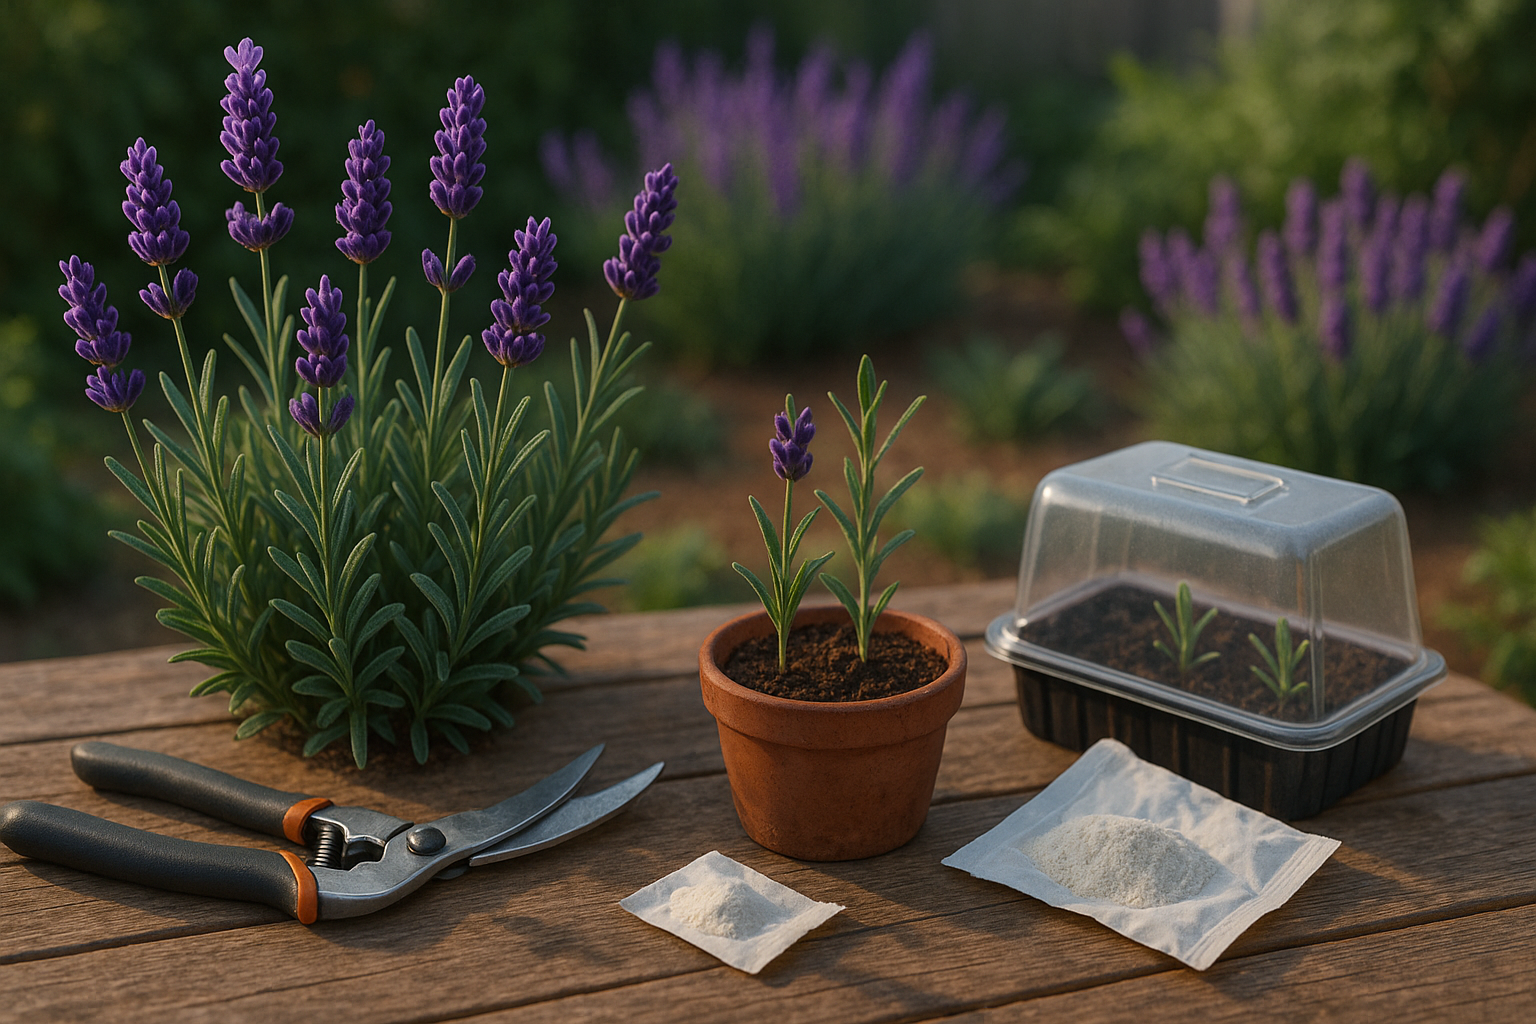
Gathering Your Tools and Materials
Before you begin propagating plants, gather all the essential tools and materials to make the process smooth and successful. You’ll need a sharp, clean pair of scissors or pruning shears to take cuttings—dull or dirty blades can damage stems and introduce disease.
Prepare a high-quality potting medium that drains well, such as a mix of perlite and peat or a seed-starting mix, which gives new roots the best chance to establish. Select small pots or shallow trays with drainage holes; these will house your cuttings as they root.
Rooting hormone powder or gel can significantly boost your chances of success, especially with more stubborn plant varieties, by encouraging quicker root development. To maintain the right humidity, inexpensive items like plastic bags or clear plastic domes work wonders—just remember to keep them elevated off the foliage to reduce rot risk.
Most importantly, choose a healthy parent plant with no signs of pests, disease, or stress, as weak plants often yield poor cuttings. Before getting started, wash your hands and disinfect your tools with rubbing alcohol or boiling water. Even something as simple as skipping this step can lead to the spread of unseen pathogens, putting your new plants at risk.
A little preparation and cleanliness go a long way toward propagation success.
When and How to Take Lavender Cuttings
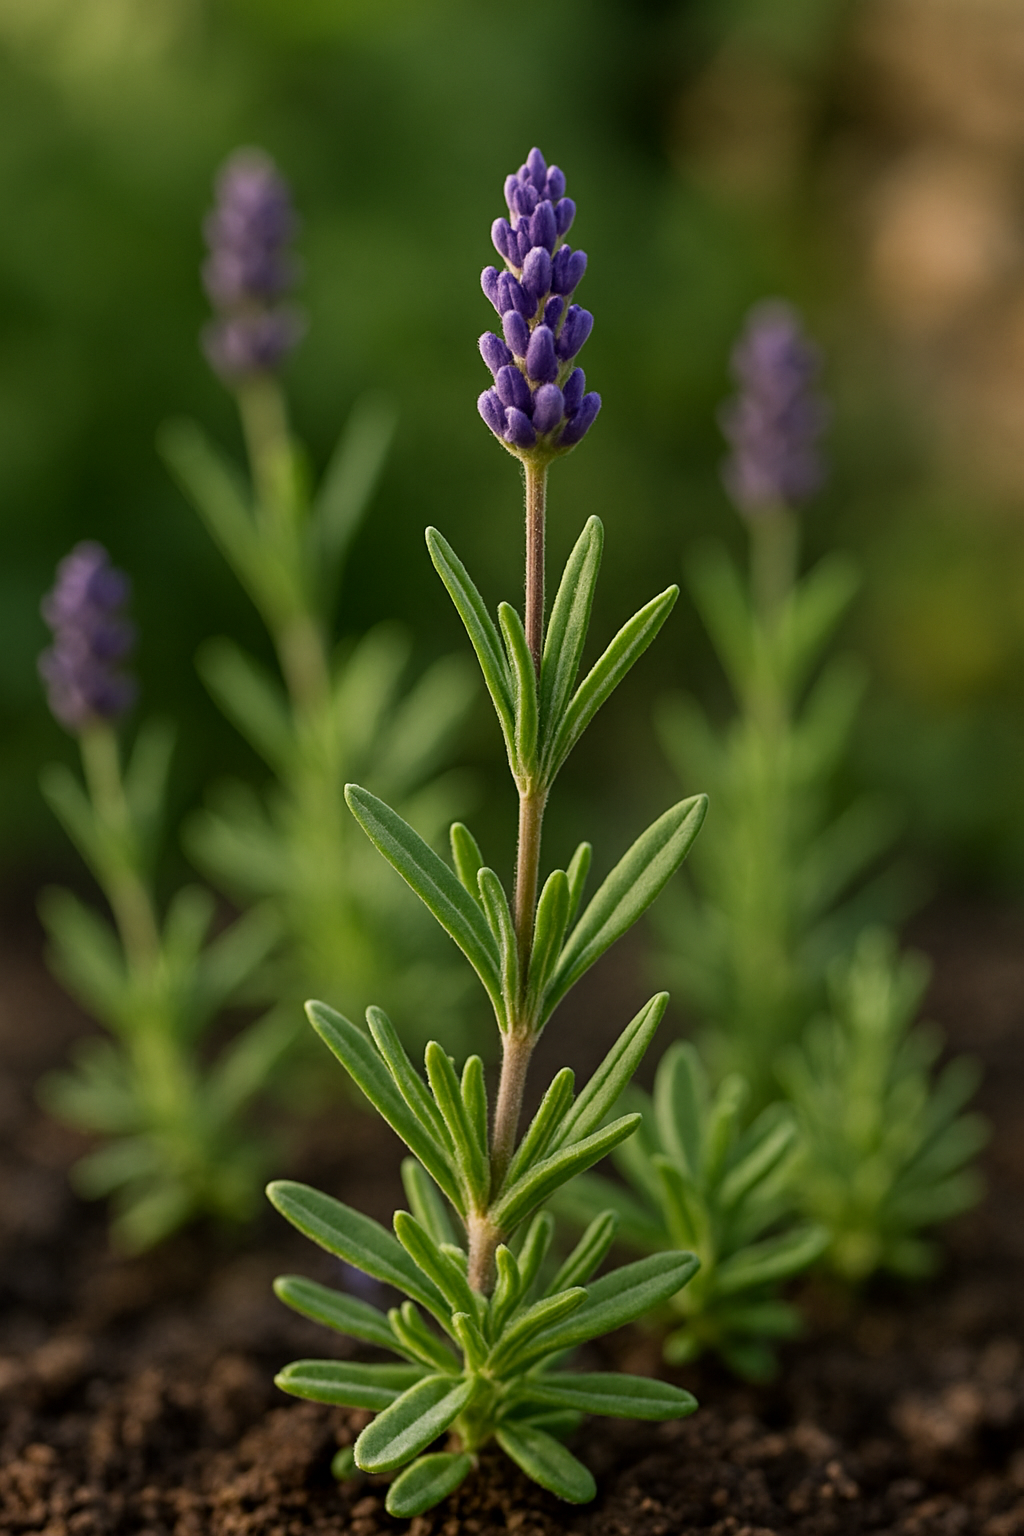
The best time to take lavender cuttings is in late spring to early summer, ideally during the morning when the plant is well-hydrated and less stressed by heat. Choosing the right type of stem is crucial for successful propagation.
Look for non-flowering, semi-ripe stems—these are sections of growth that are neither brand new and soft nor fully hard and woody. Semi-ripe stems are firm yet flexible, making them more likely to root well. Avoid flowering stems, as the plant’s energy goes toward blooming instead of root development, reducing the chances of success.
To take a cutting, use clean, sharp scissors or secateurs to snip a 3- to 4-inch piece just below a set of leaves. Remove any flowers or buds, and strip off the leaves from the bottom half of the stem to prevent rotting and encourage root growth. Leave a few pairs of healthy leaves at the top so the cutting can continue photosynthesizing.
If you’re unsure whether a stem is semi-ripe, check that it snaps easily when bent but isn’t brittle—somewhere between soft green shoots and tough woody stems is the sweet spot.
Place the prepared cuttings immediately in water or plant them into moist, gritty compost. Cover them with a clear plastic bag to create a humid environment, making sure the plastic doesn’t touch the leaves. Rooting should begin within a few weeks.
This careful selection and preparation ensure strong new lavender plants that are true to type and resilient from the start.
Rooting Your Lavender Cuttings

When preparing your lavender cuttings, start by selecting healthy, non-flowering stems and making a clean cut just below a leaf node, about 4-6 inches in length. Strip off the leaves from the lower half of the cutting; this helps minimize moisture loss and prevents leaves from rotting in the soil. If you’d like to improve your chances of successful rooting, dip the cut end into rooting hormone powder—this step is optional but especially helpful if you’re new to propagation.
Next, plant each cutting into a small pot filled with a light, well-draining mix, such as a blend of perlite and peat moss or a cactus soil mix. Make a hole with a pencil or chopstick and insert the cutting about 1-2 inches deep, spacing them so leaves don’t touch. Gently firm the soil around each stem to remove air pockets.
Maintaining the Right Environment
Keeping the environment just right is crucial for rooting. Lavender cuttings thrive in humidity and warmth but dislike soggy conditions, so mist lightly to maintain moisture and avoid overwatering. Set pots in a bright spot with indirect light—direct sun can scorch the delicate stems before roots develop.
To boost humidity, you can create a mini-greenhouse by loosely tenting a clear plastic bag or using a plastic dome over your pots. Be sure to leave a small gap for airflow to prevent mold. If you don’t have a dome, inverted soda bottles with the bottoms cut off also work well. Place the setup on a warm windowsill or use a seedling heat mat to keep temperatures between 65-75°F.
With this simple step-by-step care, you’ll give your lavender cuttings the best chance to root, grow, and thrive into beautiful new plants.
Aftercare and Troubleshooting
Proper aftercare is crucial for successful plant propagation, and it begins with closely monitoring your cuttings. To check if rooting has started, gently tug the base of a cutting after two weeks—if there’s resistance, roots are developing. Look out for new growth or fresh leaves, which also indicate progress.
Watering requires a delicate balance: cuttings should stay moist but never soggy. Use a spray bottle to mist the soil and leaves, preventing waterlogging that can cause rot. Ventilation helps prevent fungal infections, so open the cover of your propagation tray for an hour or two each day, or use a small fan nearby to keep the air moving.
If you notice wilting, check both moisture and humidity levels—cuttings may wilt if they’re too dry or if humidity is too low. Mold can appear as white fuzz on the soil or stems; remove affected areas promptly and increase airflow or reduce watering to let things dry out.
If a cutting fails to root or shows no growth after three to four weeks, it might have been too soft, too old, or infected. Remove it to prevent issues from spreading and try again with a healthy cutting. Sometimes, using rooting hormone can boost success after repeated failures.
Remember, patience is key—different plants root at different rates, and minor setbacks are normal. By keeping a close eye, responding quickly to issues, and adjusting your environment as needed, you’ll boost your chances of growing strong, healthy new plants from your cuttings.
Transplanting and Ongoing Lavender Care
Knowing when your lavender cuttings are ready for transplanting is a crucial step for healthy growth. Look for well-developed roots poking out from the bottom of the propagation tray or pot, and check that the young plants are sturdy with several sets of true leaves. Typically, this stage takes about six to eight weeks after taking your cuttings, though timing may vary by variety and conditions.
Before moving your new lavender outdoors, it’s important to harden them off. Start by placing them outside for a couple of hours in a sheltered spot, gradually increasing the time and sun exposure over a week. This process helps prevent shock from drastic changes in temperature and light.
Once transplanted, water your lavender thoroughly, but don’t overdo it—lavender prefers well-draining soil and dries out between waterings. In the first two weeks, check moisture daily, letting the top inch of soil dry out before watering again. After that, water deeply every 7–10 days, depending on rainfall and heat.
Provide at least six hours of direct sunlight per day, as lavender thrives in full sun. Prune lightly after transplanting to encourage bushiness and remove any straggly or damaged growth. As your plant settles in, avoid heavy feeding; too much fertilizer can dampen lavender’s signature aroma and stress the plant.
Keep an eye out for weeds or competing plants, which can deprive your lavender of nutrients. Over winter, protect young plants with a layer of mulch in colder climates, but keep mulch away from direct contact with the stems to prevent rot.
With a gentle transition and the right care, your transplanted lavender will flourish, bringing fragrance and color to your garden for years.
Frequently Asked Questions
Many gardeners wonder if water rooting is a reliable method for propagating plants—good news: for most soft-stemmed varieties like pothos, philodendron, or coleus, water rooting can be highly effective and hassle-free.
Typically, you’ll see roots forming within 1–4 weeks, but keep in mind that some plants take longer, especially woody species.
If your cuttings look wilted, don’t panic. Wilting is natural just after taking a cutting, but if the leaves stay limp, first check that the stem is submerged an inch or two in clean water and that no leaves are sitting in the water (to prevent rot).
Refresh the water every few days and move the jar to a bright, indirect light spot—not direct sun, which can stress the cutting.
If your cuttings develop a mushy, brown stem, it’s likely a sign of rot; trim away any damaged portions and try again with fresh water.
And remember, not all cuttings will root, so take extras if possible.
Lastly, patience really pays off—if roots look stunted after a couple of weeks, just give them more time and resist the urge to disturb them too often.
Experiment with different plant types to learn what works best in your environment.