Introduction
Whether you’re planting in the garden or growing herbs on a sunny windowsill, discovering the best soil for chamomile can make all the difference between leggy, straggling plants and a lush, fragrant patch. Chamomile, beloved worldwide for its calming blossoms and soothing tea, is an easygoing herb—but it draws much of its vigor from what’s beneath the surface.
The right soil isn’t just about ticking boxes; it’s the foundation of vibrant growth, resilient stems, and plentiful blooms. Many gardeners overlook just how important drainage, texture, and pH truly are to chamomile’s well-being. Experimenting with different soil blends or amending poor garden soil can lead to stronger plants that naturally ward off diseases.
If you’re growing chamomile in containers, even minor changes in soil can impact root health and flower yield. In this post, we’ll break down what exactly makes the best soil for chamomile, with practical guidance on achieving the optimal drainage, texture, and pH levels. You’ll also find real-world tips on how to amend common soils, plus a checklist for container growers. With these insights, you’ll be well-equipped to nurture healthy chamomile, whether you’re a beginner or a seasoned herb gardener.
Understanding Chamomile’s Natural Habitat and Soil Needs
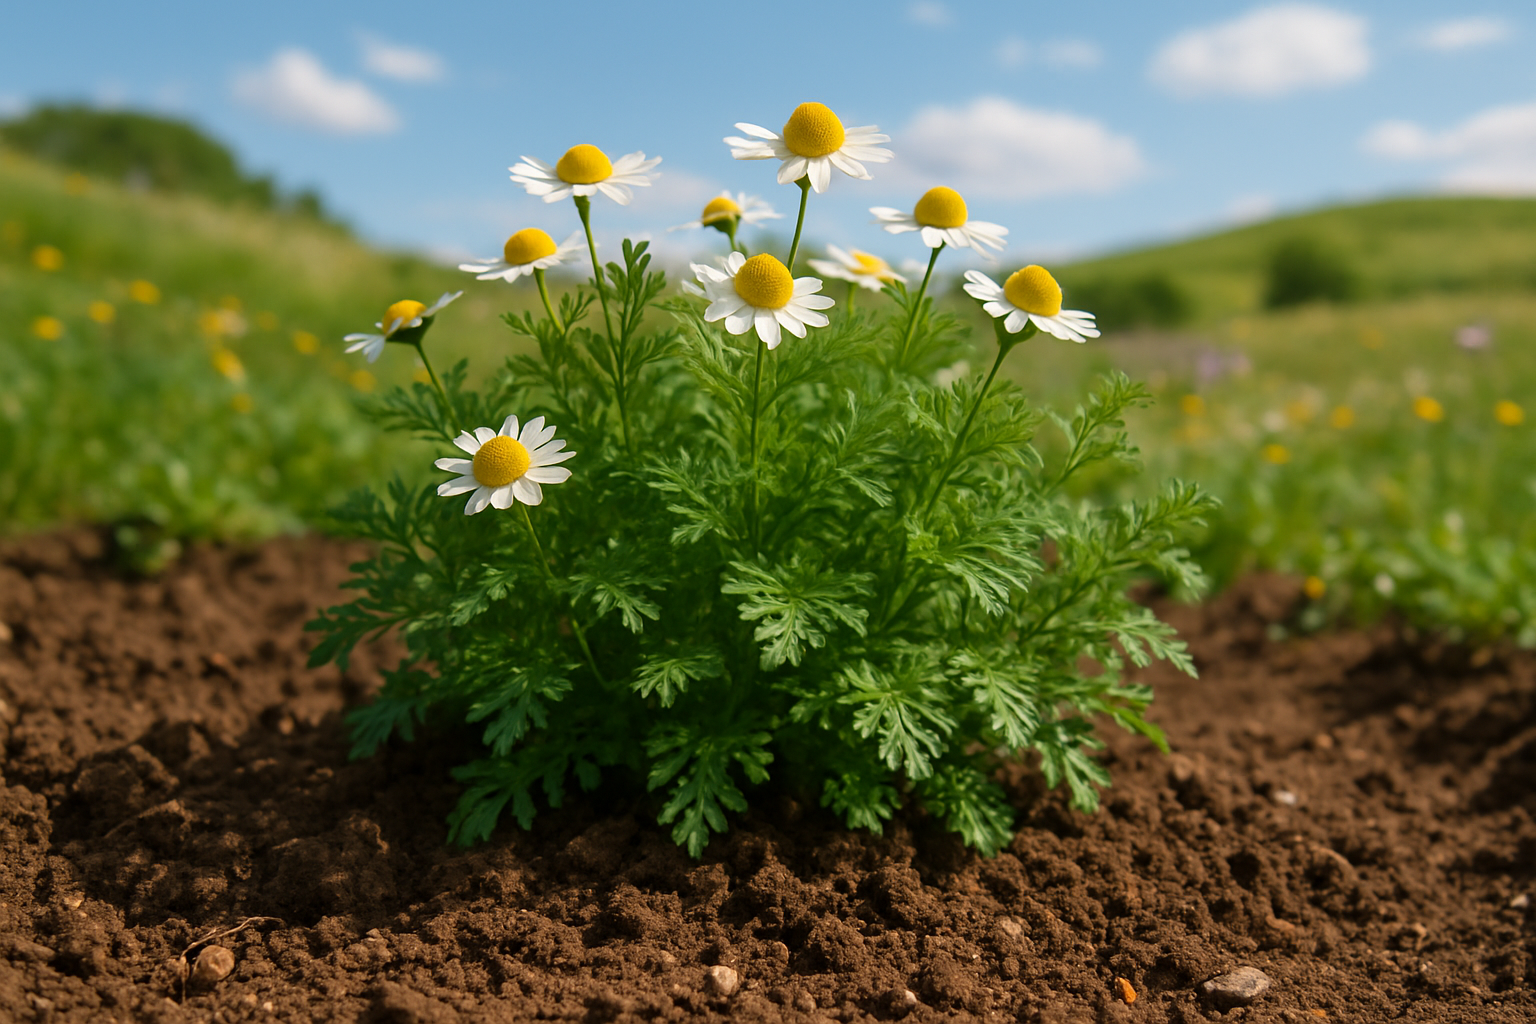
Chamomile is a hardy herb that thrives best in temperate climates—where summers are warm but not scorching, and winters are mild. In the wild, you’ll often spot chamomile growing across open meadows, field edges, and sunny hillsides, especially throughout Europe and western Asia. These natural habitats offer more than just pretty scenery—they create ideal conditions that chamomile loves.
Meadows typically feature loose, well-draining soils that don’t hold excess moisture but retain just enough water for roots to stay hydrated. This balance is key: chamomile doesn’t thrive in soggy or compacted ground, yet it needs soil that can hold some moisture during moderate dry spells.
For home gardeners, mimicking this environment means choosing a spot with plenty of sunlight and preparing soil that feels crumbly and light in your hands. Mixing a bit of sand or gritty compost into garden beds helps boost drainage, preventing water from pooling around the roots. At the same time, adding organic matter like leaf mulch or aged compost ensures the soil doesn’t dry out too quickly.
Aiming for soil that’s neutral to slightly acidic (pH 5.6–7.5) also closely replicates chamomile’s natural meadow home. By observing where chamomile grows wild, you can see it prefers a “just right” moisture balance—never waterlogged, but rarely bone-dry.
Try watering when the top inch of soil feels dry, and always avoid heavy clay earth that stays wet after rain. If you’re limited to pots or containers, pick ones with drainage holes and use a light, sandy potting mix.
Chamomile’s resilience is rooted in these simple, natural requirements, and setting up your garden accordingly makes it easy for this cheerful herb to flourish at home.
Best Soil Texture for Chamomile
Chamomile thrives best in light, loamy, or sandy soils that drain well and allow roots to breathe easily. These textures strike a perfect balance—retaining just enough moisture without becoming waterlogged, which helps prevent root rot and promotes vigorous, resilient plants.
When the soil is loose and crumbly, chamomile roots can spread out, access nutrients efficiently, and endure drought more effectively. In contrast, heavy clay or compacted soils hold onto water and can suffocate roots, leading to stunted growth or disease.
Improving Heavy or Clay Soils
If your garden soil tends toward clay or feels hard-packed, there are simple ways to improve it for chamomile:
- Incorporate plenty of organic matter, such as compost or well-rotted manure, to break up dense soil and enhance aeration.
- Mix in coarse sand or perlite to lighten the texture and improve drainage.
- For small planting areas, consider creating raised beds filled with a homemade mix of topsoil, sand, and plenty of compost—this provides control over soil quality and makes maintenance easier.
Soil Preparation Tips
Before planting, loosen the ground at least 8-10 inches deep, removing any debris or rocks that might block the roots. Check that the soil crumbles easily in your hand; this indicates good structure for chamomile’s delicate root system.
With a little upfront soil prep, even gardeners with challenging ground can enjoy lush, blooming chamomile all season long.
Drainage
Good drainage is absolutely essential for healthy chamomile growth, as poorly draining soil can quickly cause major problems like root rot and fungal diseases. When chamomile roots sit in waterlogged soil, they can’t access oxygen, making them prone to rot and attracting harmful fungi that thrive in excess moisture. This often leads to yellowing leaves, stunted growth, or even complete plant collapse.
Luckily, you can test your garden soil’s drainage with a simple method—dig a hole about a foot deep, fill it with water, and observe how long it takes to drain. If the water hasn’t drained after an hour or two, your soil is retaining too much moisture.
Improving drainage doesn’t have to be complicated. Mixing coarse sand or perlite into the soil can greatly help by allowing water to move through more freely. For stubbornly heavy clay soils, raised beds are a game-changer: just fill them with a well-draining mix, and your chamomile’s roots will thank you. Even planting on small mounds or rows can lift roots out of trouble zones.
Making drainage a priority from the start means fewer headaches and a thriving patch of fragrant, healthy chamomile.
Optimal Soil pH for Chamomile
Chamomile thrives best in soil that is slightly acidic to neutral, ideally with a pH between 5.6 and 7.5. This range provides the perfect balance of nutrients the plant needs for healthy growth and maximizes the fragrance and medicinal properties of its flowers.
Testing your soil’s pH at home is simple and can save you time and money in the long run. Many garden centers carry affordable pH test kits. Just follow the instructions, which usually involve mixing a bit of soil with water and a special solution or test strip.
If you prefer a DIY approach, you can use common pantry items: dampen a small soil sample, sprinkle it with baking soda, and watch for fizzing. If it fizzes, your soil is likely acidic; if not, stir in a little vinegar and look for fizzing, which indicates alkalinity.
If your soil tests below 5.6, try mixing in some finely ground agricultural lime to gradually raise the pH. For soil above 7.5, adding organic matter such as peat moss or well-rotted compost can help lower the pH and increase acidity over time.
Always retest the soil after a few weeks to track changes and avoid overcorrecting. Remember, making small adjustments and giving the soil time to respond will help maintain the healthiest environment for your chamomile, leading to strong, productive plants season after season.
Amending and Preparing Soil for Chamomile
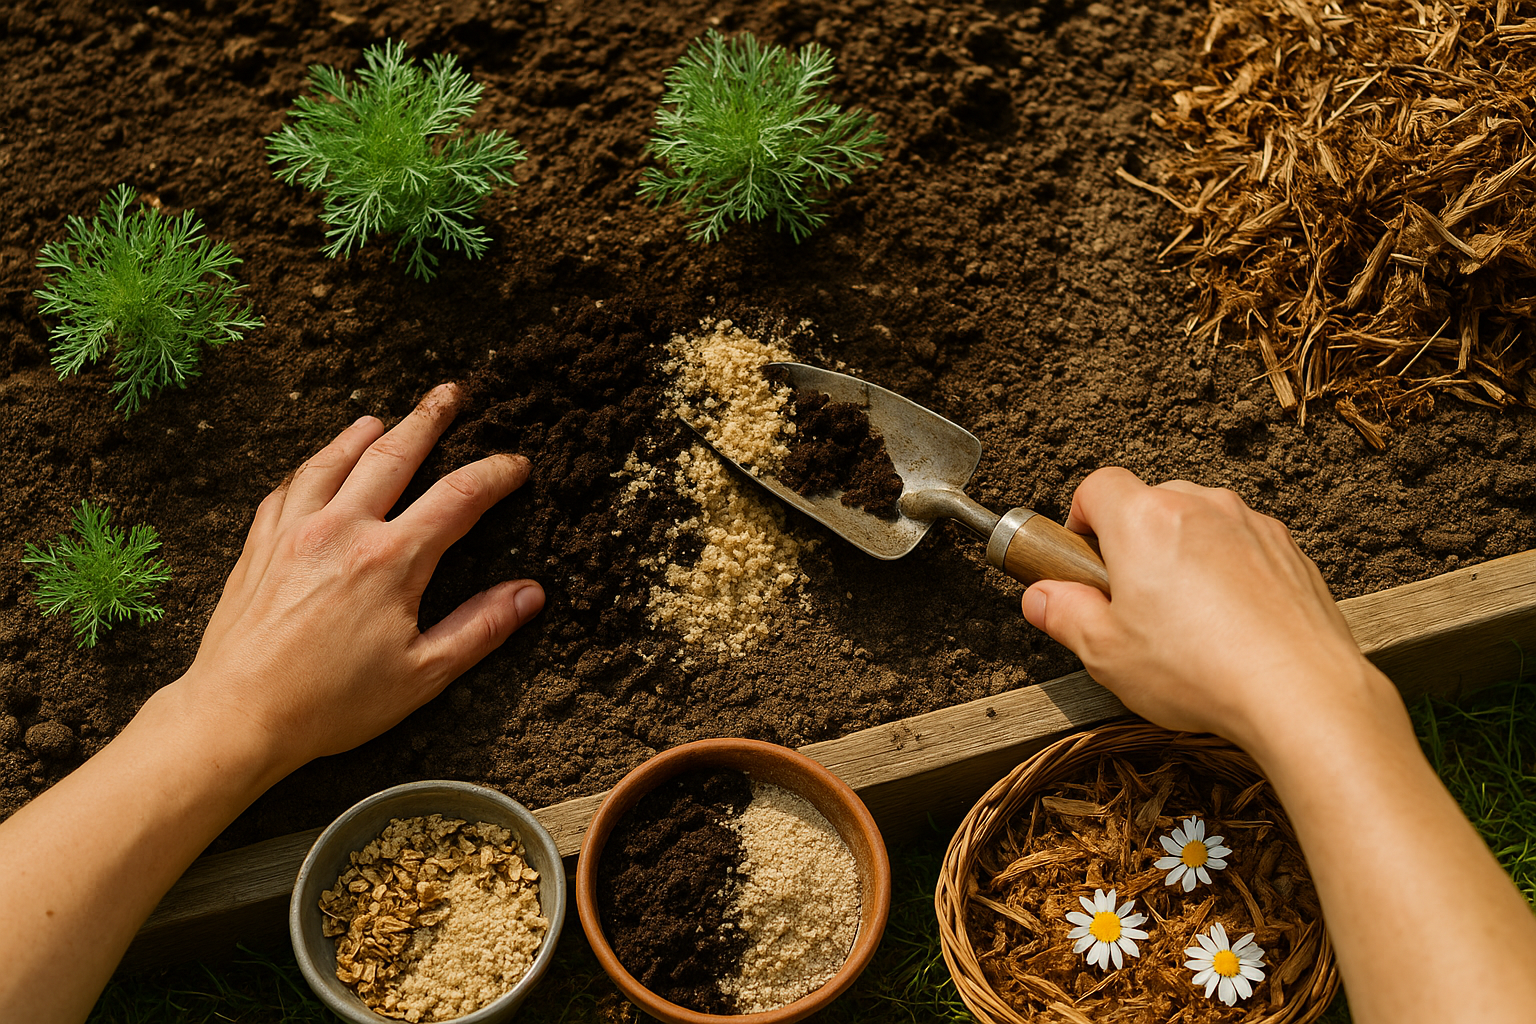
To give your chamomile plants the best start, amending your soil with rich organic matter is key. Begin by mixing in well-rotted compost, which not only improves soil structure but also boosts nutrient content, supporting strong plant growth. Aged manure is another excellent choice, providing a slow release of nitrogen and other essential nutrients without burning delicate roots—just ensure it’s fully decomposed to avoid introducing pathogens.
Before planting, loosen garden beds or container soil to a depth of 8–10 inches, removing rocks and debris that might inhibit delicate chamomile roots. Blend in two to three inches of compost and, if your soil is on the heavy side, add a handful of coarse sand to promote good drainage, since chamomile dislikes soggy conditions.
In containers, choose a well-draining potting mix and amend it with organic compost for extra nutrients. After planting, mulch around the plants with straw or shredded leaves to help retain moisture, regulate temperature, and suppress weeds.
Throughout the growing season, check soil moisture regularly; chamomile prefers evenly moist (not wet) soil, so water when the top inch feels dry. To sustain nutrient levels, side-dress with compost or apply a diluted liquid organic fertilizer every six to eight weeks.
Watch out for soil compaction—especially in garden beds—by gently loosening the soil surface with a hand fork, taking care not to disturb roots. With these simple steps, you’ll create an ideal growing environment for healthy, productive chamomile plants all season long.
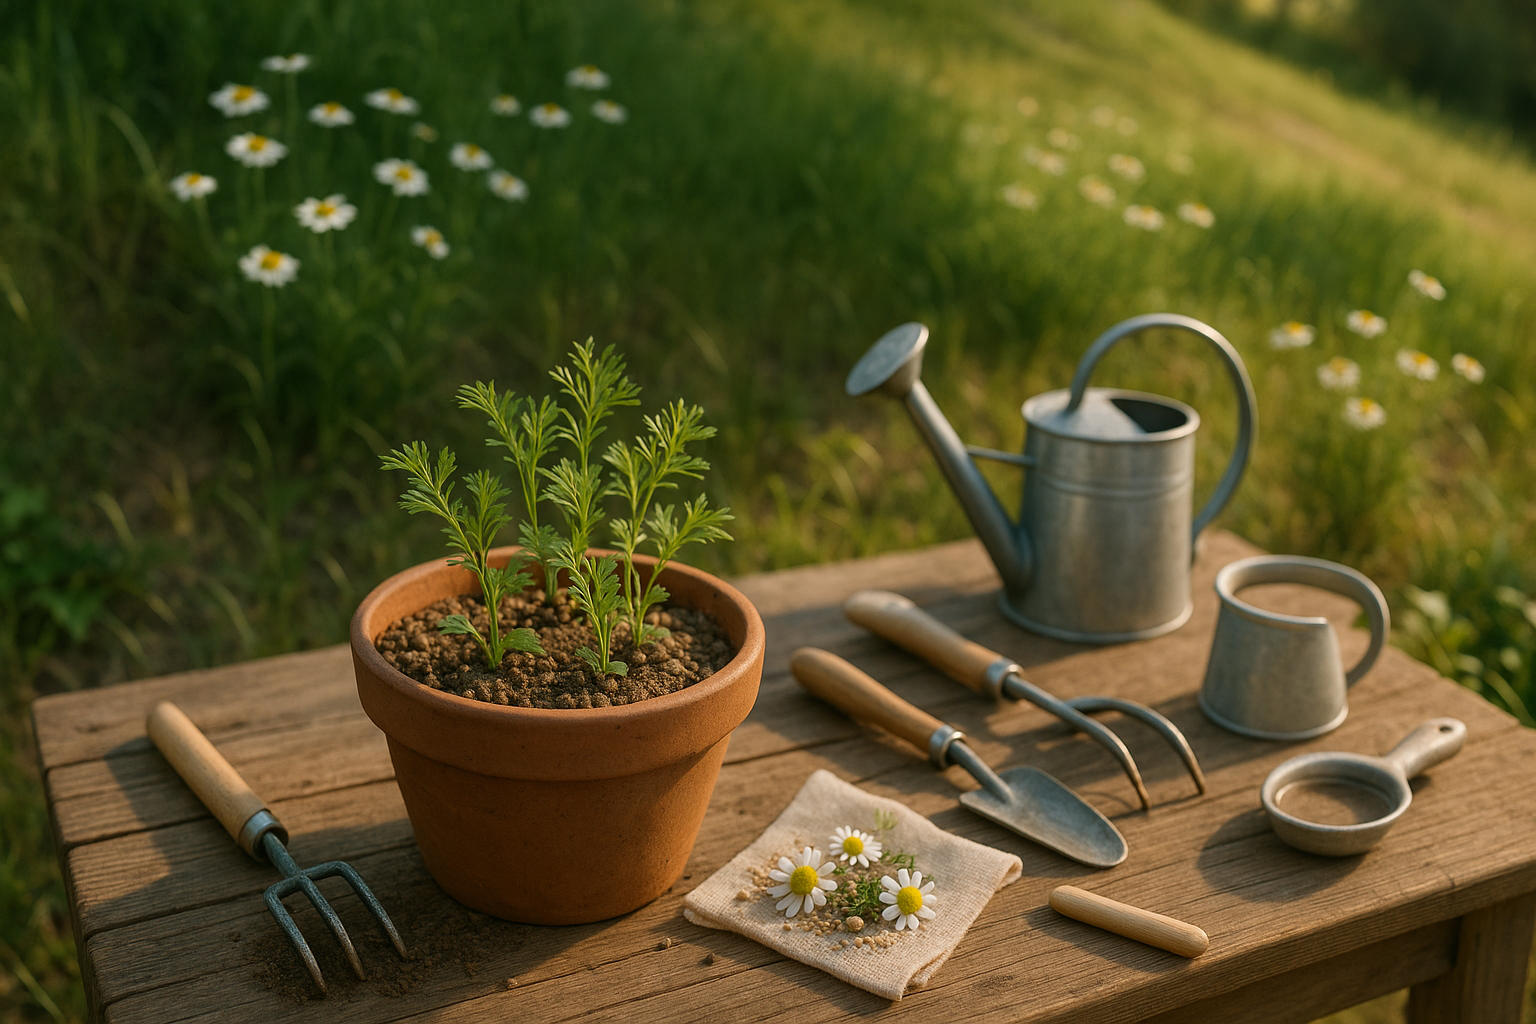
Tips for Growing Chamomile in Containers
Growing chamomile in containers is a great way to enjoy this soothing herb, especially if you have limited garden space. To give your plants the best start, soil choice is key—chamomile hates soggy roots. To prevent waterlogging, use a well-draining potting mix.
Aim for a blend that contains equal parts of quality potting soil, coarse sand, and a bit of perlite or vermiculite. This mix helps keep the roots healthy and avoids compacted, wet conditions. Avoid using heavy garden soil, which can quickly lead to root rot in confined spaces. Also, make sure your container has drainage holes.
For daily care, check the moisture level by poking your finger into the soil. Water only when the top inch feels dry. Overwatering is a common mistake, so it’s better to underwater, especially in cool weather.
Chamomile isn’t a heavy feeder, but a light application of diluted liquid fertilizer once a month during the growing season can boost blooms and leaf growth. Deadhead spent flowers regularly to encourage new ones, and rotate your container every week to ensure all sides get sunlight.
With these simple steps, you’ll enjoy a steady supply of fragrant chamomile all season long.
Conclusion
Optimal soil drainage, texture, and pH are essential for healthy plant growth, whether you’re tending a backyard vegetable garden or a few pots on the patio. Remember to choose well-draining soil, balance clay and sand for the ideal texture, and test pH regularly to suit your specific plants.
Every garden is unique—don’t hesitate to experiment, mix in compost, or adjust amendments until you find what works best for your space. Have questions or interesting tips to share? Drop your experiences in the comments below and join our community of fellow gardeners learning together!