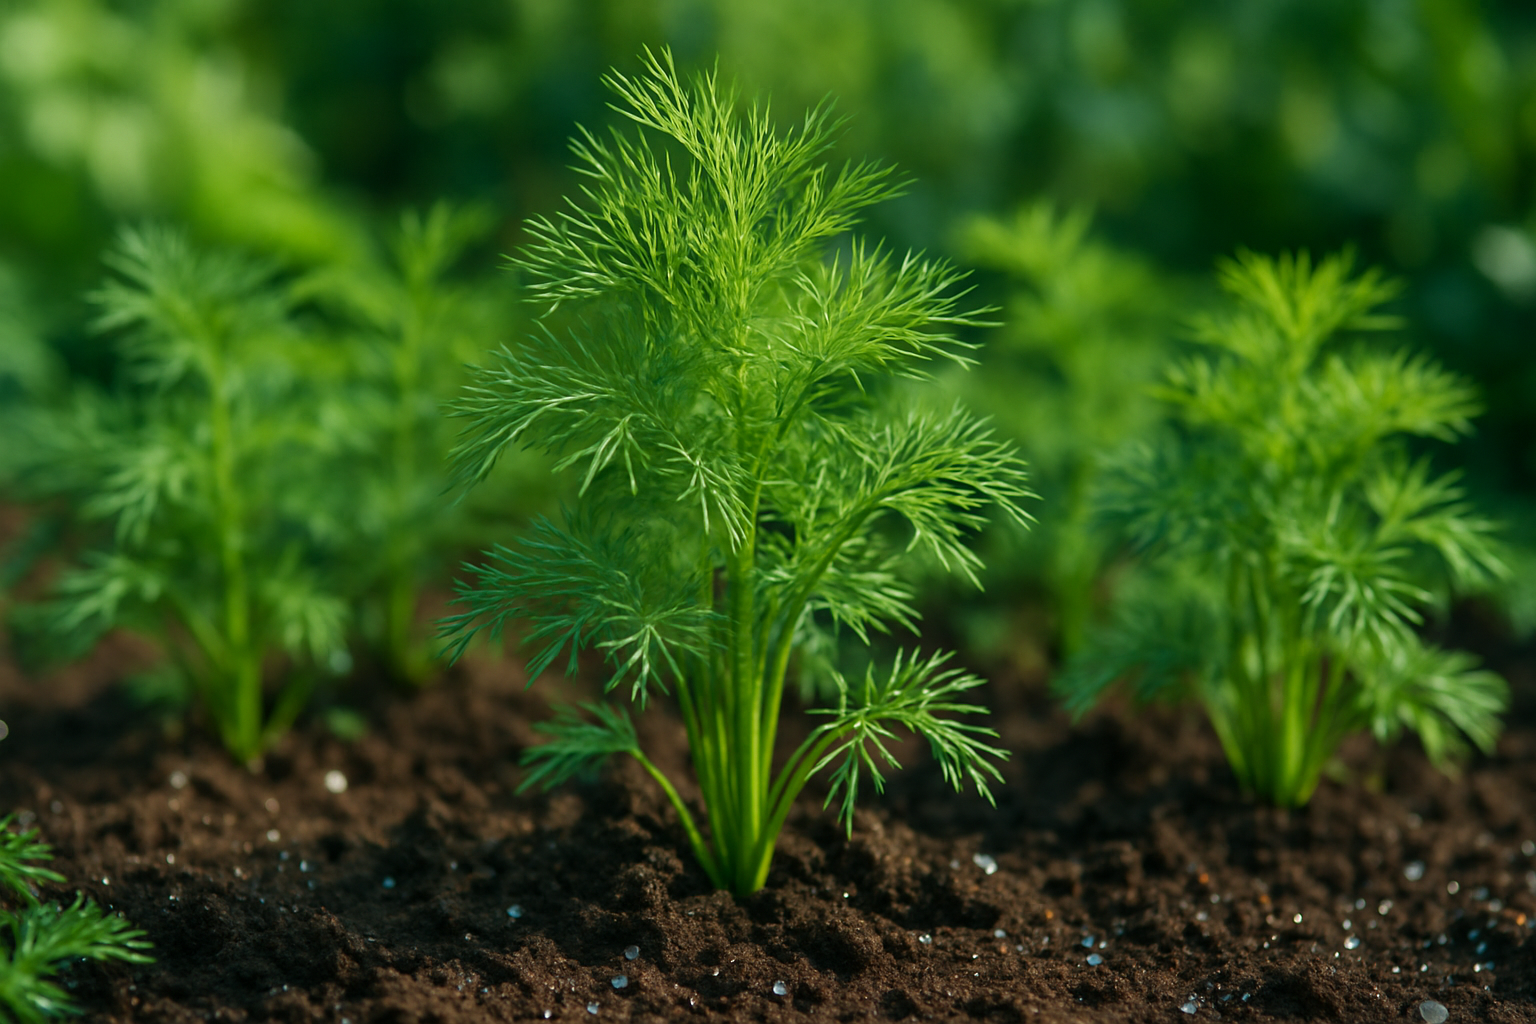
Understanding Dill’s Water Needs
Dill thrives when its soil stays consistently moist but never waterlogged, so a balanced watering routine is essential for healthy growth and flavor. From the moment you sow dill seeds, moisture is crucial—seedlings have shallow, delicate roots that dry out quickly and need light, frequent waterings to stay hydrated without washing away the tiny seeds or causing puddles.
As dill matures and its roots grow deeper, you can water less often but more thoroughly, aiming for soil that remains damp about an inch below the surface. It’s best to feel the soil with your finger; if it feels dry at your first knuckle, it’s time to water again.
Overwatering is a common mistake, leading to yellowing leaves, root rot, and reduced essential oil production, which dulls the herb’s trademark aroma and taste. On the other hand, underwatered dill grows thin, with leaves that taste bitter rather than bright and fresh, and plants tend to bolt early—going to seed before you can really harvest.
For container dill, be especially vigilant since pots dry out faster and excess water can collect at the bottom. Ensure drainage holes are clear and empty any collected water after rain.
By adjusting your watering habits as dill grows and monitoring the soil’s moisture, you’ll cultivate robust, flavorful plants perfect for tossing into salads or pickling brine.
Key Factors Affecting How Often to Water Dill
When deciding how often to water dill, several factors come into play that can greatly impact your plant’s health. Climate conditions are a major consideration—hot and dry weather causes soil moisture to evaporate quickly, requiring more frequent watering, sometimes daily. In contrast, cool and humid climates help soil retain moisture longer, so watering can be reduced to once or twice a week.
The type of soil is just as important. Sandy soils drain quickly and often dry out between waterings, meaning dill planted in sandy soil needs more frequent but lighter watering. Clay soils, on the other hand, hold moisture longer and can lead to soggy roots if overwatered, so it’s best to check the soil before watering. Loamy soil strikes a good balance, retaining enough moisture without becoming waterlogged and usually needs moderate watering.
Sunlight exposure also affects watering needs. Dill planted in full sun dries out faster and requires more attention compared to those in partial shade. The planting method matters too—dill grown in containers tends to dry out quicker than those in the ground, so container gardeners should check soil moisture daily, especially in warm weather.
Wind is often overlooked but can speed up evaporation, increasing the need for more frequent watering when your dill is exposed to breezy conditions. Using mulch around your plants is a smart way to conserve soil moisture and extend the time between waterings.
By keeping these factors in mind and regularly checking the soil, you’ll help ensure your dill stays healthy and happy.
Seasonal Adjustments for Watering Dill
Adapting your watering routine for dill as the seasons change is key to keeping your plants thriving. In spring, when temperatures are mild and rainfall is usually more frequent, you’ll often need to water dill just once or twice a week—enough to keep the soil consistently moist but not soggy.
As summer arrives and the days heat up, dill’s water needs increase. Aim for more frequent watering, sometimes every other day during heatwaves, but always check the soil first. Stick your finger an inch into the dirt—if it’s dry, it’s time to water.
Come fall, cooler temperatures and increased rain typically mean you’ll scale back, possibly returning to a lighter spring schedule. Be especially mindful during periods of drought or heavy rain: too little water can lead to wilting and poor growth, while too much can cause root rot.
Installing mulch around your dill plants can help retain moisture in hot weather, and always prioritize soil moisture over a rigid calendar. Adjust quickly during heatwaves or sudden cold snaps, as these extremes can stress the plants.
Monitoring both the forecast and how the soil feels helps ensure your dill gets exactly what it needs, producing lush foliage throughout the growing season.
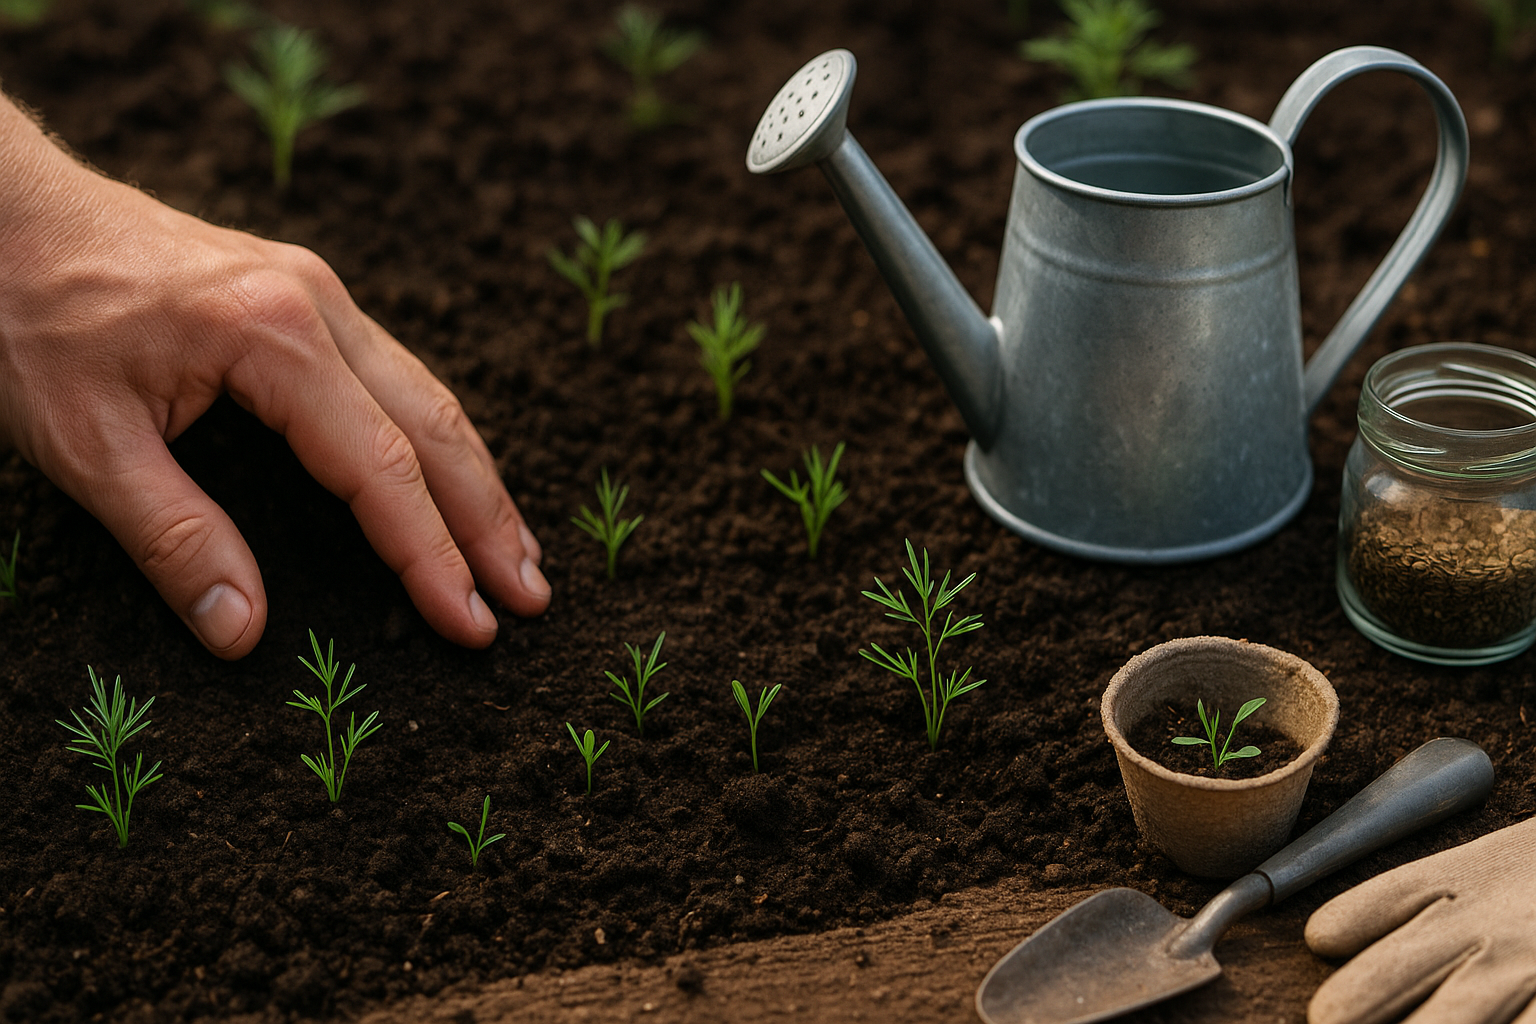
How to Water Dill – Best Practices

Watering dill correctly is key to growing a thriving herb. Start by assessing your soil—dill prefers evenly moist, but not soggy, conditions. The best way is to check the top inch of soil with your finger: if it feels dry, it’s time to water; if it’s damp, wait another day.
In most climates, this usually means watering dill once or twice a week, but hot weather or container gardening may require more frequent checks. Always water early in the morning so leaves dry out quickly, reducing the risk of disease.
Use a watering can with a narrow spout or a gentle hose nozzle to direct water at the plant’s base rather than overhead. This helps keep moisture off delicate leaves. Drip irrigation systems or soaker hoses are great options for garden beds, ensuring consistent soil moisture without causing puddles or runoff.
Avoid heavy watering that leaves standing water, as dill’s roots can rot in soggy soil. Between waterings, monitor rainfall and adjust your schedule—nature often helps! For containers, feel the weight of the pot or use a moisture meter: lighter pots often need a drink.
By consistently checking soil moisture and using gentle, targeted watering methods, you’ll help your dill develop strong, healthy roots without the risk of overwatering.
How to Tell If You’re Watering Dill Correctly
Knowing if you’re watering your dill correctly starts with paying attention to how the plant looks and feels. Healthy dill has upright, feathery stems and vibrant green leaves that stand tall and smell fresh. The plant should show steady, strong growth, reaching several inches high with no drooping or browning.
If your dill begins to turn yellow, feels mushy, or the leaves start wilting even though the soil is damp, you’re probably overwatering. In this case, the roots may be sitting in too much water. Try letting the soil dry out more between waterings, and make sure your pot or garden bed has good drainage to avoid soggy conditions.
On the other hand, underwatered dill will look limp, with leaves that feel dry or crispy and stems that droop as though the plant can’t hold itself up. If you see these signs, slowly increase your watering, making sure the soil is moist but not soaked.
It’s helpful to stick your finger an inch into the dirt—if it feels dry at that depth, it’s time to water. By observing your dill daily and adjusting your care based on these clues, you’ll ensure a lush, flavorful harvest all season long.
Common Dill Watering Mistakes to Avoid
One of the most common dill watering mistakes is sticking to a rigid schedule, like watering every Monday, instead of paying attention to the plant’s real needs. Dill, like many herbs, responds best when you check the soil first—if the top inch feels dry, it’s time to water. Ignoring this step can lead to overwatering, which causes root rot and yellowing leaves.
Another frequent error is watering directly onto the leaves; this not only increases the risk of fungal diseases but also wastes water that the roots actually need. Instead, aim to water at the base of the plant.
Don’t forget about pot drainage—a pot with no holes traps excess water, creating soggy conditions that dill simply can’t tolerate. When choosing a container, make sure it allows water to escape freely.
Finally, remember that dill’s watering needs can change with the weather and its growth stage. Hotter temperatures or a breezy day may mean you need to water more often, while cool, damp weather may let you hold off longer. By checking soil moisture and adjusting your routine accordingly, you’ll help your dill thrive instead of just survive.