Introduction to Transplanting Dill Seedlings
Transplanting dill can seem intimidating, but with the right approach, it’s a skill that opens up new possibilities for your herb garden. Dill’s feathery foliage and unmistakable aroma have made it a gardener’s favorite, cherished for both culinary and companion planting benefits.
While many choose to sow dill seeds directly into the soil, transplanting dill seedlings offers several advantages: it allows for earlier starts indoors, better control over spacing, and increased resilience against unpredictable weather. You can extend your growing season or fill in gaps where earlier plantings struggled to take off.
However, dill has a reputation for a delicate root system that doesn’t always take kindly to being disturbed, making the process a bit trickier than with hardier herbs. Transplant shock is a real concern, and mishandling young seedlings can set growth back or even cause loss.
In this guide, you’ll learn simple, practical strategies to overcome these challenges—like choosing the right timing, gentle handling, and caring for dill post-transplant. Whether you’re a beginner or an experienced grower, you’ll gain the confidence to give your dill the very best start and enjoy a lush, thriving harvest all season long.
When and How to Start Dill for Transplanting
Starting dill seeds indoors for transplanting gives you a head start on the growing season and helps ensure vigorous plants. The best time to sow dill indoors is about 4-6 weeks before your area’s average last frost date. For most regions, that means late winter to very early spring, but always double-check your local frost calendar.
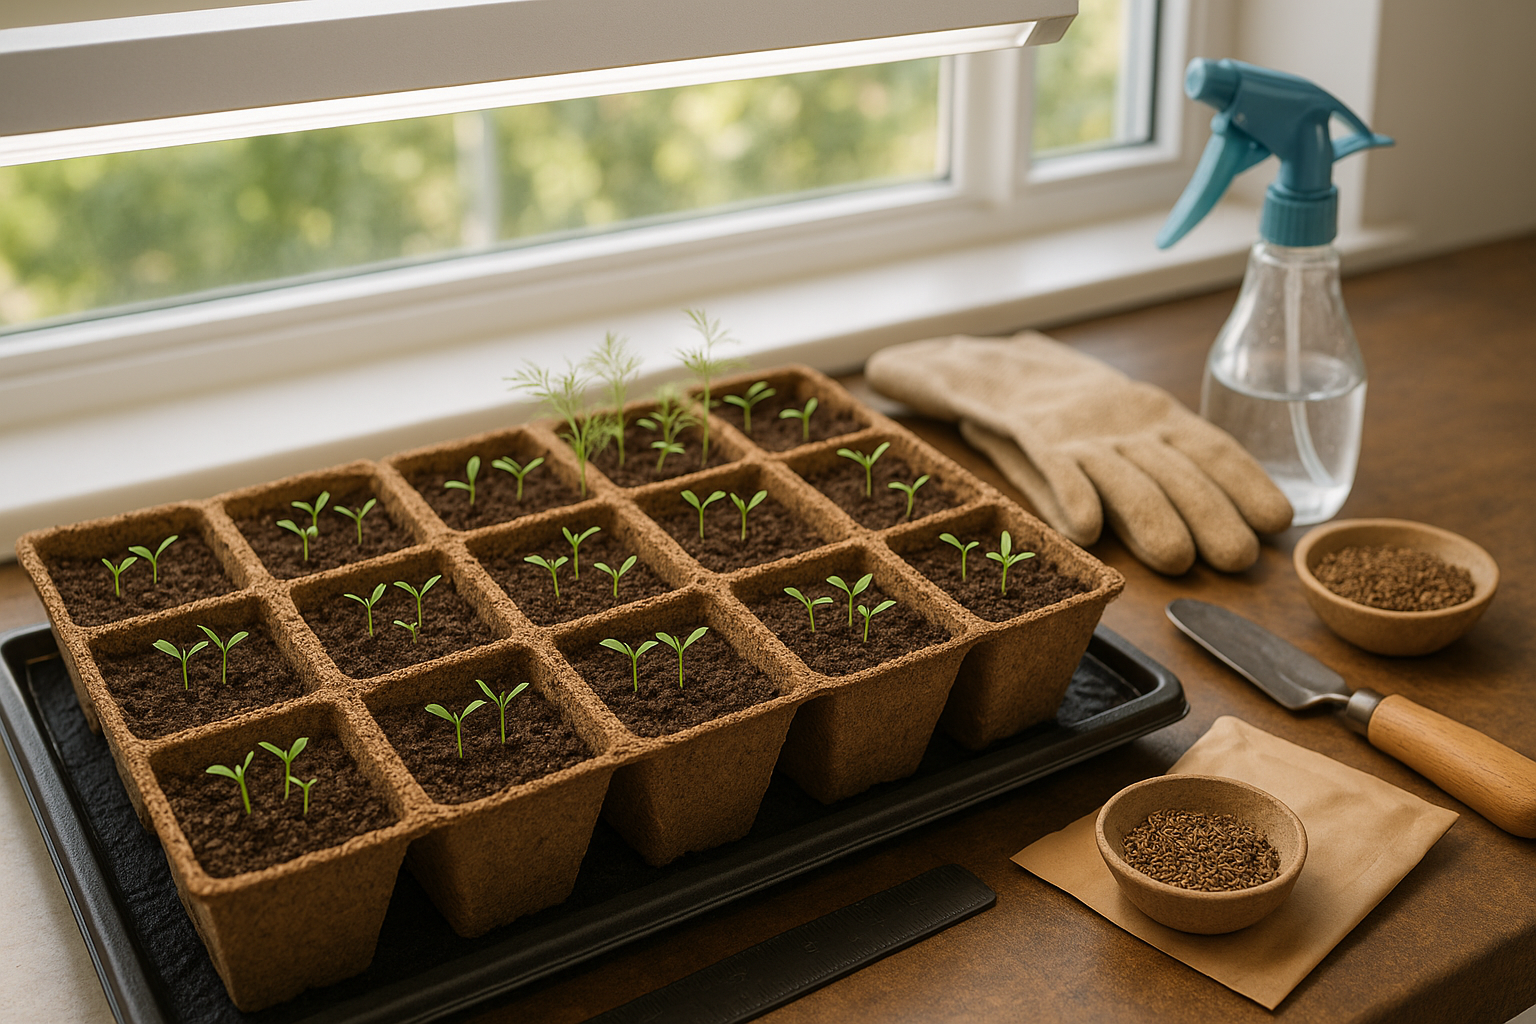
Dill thrives in temperatures between 60°F-70°F (15°C-21°C), so keep your seed trays in a warm spot away from drafts. Use fresh seed-starting mix in small pots or biodegradable seed trays—dill dislikes root disturbance, so anything you can plant directly into the garden later is ideal.
Fill the containers with mix, moisten it well, and sprinkle seeds about 1/4 inch deep. Dill needs plenty of light: place trays by a south-facing window or use a grow light for 14-16 hours a day to prevent leggy seedlings.
As soon as the seedlings have two true leaves and outdoor soil warms to at least 60°F (15°C), you can harden them off for transplanting. Gradually expose them to outdoor conditions over the course of a week.
Aim to transplant before the plants get too large (less than 4 inches tall) so they adapt quickly and develop strong roots. Dill matures fast—usually within 60 days of sowing—so with the right timing and conditions, you’ll have lush, flavorful fronds just in time for summer recipes.
A little attention to timing and environment goes a long way toward a thriving dill crop.
Preparing Seedlings for the Move
Hardening off is the process of gradually acclimating indoor-grown seedlings, like dill, to the harsher outdoor environment before transplanting them into the garden. This step is crucial because seedlings started indoors are used to consistent warmth, indirect light, and protection from wind, rain, and temperature swings. Without hardening off, delicate stems and leaves can be shocked by sun or cold, risking stunted growth or loss.
For dill seedlings, begin hardening off about 7 to 10 days before your planned transplant date. On the first day, place seedlings outside in a sheltered, shady spot for just 1 to 2 hours, then bring them back in. Each day, gradually increase their outdoor time by 1 to 2 hours, slowly exposing them to more direct sunlight and gentle winds.
Avoid windy or rainy days at first, and skip a session if temperatures drop drastically. By days six or seven, your dill should be able to spend the night outdoors if frost is not a concern. A clear sign that dill seedlings are ready for transplanting is when they withstand a full day and night outside without wilting or leaf discoloration. Their stems should look sturdy, and new growth should appear a healthy shade of green.
Taking the time to properly harden off dill seedlings sets them up for strong, healthy growth once they’re transplanted into your garden beds.
Choosing the Right Spot in the Garden
When planting dill in your garden, picking the right location is key to growing healthy, flavorful herbs. Dill thrives in well-drained, moderately fertile soil with a neutral to slightly acidic pH (between 5.5 and 7.5). Heavy clay soils or wet spots can quickly lead to root rot, so if your garden tends to hold water, try building up a raised bed or mixing in sand and compost to improve drainage.
Dill also loves sunlight—aim for a spot that gets at least 6 to 8 hours of direct sun each day. Too much shade leads to weak growth and less aromatic leaves.
Wind, however, can be a challenge since dill’s tall, slender stems are prone to bending or breaking. Choose a site that’s not too exposed, perhaps along a fence or near sturdier plants that act as a natural windbreak. If that’s not possible, plant dill in the middle of your herb bed so it’s shielded from gusts. Make sure the spot you pick has some room, as dill can reach up to three feet tall and needs good air circulation to prevent mildew.
To sum up: pick a sunny, sheltered corner with good drainage and slightly fertile soil, and you’ll set your dill up for strong, vibrant growth. Even in smaller gardens, you can grow dill in deep containers placed in a bright, protected area—just remember to keep the soil consistently moist but never soggy for the best results.
Transplanting Seedlings Without Shock
Successfully transplanting dill seedlings starts with preparing both your seedlings and garden bed ahead of time. Water your seedlings a few hours before transplanting; this keeps their roots hydrated and the soil moist, making removal easier and less stressful. If possible, choose a cool, overcast day to reduce transplant shock caused by heat and sunlight.
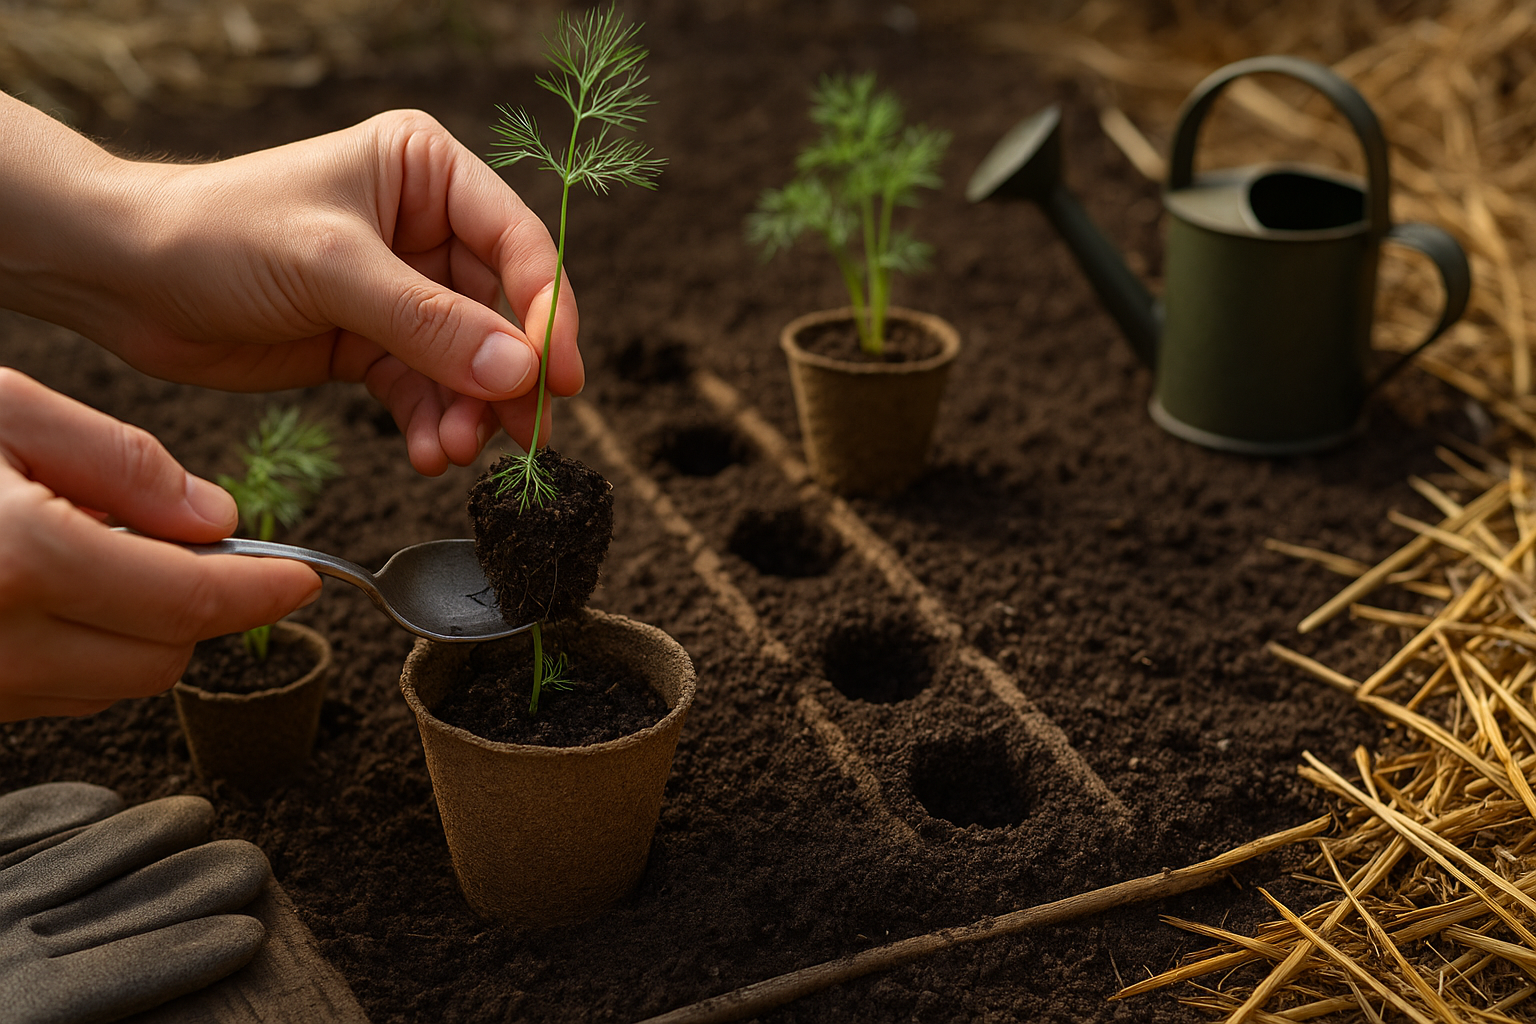
Gently loosen the soil around each seedling using a small spoon or popsicle stick, lifting each plant by the leaves rather than the delicate stem. This method helps minimize root disturbance. When lifting, try to keep as much soil around the roots as possible.
Space your dill plants 12 to 18 inches apart to ensure proper air circulation and enough room to grow. When planting in their new spot, make a hole large enough to accommodate the root ball and place the seedling at the same depth it was in its original container. Avoid burying the stem too deep, as this can lead to rot. Firm the soil gently around the plant and water generously to help settle the roots.
To further prevent shock, mulch lightly around the plants to conserve moisture and protect them from temperature fluctuations.
Recognizing and Treating Transplant Shock
Watch for signs of transplant shock in your dill, such as yellowing or wilting leaves, slowed growth, or drooping stems. If you notice these symptoms:
- Shield the seedlings from direct sun using a shade cloth for a few days.
- Water consistently but avoid overwatering.
- Hold off on fertilizing until you see new growth.
Diligent aftercare, like misting seedlings during hot weather, checking soil moisture daily, and removing any damaged leaves, will help your dill recover quickly and thrive in its new home.
Caring for Newly Transplanted Dill
Right after transplanting your dill, giving it the right care sets the stage for healthy growth. Start by watering thoroughly to help the roots settle in—aim for moist, but not soggy, soil, which usually means watering when the top inch feels dry.
To keep moisture consistent and suppress weeds, add a thin layer of organic mulch like straw or shredded leaves, but leave space around the stems so air can circulate.
In the first weeks, monitor your dill daily for signs of transplant shock, such as wilting or yellowing leaves, and provide extra shade during unusually hot afternoons if needed.
Early on, be vigilant about pests like aphids and slugs, inspecting both sides of the leaves and gently hosing off intruders or handpicking them if spotted.
Fungal diseases can also appear, so watch for discolored spots and avoid wetting the foliage when you water.
At this stage, your dill doesn’t need heavy feeding and can actually suffer from too much fertilizer; instead, amend the soil with a little compost at planting to provide gentle, steady nutrition.
If you see slow growth after a couple of weeks, a diluted fish emulsion can give a helpful boost.
By blending attentive watering, light mulching, careful observation for pests, and modest nutrition, you’ll help your newly transplanted dill thrive and produce lush, fragrant leaves for your kitchen all season long.
Troubleshooting and Pro Tips for Success
Transplanting seedlings or young plants can sometimes cause issues like wilting, yellowing leaves, or slow growth—often signs of transplant shock or environmental stress. To quickly revive droopy plants, water them thoroughly right after transplanting, ensuring the roots are well-hydrated but not waterlogged.
If leaves start turning yellow or growth stalls, check for compacted soil or overwatering. Gently loosen the soil around the roots to improve drainage. Protect new transplants from harsh sun and wind by laying a shade cloth over them for a few days, or use protective cloches—such as upturned jars, milk jugs with the bottoms cut off, or specialized garden domes—to create a mini greenhouse effect.
Spritzing leaves with organic anti-stress sprays, often seaweed-based, can help plants recover faster by boosting their natural defenses against shock. For an extra edge, try transplanting in the late afternoon or on overcast days to reduce heat stress.
Make sure to acclimate plants before moving them outdoors by gradually exposing them to sun and wind (a process called hardening off) over a week. By paying close attention to watering needs, shielding young plants from extreme weather, and providing gentle aftercare, you can dramatically increase your transplant success rate and set the stage for a strong, healthy garden.