Choosing the Right Dill Variety
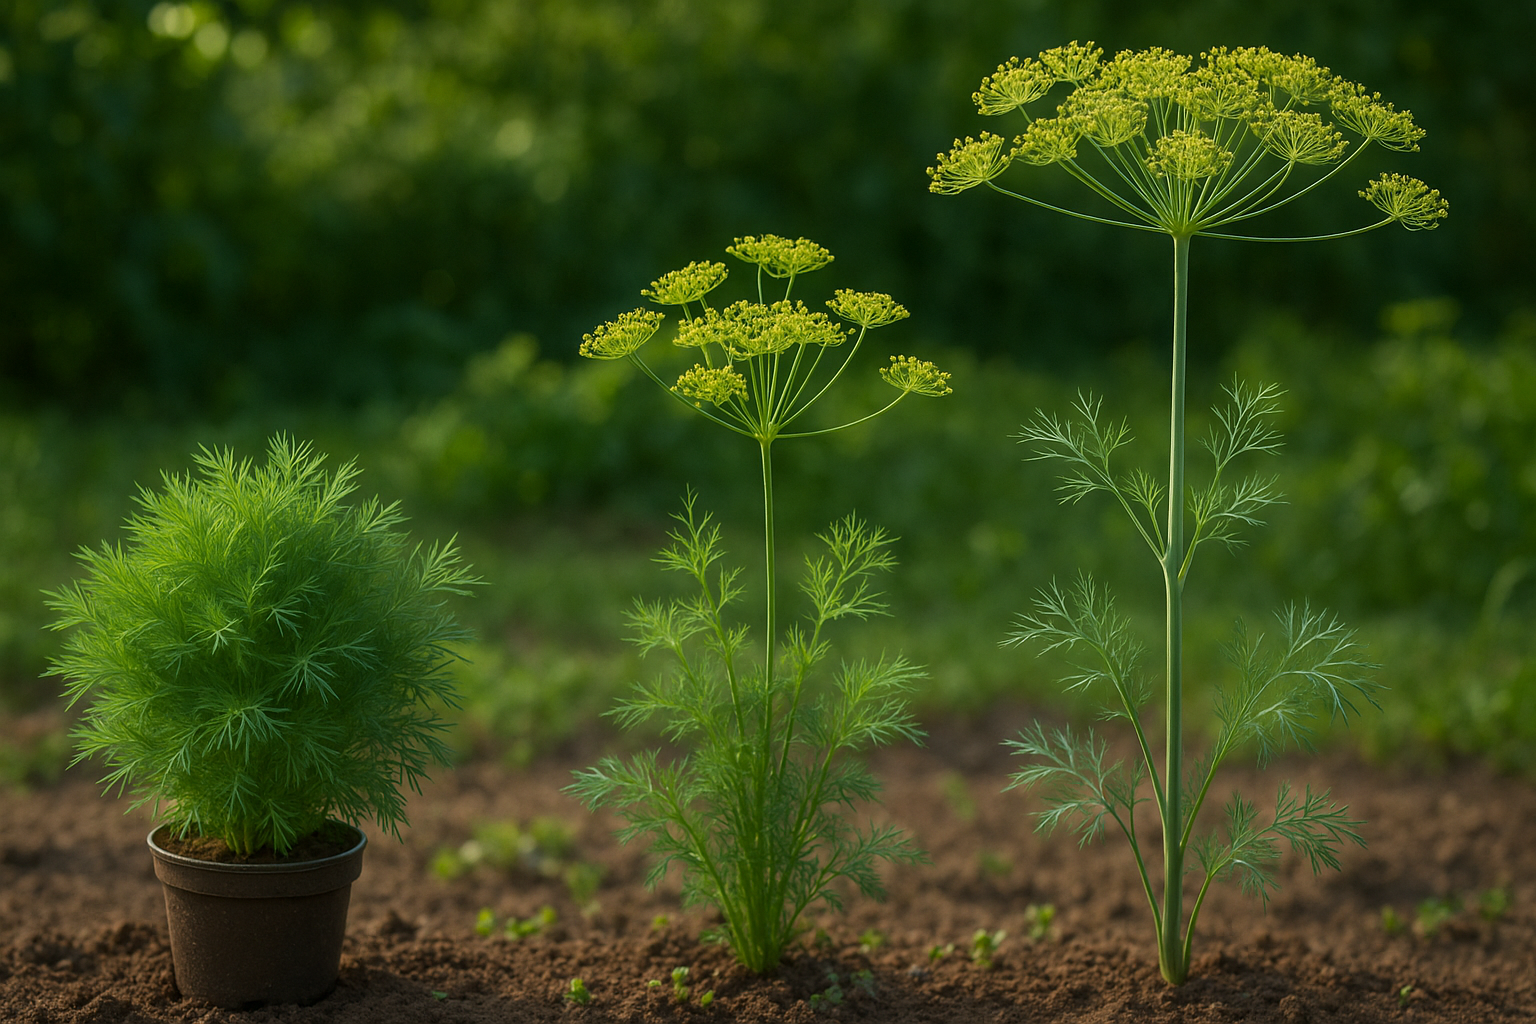
When selecting a dill variety for your garden or kitchen, it’s important to match the type with your needs and space. The most common varieties are Bouquet, Fernleaf, and Mammoth.
Bouquet dill is a classic all-purpose choice, prized for its flavor-packed leaves and abundant seed heads—perfect if you want to harvest both fresh foliage and seeds for pickling.
Fernleaf dill, by contrast, is a compact, bushy variety that stays smaller and resists bolting, making it ideal for growing in containers or indoors where space is limited.
If your main goal is to harvest seeds, consider Mammoth dill, which grows tall and produces large umbels loaded with seeds. However, it needs more room and will quickly outgrow a small pot.
Choosing the right variety really matters: gardeners with limited outdoor space or those gardening indoors should stick with dwarf types like Fernleaf, while those with bigger garden beds can experiment with larger varieties for bigger harvests.
For example, city apartment dwellers can easily tuck a Fernleaf dill plant onto a sunny windowsill, while those with backyard beds can enjoy taller Mammoth plants that double as a pollinator magnet.
In short, think about your space, harvest goals, and how you plan to use your dill before picking a variety.
When and Where to Plant Dill
For the best results, plant dill seeds outdoors after the last threat of frost has passed—typically mid-spring for most temperate regions. If you live in a warmer climate, you can usually sow as early as late winter, while those in cooler areas may need to wait until early summer.
Dill thrives in a sunny spot that gets at least 6–8 hours of direct sunlight each day; shady locations may cause leggy or weak plants. Choose well-drained, moderately fertile soil, and avoid heavy clay areas that retain water.
When planting, sow seeds directly in garden beds since dill’s long taproot doesn’t transplant well. Space each seed about 12–15 inches apart to ensure good air circulation and healthy growth.
For city or apartment dwellers, or if your growing season is short, you can start dill indoors in pots placed near a bright window. Use deep containers to accommodate the taproot, and plan to move them outside as soon as conditions allow.
Companion Planting
Dill loves company—consider pairing it with cabbage, onions, lettuce, or cucumbers for pest control and mutual growth benefits. However, avoid planting dill too close to carrots or fennel, as they can cross-pollinate.
Whether you choose a backyard corner or a kitchen windowsill, ensure your dill gets ample sun and enough space for its feathery leaves to spread. Water frequently, but be careful not to overdo it; soggy soil can lead to root rot and other problems.
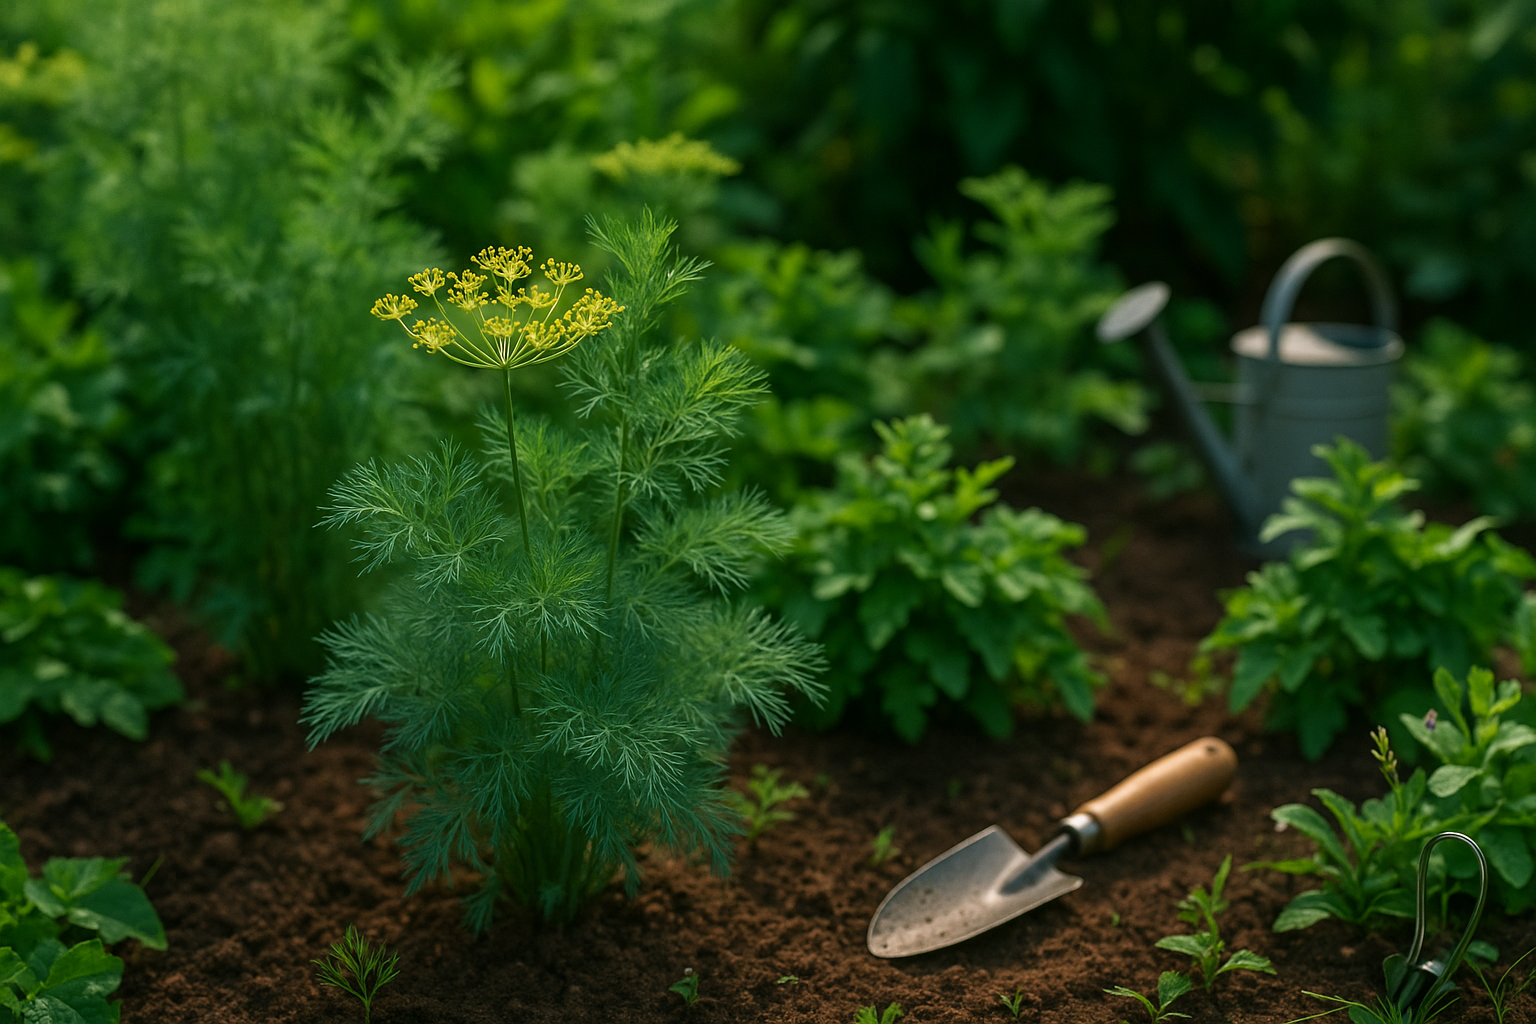
Prepping Soil and Supplies for Dill
Before planting dill, start with well-draining soil that is loose and moderately fertile; sandy loam is ideal. Aim for a slightly acidic to neutral pH between 5.5 and 6.5. If your garden soil feels heavy or sticky, mix in some compost or aged manure to improve drainage and boost nutrients.
For supplies, you’ll need:
- a hand trowel or small shovel
- a watering can or hose with a gentle spray
- containers or garden beds if you’re not using open ground
- seed trays for starting indoors (optional, but helpful if your growing season is short)
Plant labels are great for keeping track of varieties and sowing dates. If you use containers, make sure they’re at least 12 inches deep to accommodate dill’s long taproot.
A common mistake is using compacted or waterlogged soil—dill hates “wet feet” and will rot in soggy conditions. Also, avoid soils overly rich in nitrogen; too much leads to lush leaves with less flavor and fewer seeds. Don’t forget to thoroughly clean old pots or trays to prevent disease.
Prepping your soil and supplies carefully helps your dill grow strong, healthy, and fragrant from the start.
Sowing Dill Seeds Step-by-Step
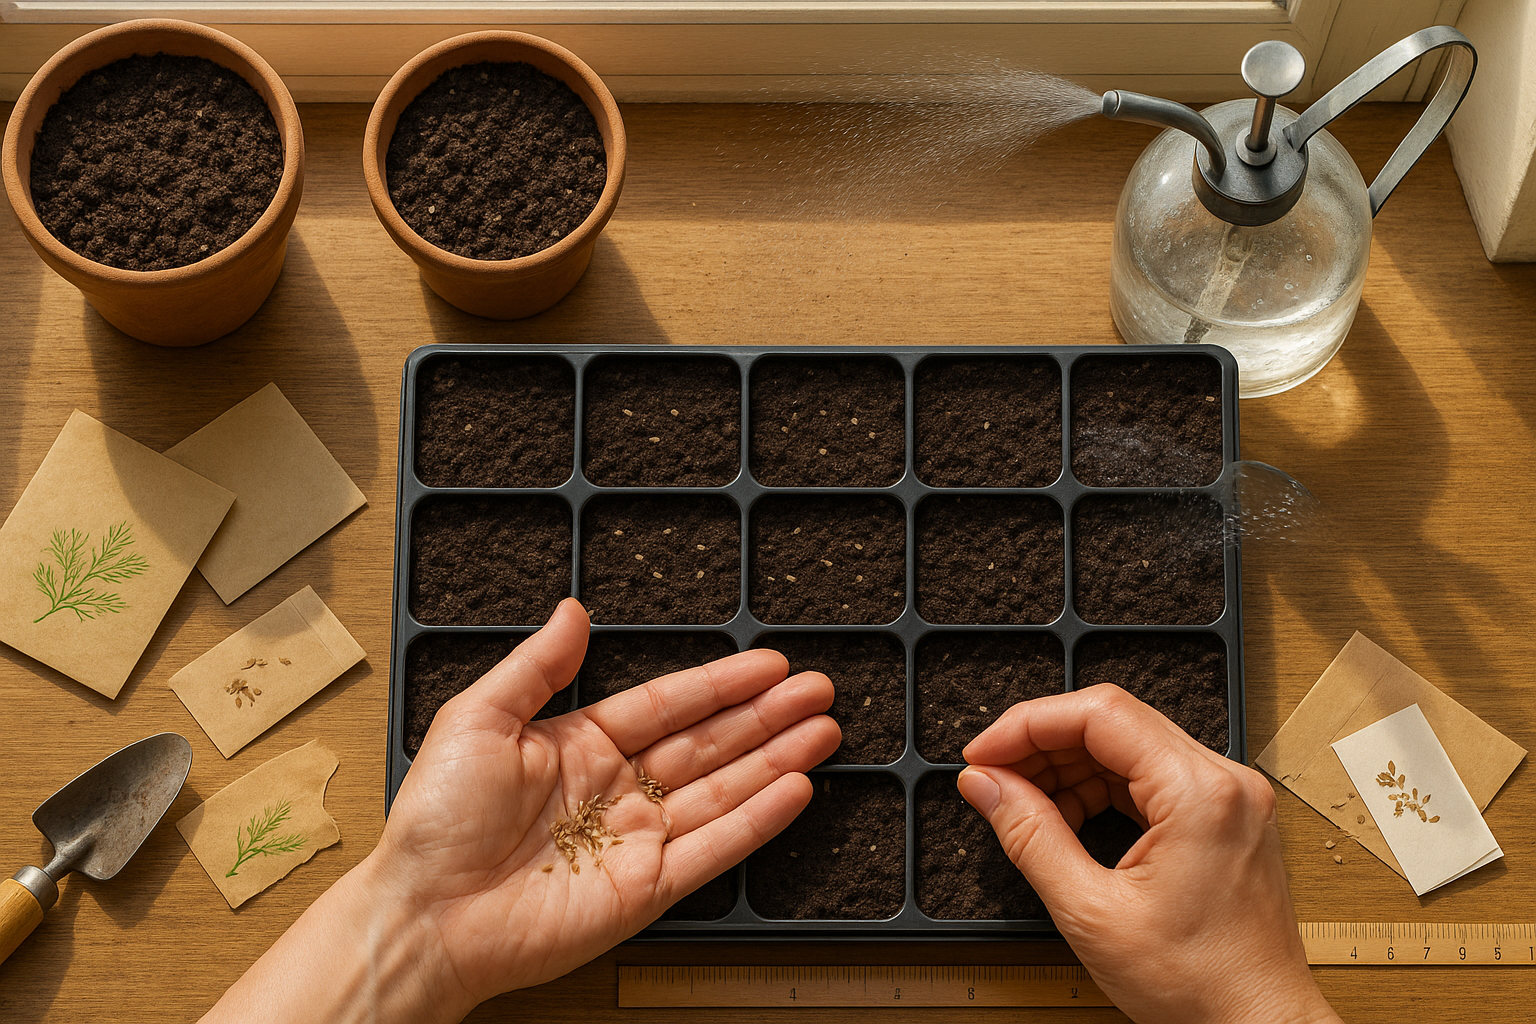
Sowing dill seeds is simple, whether you’re starting them indoors or directly outdoors. If growing indoors, fill small pots or seed trays with quality seed-starting mix. Dill seeds are tiny, so scatter them thinly on the surface and cover with just ¼ inch of soil—you don’t want them planted too deep, as they need some light to germinate.
Mist the soil gently to avoid washing the seeds away, and place the containers in a sunny, warm spot. Dill likes warmth, so aim for a spot around 65-70°F.
Outdoors, wait until the danger of frost has passed, then choose a sunny location with well-draining soil. Rake the soil to loosen it, scatter seeds about ¼ inch deep, and space rows 12-15 inches apart, lightly covering them with soil. Water gently using a fine spray or a watering can with a rose head to avoid disturbing the seeds.
Keep the soil consistently moist (not soggy), and watch for sprouts in 10-14 days. When seedlings are a couple of inches tall, thin them so plants stand 12 inches apart—this ensures each dill plant has enough space to grow tall and bushy. If you’re hesitant about thinning, snip extras at the soil rather than pulling them; this avoids disturbing the roots of the remaining seedlings.
For best results, sow seeds every few weeks for a continual harvest, and avoid overwatering to prevent rot. With a gentle touch and a little patience, dill will be thriving in no time, ready to flavor your favorite dishes.
Growing and Caring for Dill Plants
Dill is a low-maintenance herb, but a few key care steps will keep your plants thriving. Plant dill in a sunny spot that gets at least 6 hours of direct light each day, as insufficient sun leads to leggy, weak growth. The soil should drain well—raised beds or containers work great—and watering is best done when the top inch feels dry; avoid soggy soil to prevent root rot.
Avoid heavy fertilizing, as dill prefers lean soil. If you must feed, use a balanced liquid fertilizer diluted to half-strength once the plants have several leaves. To encourage bushier growth, pinch off the top few inches of young plants once they reach 6 inches tall—this encourages side shoots and thicker foliage. Tall dill varieties can get top-heavy fast; gently stake or use small plant rings for support, especially in windy areas.
Adequate spacing—about 12-18 inches apart—helps air circulate around the plants, reducing the risk of powdery mildew and other fungal diseases. Harvest regularly by snipping whole stems, which further promotes new growth. With a few easy steps—plenty of light, strategic pruning, and support—dill stays bushy, healthy, and flavorful all season long.
Harvesting, Storing, and Using Dill
Harvesting dill at the right time ensures you get the most vibrant flavor from this aromatic herb. For the best taste, pick young dill leaves—also known as dill weed—early in the morning after the dew has dried but before the day gets hot.
Use sharp scissors or garden shears to snip leaves close to the stem, focusing on the more tender, feathery fronds at the top. If you’re after dill seeds, wait until the plant’s flower heads turn brown and the seeds begin to dry out; then cut the seed heads and place them upside down in a paper bag to finish drying indoors.
To store fresh dill, wrap the stems in a damp paper towel, place them in a plastic bag, and keep in the fridge for up to a week. For longer storage, spread dill sprigs in a single layer on a baking sheet, let them air dry for a week, then crumble and store them in an airtight container. Alternatively, freeze chopped dill in ice cube trays with a little water or olive oil so it’s ready to toss into soups and sauces.
Dill’s bright, grassy flavor shines in potato salads, homemade pickles, creamy dressings, and fish dishes—don’t be afraid to try adding it to scrambled eggs or roasted vegetables for a fresh twist.
Troubleshooting Common Dill Growing Problems
Dill is generally an easy herb to grow, but it can face a few frustrating issues if conditions aren’t quite right.
Aphids and caterpillars are common pests; watch for clusters of tiny green bugs or holes in the leaves. You can simply rinse aphids off with a strong stream of water and handpick caterpillars as you see them.
Fungal diseases like powdery mildew also affect dill, especially in humid conditions. Space your plants well to improve airflow and water only at the base to keep leaves dry.
If your dill starts to bolt—sending up tall flower stalks prematurely—this often means the weather is too warm or the soil too dry. Mulching and regular watering can help delay bolting, giving you more time to harvest flavorful leaves.
Legginess, or overly tall, spindly growth, usually means your plant isn’t getting enough light; move pots to a sunnier spot or thin crowded seedlings outdoors.
Poor germination is another frustration, so always use fresh seeds and sow them shallowly in well-drained soil.
Inspect your dill regularly for pests and signs of stress. Early intervention and simple preventative care go a long way to keeping your dill healthy and productive all season.