“`html
Introduction
If you’ve ever wondered why your dill plants grow tall and spindly, pruning could be the secret to turning them into lush, bushy herbs bursting with fragrance. Proper pruning is more than just snipping a few stems—it’s an essential gardening habit that encourages dill to branch out, resulting in fuller plants and bigger harvests.
Left unpruned, dill tends to bolt quickly, rushing to produce flowers and seeds at the expense of the tender green leaves we love to use in recipes. Many beginners either neglect pruning altogether or prune too aggressively at the wrong time, which can stunt growth or leave you with sparse, weak foliage.
By learning when and how to prune dill correctly, you can transform your garden with robust, productive plants that deliver fresh herbs for salads, pickles, and more all season long. This post will guide you through proven, easy-to-follow pruning techniques so you can avoid rookie mistakes and enjoy a rewarding dill harvest year after year.
If you’re ready for vibrant, bushy dill straight from your garden, let’s get started!
“`
Understanding Dill Growth Habits
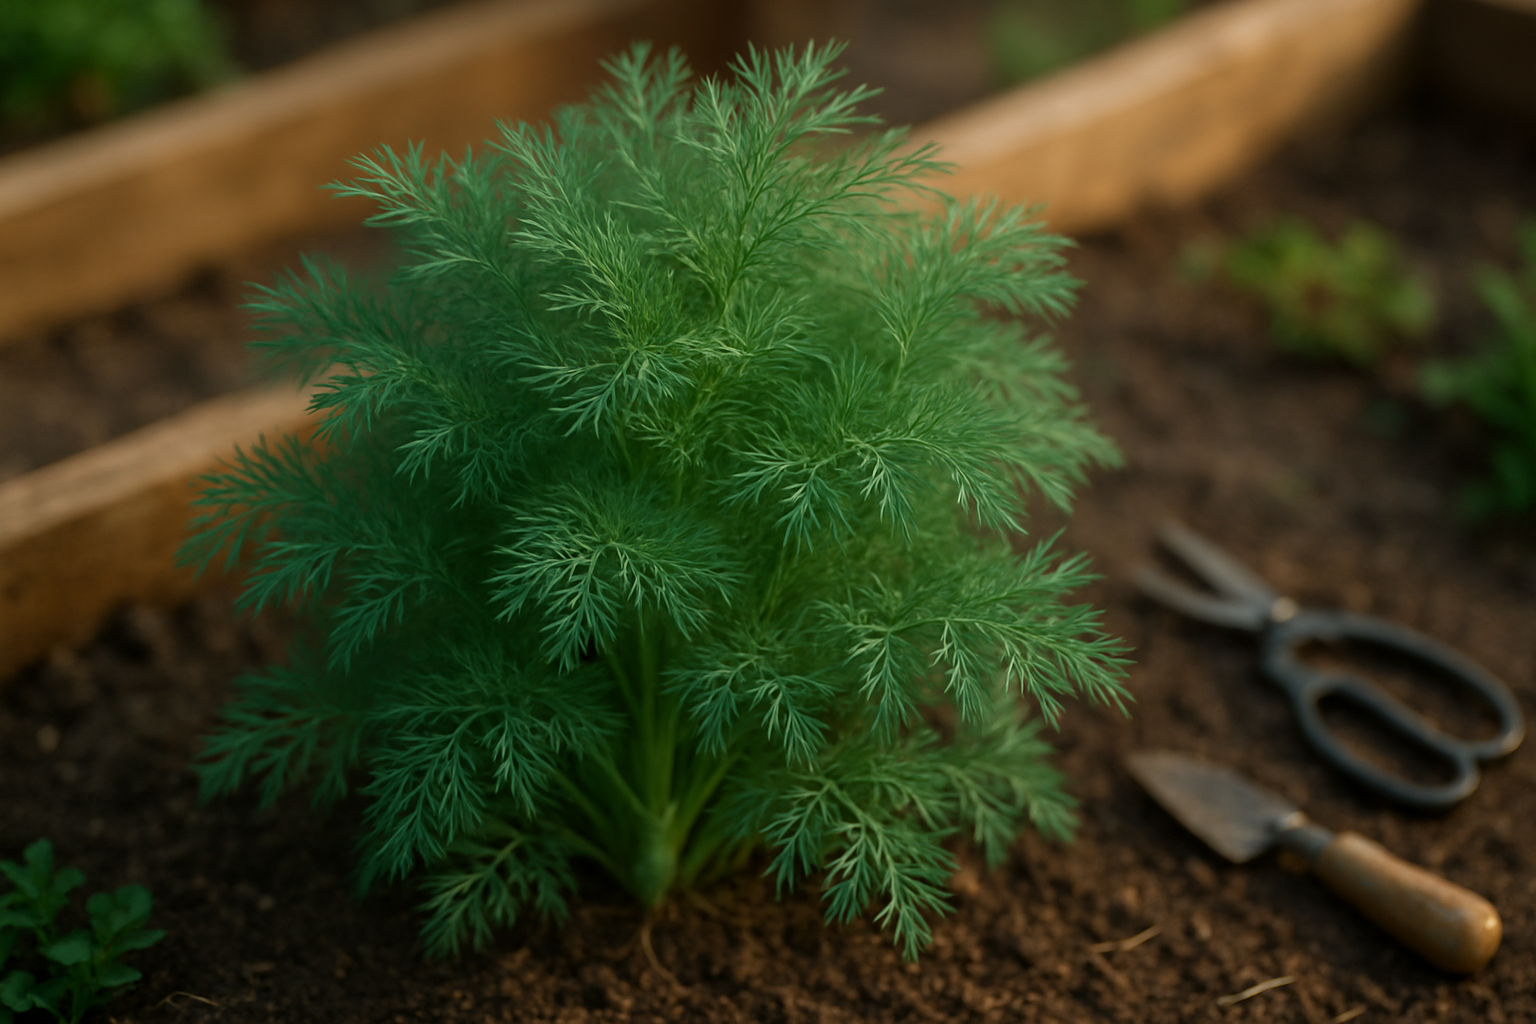
Dill is a versatile herb with a unique growth cycle that’s easy to manage in both gardens and containers. Typically, dill begins as a single slender stalk that rapidly shoots upwards, forming its distinctive feathery, blue-green foliage.
As the plant matures, side branches—also called lateral stems—emerge from the main stem, giving dill a bushier appearance and boosting leaf production. Understanding this structure is key to getting the most from your dill.
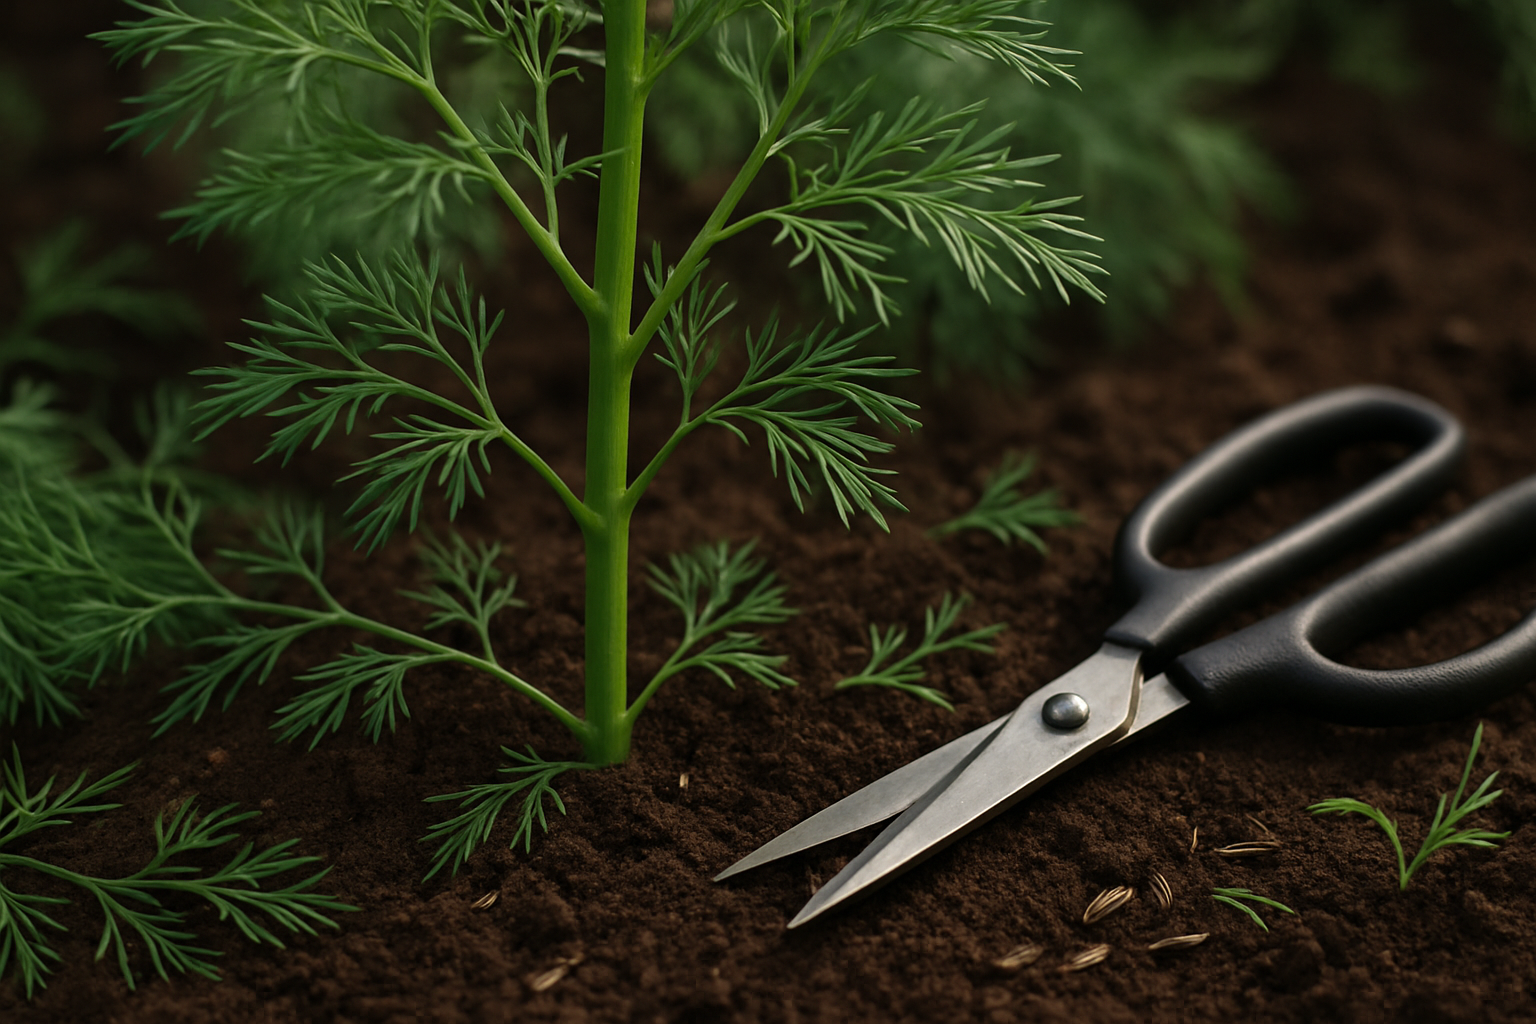
The secret to a lush, abundant dill harvest lies in strategic pruning. When you snip the main stem just above a set of leaf nodes—especially while the plant is still young, around 6 to 8 inches tall—it signals the plant to redirect energy into growing side branches instead of shooting straight up. This gentle intervention doesn’t just shape the plant; it encourages a denser growth with more usable leaves.
The best time to prune is when dill is vigorous but before it starts forming flower buds. Once flowering begins, the leaves can turn bitter, and the plant shifts energy toward seed production. Regular but moderate harvesting of the fronds during early to mid-growth keeps plants healthy and prolongs the leafy stage, giving you flavorful sprigs for longer.
Here’s a good tip: Always use clean scissors and never take more than a third of the foliage at once. This avoids stressing the plant and ensures a continuous, thriving dill patch.
When to Prune Dill for Maximum Growth
Pruning dill at the right time can make all the difference in its size and flavor throughout the season. For the best results, start pruning when your dill plant reaches about 6 inches tall, usually a few weeks after sprouting in late spring. This early trimming encourages the plant to grow bushier, producing more tender leaves for later harvests.
The ideal time to focus on pruning is during the plant’s active growth stage—generally from late spring through early summer—before the flowering stalks begin to form. Regular pruning every couple of weeks keeps your dill from getting leggy or bolting too early, both of which can affect the plant’s taste and overall yield.
If you’re pruning to shape the plant rather than just harvesting, look for stems that are starting to outpace the others or seem heavier with foliage. Clip these down to just above a set of healthy leaves or a branching point to encourage new side shoots. Avoid cutting more than a third of the plant at once to minimize stress.
For real-world success, try pinching off the soft tips of branches with your fingers rather than using scissors—this usually creates cleaner breaks and healthier regrowth. By keeping an eye on the growth pattern and practicing gentle, early trimming, you’ll have a lusher, more productive dill plant all season long.
Step-by-Step Dill Pruning Guide
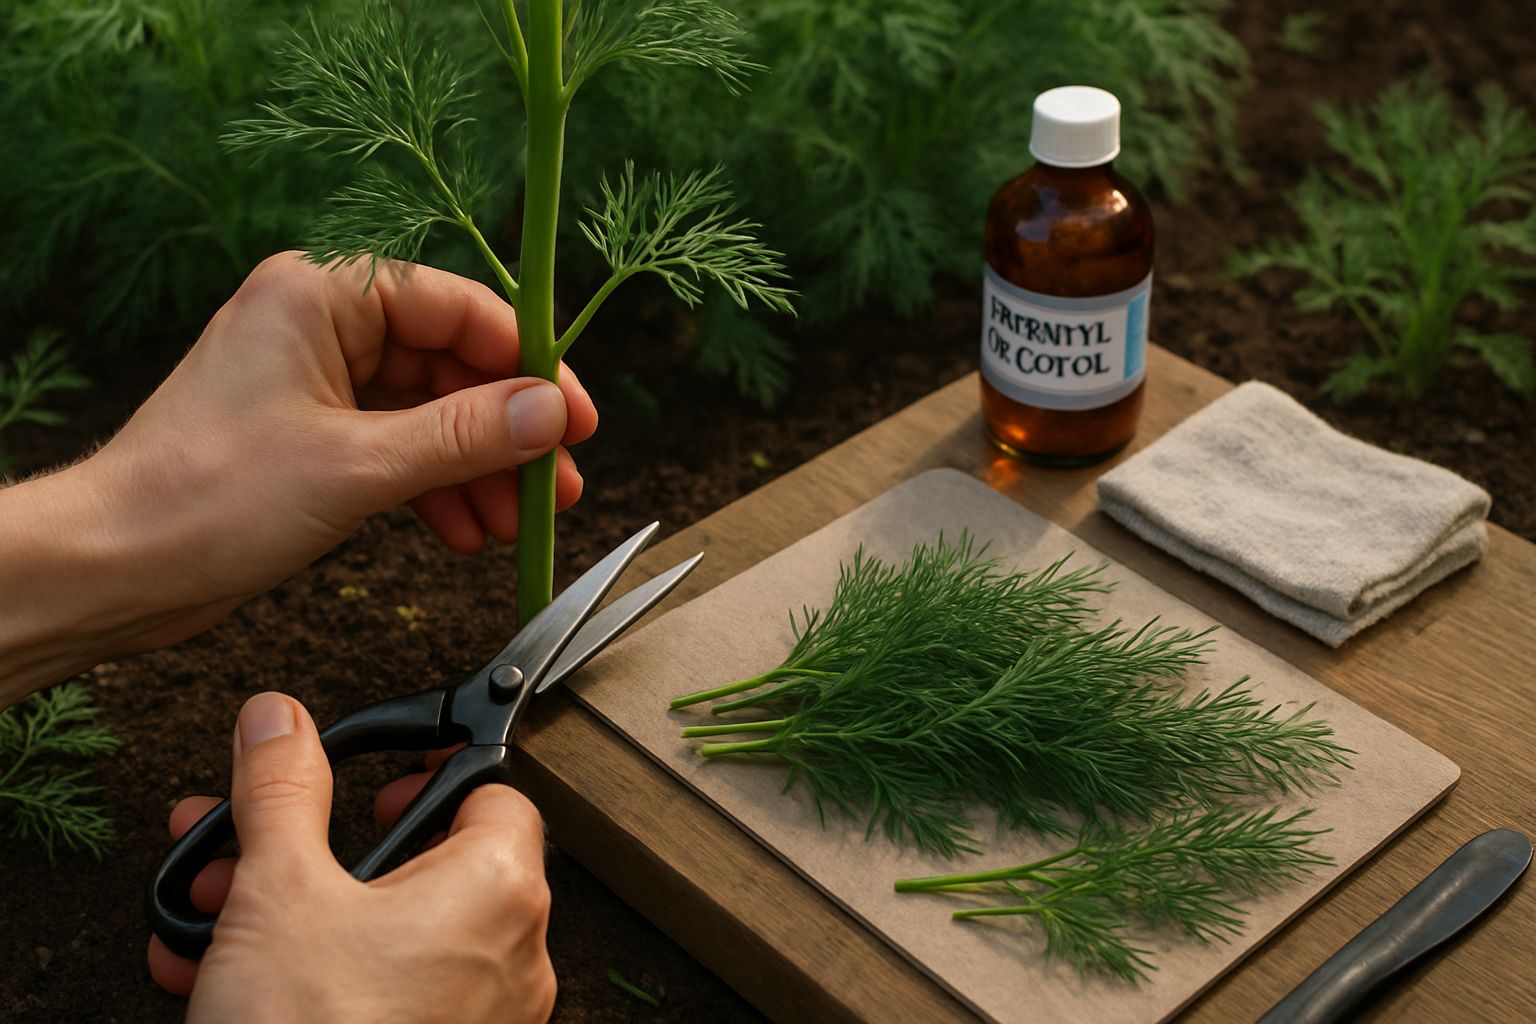
Pruning dill is essential for a bushier plant and a more abundant leaf harvest. Fortunately, it’s a simple task with the right approach. Start by gathering your tools: use clean, sharp garden scissors or small pruning shears to avoid crushing delicate stems—dull tools can damage the plant and introduce disease. Before using your tools, wipe the blades with rubbing alcohol to prevent spreading bacteria or fungus between plants.
Begin pruning once your dill reaches about 8 inches tall, ensuring it’s established and able to recover. To encourage branching (and avoid the plant shooting up tall and spindly), cut back the tallest stems by up to one-third, making each cut just above a set of healthy leaves or a branching point. This encourages the plant to send out new shoots along the sides, resulting in a fuller, bushier growth habit instead of a single central stalk.
Avoid cutting more than a third of the plant at a time; taking too much can stress the dill and stunt regrowth. Focus on regularly removing any yellowing, damaged, or flower-producing stems—once dill starts to flower (a process called bolting), leaf production slows. If you see flower buds forming and want more leaves, pinch them off immediately.
Harvest your prunings for the kitchen right away, giving them a gentle rinse under cool running water to remove any garden debris. Work during dry weather if possible, as wet stems are more prone to disease. Always wash your hands before and after handling herbs to help maintain plant and human health.
By repeating these steps every couple of weeks, you’ll help your dill stay productive and lush all season long.
Pruning for Different Goals
Pruning your plants with a clear goal in mind makes a big difference—whether you’re after tender leaves for fresh salads, seed heads for next year’s planting, or bulk foliage for preservation.
For leafy greens like basil, mint, or spinach intended for fresh eating, focus on regularly snipping the top few sets of leaves with sharp scissors or your fingers. This encourages the plant to become bushier and delays flowering, which can make leaves taste bitter. Always harvest in the cool morning for peak flavor and hydration.
If your goal is seed production, allow some plants to mature and flower by cutting back only minimally—remove just the lower, yellowing leaves to improve air circulation but leave most branches untouched. This helps the plant direct its energy toward robust seed development.
When it comes to storing herbs and greens, timing and technique matter. For drying, prune stems just before flowering when oil content and flavor are highest, then bundle and hang them upside down in a dark, well-ventilated area. For freezing, snip young, healthy leaves, wash and pat them dry, then chop and pack them in a single layer in freezer bags, or blend with a bit of water or oil and freeze in ice cube trays for easy, fresh-tasting portions later.
Whichever your harvest goal, intentional pruning keeps your garden healthy and productive—for salads today, seeds tomorrow, or a pantry full of preserved goodness.
Common Pruning Mistakes and Troubleshooting
Pruning dill can be tricky, and even experienced gardeners sometimes make mistakes like over-pruning, using dull or dirty tools, or cutting at the wrong time of day.
Over-pruning—removing too many leaves or stems at once—can leave dill plants weak, leggy, or stunt their growth. To avoid this, never take more than a third of the plant at one time, and regularly pinch back just the tips to encourage bushier, fuller growth.
Using the wrong tools, such as blunt scissors or unclean shears, can damage stems and invite disease. Always use sharp, sanitized snips for clean cuts.
Timing is just as important. Prune in the morning when plants are well-hydrated, and avoid pruning during wet weather to prevent the spread of fungal infections.
If your dill is already leggy or has low leaf production, try cutting back just above a leaf node and provide more sunlight to boost healthy regrowth.
For over-pruned or stressed dill, stop harvesting, water moderately, and feed lightly with compost to help it recover. Mulching can also help regulate soil moisture and protect the plant while it bounces back.
With attentive care, most dill plants will recover and produce healthy, aromatic leaves again.
Integrating Pruning into Overall Dill Care
Pruning is an essential part of dill care, working hand-in-hand with watering, feeding, and pest control to keep your plants healthy and thriving. Start by watering dill consistently, keeping the soil lightly moist but never soggy—overwatering can lead to root rot or attract pests.
Feed your dill every few weeks with a balanced, diluted fertilizer to boost growth, but avoid overfeeding, as dill doesn’t need rich soil.
When it comes to pruning, regularly snip off the top leaves or flower buds once the plant reaches about six inches tall. This encourages bushier growth and delays flowering, so you can harvest more tender leaves over time.
Check your plants a few times a week for pests like aphids, and remove them by hand or rinse them off with a gentle stream of water.
To create a simple routine, spend five minutes each week observing your dill for any signs of stress, gently trimming leggy stems, and removing yellowing leaves. Make sure to harvest often, as this counts as pruning and keeps the plant productive.
Remember, gentle care is key—avoid harsh handling or drastic pruning, which can shock the plant. By weaving mindful pruning into your dill care, alongside the right watering, feeding, and pest vigilance, you’ll enjoy lush, aromatic dill all season long.