Introduction
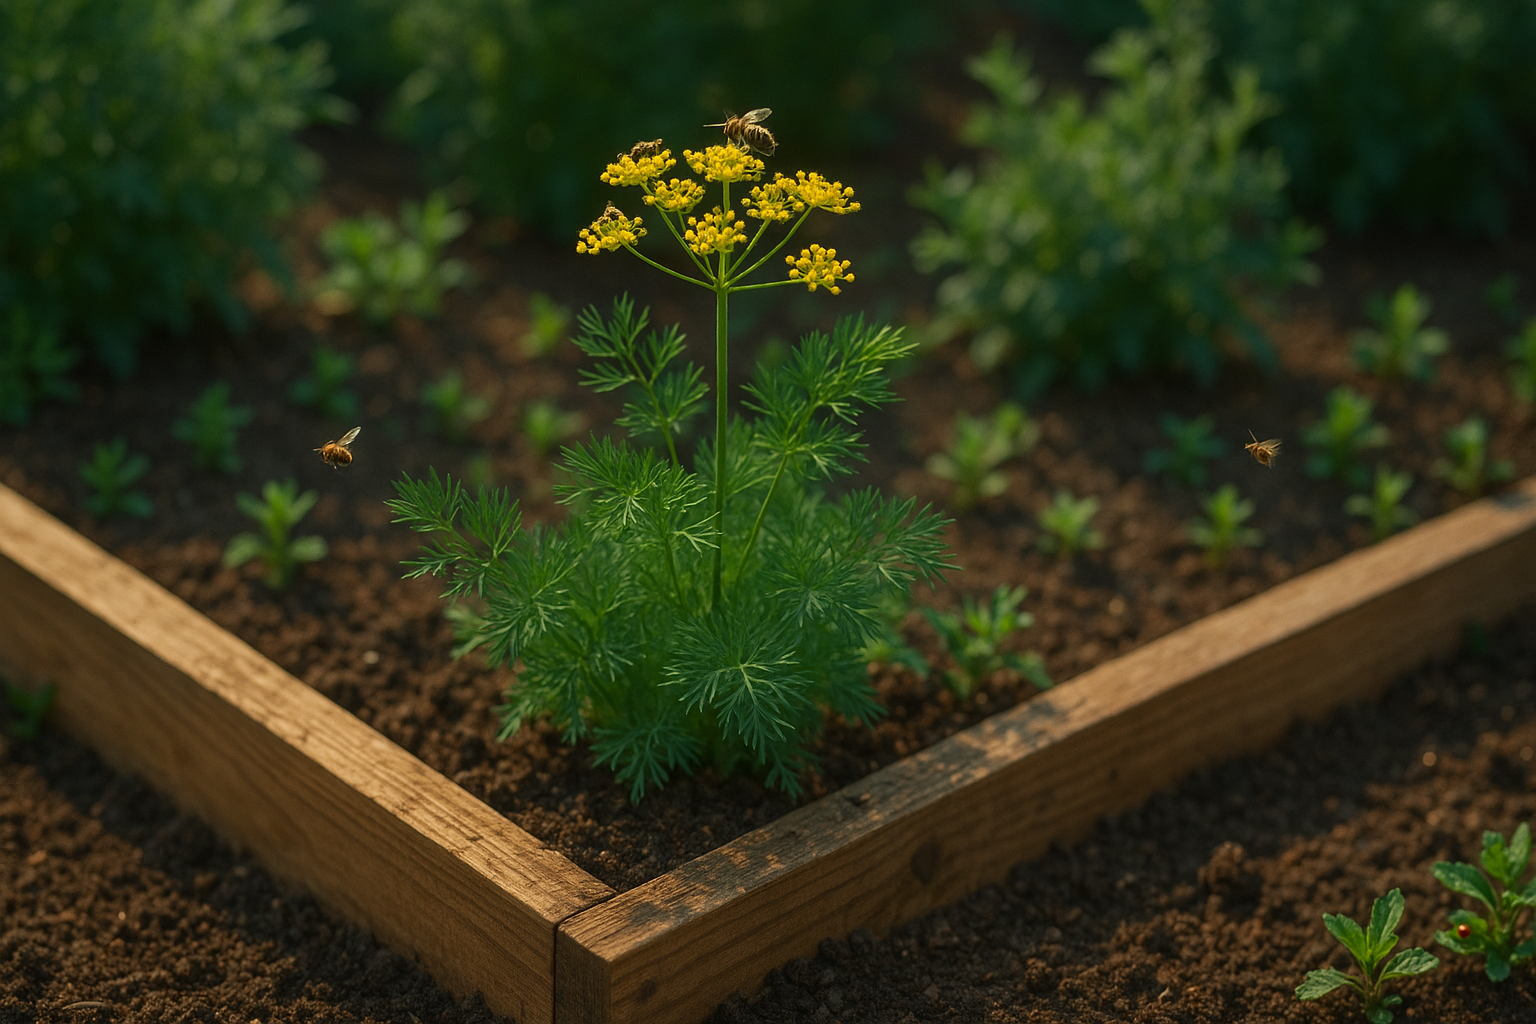
Dill in raised beds is a gardening match made in heaven for anyone looking to enjoy fragrant, flavorful herbs with minimal fuss. Whether you’re an experienced gardener or just getting started, dill is one of those hardy, adaptable plants that truly thrive in raised beds. Raised beds offer key advantages for herb enthusiasts: they give you control over soil quality, encourage superior drainage, and make maintenance and harvesting a breeze—no more crouching or struggling with rocky, compacted ground. Plus, dill’s airy foliage and bright yellow flowers can turn even small garden spaces into a culinary haven and a magnet for beneficial insects.
In this article, you’ll discover step-by-step guidance—from picking the perfect spot and preparing nutrient-rich soil to sowing seeds, watering, and harvesting your crop with confidence. You’ll learn real-world tips for spacing dill plants, companion planting to boost growth, and tricks for managing common pests, all geared toward making your raised bed a dill powerhouse. Whether you dream of adding fresh dill to pickles, salads, or summer sauces, this guide will set you up for herbal success—no green thumb required. Dive in to find out how easy and rewarding growing dill in raised beds can truly be!
Choosing the Right Raised Bed and Soil for Dill
When planting dill in a raised bed, selecting the right size and depth is key to supporting its long taproot and lush growth. Aim for a bed that is at least 12 inches deep and about 2 to 3 feet wide so roots can spread easily without crowding.
For the soil, dill thrives in well-drained, loamy soil rich in organic matter with a slightly acidic to neutral pH (about 6.0 to 7.5). This keeps the roots healthy and helps prevent waterlogging, which can stunt growth. It’s best to avoid heavy clay or rocky soils—if that’s what you’re working with, thoroughly mix in high-quality compost to improve drainage and fertility.
Compost also supplies essential nutrients and supports beneficial soil microbes, leading to robust, fragrant dill plants. Before planting, make sure your raised bed gets at least 6 to 8 hours of direct sunlight; dill grown in shade tends to become leggy and weak. If your space is limited or only receives partial sun, try situating the bed along a south-facing fence or wall that reflects light.
Remember to check moisture levels: raised beds dry out faster than in-ground gardens, so keep an eye on watering, especially on hot days. By following these tips—deep beds, nutrient-rich compost, proper soil, and full sun—you’ll give your dill the best possible start, whether you’re a novice or seasoned gardener.
Planting Dill in Raised Beds
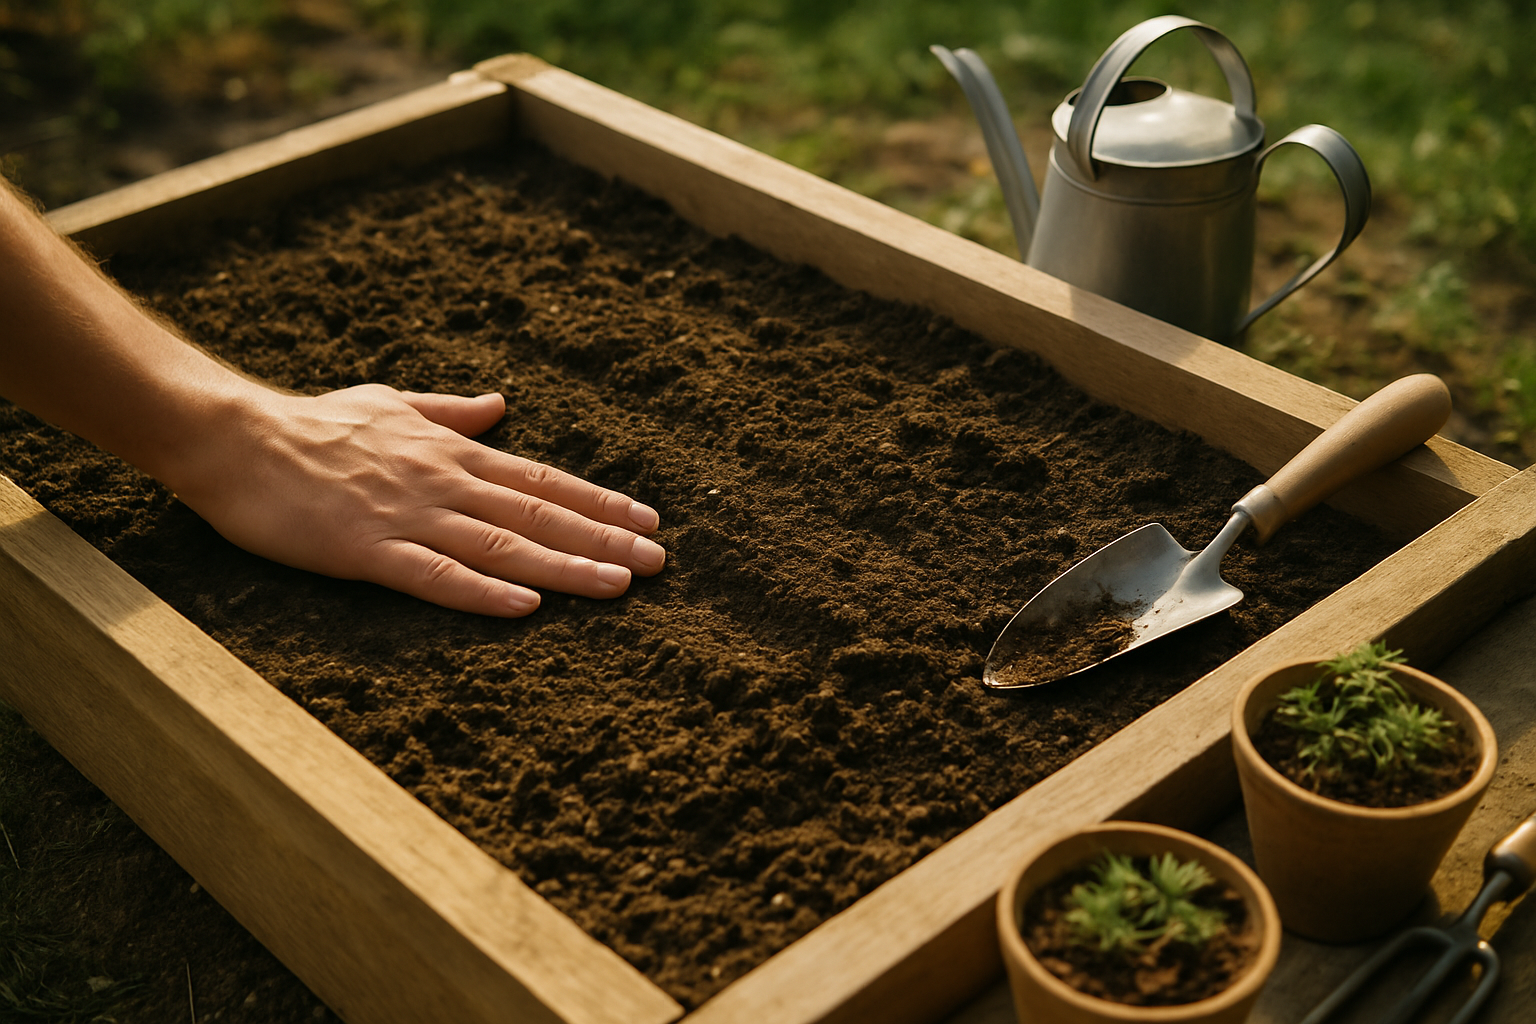
Starting dill in raised beds is both rewarding and easy if you follow a few key steps. First, choose a sunny spot—dill thrives with at least six hours of sunlight each day. For direct sowing, wait until after your last spring frost when the soil is at least 60°F; in many regions, this means early to mid-spring or fall in warmer climates.
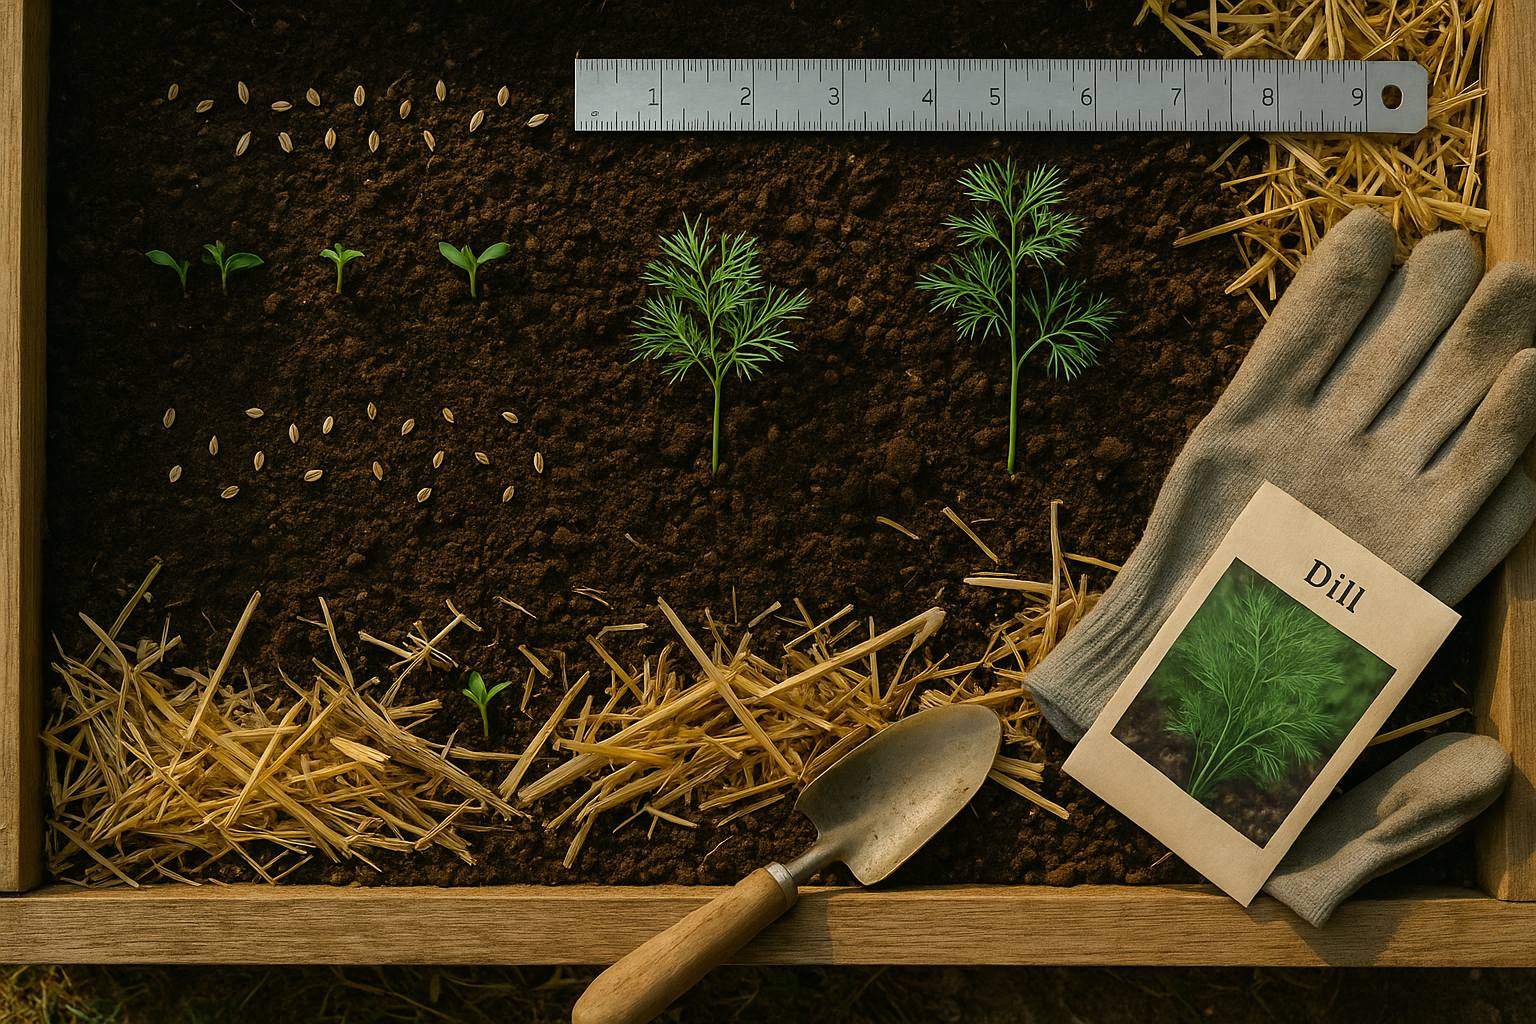
Loosen the soil to about 8 inches deep and mix in compost to boost drainage and nutrients. Sow seeds directly about ¼ inch deep and 12 inches apart to give the plants room to spread. If you’re transplanting seedlings, carefully set them at the same spacing. Overcrowding can encourage mildew and limit airflow, so avoid scattering seeds too densely.
Dill is a delicate, feathery herb with a taproot—try not to disturb the roots when transplanting. As dill grows, support tall stalks by gently mounding soil at their base if needed. Water regularly but don’t overdo it; raised beds drain faster, so a deep soak once or twice a week is usually enough, especially during hot spells. The goal is to keep soil moist but not soggy.
Mulching helps retain moisture and cut down on weeds. Keep an eye out for rapid bolting in summer heat; succession planting every couple of weeks can help you enjoy a steady supply of fresh dill. With these steps, your raised beds will produce healthy, aromatic dill perfect for fresh cooking or pickling projects.
Caring for Dill
Caring for dill is refreshingly simple, but a few mindful steps can make all the difference for a healthy, productive crop. Water dill whenever the top inch of soil feels dry—generally, this means about one inch of water per week if rainfall is scarce. Be careful not to overwater, as soggy soil can cause root rot.
In raised beds, mulch is your friend. Spread a layer of straw or shredded leaves around your dill to lock in moisture and keep weeds at bay, especially during summer heatwaves. Dill isn’t a heavy feeder, but a light dose of balanced, all-purpose fertilizer at planting—or a side-dressing of compost halfway through the season—can help boost growth. Avoid over-fertilizing, since too much nitrogen can cause lush leaves but weak stems and fewer seeds.
Watch for common pests such as aphids, armyworms, and carrot flies. Blasting leaves with a strong stream of water often removes aphids naturally, while floating row covers can shield plants from flying insects. To prevent fungal diseases like downy mildew, ensure good air circulation by thinning seedlings so mature plants stand at least 10 inches apart. Always water at the base of plants to keep foliage dry.
Pruning is simple; regularly snip off flower stalks in early growth stages to encourage leaf production, unless you want to let some plants bolt and set seed. If seed saving is your goal, select a few healthy plants to flower and let the seeds ripen and brown on the stem before harvesting.
Managing bolting—when plants shoot up and flower early—can be tricky in warm weather, so plant dill successionally every two to three weeks for a steady supply. By following these tips, you’ll keep your dill thriving and ready for harvest throughout the season.
Companion Planting with Dill in Raised Beds
Dill is a versatile herb that makes an excellent companion in raised bed gardens, especially when planted alongside vegetables like cucumbers, onions, lettuce, and brassicas such as broccoli and cabbage. Planting dill among these crops offers several benefits: it attracts pollinators like bees and beneficial insects such as ladybugs, which naturally help control common garden pests, including aphids and cabbage worms.
For example, dill’s fragrant foliage lures predatory wasps that prey on caterpillars, helping keep your garden healthier without chemical interventions. However, it’s wise to avoid growing dill next to carrots since the two are closely related and can cross-pollinate, resulting in poor flavor and stunted growth. Similarly, dill should be kept away from nightshades like tomatoes and peppers, which may be inhibited by its presence.
To make the most of your raised bed space, plant dill along the edges or between rows of compatible veggies—its airy, upright growth won’t block sunlight from lower-growing plants, and it thrives in the same rich, well-drained soil that benefits most garden staples. Succession planting is another efficient strategy: sow small batches of dill every few weeks so you have a continuous supply all season without overcrowding your beds.
Remember, dill self-seeds easily—leave one or two plants to flower and drop seeds if you want it to return next year, but be prepared to thin volunteer seedlings to maintain optimal spacing for all your companion crops.
Harvesting and Storing Dill
Knowing when and how to harvest dill can make all the difference in taste and freshness. For the best flavor, pick dill leaves when the plants are 6-8 inches tall and just before they flower; this is when the leaves are the most aromatic. Simply snip the outer leaves regularly, being careful not to cut more than a third of the plant at a time to encourage new growth.
If you want dill seeds, wait until the flowers have gone to seed and the heads turn brown. Then, cut the entire seed head and place it upside down in a paper bag to catch the seeds as they fall.
When it comes to storing dill, there are several simple options:
- Immediate use: Place fresh stems in a glass of water in the fridge, covering them loosely with a plastic bag to help them stay vibrant for up to a week.
- Longer-term storage: Gently wash and pat the leaves dry, then chop and freeze them in ice cube trays with a little water or oil—these dill cubes are ready to drop straight into recipes.
- Drying: Tie small bunches of dill and hang them upside down in a warm, dark spot to air-dry, or use a dehydrator if you have one. Once fully dry, store the dill in airtight containers away from light for months of flavor.
Frequently Asked Questions About Growing Dill in Raised Beds
Many gardeners wonder if dill will regrow after cutting. The answer is yes—if you harvest just the leaves and snip above a healthy leaf node, the plant often sends out new shoots. To keep dill producing, avoid cutting more than one-third of the plant at a time.
Bolting, or early flowering, is another common concern and usually happens in hot weather. You can delay bolting by planting dill in early spring or in partial shade during warmer months, and by keeping the soil consistently moist.
For raised beds, choose varieties like ‘Bouquet’ for its compact habit and prolific leaves, or ‘Fernleaf,’ which is slower to bolt and perfect for smaller spaces.
If your dill looks stunted or the yield is poor, check for:
- Compacted soil
- Overcrowding
- Insufficient sunlight
Dill loves well-draining, fluffy soil and at least six hours of sun daily. Regularly thin seedlings to 12 inches apart for air circulation, and water at the base to avoid fungal issues. Mulching with straw or compost can help retain moisture and reduce weeds.
Remember, dill is fairly low-maintenance once established, so don’t be discouraged by slow starts—a few simple tweaks can make a big difference in your raised bed harvest.