Can You Regrow Rosemary from Store-Bought Cuttings?
Yes, you can definitely regrow rosemary from store-bought cuttings, and it’s easier than many people think. This method is a favorite among home cooks and garden enthusiasts because it lets you enjoy fresh herbs year-round, save money on grocery bills, and always have a flavorful sprig within arm’s reach.
The process starts with choosing healthy, green rosemary sprigs from the store—look for stems that aren’t woody and show no signs of wilting or damage. Snip a few inches off the top, remove the lower leaves, and place the stems in a glass of water or directly into moist potting soil. Within a couple of weeks, roots should begin to form; just keep the cuttings warm and out of direct sunlight.
Once rooted, transfer them into pots or your garden bed, ensuring regular watering until they’re established.
In this post, we’ll walk you through the step-by-step process of selecting the right cuttings, choosing between water and soil propagation, troubleshooting common issues like drooping or mold, and providing your new plants with the care they need to thrive.
Whether you’re looking to add more fresh flavor to your meals, save money, or simply enjoy the satisfaction of growing something yourself, propagating rosemary from store-bought cuttings is a practical and rewarding way to nurture your kitchen garden.
Choosing and Preparing Your Store-Bought Rosemary Cuttings
When selecting store-bought rosemary cuttings for propagation, focus on finding firm, vibrant stems with a bright green color—these are the healthiest and most likely to take root successfully. Avoid cuttings that look wilted, brown, or have wrinkled stems, as these signs indicate old age or poor storage.
Gently squeeze the rosemary stem; a healthy one won’t bend or snap easily but will feel springy and robust. Freshness also matters, so pick cuttings early in the day if possible, when they’ve retained moisture and haven’t been exposed to harsh, drying conditions—especially if you’re harvesting from a local farmers market or grocery store.
Before prepping, inspect the rosemary for any signs of contamination like odd residues, excessive wetness, or lingering chemical smells—these may indicate pesticide use or poor handling. Consider seeking organic rosemary, and if in doubt, rinse the stems under cold water and pat them dry with a clean towel before use.
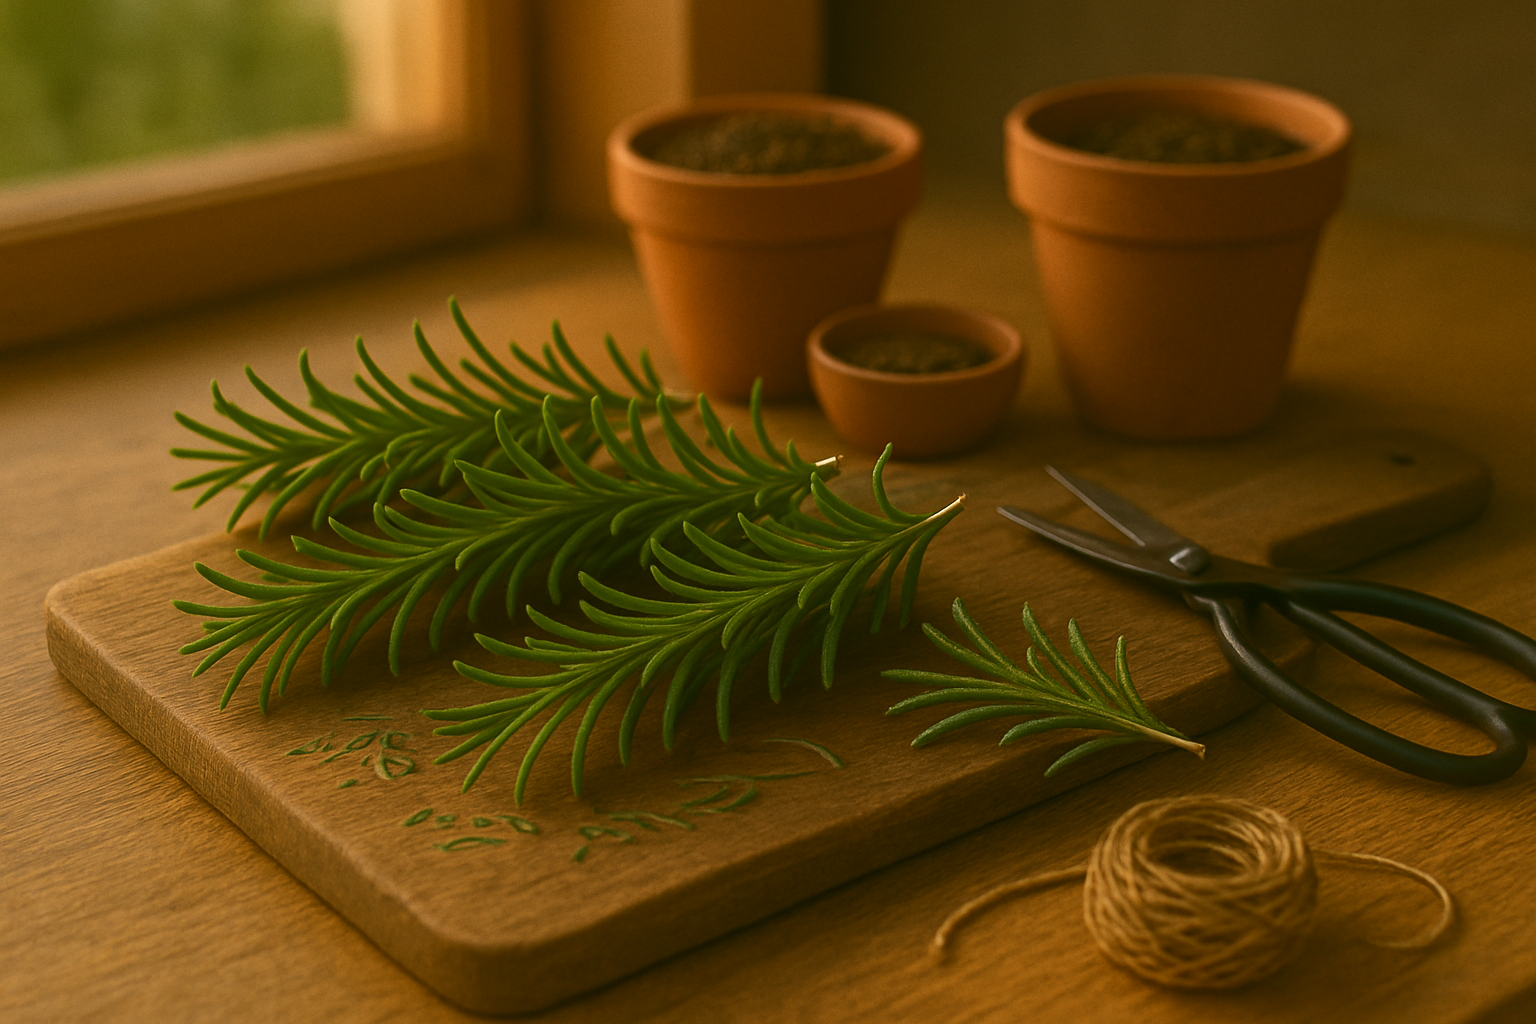
When trimming, use sharp, clean scissors or garden shears and cut 4- to 6-inch sections from the tip of each stem, just above a leaf node for best results. Remove the leaves from the lower half of the cutting, leaving a bare stem that will sit beneath the soil or water—this discourages rotting and promotes healthy root growth. Always make your cuts at a slight angle, as this increases surface area for rooting and helps water absorption.
If you need to store cuttings before planting, wrap them in a damp towel and seal them in a baggie in the fridge for up to 24 hours to maintain freshness. These careful steps set your rosemary cuttings up for thriving growth in their new environment.
Step-by-Step Guide
Propagating rosemary can be rewarding and surprisingly easy, whether you choose to root your cuttings in water or soil.
Water Method
Start by snipping a healthy, non-flowering rosemary stem about 5-6 inches long, removing the leaves from the lower half. Place the cutting in a clean glass jar filled with room-temperature, filtered water—tap water with high chlorine can slow root growth, so filtered is best. Only the leafless part should be submerged; too many leaves in the water can cause rotting.
Put the jar on a sunny windowsill, avoiding direct, harsh midday sunlight. Change the water every 2-3 days to prevent bacteria buildup. Roots typically appear within two to four weeks, and you’ll know it’s working when you see creamy-white, threadlike roots at least a couple of inches long.
Soil Method
Prepare a small pot (4-6 inches wide) with well-draining soil—cactus or seed-starting mix boosted with a bit of perlite works wonders. Dip the cut end of your rosemary stem into rooting hormone powder before planting it about 2 inches deep. Water the soil lightly to moisten but not soak it, then cover the pot with a loose plastic bag or clear dome to keep humidity high while allowing airflow.
Place the container in a spot with indirect brightness and temperatures around 65-75°F (18-24°C), avoiding cold drafts.
General Tips for Both Methods
- Patience is key—roots take time to develop.
- Mist the cuttings occasionally to boost humidity.
- Keep an eye on moisture levels to prevent mold.
- Healthy, rooted rosemary will show resilient, firm stems and possibly new growth at the leaf tips.
Transplanting
Transplant water-rooted cuttings to soil once the roots are at least 2 inches long. For soil-cut cuttings, give a gentle tug after about a month; resistance means roots are forming.
With these tips and close observation, you’ll have thriving new rosemary plants in your garden or kitchen window in no time.
Essential Care Tips for Newly Rooted Rosemary Plants
Caring for newly rooted rosemary plants is all about finding the right balance to help them thrive. Rosemary loves bright sunlight, so place young plants where they’ll get at least six to eight hours of direct sun each day. A sunny windowsill works well if you’re growing indoors, while an outdoor patio or balcony spot is ideal in warmer months.
Temperature-wise, rosemary prefers warmer conditions—between 65°F and 80°F (18°C–27°C)—so keep them away from chilly drafts or sudden temperature drops. Good air circulation is vital to prevent fungal problems; avoid crowding your plants and let them breathe. If indoors, a small fan can help provide extra airflow.
Potting is crucial at this stage. Choose small pots with drainage holes and fill them with a light, well-draining mix (a blend of cactus soil and perlite works well). When watering, less is more: allow the top inch of soil to dry out completely before watering again. Overwatering is a common mistake that can quickly lead to root rot and kill your new cuttings.
- Water deeply every 7–10 days, adjusting for humidity and pot size.
- If the pot feels surprisingly light, it’s probably time to water.
Transplant your rosemary cuttings when you see strong new growth and roots poking through the drainage holes—typically after four to six weeks. When moving to a bigger pot or garden bed, handle roots gently, place the plant in fresh soil at the same depth as before, and water lightly.
Hold off on fertilizing for the first month, as young rosemary plants are sensitive to nutrient overload. Once established, use a diluted all-purpose liquid fertilizer every four to six weeks during the growing season. Avoid heavy feeding or high-nitrogen formulas, which can damage delicate roots.
With smart, gentle care during these early weeks, your rosemary will grow strong and flavorful for months to come.
Troubleshooting & Common Mistakes When Regrowing Rosemary
Regrowing rosemary can be rewarding, but new growers often encounter a few snags along the way. One common issue is failure to root, which usually occurs when the cutting is taken from woody, old growth or not given enough humidity. Always snip fresh, green stems and keep your cuttings in a warm, bright spot out of direct sun.
Drooping leaves often indicate underwatering, excessive heat, or low humidity—try covering your container with a plastic bag or dome to retain moisture, but remove it daily to allow airflow.
If you notice mold on the soil or stems, it’s likely due to overly soggy conditions; switch to a well-draining soil mix, use containers with drainage holes, and water only when the topsoil feels dry.
Yellowing foliage can signal overwatering, poor drainage, or nutrient deficiencies. Make sure your cuttings aren’t sitting in water, and consider applying a diluted liquid fertilizer after roots have formed.
Cuttings that turn mushy, black, or show no signs of new growth after three weeks are unlikely to survive—don’t hesitate to start over using fresh snips and sterilized equipment.
For higher success, dip the bottom of each cutting in rooting hormone and use a clear container to monitor root development. Patience is key, but with these simple adjustments, you’ll soon have healthy new rosemary plants growing strong.
How to Use and Care for Your Mature Rosemary
Harvesting rosemary from a mature plant is easy, but doing it right keeps your herb healthy for seasons to come. For best results, pick sprigs in the morning after the dew dries but before the heat of the day, when oils are most concentrated.
Use clean, sharp scissors or pruners, and snip only the top few inches of each branch, just above a leaf node (where leaves join the stem). Never remove more than a third of the plant at once—this prevents stress and lets rosemary bounce back quickly.
Pruning isn’t just about harvest; regular cutting, especially in early spring or late summer, encourages your plant to grow bushier and prevents bare, woody stems. Try trimming back long, leggy branches to about half their length, making angled cuts above outward-facing nodes. This promotes airflow and fuller growth.
For storing your bounty, keep fresh rosemary sprigs in a jar of water on the counter, or wrap them in a damp paper towel inside a zip-top bag in the fridge for up to two weeks. To dry rosemary, tie small bundles together and hang them upside down in a cool, dark spot; once brittle, strip the leaves and store them in airtight containers.
Don’t be afraid to experiment in the kitchen—add fresh rosemary to roasted potatoes, focaccia, or homemade marinades. Growing and caring for your own rosemary brings flavor and freshness to your table, making every meal a little more special.