Introduction
Growing chives from seed is a rewarding experience for home gardeners looking to add a burst of fresh flavor to their kitchens. Chives, known for their delicate onion taste and vibrant green leaves, have long been a favorite herb for home cooks and garden enthusiasts alike. Their versatility makes them perfect for garnishing soups, salads, baked potatoes, and more.
By starting your own chives from seed, you gain more than just a culinary staple—you enjoy the savings of growing from scratch, the guarantee of fresh, chemical-free harvests, and the simple satisfaction that comes from nurturing a plant from its earliest days. For those with limited gardening space, chives are ideal; they flourish in pots on sunny windowsills or garden beds, making them accessible to almost anyone.
In this guide, we’ll walk you through every step of the process, from selecting high-quality seeds and preparing your soil to sowing, watering, and ongoing care tips. Whether you’re a seasoned gardener or a complete beginner, these practical steps and real-world advice will ensure strong, healthy chives you’ll be proud to snip for your next dish. Dive in and discover just how easy and enjoyable growing chives from seed can be!
Choosing the Right Chive Seeds

When choosing chive seeds, it’s important to decide whether you want common chives (Allium schoenoprasum) or garlic chives (Allium tuberosum). Common chives have slender, hollow leaves and a delicate onion flavor, perfect for finishing soups, potatoes, salads, or scrambled eggs. Garlic chives feature flat, broader leaves with a subtle garlicky kick, making them excellent for stir-fries, dumpling fillings, or as an allium-rich garnish.
Once you’ve decided which type suits your kitchen, look for reputable sources to buy seeds. Local nurseries often stock region-appropriate varieties and can give advice tailored to your climate. Online seed companies offer a broader selection; look for well-reviewed vendors or those specializing in organic or heirloom seeds for added culinary interest and genetic diversity.
When buying seeds, check the packet or listing for a recent packing date—fresh seeds usually have a date within the past year for best germination. In-store, avoid packages that look faded or damp, and if possible, buy from high-turnover racks rather than forgotten corners.
For seeds inherited from friends or found in your stash, do a simple viability test by placing a few on a damp paper towel, sealing them in a plastic bag, and keeping them warm—most should sprout within 10 days.
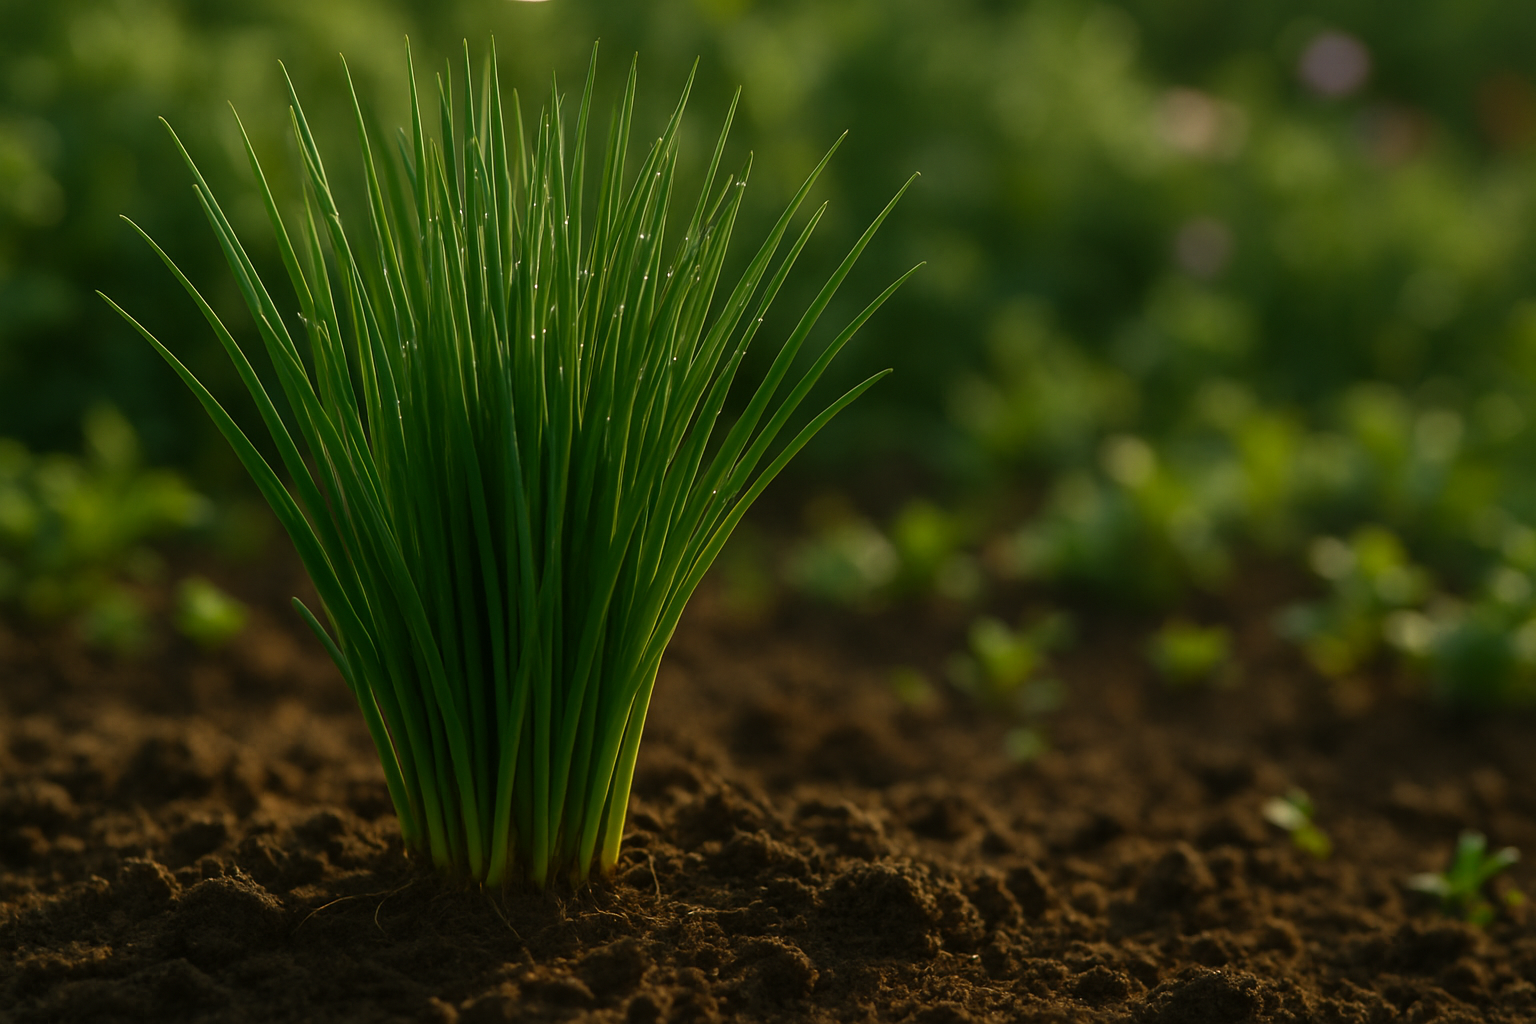
Healthy, viable seeds are your first step to a thriving chive patch, whether you’re tucking them in a window box or lining the edges of your garden beds.
Preparing to Plant
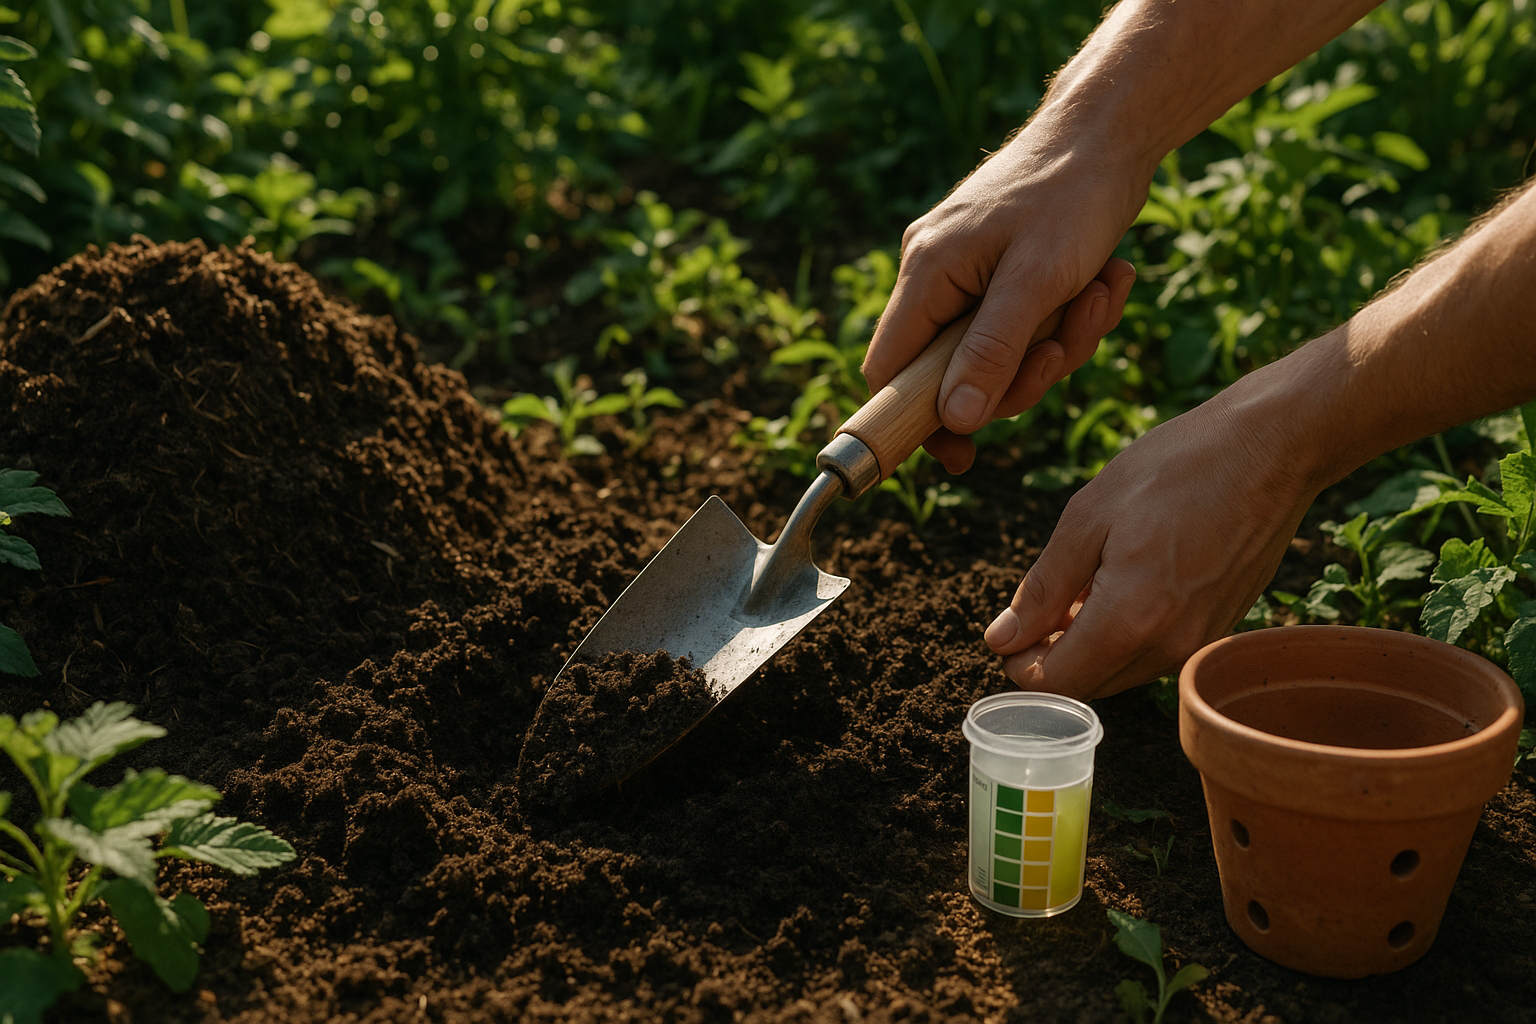
Getting your plants off to the best start begins with choosing the right soil and location. Most garden vegetables and herbs thrive in well-draining, loamy soil with a pH of 6.0–7.0; you can check this with inexpensive soil test kits from garden centers. If the soil is heavy clay or overly sandy, amend it with compost to improve texture and fertility.
For container gardening indoors or outdoors, use pots with drainage holes and enough space—most herbs and flowers do well in 8–12 inch containers, while larger vegetables like tomatoes need at least a 5-gallon (18-liter) pot. Lighting is crucial: sun-loving plants like peppers, tomatoes, and most herbs need at least 6 hours of direct sunlight outdoors, or a spot near a south-facing window if you’re growing inside. If you have limited light, leafy greens or certain herbs like mint and parsley manage well with partial sun.
Outdoor gardens do best in areas sheltered from strong winds but open enough to prevent fungal diseases. Timing is key—if you live in a cold region (USDA zones 3–6), start seeds like tomatoes and peppers indoors 6–8 weeks before the last frost; in warmer climates (zones 7–11), you can sow many seeds directly outdoors after the frost date. Always check the packet for specific instructions.
For indoor planting, you can start anytime, but remember that a lack of strong light may require supplemental grow lights. These basics will help ensure your plants are set up to thrive, whether you’re gardening outside or greening your home inside.
Sowing Chive Seeds
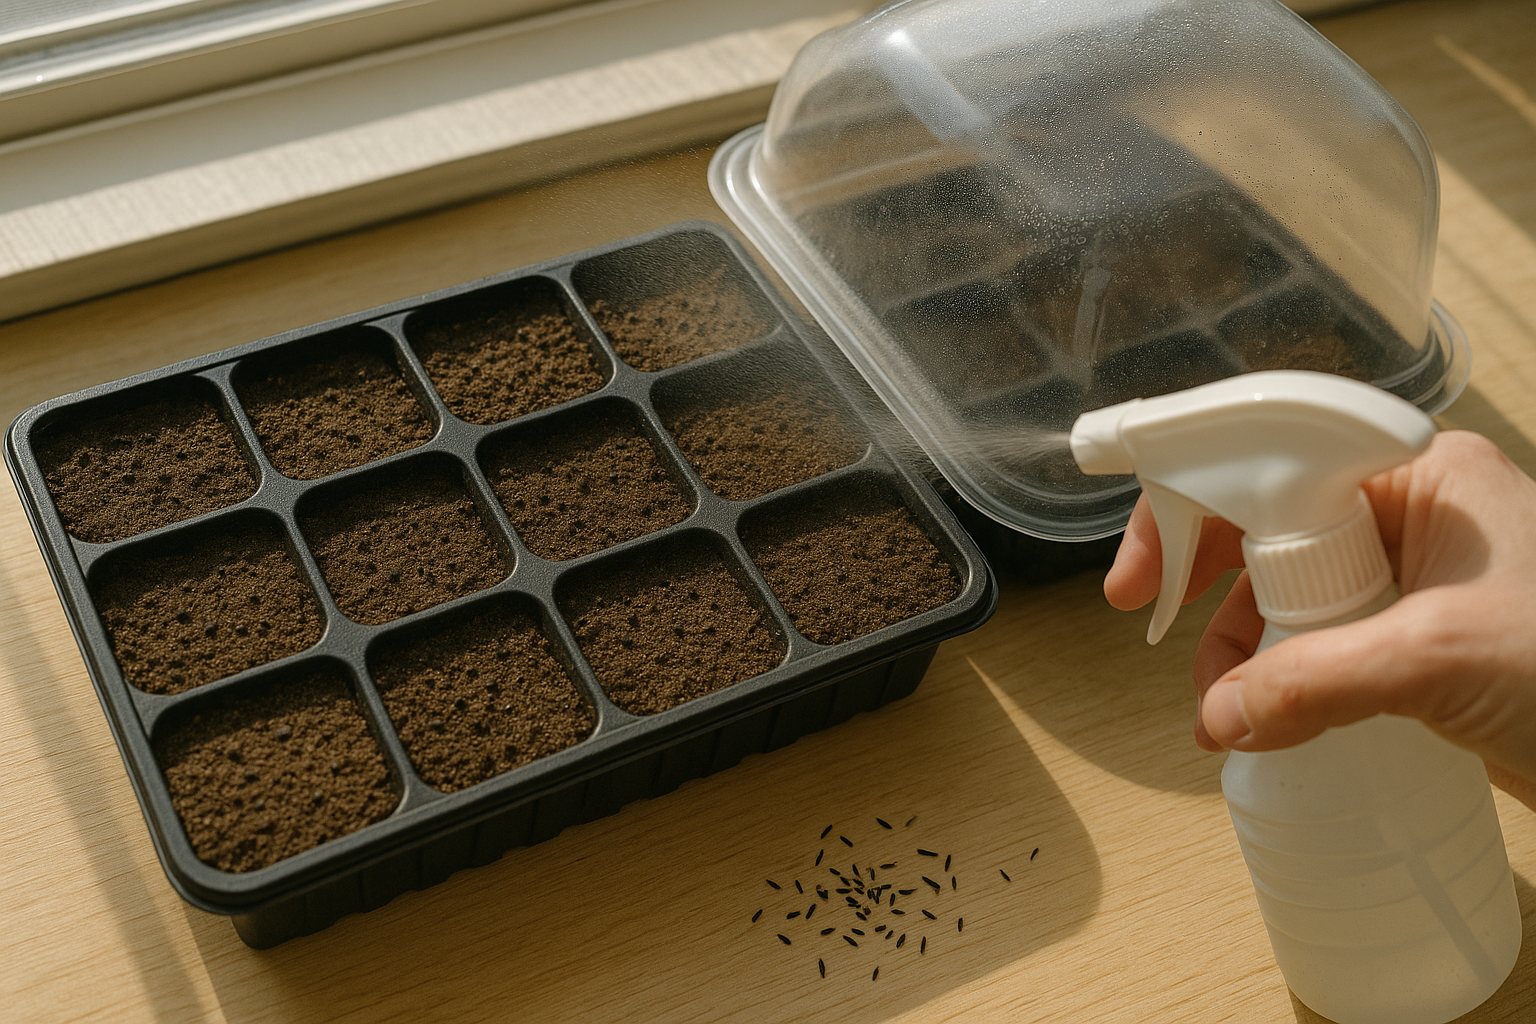
To start sowing chive seeds, first fill seed trays or small pots with a quality seed-starting mix, ensuring there’s good drainage. Gently scatter the tiny seeds on the surface, then cover them with a thin layer of soil—about ¼ inch deep—as chive seeds need light to germinate.
If sowing directly into the garden, space seeds roughly ½ inch apart. If using trays, aim for clusters of 3-5 seeds per compartment, which you can thin later as needed.
After sowing, lightly water the soil with a spray bottle or gentle watering can to avoid washing the seeds away. For best results, place the container in a warm spot where temperatures remain consistently between 65-75°F (18-24°C)—a sunny windowsill or under a grow light works well.
Chive seeds also benefit from moderate humidity, so consider loosely covering trays with a plastic dome or wrap to retain moisture. Remove the cover if you see condensation or mildew. Seeds usually germinate within 10-14 days.
Once sprouts appear, provide them with plenty of indirect sunlight or keep them beneath a grow light for about 12-14 hours daily. As seedlings grow to about 2 inches tall, thin them out by snipping weaker plants at soil level, leaving the strongest ones to develop further.
Keep the soil damp but not soggy—chives dislike waterlogged conditions, so always check that your containers drain properly. With attentive care, your chive seedlings will be ready to transplant or pot up once they develop at least two sets of true leaves, setting the stage for lush, flavorful harvests in just a few months.
Growing On
Once your chive seeds sprout and the tiny green shoots start crowding together, it’s time to thin them out. Using small scissors or gently pinching with your fingers, snip away the weakest seedlings so the strongest ones are spaced about 2 inches apart. This gives each chive room to grow without competing for light or nutrients.
If you started seeds indoors, transplant your healthiest seedlings outside after any risk of frost has passed—just loosen the roots gently and plant them about 4-6 inches apart. Chives love moist, well-draining soil, so water when the top inch feels dry, but don’t let the area get soggy.
They’re not heavy feeders, but a monthly dose of balanced liquid fertilizer or a bit of compost can give them a boost. Place chives where they’ll get at least 6 hours of sunlight daily, whether on a windowsill or in the garden.
To keep young plants disease-free, avoid wetting the leaves during watering to reduce fungal risk and ensure they have good airflow. Watch for tiny pests like aphids—if you spot them, try a blast of water or introduce beneficial insects like ladybugs.
With a little attention, your chive seedlings will thrive, rewarding you with fresh, flavorful greens for months to come.
Harvesting and Using Your Chives
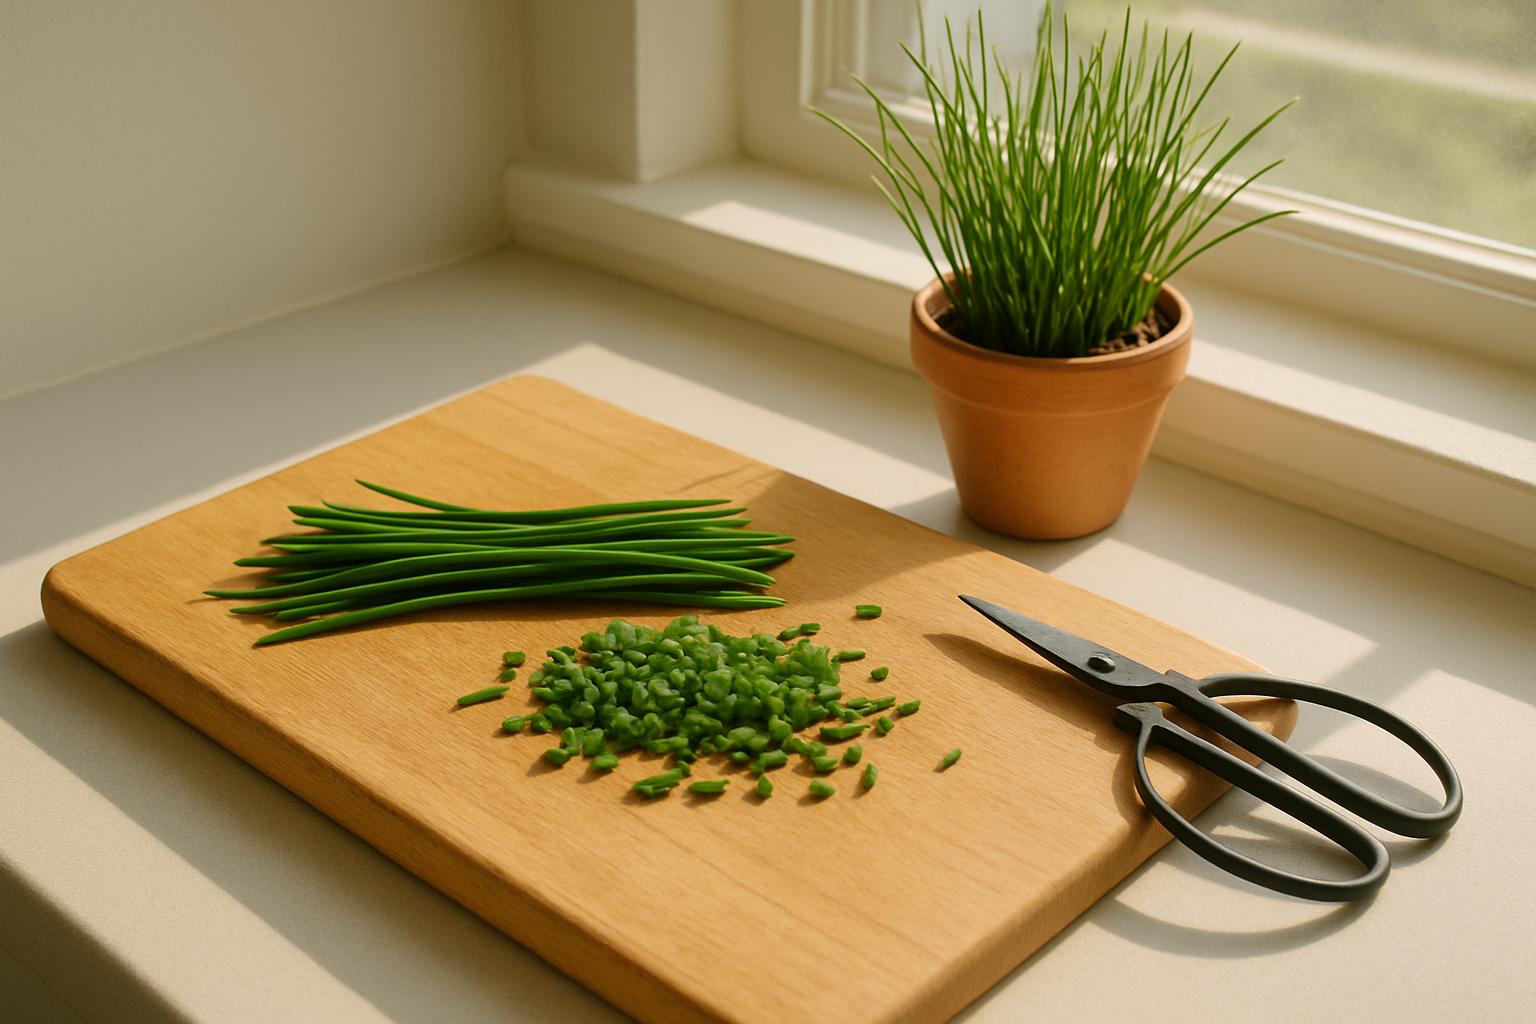
Chives are ready to harvest once they reach about six inches tall, usually in early to mid-spring, and you can continue picking throughout the growing season. For the best flavor and to encourage healthy regrowth, snip the leaves close to the base, leaving at least two inches so the plant can bounce back quickly.
Regular trimming not only keeps the plant productive but also prevents flowering, which can cause the leaves to toughen and lose flavor. If you find yourself with more chives than you can use, storing them is easy—simply chop and freeze in an airtight container, or dry them by spreading the chives on a tray in a warm, airy spot for a few days.
You can also keep fresh chives in the fridge, wrapped in a damp paper towel inside a bag, for about a week. In the kitchen, chives liven up everything from scrambled eggs and salads to soups, dips, and even baked potatoes, lending a gentle onion flavor without overpowering dishes.
Growing chives in your garden not only gives you a steady supply of this versatile herb but also attracts pollinators with their cheerful purple blossoms, making them a win-win for both your kitchen and your backyard ecosystem.
Common Problems and Troubleshooting
Slow growth is a frequent frustration for new gardeners and often results from poor light or inadequate watering. Make sure your plants receive at least six hours of sunlight per day and that you’re not letting the soil dry out completely between waterings—using your finger to check the top inch can help.
Wilting leaves usually signal either underwatering or overwatering. If the soil feels soggy, cut back on watering and improve drainage by adding holes or using lighter soil.
Pests like aphids are another common headache; you can spot them as small, green clusters under leaves. A simple, beginner-friendly fix is to spray plants with a mix of mild dish soap and water every few days—this helps control pests without harsh chemicals.
To prevent issues before they start, inspect plants weekly, remove any yellowing leaves, and clear away debris that can hide bugs or disease. Remember, early action is key: healthy, regularly checked plants are far less likely to develop major problems, so make observation a part of your gardening routine.