Introduction
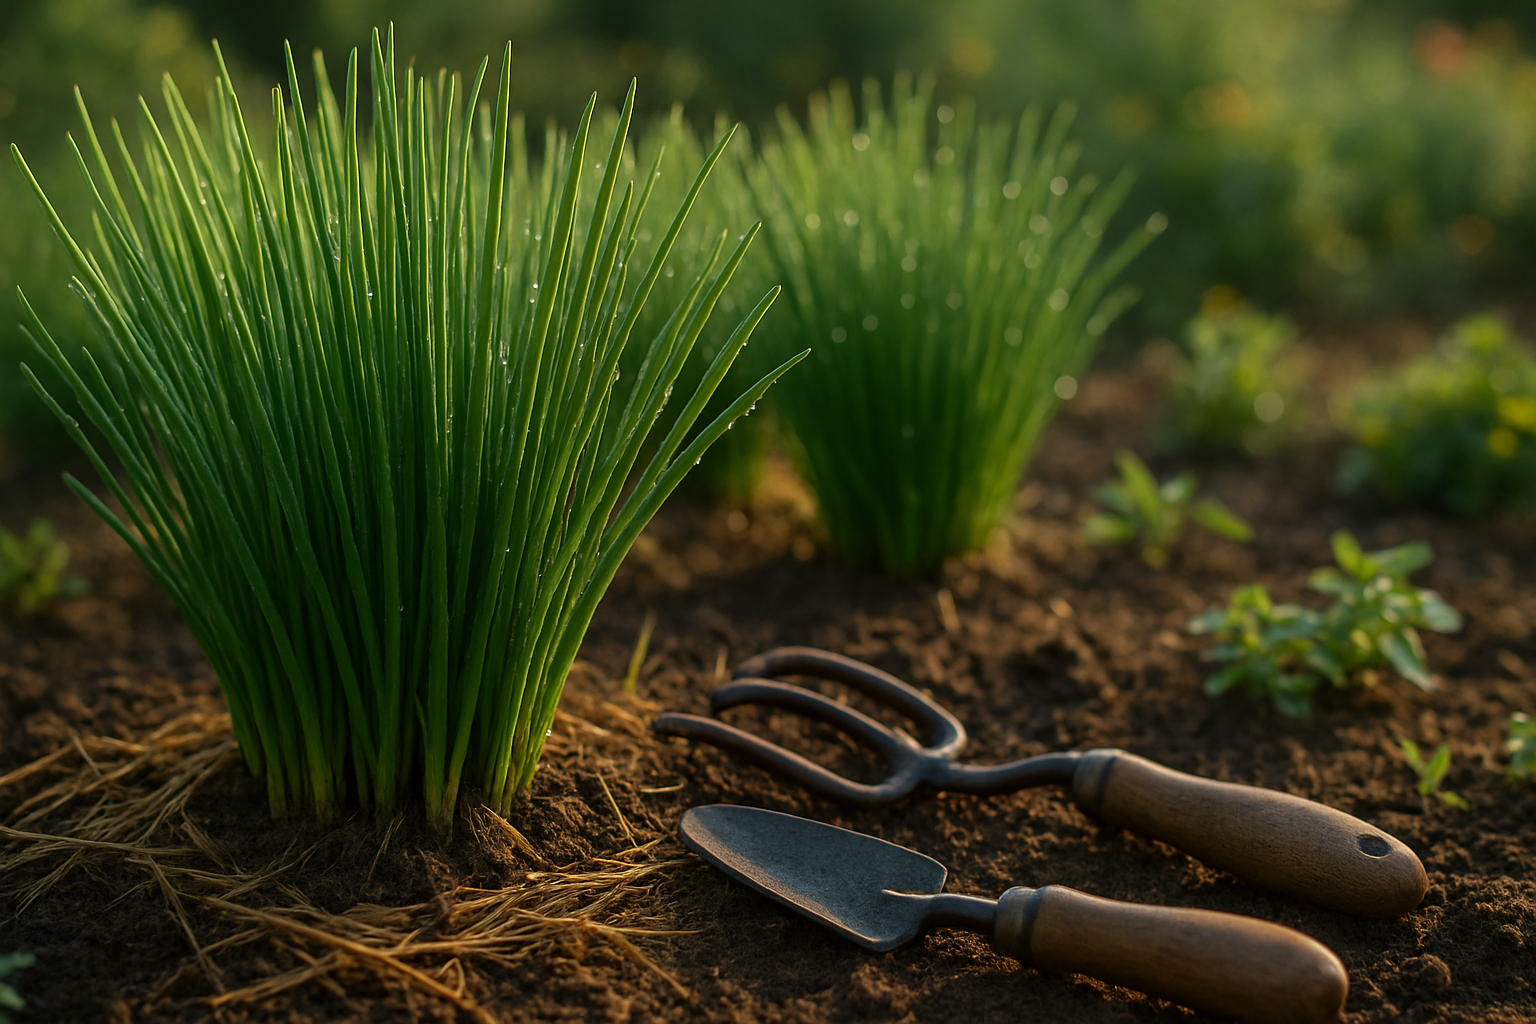
Fertilizing chives is a simple step that can make a huge difference in the size and quality of your harvests. Chives are a popular perennial herb, prized for their delicate onion flavor and attractive, tubular leaves. Unlike many herbs, chives keep producing year after year, making them a rewarding addition to any garden or windowsill planter.
While they’re known for being low maintenance, chives truly thrive when given just the right nutrients—resulting in lush, dense clumps of leaves that are perfect for snipping fresh into salads, soups, or omelets. Many gardeners underestimate how much a tailored fertilizing routine can boost both the health and productivity of their chive plants.
In this article, you’ll learn exactly when and how to fertilize chives, what types of fertilizers work best, and how to avoid common mistakes like overfeeding. We’ll also cover quick, real-world tips for container growers and outdoor garden beds alike, plus advice on keeping your chives strong through every season.
Whether you’re a seasoned gardener or just starting an herb patch, proper fertilization can help you enjoy bigger, more flavorful chive harvests with minimal effort.
Understanding Chives’ Nutrient Needs
Chives are hardy, low-maintenance herbs that thrive with minimal fuss, making them popular for home gardens and kitchen windowsills alike. Their growth habit is clumping, with slender, tubular leaves that regenerate quickly after cutting. Unlike many heavy-feeding vegetables, chives don’t require constant or heavy fertilization—they’re naturally adapted to grow in relatively lean soils.
However, they still need a well-balanced supply of nutrients to stay lush and productive. Chives flourish with a moderate amount of nitrogen for leafy growth, phosphorus for root health, and potassium for overall plant vigor. A simple way to meet these needs is by mixing in compost or a balanced, slow-release fertilizer at planting time and again in early spring.
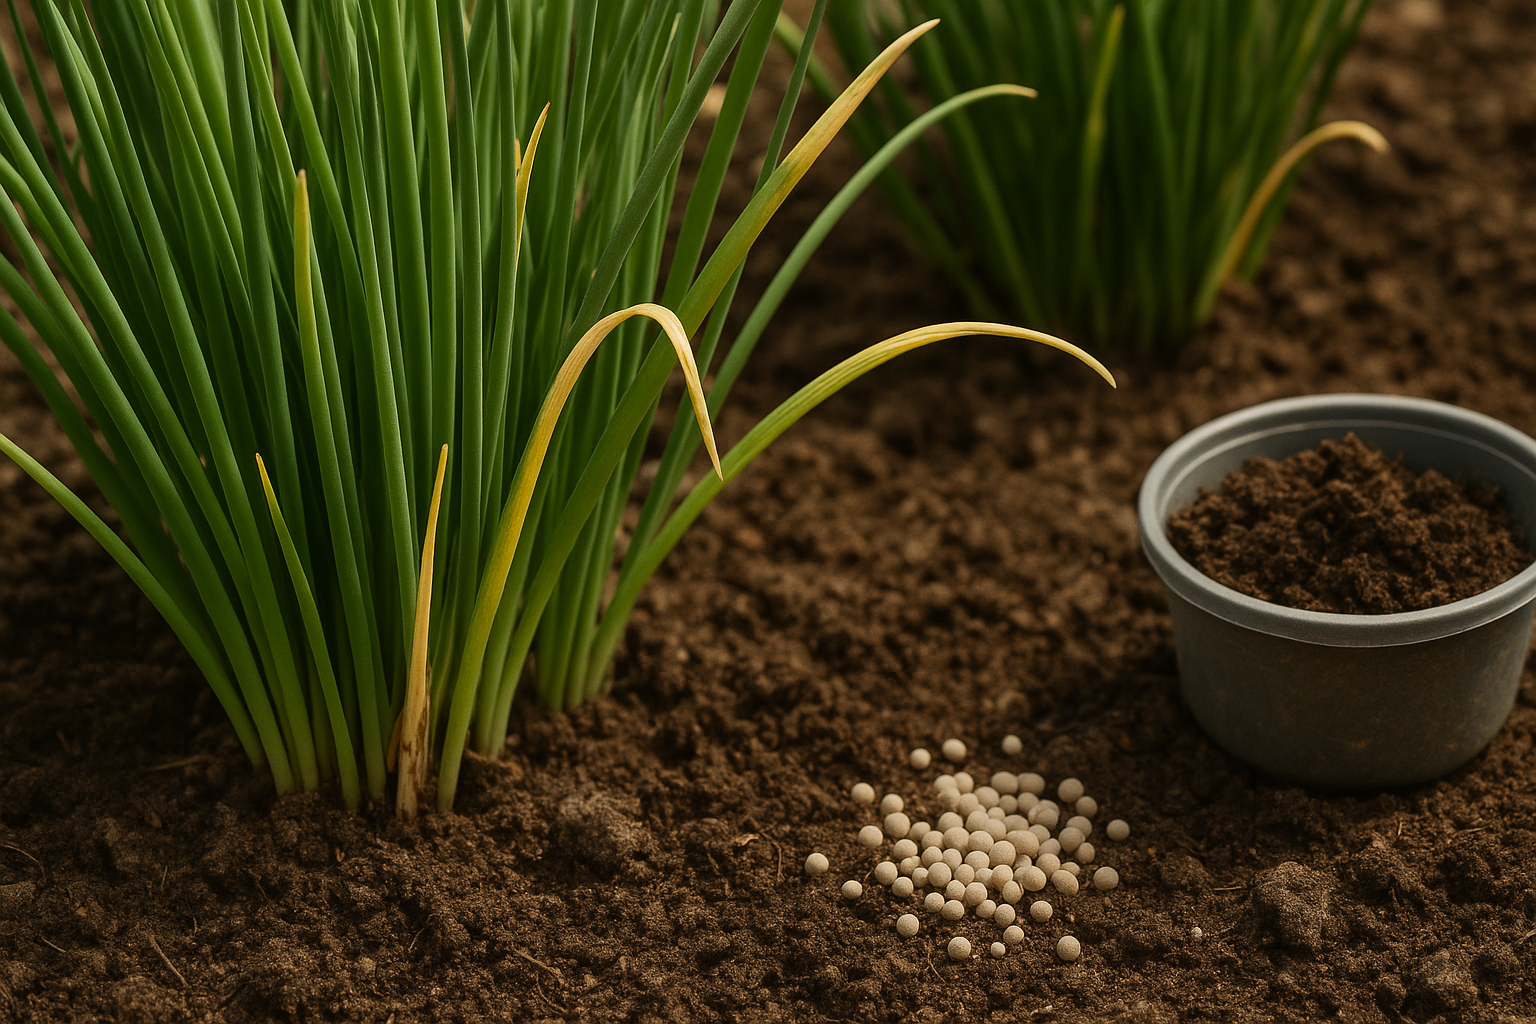
Be cautious about over-fertilizing, as this can cause chives to develop weak, floppy leaves and lose their pungent flavor. Signs that chives may need more nutrients include:
- Yellowing or pale leaves
- Slow or stunted growth
- A sparse appearance with fewer new shoots
If you notice these symptoms, top-dress with compost or use a diluted, all-purpose liquid fertilizer to give them a gentle boost. By observing your plants and sticking to a light-feeding regimen, you’ll keep your chive clumps healthy, vibrant, and ready to snip for fresh culinary use.
Choosing the Right Fertilizer Type
When it comes to growing healthy, vibrant chives, choosing the right fertilizer can make all the difference. Beginner gardeners often wonder whether to go with organic or chemical fertilizers.
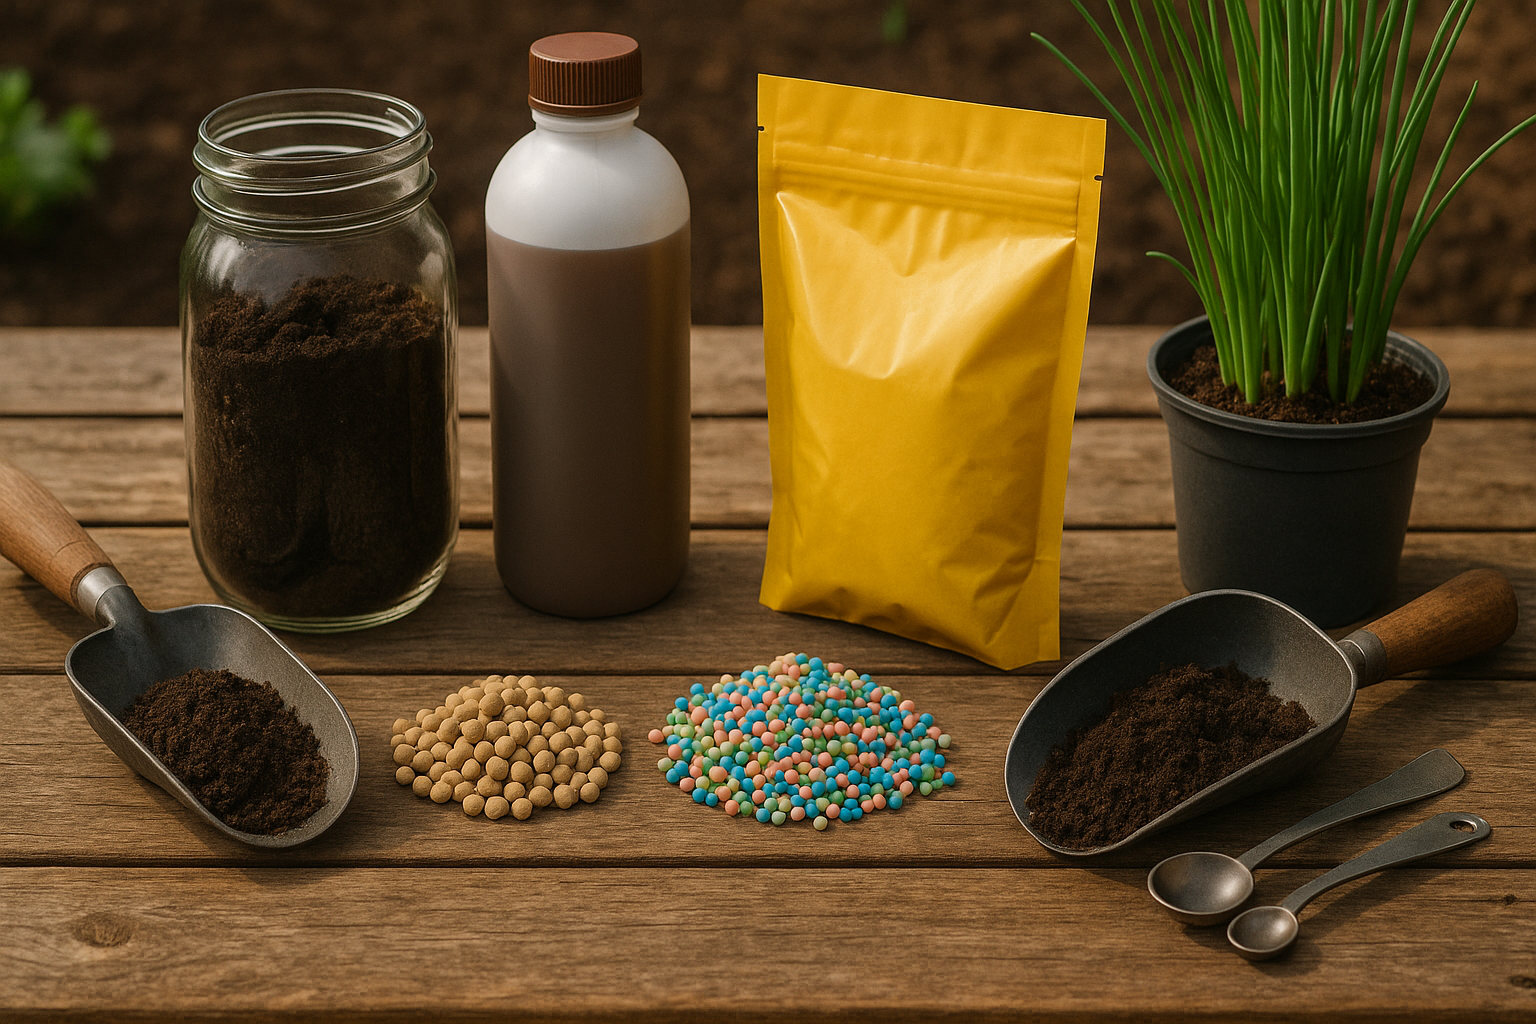
Organic fertilizers, like compost or fish emulsion, nourish the soil and support beneficial microbes, which can lead to better long-term plant health and flavor. They tend to release nutrients slowly, which is great for chives because it prevents sudden growth spurts that can weaken the stems. However, organic options usually work more gradually and may be less predictable in the short term.
Chemical fertilizers, on the other hand, deliver fast and measurable results, giving chives an immediate nutrient boost. These fertilizers typically come with a precise NPK (nitrogen, phosphorus, potassium) ratio listed on the packaging, so you know exactly what you’re providing. The downside? Overuse can damage soil life and may lead to salt build-up that stresses your chives over time.
Consider Slow-Release vs. Quick-Release Fertilizers
A key feature to consider is whether the fertilizer is slow-release or quick-release. Slow-release fertilizers are perfect for busy or forgetful gardeners, feeding chives steadily over weeks so you don’t have to apply as often. Liquid fertilizers can be quickly absorbed and are ideal for giving container-grown chives an instant lift, while granular forms are easy to spread around outdoor beds and last longer in the soil.
Aim for a balanced or slightly nitrogen-lean NPK, such as 5-10-10 or 3-4-4, because too much nitrogen can make chives grow lots of foliage but with a weak flavor. When shopping at garden centers, look for products labeled specifically for herbs or leafy vegetables, and bring a photo of your chive patch for quick advice.
Don’t hesitate to ask staff for recommendations—many gardeners love to share tips for success, especially with easygoing herbs like chives! Start small, follow label directions, and watch your chive patch thrive.
Seasonal Fertilization Schedule
Getting your chives to thrive starts with a mindful fertilization schedule, tuned to the changing needs of each season and whether your chives are growing outdoors or indoors.
Outdoor Chives
For outdoor chive patches, the first feeding should happen in early spring, as soon as new green shoots appear and soil temperatures are consistently above freezing. A light sprinkle of a balanced, slow-release fertilizer—such as a 10-10-10 formulation—will give chives a strong head start.
As chives kick into peak growth from spring through early summer, repeat light feedings every four to six weeks, especially after each harvest. Liquid fertilizers diluted to half-strength are ideal during this phase because they offer nutrients with less risk of burning the delicate roots.
Indoor Chives
If you’re growing chives indoors, they tend to need slightly less fertilizer due to slower growth. Feed potted chives with a water-soluble fertilizer at half-strength every five to six weeks from spring through early fall, and hold off completely during winter when growth naturally slows.
Autumn and Winter Care
As autumn approaches and outdoor chives prepare for dormancy, stop fertilizing entirely—this signals the plants to harden off and ready themselves for colder weather. Never fertilize chives heavily just before or during winter, as this can stress the plants or promote tender growth susceptible to frost.
Additional Tips
- Avoid over-fertilizing; chives generally prosper in modest conditions, and excessive nutrients can cause lush, weak growth with less flavor.
- Watch for yellowing leaf tips or stunted growth as signs you might be overdoing it.
- Always water well after applying fertilizer to help distribute nutrients gently through the root zone.
By timing your feedings to the rhythm of the seasons and your chive plants’ natural cycles, you’ll enjoy healthy, flavorful harvests year-round without the pitfalls of too much fertilizer.
Special Considerations for Container-Grown Chives
Container-grown chives require a different fertilization approach than those planted directly in garden beds. Because pots hold a limited amount of soil, nutrients get used up and washed out more quickly due to frequent watering. This makes chives in containers more prone to nutrient deficiencies. In contrast, chives in garden beds have access to a larger area where nutrients can naturally replenish.
For container chives, choose a balanced, water-soluble fertilizer—such as a 10-10-10 or 20-20-20 formula—and apply it at half the recommended strength every four to six weeks during the growing season.
Soil Composition and Nutrient Management
Be mindful of the soil composition: soilless potting mixes often lack organic matter and dry out quickly, causing nutrients to leach away faster. Mix in a handful of compost or worm castings at planting, but don’t rely on these alone for the long term.
Monitoring and Adjusting Fertilization
To avoid over- or under-fertilizing, watch for signs such as yellowing leaves (indicating deficiency) or strong vegetative growth with little flavor (often caused by excess nitrogen). Using a moisture meter with a built-in nutrient sensor can help, or you can simply flush the soil with water every couple of months to prevent salt buildup.
Keep a log of your fertilization schedule and observe how your chives respond. Adjust the frequency as needed to maintain healthy, vigorous growth without sacrificing flavor. Regular monitoring and a tailored fertilizing routine are key to thriving container-grown chives.
Identifying and Solving Nutrient Deficiencies
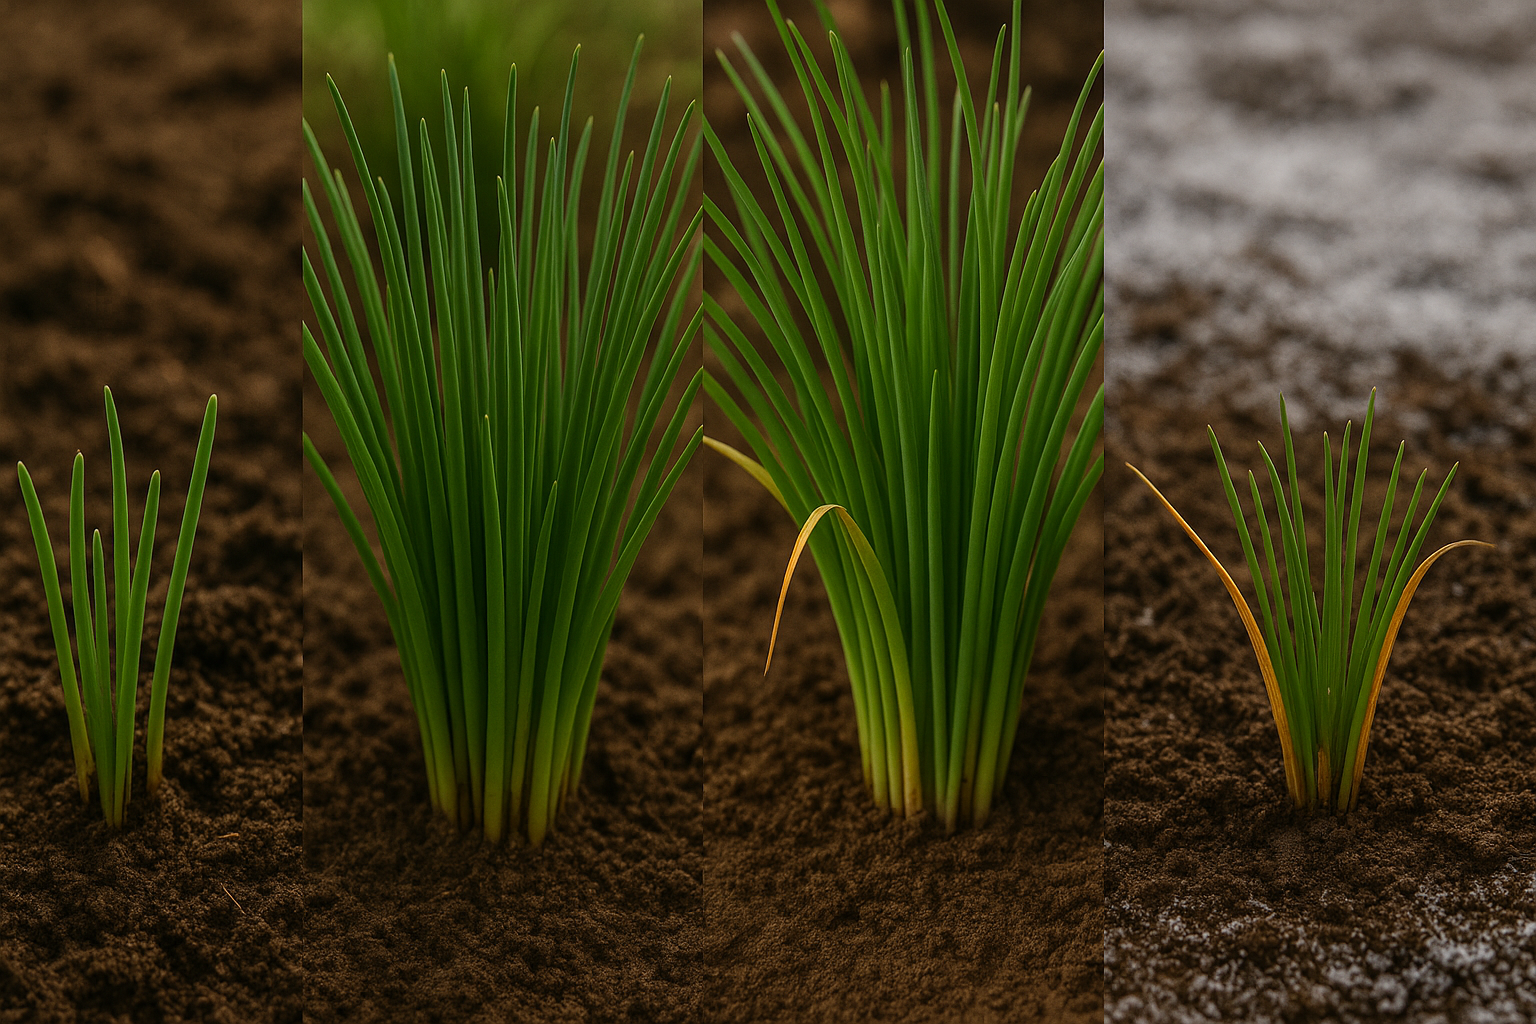
Noticing yellowing leaves, slow growth, or pale streaks in your chives can signal nutrient deficiencies that, if left unchecked, may hold back your entire harvest. Nitrogen deficiency is the most common and shows up as older leaves turning yellow and weak. To fix this, add a balanced, slow-release fertilizer or amend your soil with composted manure.
If you spot leaf tips browning or stunted growth, potassium could be lacking—add wood ash or use a liquid seaweed feed. Pale, thin leaves and slowed sprouting often indicate your chives need more phosphorus; mixing in organic bone meal or using a liquid bloom booster can help.
For all deficiencies, start by checking soil pH since chives thrive best at pH 6.0–7.0, and an imbalanced pH can lock out nutrients. When troubleshooting, first water your plants well, as dry soil often mimics symptoms of nutrient deficiency.
Test your soil at least once a year, and keep the area weed-free so your chives aren’t competing for nutrients. As a proactive strategy, give your chives a gentle, balanced organic feed every month during the growing season, mulch with compost to hold moisture and nutrients, and rotate where you plant them each year.
This approach not only helps prevent deficiencies but also keeps your chives healthy, robust, and bursting with flavor for the kitchen.
Fertilizing Mistakes to Avoid for a Bigger Harvest
Over-fertilizing is one of the most common mistakes gardeners make when growing chives. While it might seem like giving your plants more nutrients would boost growth, too much fertilizer often results in lush leaves with less flavor or, worse, salt buildup and root burn—especially in potted chives. Resist the urge to double up on doses!
Another mistake is using the wrong fertilizer. Chives do best with a balanced, all-purpose fertilizer. Avoid high-nitrogen blends, which can cause weak, floppy growth. Timing is also important: fertilizing during dormancy or too late in the season wastes nutrients and can harm your plants.
For container-grown chives, the risk of salt accumulation from frequent feeding is higher. Always water thoroughly to flush excess salts from the soil, and watch for crispy, brown leaf tips as a warning sign of root burn.
Best Practices for Fertilizing Chives
- Test your soil before adding fertilizer.
- Use a balanced, slow-release fertilizer at half strength.
- Feed chives only in early spring and midsummer.
- Limit feeding to once or twice a season for outdoor chives.
- Water deeply after fertilizing.
- For container chives, flush the soil monthly to prevent salt buildup.
- Never fertilize stressed or dry plants.
By avoiding these common pitfalls and following these simple, mindful routines, you’ll enjoy more robust and flavorful chive harvests all season long.
Conclusion
Correct fertilization is the key to enjoying bigger, more vibrant chive harvests all season long. By providing the right nutrients at the right times, you’ll notice fuller, greener leaves and stronger growth, making homegrown chives a flavorful addition to any dish.
Remember, every garden is unique, so keep an eye on your chives—yellowing leaves or slow growth may signal it’s time to adjust your fertilization routine. Some gardeners find that a balanced organic fertilizer works wonders, while others swear by occasional compost tea.
Don’t be afraid to experiment and see what works best for your plants. What’s important is staying observant and responsive to your chives’ needs.
Have you found a fertilizing method that works particularly well? Or do you have questions about getting started? Share your experiences, tips, and questions in the comments below—I’d love to hear your stories and help your chive patch thrive!