Introduction
If you love using fresh herbs in your recipes, you probably already appreciate the unique, mild onion flavor that chives bring to countless dishes. But did you know you can regrow chives from cuttings, especially those you buy in bunches from the store? This question often comes up among home cooks looking to make their favorite herbs last a little longer. The good news is, not only is it possible to regrow chives from cuttings, but it’s also surprisingly simple and offers major benefits—like reducing food waste, saving money, and ensuring you always have a fresh supply on hand.
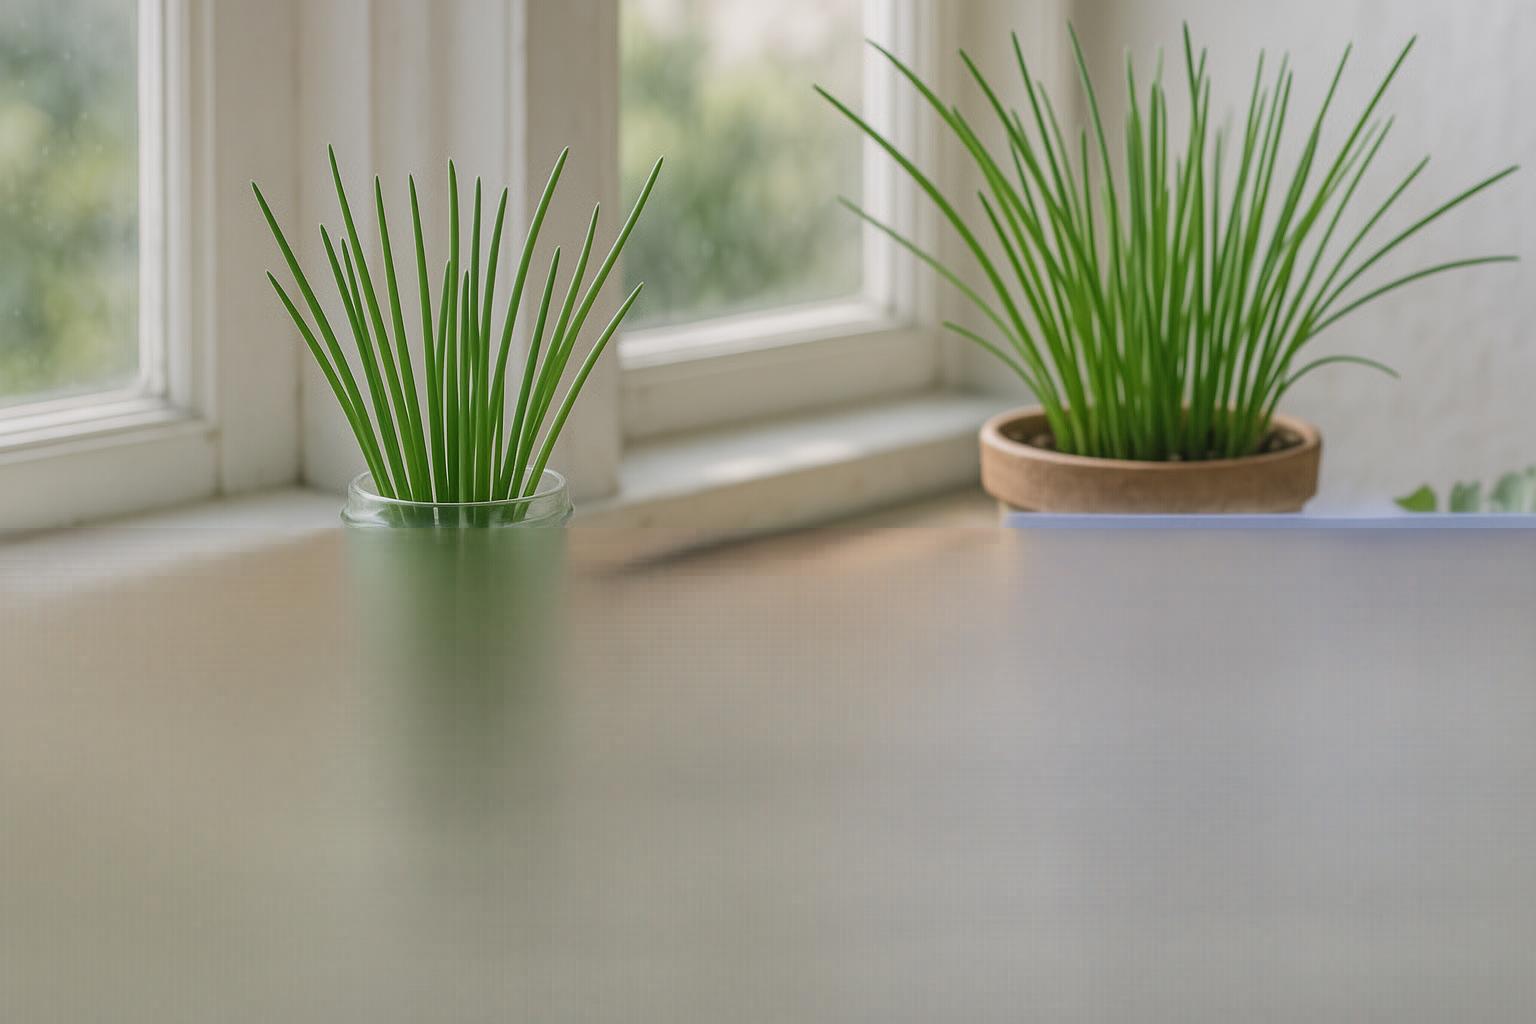
Growing herbs at home is one of the easiest steps you can take toward a more sustainable kitchen. When you regrow chives from store-bought bunches, you’re extending the life of your purchase and reducing how often you need to buy new herbs. Plus, you get the fresh flavor and nutrients of homegrown chives without needing a garden plot—just a sunny windowsill will do.
The process starts by selecting healthy stems from your store-bought bunch, trimming them correctly, and placing them in water to encourage root development. After roots appear, you can transfer them to soil, where they’ll quickly adapt and flourish. But there are a few important details to keep in mind: you’ll want to choose chives that look vibrant and avoid stems that have wilted or yellowed. With a little attention and daily care, regrowing chives becomes a practical, rewarding ritual that any home cook—or even a beginner—can master.
How Chives Grow
Chives are among the easiest herbs to grow, making them perfect for beginners and busy gardeners alike. As perennials, chives return year after year, forming dense clumps of slender, hollow stems that look a bit like tall grass. This clumping habit means each plant will gradually expand, so be sure to leave space between them in your garden bed or pot.
There are two main types to choose from:
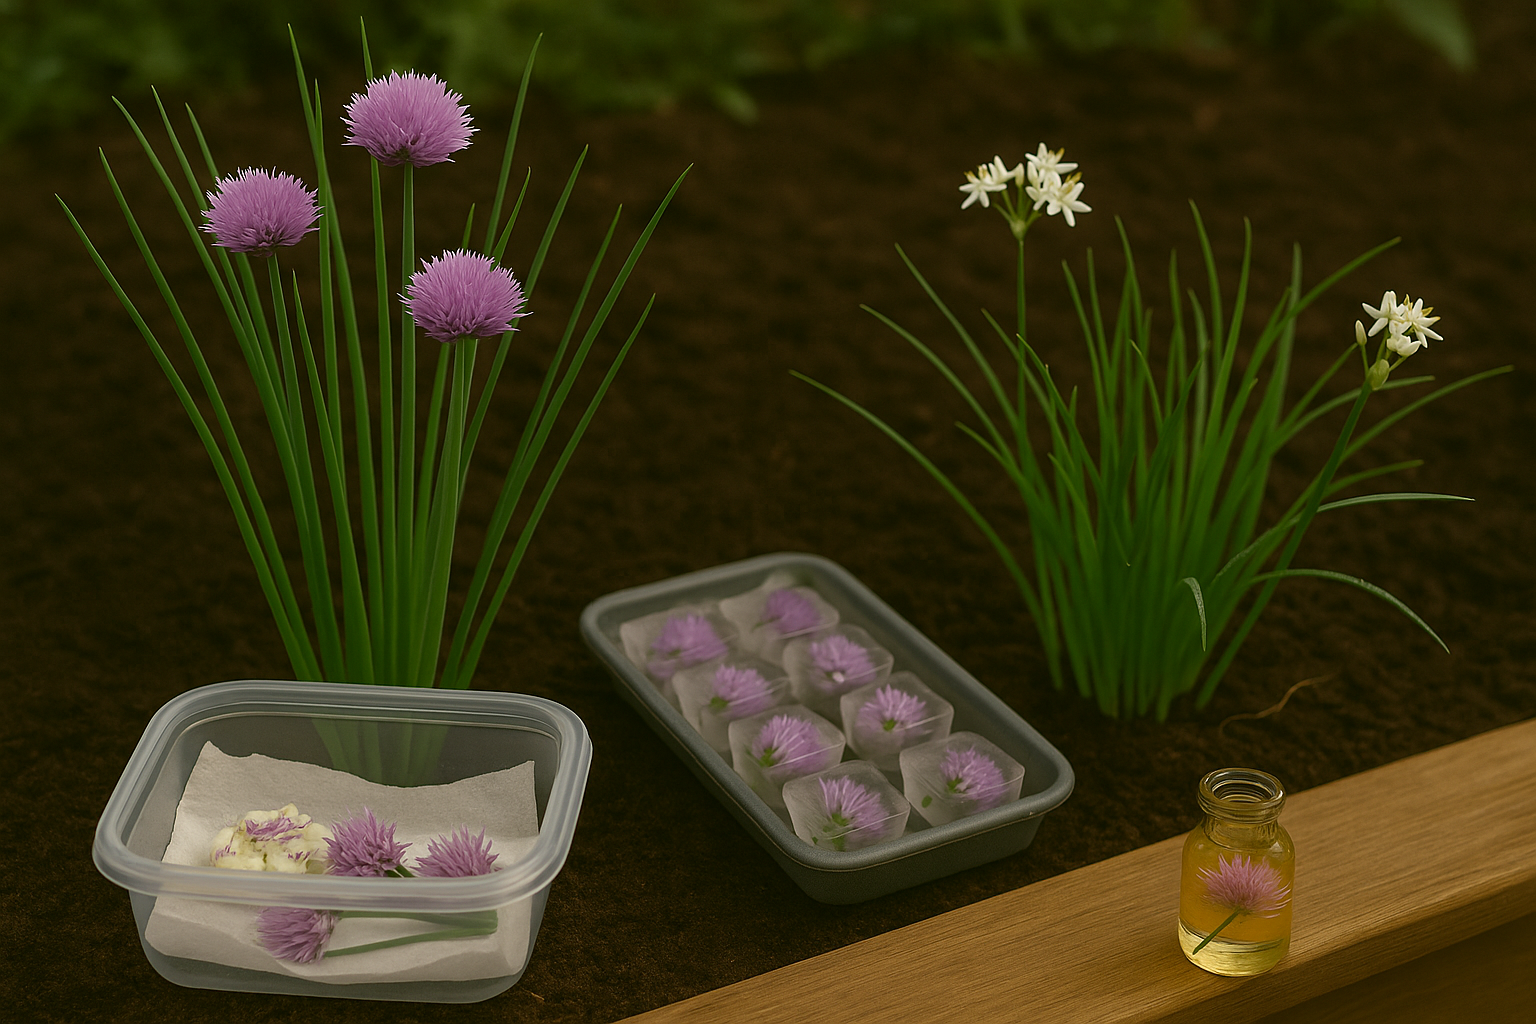
- Common chives, also called onion chives (Allium schoenoprasum), which have a mild onion flavor and purple flowers
- Garlic chives (Allium tuberosum), which offer flat leaves, a subtle garlic taste, and white blooms
When it comes to propagation, growing chives from seed is straightforward—just sprinkle the seeds in well-drained soil and keep them consistently moist until sprouts appear, often within two weeks. However, many gardeners prefer starting with cuttings or by dividing existing clumps, as this guarantees mature plants faster and preserves the parent plant’s characteristics.
Simply dig up an established chive cluster, gently separate the roots, and replant in a new spot. Cuttings—small segments of stem with roots—will also regrow reliably, but only if they’re fresh and healthy.
It’s important to note that regrowth from grocery store chives isn’t always successful. Most store-bought chives are just trimmed leaves without roots, making it impossible for them to take hold in soil or water. Even when roots are present, supermarket chives may have been treated with chemicals or experienced stress during shipping, reducing their ability to regenerate. For best results, source chives from a garden center or a gardening friend who can provide rooted cuttings or healthy divisions.
With just a bit of care, you’ll have a steady supply of fresh, flavorful chives year-round.
Can You Regrow Store-Bought Chives Successfully?
Yes, you can regrow store-bought chives at home, but success depends on a few key factors. First, check the freshness before buying—a vibrant green color and firm stems indicate a healthier bunch. Most importantly, inspect the base of the stems for roots; only chives with some white roots attached can be replanted and expected to regrow. If you see fuzzy white tendrils at the bottom, that’s a great sign!
Choose bunches that look moist, not wilted, and avoid any with slimy or yellowing parts. A common misconception is that any bundle of cut chives will sprout new growth when placed in water or soil, but without roots, cut stems won’t regrow no matter how carefully you tend them.
For rooted chives, simply plant them in a small pot with potting mix, water well, and place the pot in a sunny kitchen window. Trim as needed once the plant settles in; usually, new growth appears within two weeks under good conditions. However, don’t expect store-bought chives to live forever—the regrowth is usually limited, and plants may thin out after a few cuttings.
If your chives don’t come with roots, you still have options:
- Grow fresh chives from seed, which is inexpensive and highly reliable.
- Root a new plant by dividing the roots from a friend’s mature chive clump.
Whichever route you choose, with a bit of patience and the right starting materials, regrowing chives is a fun, easy way to get more green from your groceries—just be realistic about what each method can deliver.
Step-By-Step: Regrowing Chives from Store-Bought Bunches
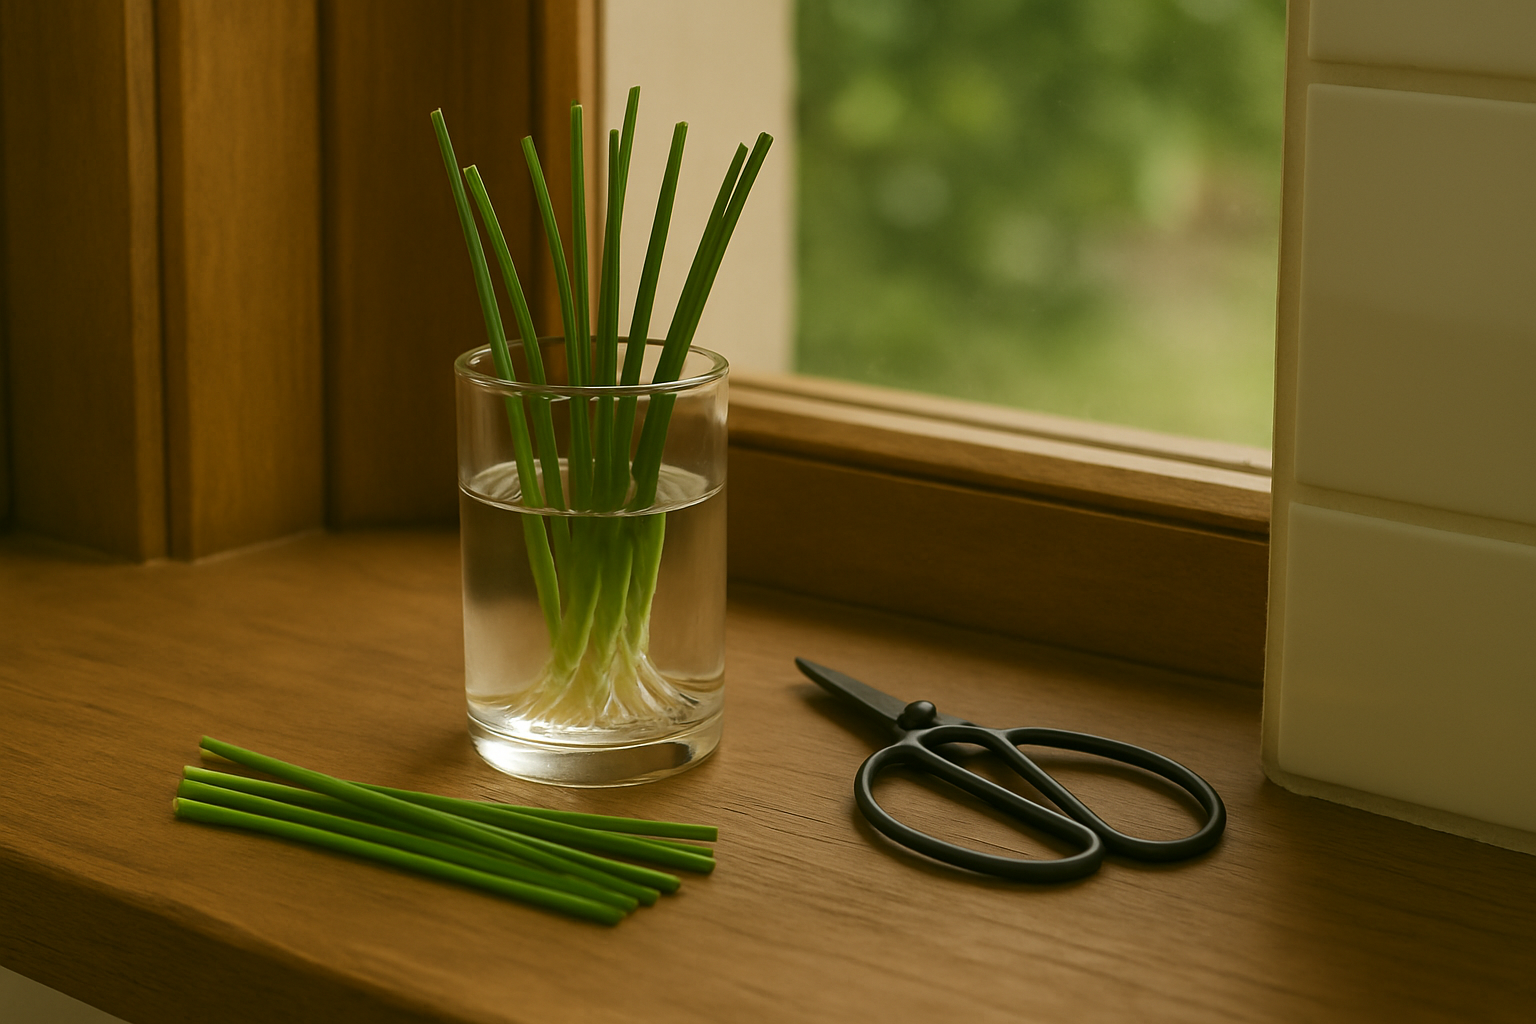
Regrowing chives from store-bought bunches is an easy, budget-friendly way to keep your kitchen stocked with fresh herbs. Start by choosing a bunch with the healthiest-looking, brightest green stalks. You’ll have the most success if you find chives with tiny roots or small white bulbs still attached at the base.
If the chives don’t have visible roots, look for plump, fresh ends and avoid any that are yellowing or slimy. Once you’re home, trim away any mushy or brown bits, leaving about 2-3 inches of stem attached to the root end or bulb.
Water Propagation
For water propagation, place the prepared chive bases in a glass with just enough water to cover the roots, making sure no leaves are immersed to prevent rot. Set the glass on a sunny windowsill and change the water every 2-3 days, rinsing the chive ends each time. Fresh water prevents bacteria growth and encourages new roots to sprout in about a week.
You’ll notice tiny white roots starting to appear. At this point, you can keep the chives in water for continued harvesting, but for longer-lasting plants, it’s best to transfer them to a pot with well-draining soil.
Transplanting to Soil
To transplant, make a small hole in the soil and gently tuck in the rooted chive, covering just the roots while keeping the leaves above the soil. Water immediately after transplanting, but avoid waterlogging—chives prefer moist, not soggy, soil.
Place the pot in a sunny spot that receives at least 4-6 hours of light per day, either by a bright window or outdoors if the weather allows.
Ongoing Care
- Feed your regrown chives with a half-strength liquid fertilizer every couple of weeks.
- Trim the outer leaves frequently to encourage fresh growth.
With a little attention and care, you’ll have a renewable supply of chives, perfect for snipping into omelets, salads, or baked potatoes whenever you need a burst of fresh flavor.
Troubleshooting and Common Challenges with Regrowing Chives

Regrowing chives in water is popular and surprisingly easy, but several common challenges can trip up even enthusiastic kitchen gardeners.
One frustration is poor regrowth—chive stems sometimes stay limp or never sprout new greens. This usually happens if the original bunch wasn’t fresh or the roots were damaged. For best results, choose chives with firm, green stems and healthy-looking white roots when you’re shopping.
Another issue is rot: the bottoms of chive stalks can turn mushy, especially if submerged in water for more than a few days. Combat this by trimming the ends before placing them in water, changing the water every couple of days, and keeping the container in a spot that gets indirect sunlight. Harsh light can stress the plants, while darkness encourages mold. Cloudy water or white fuzz means it’s time for a cleaning.
Slow root development is also common, especially in cramped containers. Give chives at least an inch or two of space to prevent overcrowding and ensure good airflow.
If your regrowing experiment just isn’t working, don’t toss the chives—use what you have right away in salads, omelets, or soups for a burst of fresh flavor. You can also try starting new chives from seed or dividing an established clump from the garden, both easy and rewarding options.
Remember, patience is key—sometimes green thumbs take a little practice, and even when regrowing fails, there’s always another way to bring homegrown chives into your kitchen.
Harvesting, Using, and Repeating the Cycle
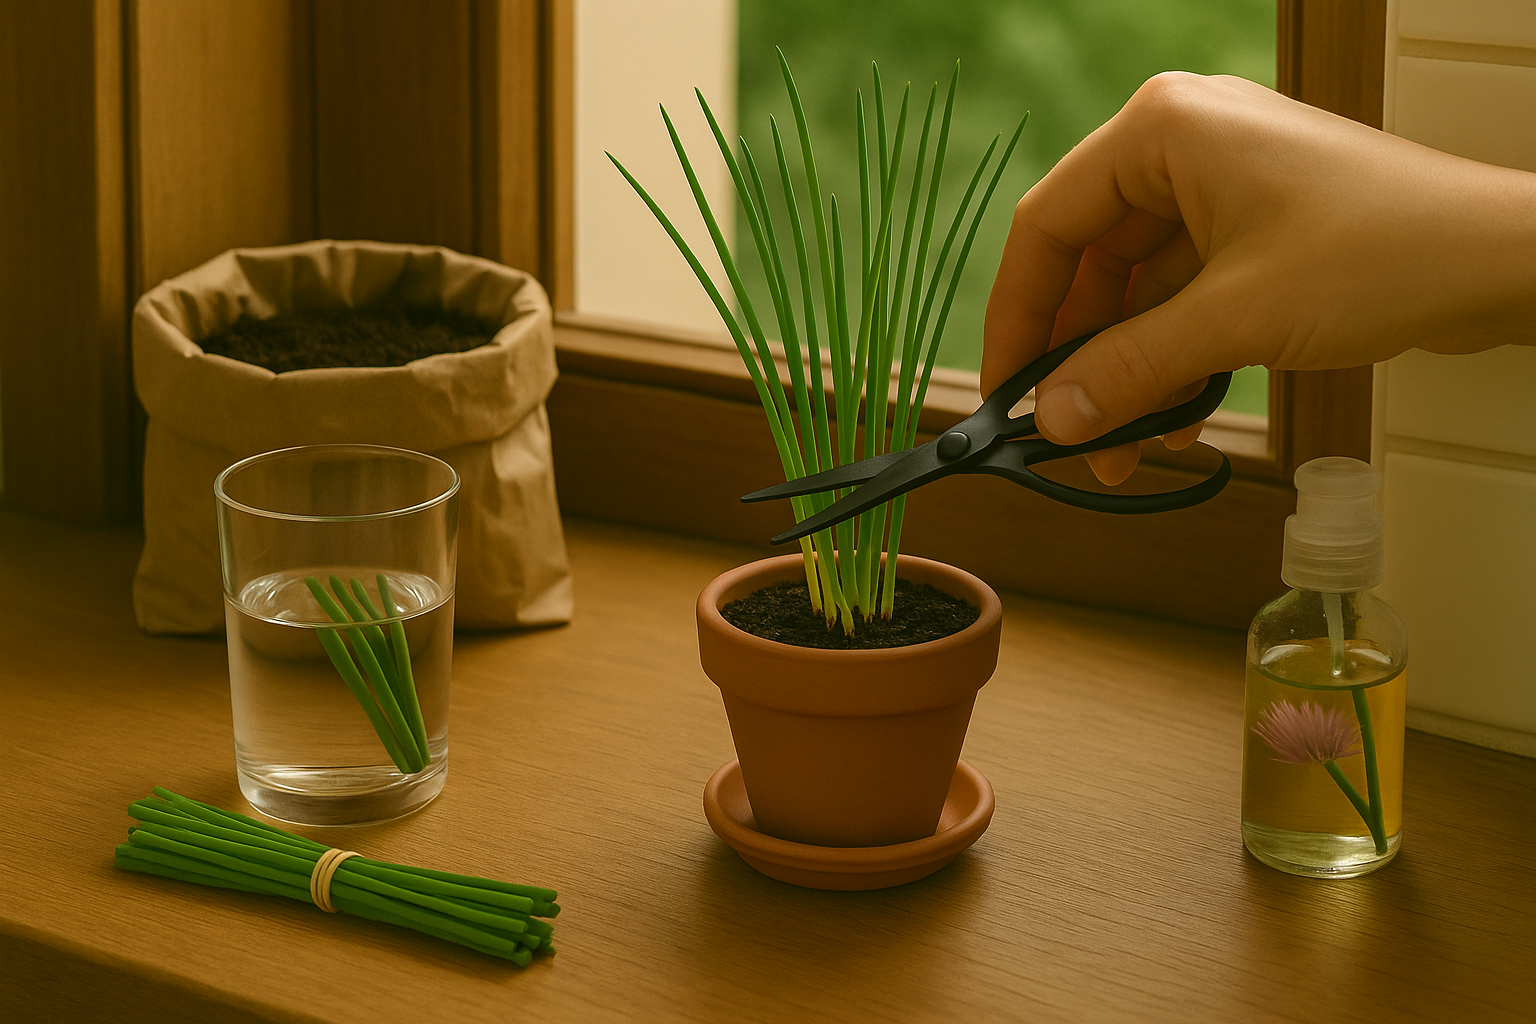
Harvesting chives the right way is key to keeping your plants healthy and productive all season long. Use clean, sharp scissors to snip the leaves about one to two inches above the soil, making sure not to cut too close to the base—this allows the plant to regrow quickly. Never harvest more than one-third of the plant at once, as over-harvesting can stress chives and slow down future growth.
After cutting, bundle the fresh leaves with a rubber band and store them in a glass of water in the fridge, or wrap them in a damp paper towel inside a plastic bag. They’ll keep their flavor for up to a week. You can also chop and freeze them flat in a zip-top bag, so you always have homegrown herbs on hand for soups and omelets.
Whether your chive pot sits on a bright windowsill or out in the garden, keep the soil consistently moist—especially after harvesting. A monthly trim, removing any yellow or spent stalks, will encourage fresh shoots. Don’t forget to fertilize lightly once a month during the main growing season.
For continuous harvests, repeat this simple harvesting and care routine, and you’ll be surprised how quickly chives bounce back. Once you’ve mastered chives, try propagating other easy kitchen herbs like basil, mint, or green onions from cuttings. Growing a small indoor or outdoor herb garden is rewarding, saves money, and always keeps fresh flavors within arm’s reach.
Conclusion
Regrowing chives from store-bought bunches is a simple and rewarding project—even for beginners. With just a glass of water and a sunny windowsill, you can give leftover chive stems a second life, transforming kitchen scraps into a fresh, ongoing supply of fragrant greens.
The process requires minimal effort or equipment, making it perfect for small spaces or busy lifestyles. Not only does it save a bit of money, but it also adds a sense of accomplishment every time you snip homegrown chives for your meals.
Plus, watching the green shoots regrow can inspire you to explore other easy kitchen herb propagation—like basil, green onions, or mint. If you’re looking to start your own mini windowsill herb garden, regrowing chives is one of the easiest and most satisfying places to begin. Give it a try—you’ll be surprised how quickly those trimmings bounce back!