How to Grow Parsley from Seed
Growing parsley from seed is a rewarding way to bring fresh, flavorful herbs right to your kitchen windowsill or garden. Homegrown parsley gives you consistent access to vibrant leaves that are unbeatable in both taste and nutritional value.
Compared to store-bought bunches, growing your own offers significant perks:
- You save money
- Avoid unnecessary trips to the store
- Have total control over how your parsley is grown, from the soil to the absence of unwanted chemicals or sprays
However, new gardeners should know that parsley seeds can be a bit tricky at first. These tiny seeds are naturally slow to sprout, often taking two to four weeks to show their first green shoots. Don’t get discouraged; this is normal and just part of parsley’s nature.
With a bit of patience and the right technique—such as pre-soaking seeds or keeping the soil moist—you’ll soon find that parsley is actually one of the easier herbs to grow at home. By setting realistic expectations and following some simple steps, you’ll be enjoying lush, homegrown parsley that elevates your meals and brightens your garden.
Choosing the Right Parsley Variety
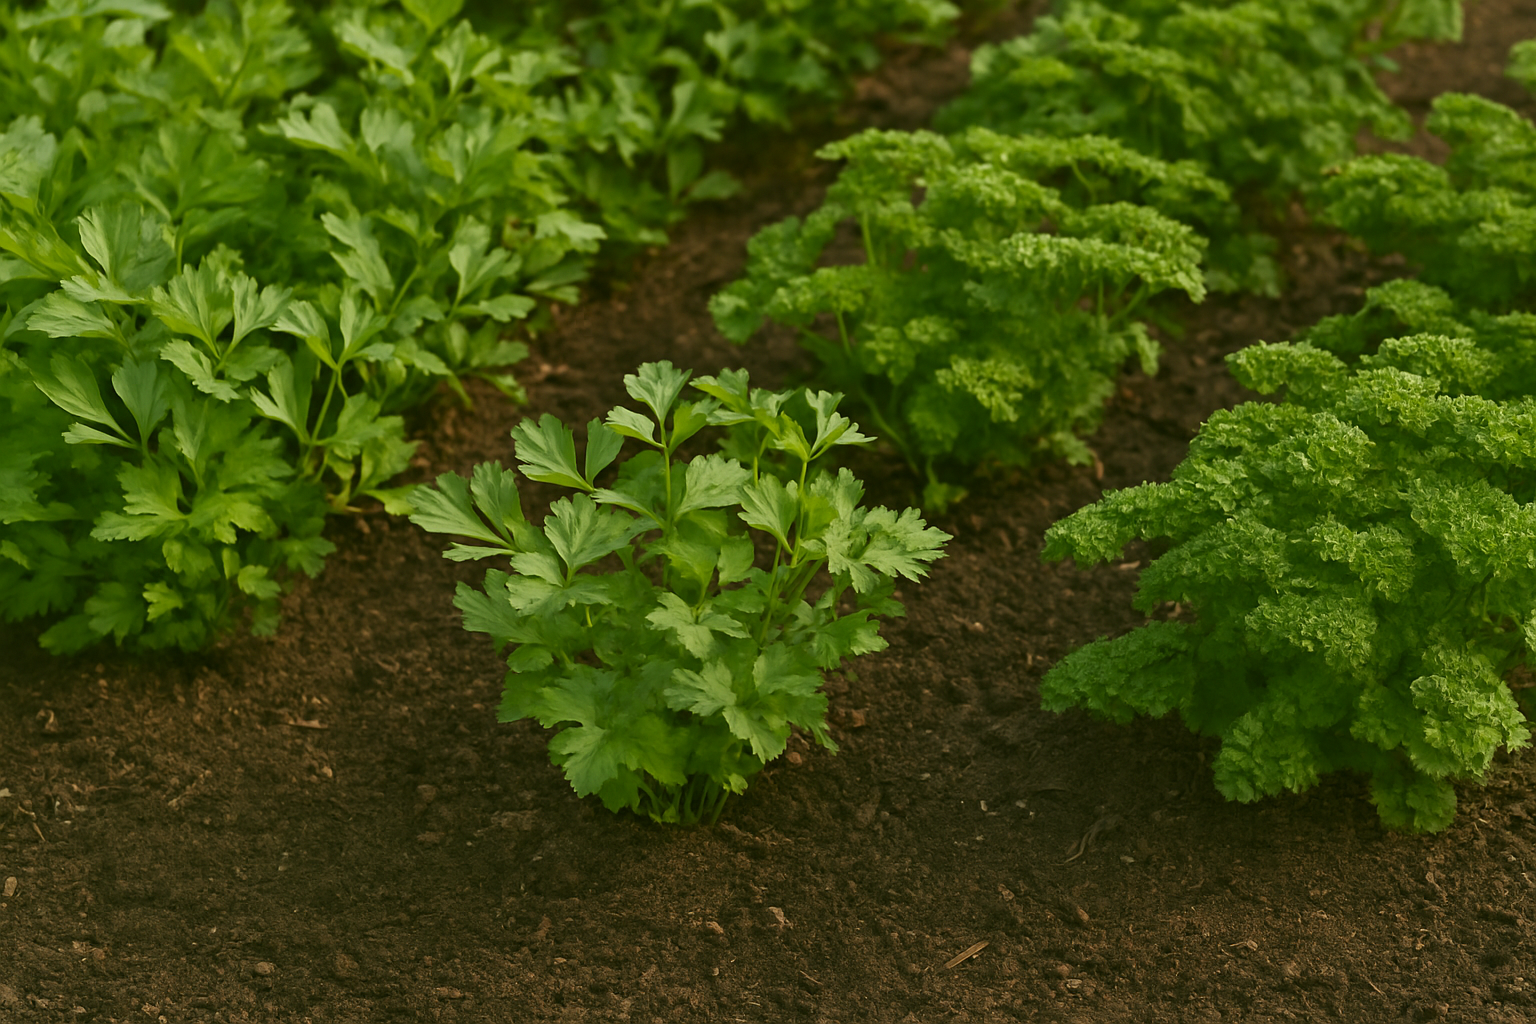
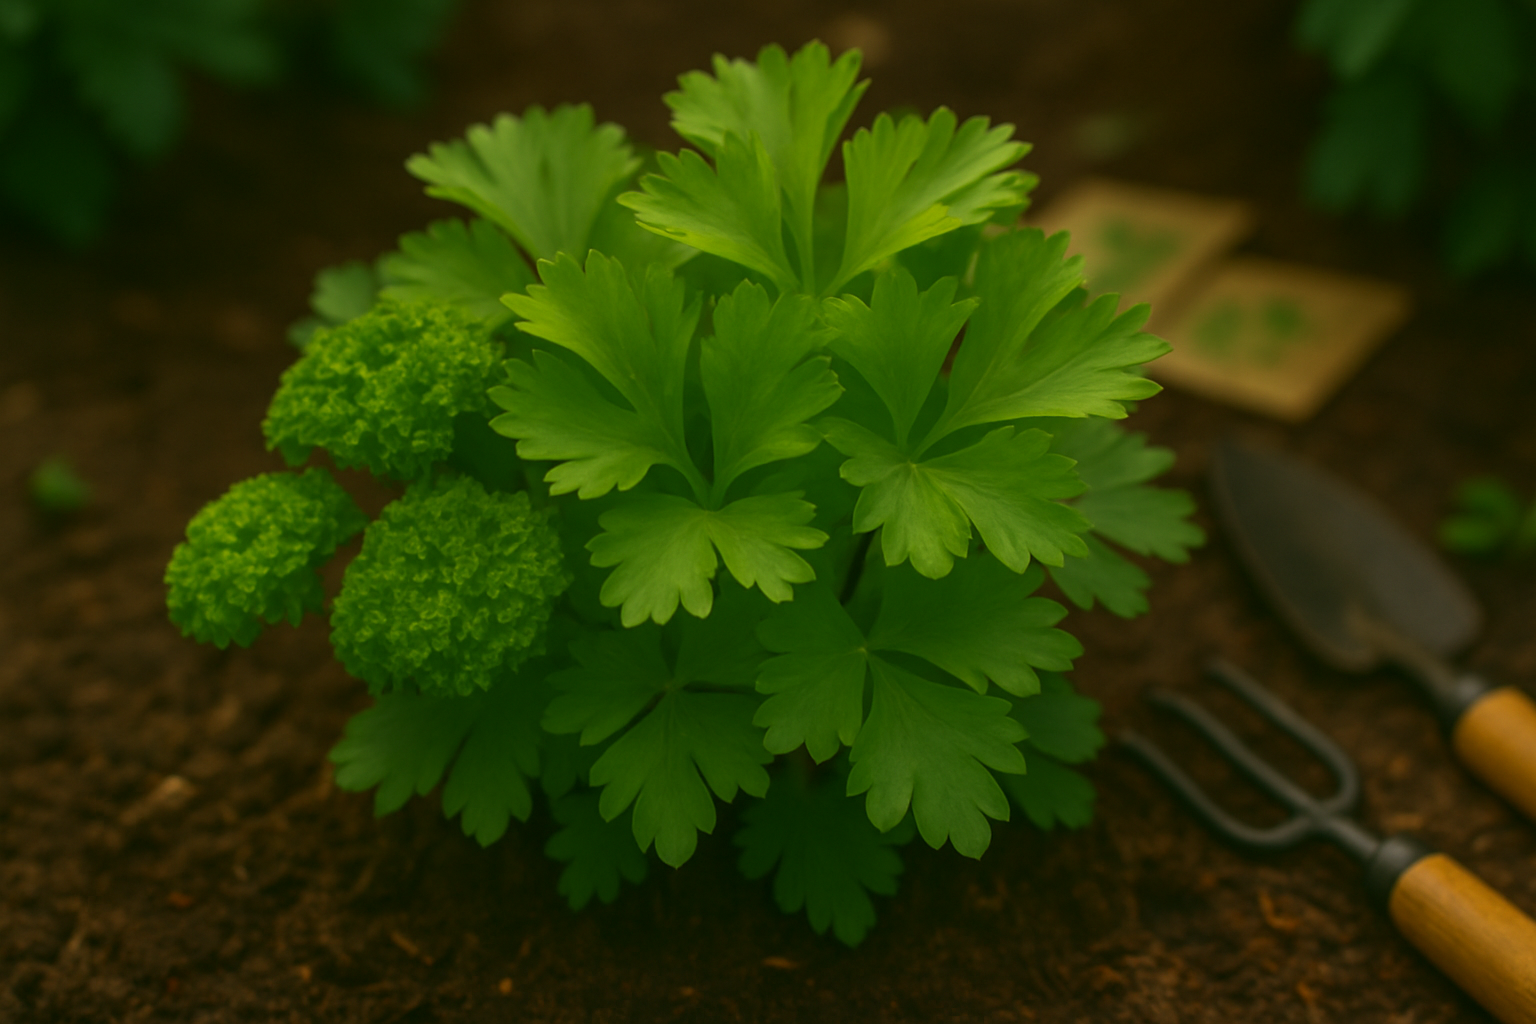
When picking the best parsley for your garden or kitchen, understanding the key differences between flat-leaf and curly-leaf varieties can make all the difference.
Flat-leaf parsley, often called Italian parsley, has broad, serrated leaves and a strong, bold flavor—making it perfect for cooked dishes, sauces, and recipes where parsley’s taste needs to shine, like gremolata or chimichurri. It’s also easier to chop, which saves prep time.
Curly-leaf parsley, on the other hand, has tightly ruffled leaves and a milder, slightly grassy taste. It’s ideal for garnishing plates or adding a subtle herbal note without overpowering your meal. As a bonus, curly types are often more decorative in the garden and can be more tolerant of cooler, wetter climates.
There are also specialty types, such as Hamburg parsley, prized for its edible root, or Japanese parsley (mitsuba) with a unique flavor profile for adventurous cooks.
If you’re gardening in hot and dry conditions, flat-leaf varieties generally handle summer heat more gracefully, while curly parsley withstands a wider range of soils.
For the freshest, most reliable crops, always buy seeds from trusted suppliers known for quality and viability—online retailers like Johnny’s Selected Seeds or local nurseries are great places to start.
When & Where to Plant Parsley Seeds
Parsley grows best when sown in the cool, gentle weather of early spring or fall, preferring temperatures between 50°F and 70°F. Although it can tolerate light frost, parsley struggles in intense summer heat, so timing your planting is key for a healthy harvest.
If you plan to grow parsley outdoors, wait until the soil is workable and all danger of heavy frost has passed. Patience is important, as parsley seeds germinate slowly—sometimes taking up to three weeks.
Indoors, you can get a head start by sowing seeds in seed trays or pots about 6-8 weeks before the last frost date. Place them on a sunny windowsill or under a grow light to avoid unpredictable spring weather and provide a stable environment for young seedlings.
Planting Outdoors
When planting outdoors, space is usually less limited, allowing parsley to flourish in rows or clusters. Be sure to maintain consistent moisture and good air circulation for healthy growth.
Planting Indoors
Indoor space can be limited, but parsley adapts well to containers that are at least 6-8 inches deep. Choose a pot with drainage holes to prevent waterlogging and set it in a bright spot—parsley needs at least 6 hours of sunlight daily.
Soil and Care Tips
- Use rich, well-draining soil for both garden beds and containers; a mix amended with compost or a balanced organic fertilizer works great.
- Mulching around parsley plants outdoors helps conserve moisture and keeps the soil cool, which the roots will appreciate as the season warms up.
Whether in the ground or on your kitchen windowsill, paying attention to timing, light, and soil conditions gives you the best chance at lush, flavorful parsley.
Sowing Parsley Seeds
Preparing parsley seeds before sowing can significantly boost your chances of success, as these seeds are known for being slow and finicky germinators. Start by soaking your seeds in warm water for 24 hours—this helps soften the tough seed coat and jumpstarts the germination process.
For even better results, pre-chill the seeds by placing them in a damp paper towel inside a resealable plastic bag, then refrigerate for 2 to 3 weeks.
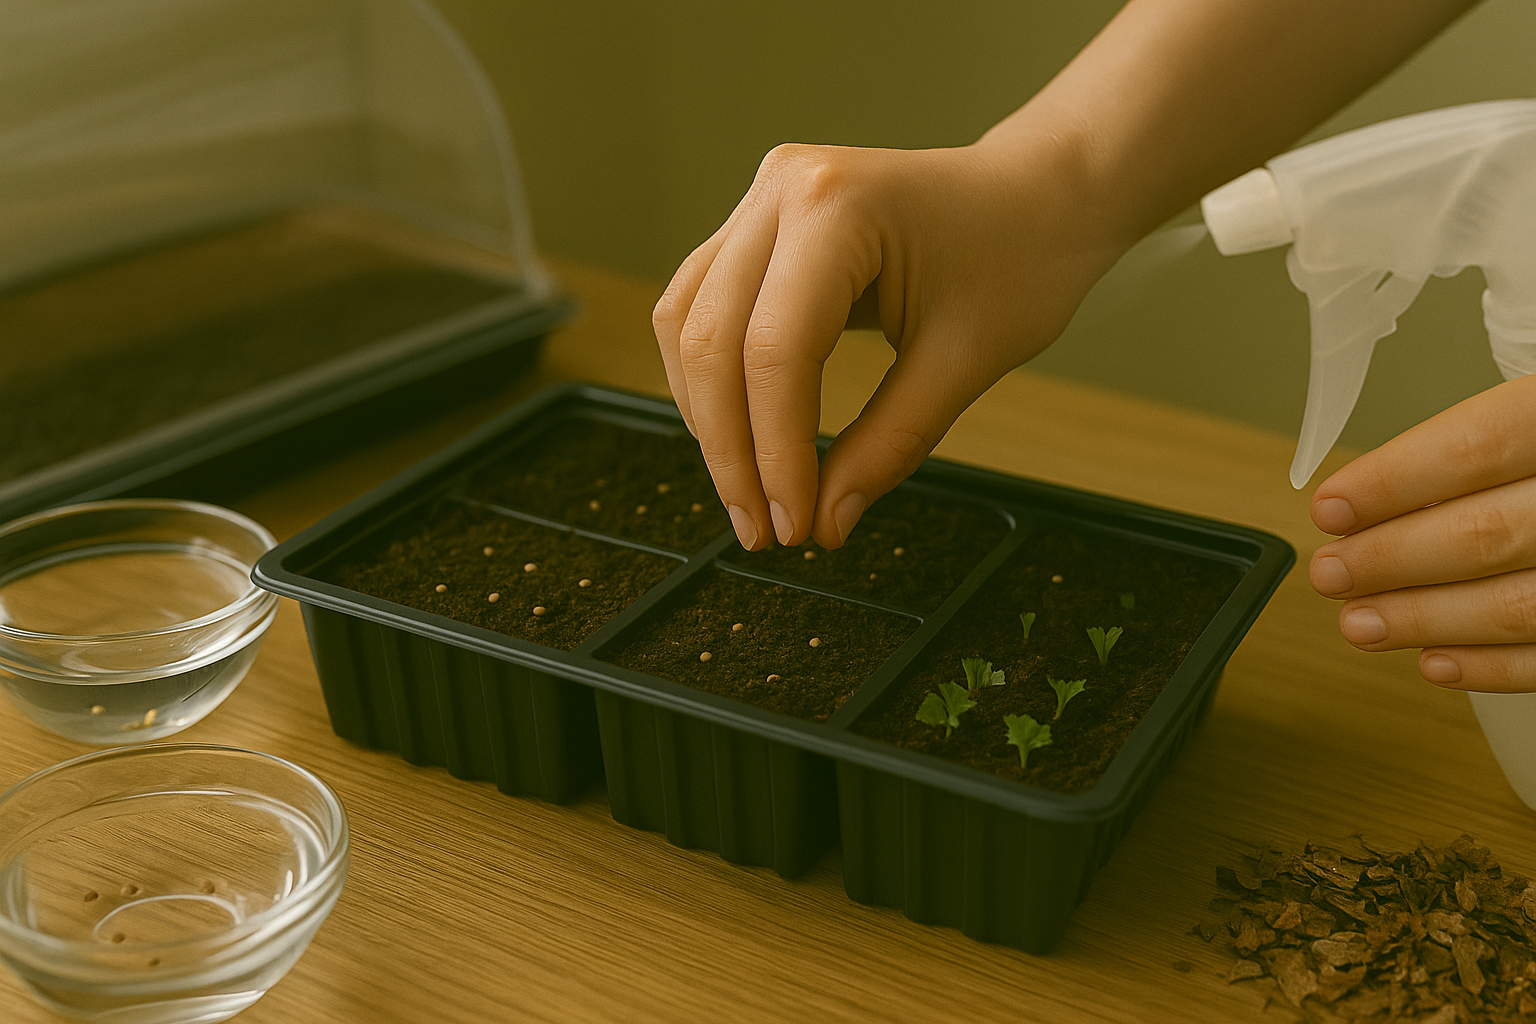
Once you’re ready to plant, choose a well-draining spot in your garden or containers with rich, loose soil. Sow the seeds thinly about a quarter-inch (0.5 cm) deep—parsley prefers a shallow planting depth to get started. Space the seeds roughly 1 inch (2.5 cm) apart in rows spaced 6 to 8 inches (15 to 20 cm) apart to give them enough room to grow.
After sowing, gently firm the soil and mist it with a spray bottle to avoid washing away the tiny seeds. Parsley needs moisture to germinate, so keep the top inch of soil consistently damp but not waterlogged. Consider using a clear plastic cover or row cover to trap humidity until seedlings appear, usually in 2 to 4 weeks.
Once seedlings are a couple of inches tall, thin them out so individual plants are spaced 6 inches apart—this ensures good airflow and healthy growth.
Regular, gentle watering is key, especially during the germination period, so check the soil daily and mist or water lightly as needed.
Caring for Parsley Seedlings and Plants
Caring for parsley seedlings starts with providing the right amount of water and light. Keep the soil consistently damp but not soggy—aim to water your seedlings 2-3 times a week, adjusting for rainfall and hot weather. Parsley thrives in full sun but can tolerate light afternoon shade, so choose a spot that gets at least 6 hours of sunlight daily.
For best growth, feed your parsley every 4-6 weeks with a balanced liquid fertilizer. Be careful not to overdo it, as too much fertilizer can lead to lots of leaves but little flavor. To maintain soil moisture and prevent weed growth, spread a thin layer of mulch such as straw, chopped leaves, or compost around your plants.
Regularly hand-weed around the seedlings—parsley roots are delicate and don’t compete well with aggressive weeds. Start thinning seedlings when they’re about 2 inches tall, leaving about 6-8 inches between each plant. This spacing allows them to grow full and bushy rather than spindly and crowded.
Watch out for common pests like aphids and caterpillars. Remove them by hand, spray with light insecticidal soap, or encourage ladybugs to help keep pest numbers down naturally. With attentive watering, sunlight, and a little care to keep the growing area tidy, you’ll enjoy healthy, flavorful parsley all season long.
Harvesting and Using Your Parsley
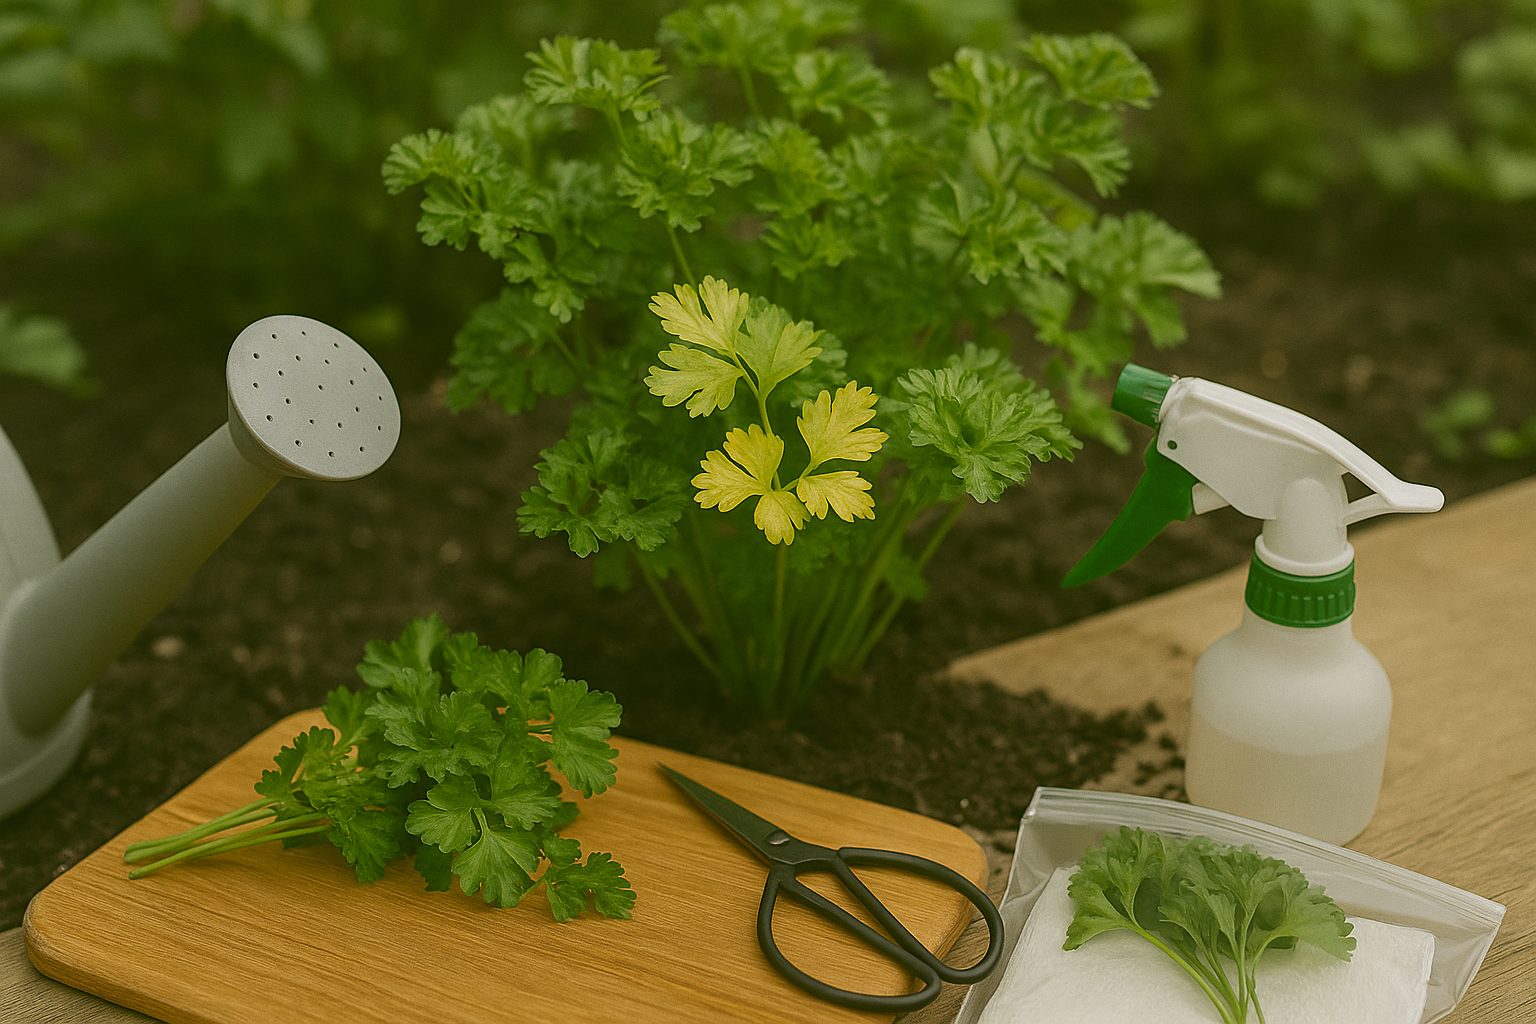
To get the best flavor from your parsley, harvest it in the morning after the dew has dried but before the sun gets hot—this is when the oils are most concentrated. Use sharp scissors or garden shears to cut the outer stems near the base, allowing the inner ones to keep growing for a continuous harvest. Regular cutting actually encourages bushier plants, so don’t be shy!
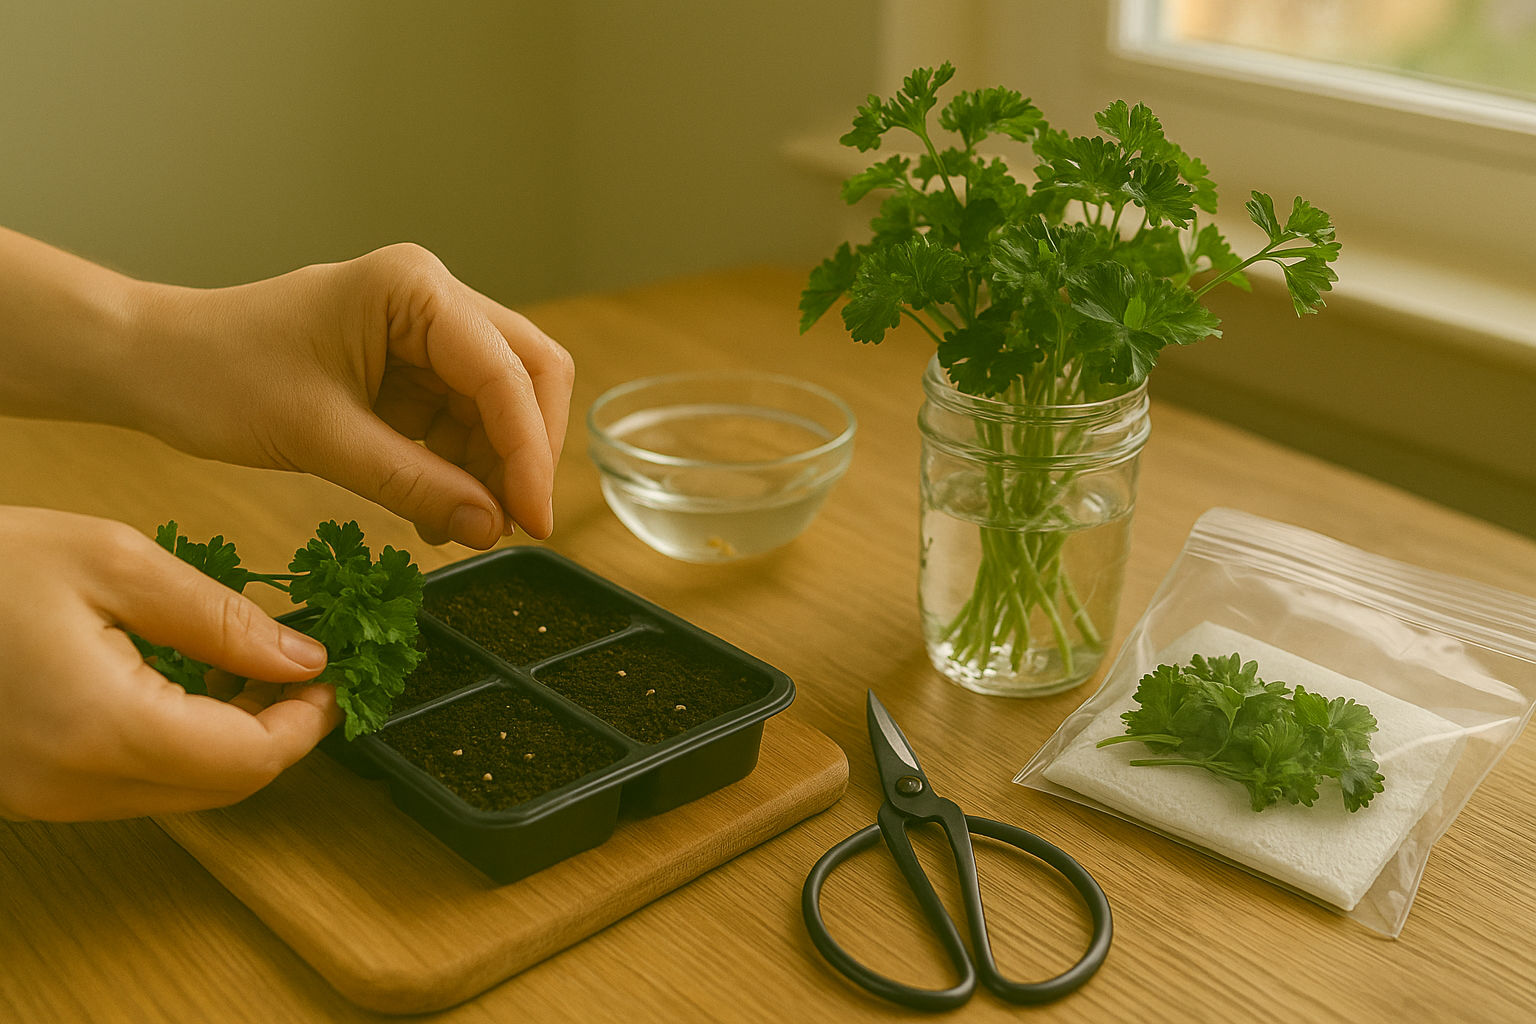
For immediate use, rinse parsley under cool water and pat dry. Fresh parsley keeps best if you trim the stems and store the bunch in a glass of water, loosely covered with a plastic bag in the refrigerator—this can keep it vibrant for up to a week. Alternatively, wrap the leaves in a damp paper towel and seal them in a zipper bag.
For longer storage, freeze washed and chopped parsley in ice cube trays with water or oil, then transfer the cubes to a freezer bag for up to six months—perfect for tossing into soups or sauces straight from the freezer.
Fresh parsley elevates almost any dish: sprinkle it over roasted vegetables for color, stir it into salads for a burst of freshness, or mix it into homemade dressings and marinades. It’s also a classic garnish that can make simple meals look truly special.
Common Problems and Simple Solutions
Parsley growers often face a few common hurdles, but with some simple tweaks, these can be easily overcome.
Poor germination is a frequent challenge—parsley seeds are notorious for being slow and fussy. To boost your success, soak seeds in warm water overnight before planting, and keep the soil consistently moist until sprouts appear, which can take up to three weeks.
If you notice yellowing leaves, your parsley could be stressed by overwatering, underwatering, or a lack of nutrients. Stick your finger into the soil; if it’s soggy, reduce watering. If it’s dry, increase the frequency and add a balanced fertilizer to supply missing nutrients.
Bolting, when parsley suddenly shoots up and flowers, tends to happen in hot weather or when plants are stressed. To prevent this, plant parsley in cooler seasons or partial shade, and snip off any flower stalks as soon as they appear.
Keep an eye out for pests such as aphids or caterpillars; a strong spray of water or insecticidal soap usually keeps them in check.
Most importantly, don’t get discouraged—parsley is a tough herb that rewards a little patience and attentive care with plentiful, fragrant leaves all season long.