“`html
When to Transplant Parsley Seedlings
Transplanting parsley seedlings at the right time can make all the difference in their growth and health. Look for seedlings that are about 2-3 inches tall and have at least two to three true leaves—not just the tiny, rounded seed leaves they first sprout. These true leaves look like miniature versions of adult parsley, with frilled or flat edges depending on your variety.
The seedlings should look sturdy and upright, not leggy, floppy, or yellowing. If the roots are visibly poking through the pot’s drainage holes or starting to circle the container, that’s another good sign they’re ready.
The best time of year to transplant parsley is in spring, after all danger of frost has passed and soil temperatures consistently stay above 50°F (10°C). Early morning or late afternoon are the best times of day to move your seedlings—this avoids exposing them to harsh midday sun, which can stress them or cause wilting.
Watch the weather: pick a cloudy or overcast day for transplanting if possible, because this reduces transplant shock. Also, check the soil moisture; slightly damp, but not soggy, soil helps the roots settle in more easily.
A real-world tip: try acclimating (hardening off) your seedlings for a week prior by placing them outside in a sheltered spot, increasing their exposure to sun and wind gradually each day. If your parsley seedlings seem strong, bushy, and have handled this transition without signs of stress (like leaf scorching or drooping), they’re ready to make the move to their permanent home in your garden.
“`
How to Prepare Parsley Seedlings for Transplant
Before moving your parsley seedlings to the garden, it’s crucial to prepare them with a process called hardening off. This means gradually exposing your indoor-grown plants to outdoor conditions over a week or so.
Start by placing them outside in a sheltered spot for two to three hours a day, then slowly increase their time outdoors and exposure to sunlight and wind. This step toughens them up and helps avoid transplant shock, which can stunt growth or even kill seedlings.
Alongside hardening off, keep the soil moist but not soggy to support strong root development. Water seedlings the day before transplanting to make sure the roots are hydrated—never transplant dry plants, as this makes shock more likely.
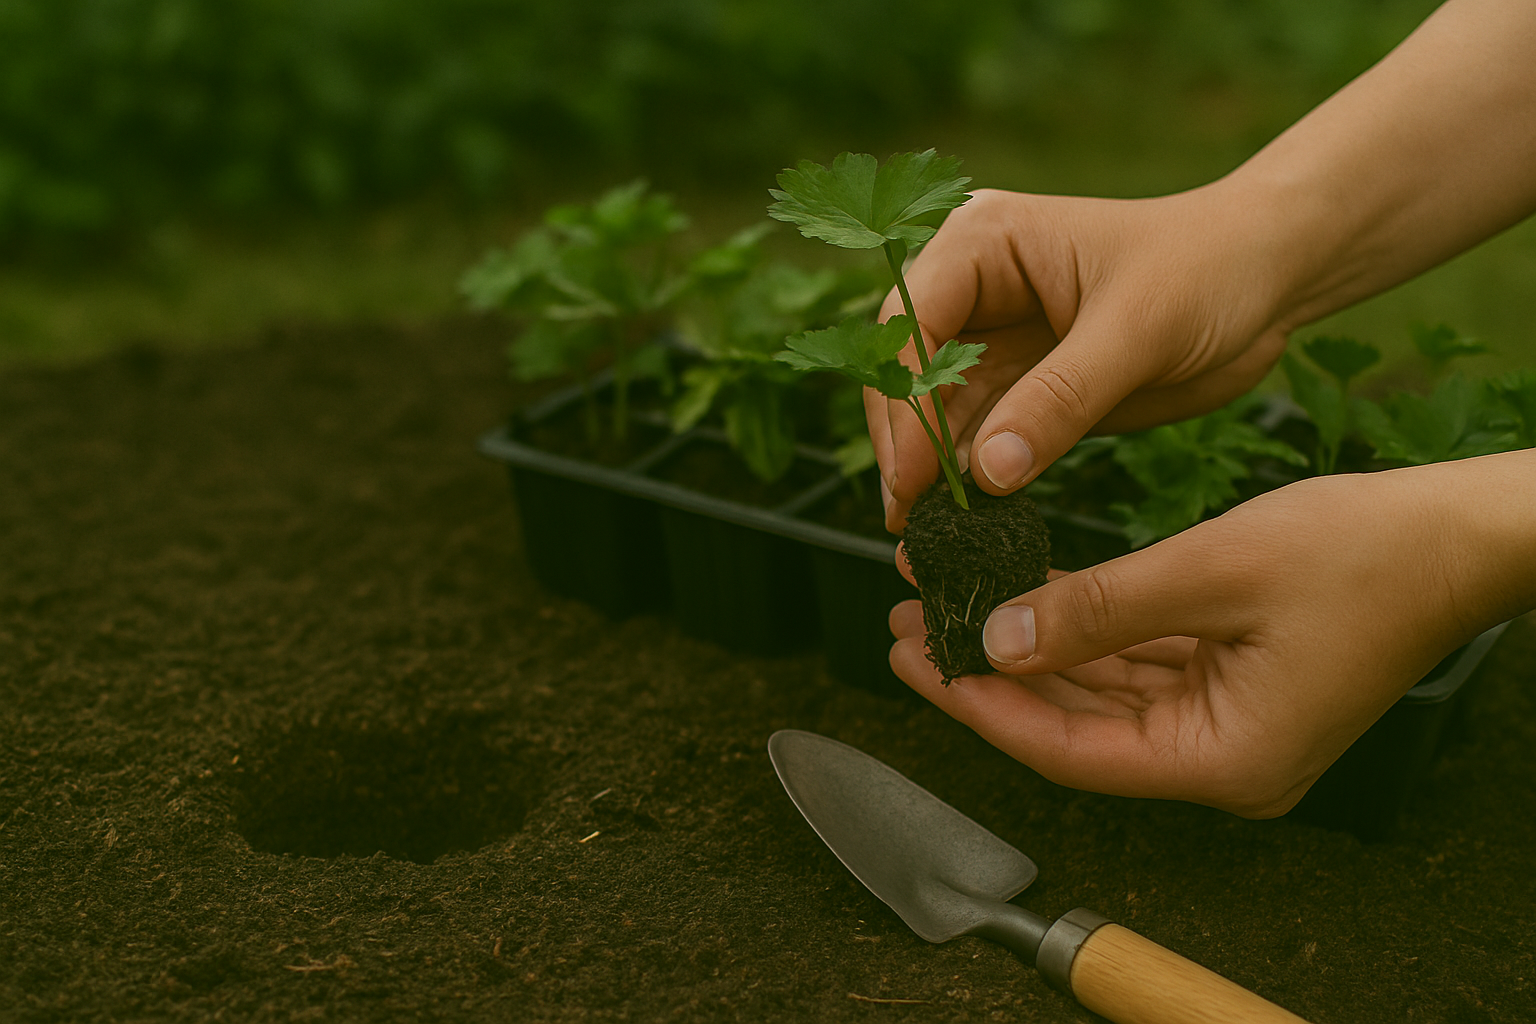
When it’s time to move them, gently ease the seedlings from their trays, handling them by the leaves rather than the stems to avoid bruising or breaking. Check each one for healthy, white roots and sturdy stems; discard any that are weak, leggy, or have discolored or rotting roots.
Only transplant the healthiest seedlings to give your parsley the best start. By taking these extra precautions, you’ll set yourself up for a lush, thriving herb patch.
Choosing and Preparing the Right Location
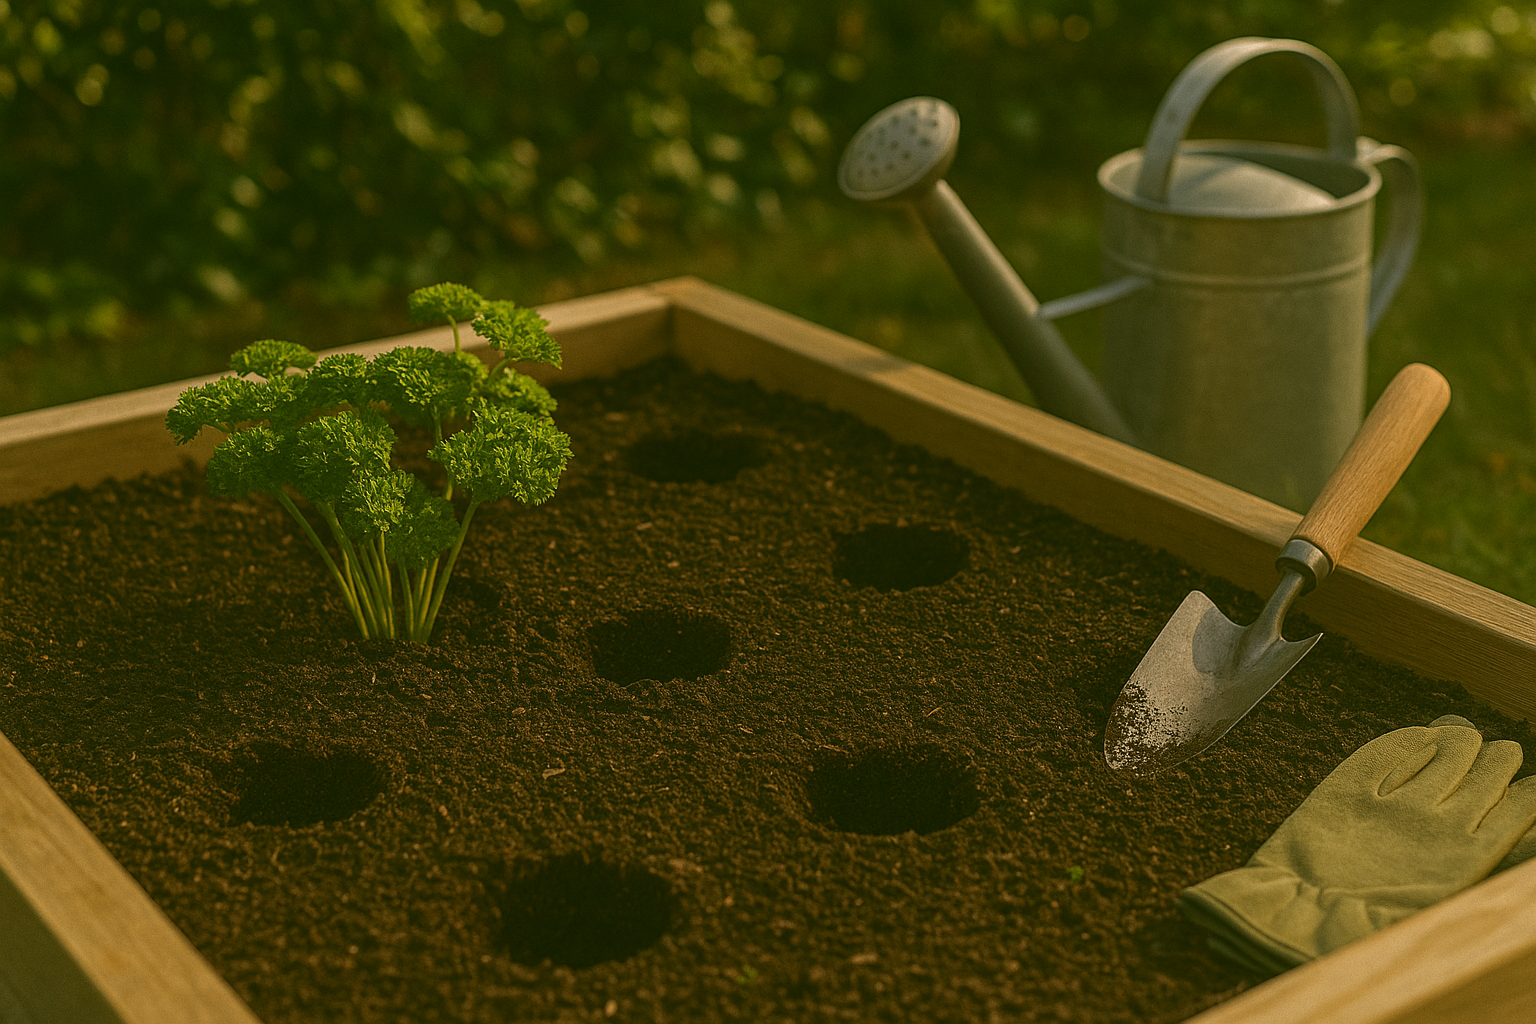
Selecting the right spot is crucial for growing parsley successfully, whether you choose a garden bed or a container. Look for a location that gets at least 6 hours of sunlight each day—parsley thrives in partial to full sun. Good drainage is also essential; waterlogged roots will quickly lead to problems. If your soil is heavy clay, consider raised beds or pots with drainage holes.
For soil, aim for a loose, rich mix high in organic matter. Mix in compost or well-rotted manure before planting to boost nutrients. You can also add a balanced organic granular fertilizer or worm castings for extra support. A slightly acidic to neutral pH (6.0–7.0) is best. If using a container, choose one that’s at least 8 inches deep to allow for healthy root development.
When planting parsley, space seeds or seedlings about 6–8 inches apart to ensure each plant gets enough light and airflow. If you’re growing in rows, leave around 12 inches between them. Parsley is a great team player in the garden—pair it with tomatoes, carrots, or chives to attract beneficial insects and deter pests. Avoid planting too close to mint, as aggressive root systems can crowd out parsley.
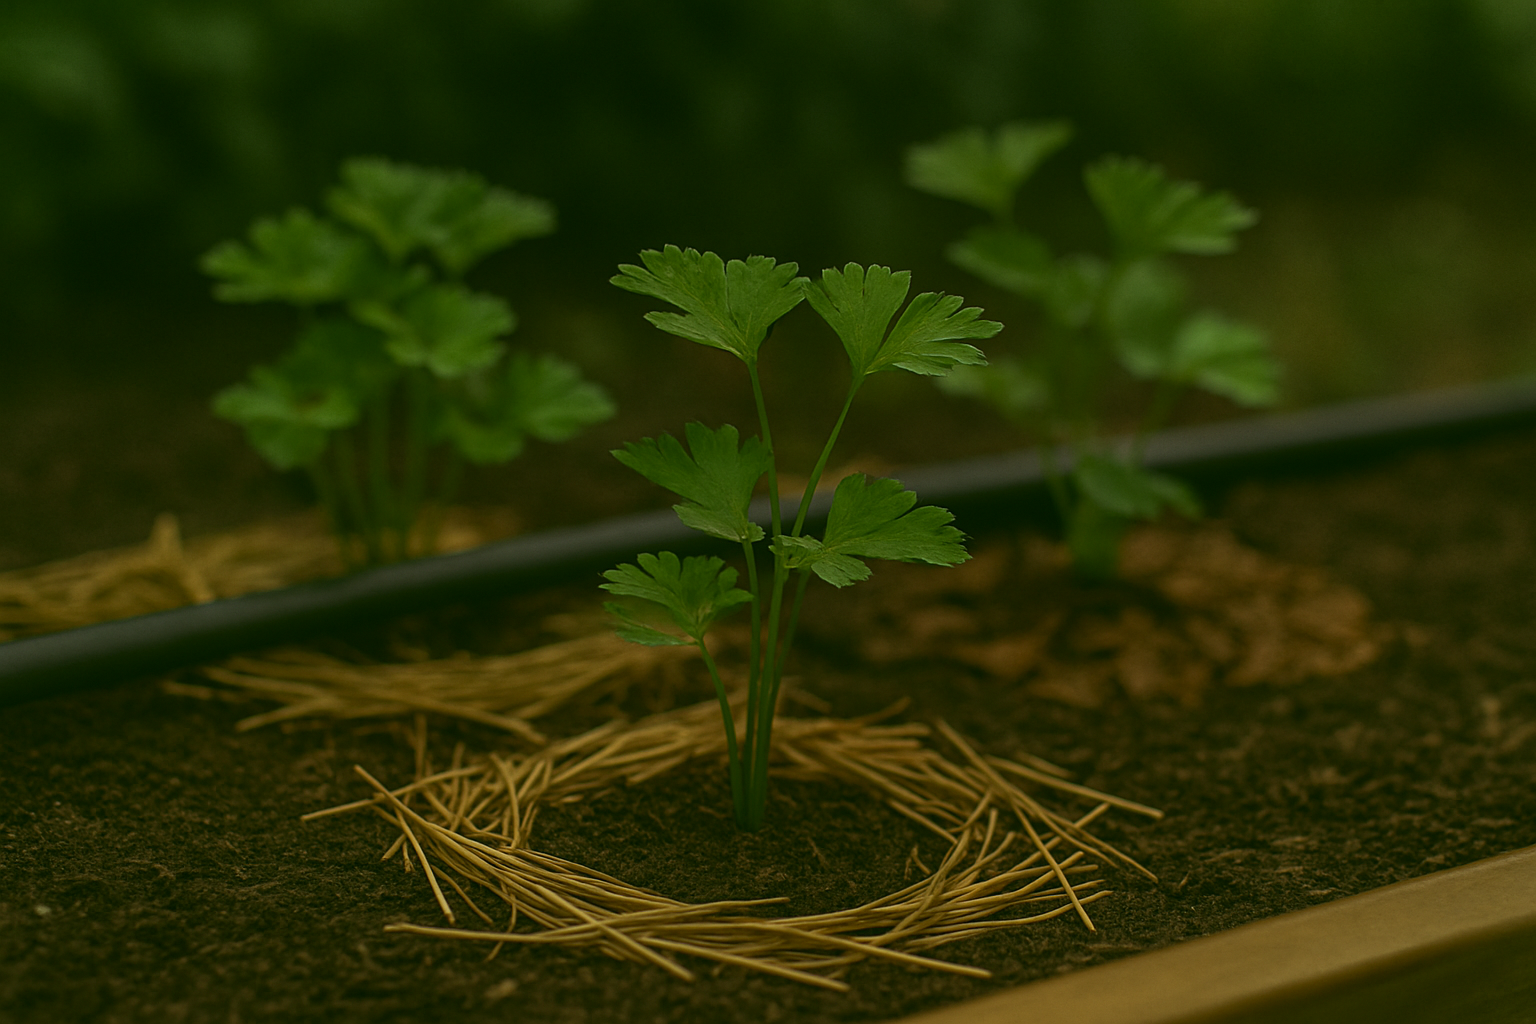
Mulch around the plants with straw or compost to retain moisture and suppress weeds. With thoughtful site selection, nutrient-rich soil, and strategic companions, your parsley will flourish and provide a steady harvest all season.
Step-by-Step Guide to Transplanting Parsley Seedlings
Transplanting parsley seedlings can be a breeze if you follow a few careful steps. Start by choosing a cool, cloudy day or late afternoon to minimize stress on the plants.
First, prepare your planting area by loosening the soil and digging holes about 4–6 inches apart, each deep enough to accommodate the root ball without bending or crowding the roots. Water the seedlings a few hours beforehand; this makes the soil softer and the roots easier to work with.
When you’re ready to transplant, gently loosen the seedlings from their trays or pots by squeezing the container or using a dibber or spoon. Be extra cautious not to tug on the delicate stems, which can easily break or bruise. Lift each seedling by the leaves, not the stem, and keep as much soil around the roots as possible to prevent transplant shock.
Place seedlings into the holes at the same depth they were in their original container; planting them too deep or too shallow can stunt growth. Gently backfill with soil and press lightly to remove air pockets.
Immediately after planting, water thoroughly to help the soil settle around the roots and aid recovery. Consider shading the new transplants with a row cover or a piece of cardboard for a couple of days to protect them from harsh sun while they acclimate.
Common Mistakes to Avoid
- Rough handling: This can damage the fragile roots and slow down establishment, so always work slowly and with care.
- Over-watering: While it’s important to keep the soil moist, soggy conditions can cause root rot.
- Fertilizing too soon: Tender roots may burn easily; wait until the seedlings are well established, then start with a diluted fertilizer.
With these steps, your parsley seedlings will settle in quickly and grow strong.
Caring for Parsley After Transplanting
After transplanting parsley into your garden or container, proper care is essential to ensure healthy growth and minimize transplant shock. Start with a consistent watering routine, keeping the soil evenly moist but not waterlogged. Aim to water deeply every two to three days, especially during the first two weeks.
Consider adding a light layer of organic mulch, like shredded leaves or straw, around the base to help retain soil moisture, regulate temperature, and reduce weed growth. Be careful not to pile mulch against the stems, as this can cause rot.
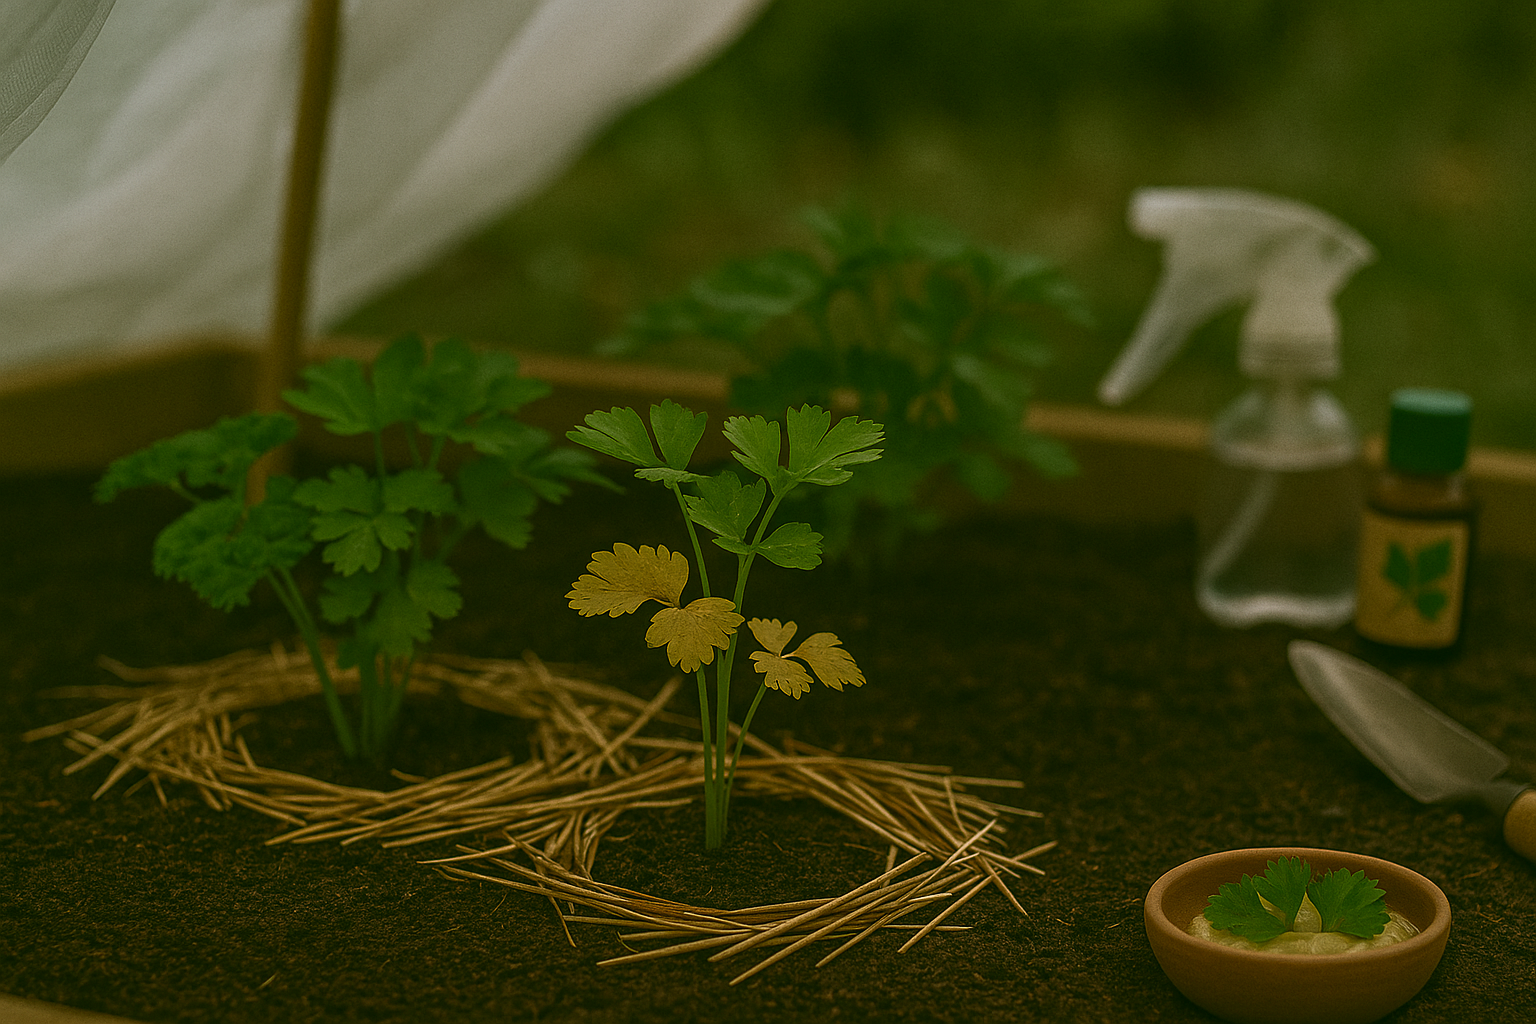
Regularly check for weeds and remove them gently by hand to prevent competition for nutrients and water. Transplant stress in parsley often appears as yellowing leaves, wilting, or slowed growth. If you notice these symptoms, provide afternoon shade using a row cover or lightweight cloth, reduce fertilizer temporarily, and ensure the plant’s roots aren’t sitting in soggy soil.
Once your parsley is settled—typically three to four weeks after transplanting—start a light feeding routine with a balanced liquid fertilizer every four to six weeks to encourage lush foliage. Remember to prune back outer leaves regularly by snipping them near the base; this helps the plant focus its energy on producing new growth and prevents overcrowding.
With these tips, your parsley will not only survive transplanting but thrive throughout the season, giving you a continual harvest of fresh, fragrant leaves for your kitchen.
Troubleshooting Common Transplant Problems
After transplanting, it’s normal to see some stress signs in your plants, but knowing how to spot and address them quickly can make all the difference. Wilting is one of the most common problems—often caused by transplant shock or inadequate watering.
To fix this, water thoroughly but be careful not to overwater; adding mulch helps retain moisture while the plant recovers. If you notice yellowing leaves, check for nutrient deficiencies or overly wet roots. Try a diluted, balanced fertilizer and ensure proper drainage.
Pest issues like aphids or spider mites also pop up after transplanting, as plants are vulnerable during adjustment. Inspect leaves regularly, and use a gentle insecticidal soap or neem oil if you see pests.
For severe or ongoing issues, take photos of your plant and contact your local cooperative extension office or a nearby nursery—they can offer region-specific advice and help diagnose tricky problems.
With a bit of observation and timely action, most transplant problems can be solved before they become serious setbacks.