Introduction to Growing Mint in Pots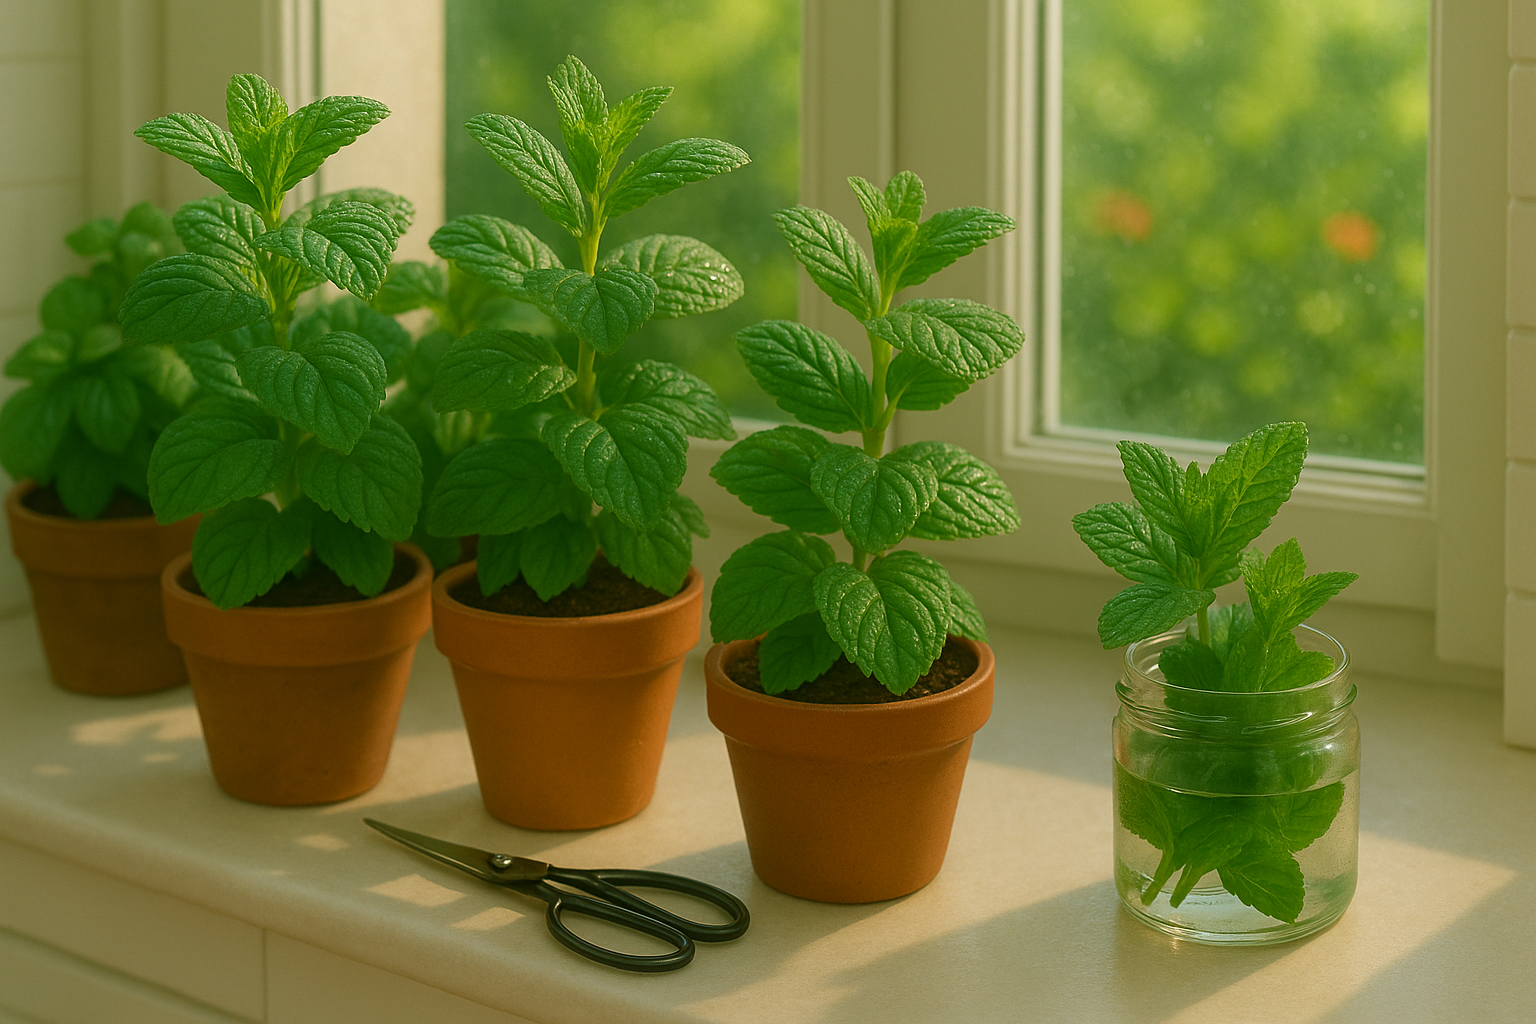
If you’re looking to add fresh herbs to your kitchen, learning how to grow mint in pots is a rewarding place to start. Mint is a fast-growing, aromatic herb that’s perfect for beginners and experienced gardeners alike. The great thing about growing mint in pots is that it prevents this enthusiastic plant from taking over your garden beds while maximizing space—whether you’re working with a small patio, balcony, or sunny windowsill.
Container gardening gives you control over growing conditions and makes it easy to snip off a handful of fresh mint leaves whenever you want—ideal for everything from teas to salads. In this blog post, you’ll find step-by-step tips for choosing pots and soil, the best spots to place your mint indoors or outdoors, and tricks for keeping your plant lush and healthy.
We’ll also cover how to troubleshoot common mint problems so you can enjoy a thriving container of mint year-round. Whether you’re aiming for a garnish on your summer drinks or a fresh burst of flavor in your meals, you’ll find everything you need to successfully grow and care for mint in pots right here.
Choosing the Right Mint Variety & Container
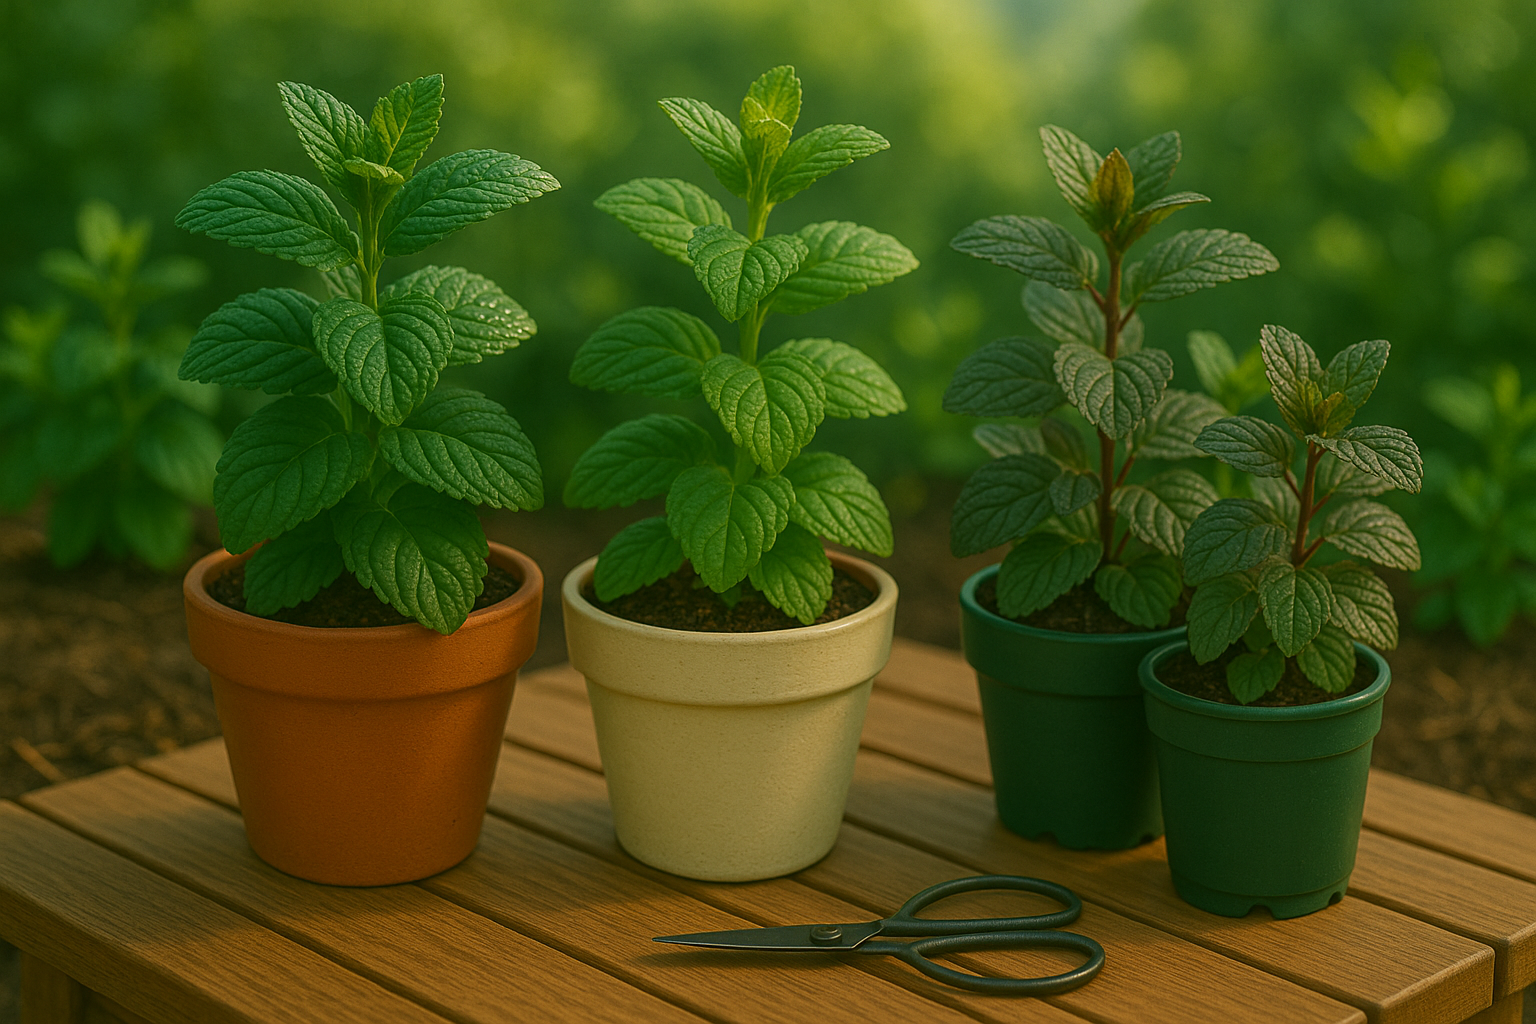
When it comes to growing mint in containers, choosing the right variety can make all the difference in flavor and growth. Peppermint is a classic choice for teas and desserts, known for its bold, refreshing taste. Spearmint has a milder, sweeter profile—perfect for cocktails like mojitos or adding to salads. For something unique, try chocolate mint; it has a subtle cocoa aroma that’s great for baking or homemade ice cream. All three varieties thrive in pots, making them beginner-friendly options.
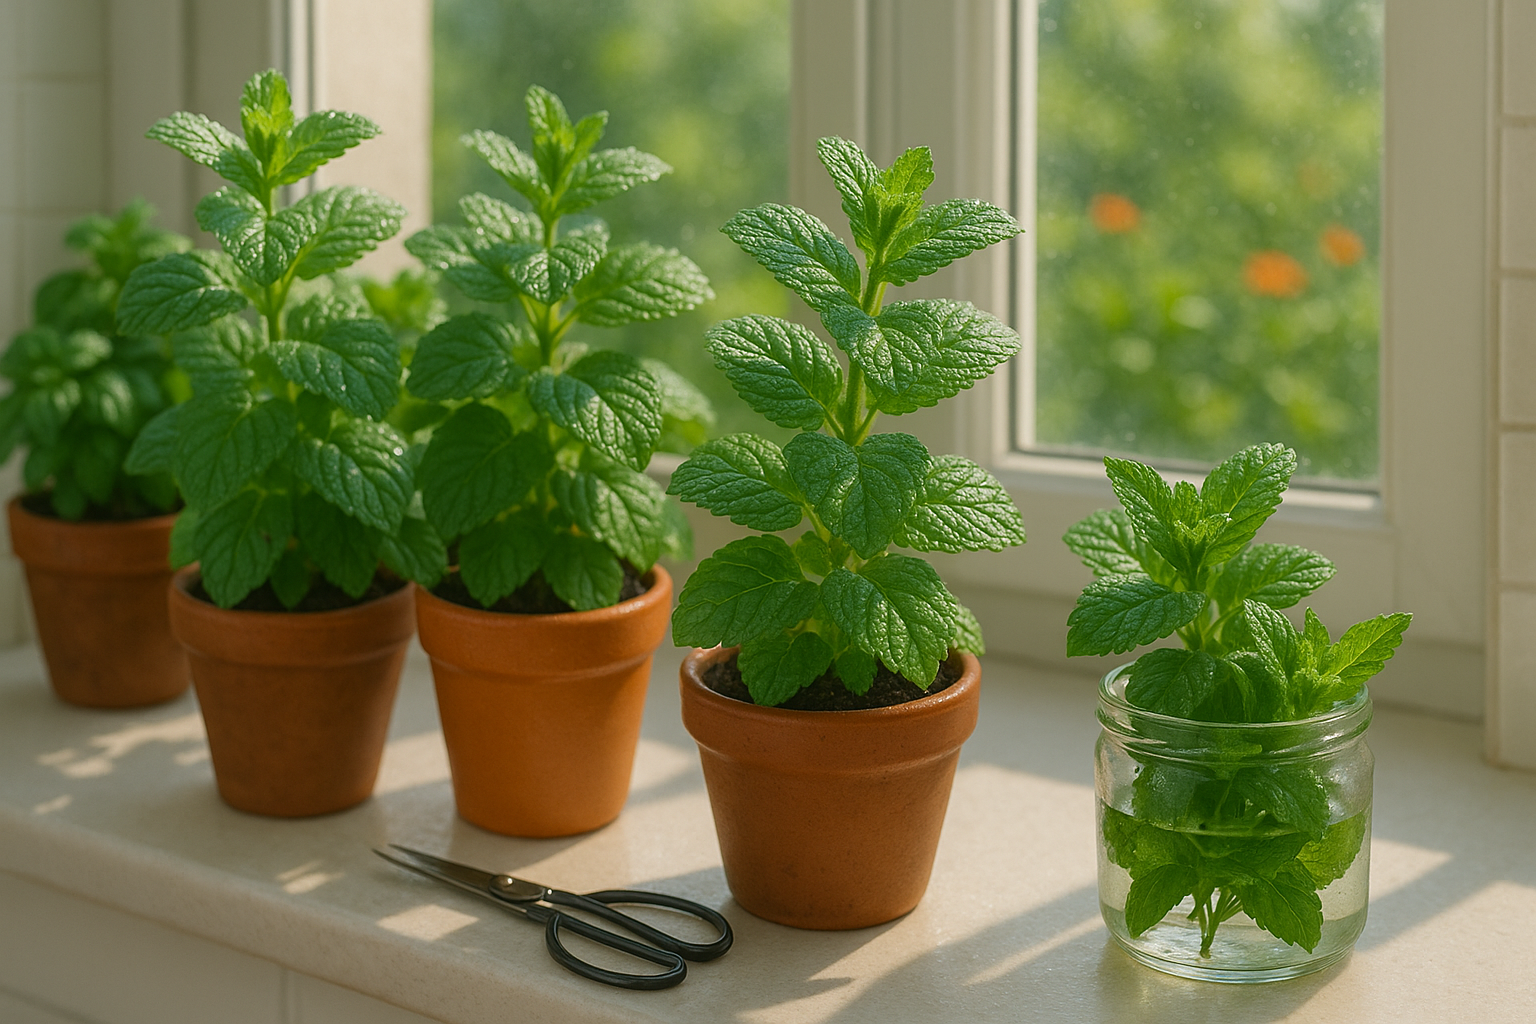
To get started, you can buy healthy young plants from your local nursery—look for vibrant, blemish-free leaves and strong stems. Alternatively, take a cutting from a friend’s thriving mint: simply snip a 4-6 inch stem, strip the lower leaves, and pop it in water until roots sprout.
When it’s time to pot your mint, pick a container at least 8–12 inches wide and deep. This gives the roots ample space and helps prevent the plant from becoming rootbound, promoting fuller growth. Terra cotta, ceramic, or sturdy plastic pots all work well; just make sure whichever you choose has drainage holes at the bottom.
Mint doesn’t like soggy roots, so good drainage is crucial—without it, you risk root rot and wilting. For extra peace of mind, add a layer of gravel or broken pottery to the pot’s base before filling with soil. With these tips, your potted mint will be healthy, happy, and ready to flavor your favorite dishes!
How to Plant Mint in Pots (Step-by-Step)
Planting mint in pots is a great way to enjoy this aromatic herb year-round while keeping its vigorous roots under control. Start by choosing a pot that’s at least 12 inches wide and has drainage holes—mint loves moist soil but hates wet feet.
Use a loose, rich, well-draining potting mix; adding a bit of compost can boost growth.
For seeds, sprinkle them lightly on the surface and gently press them in, barely covering with soil. Water gently to avoid washing the seeds away.
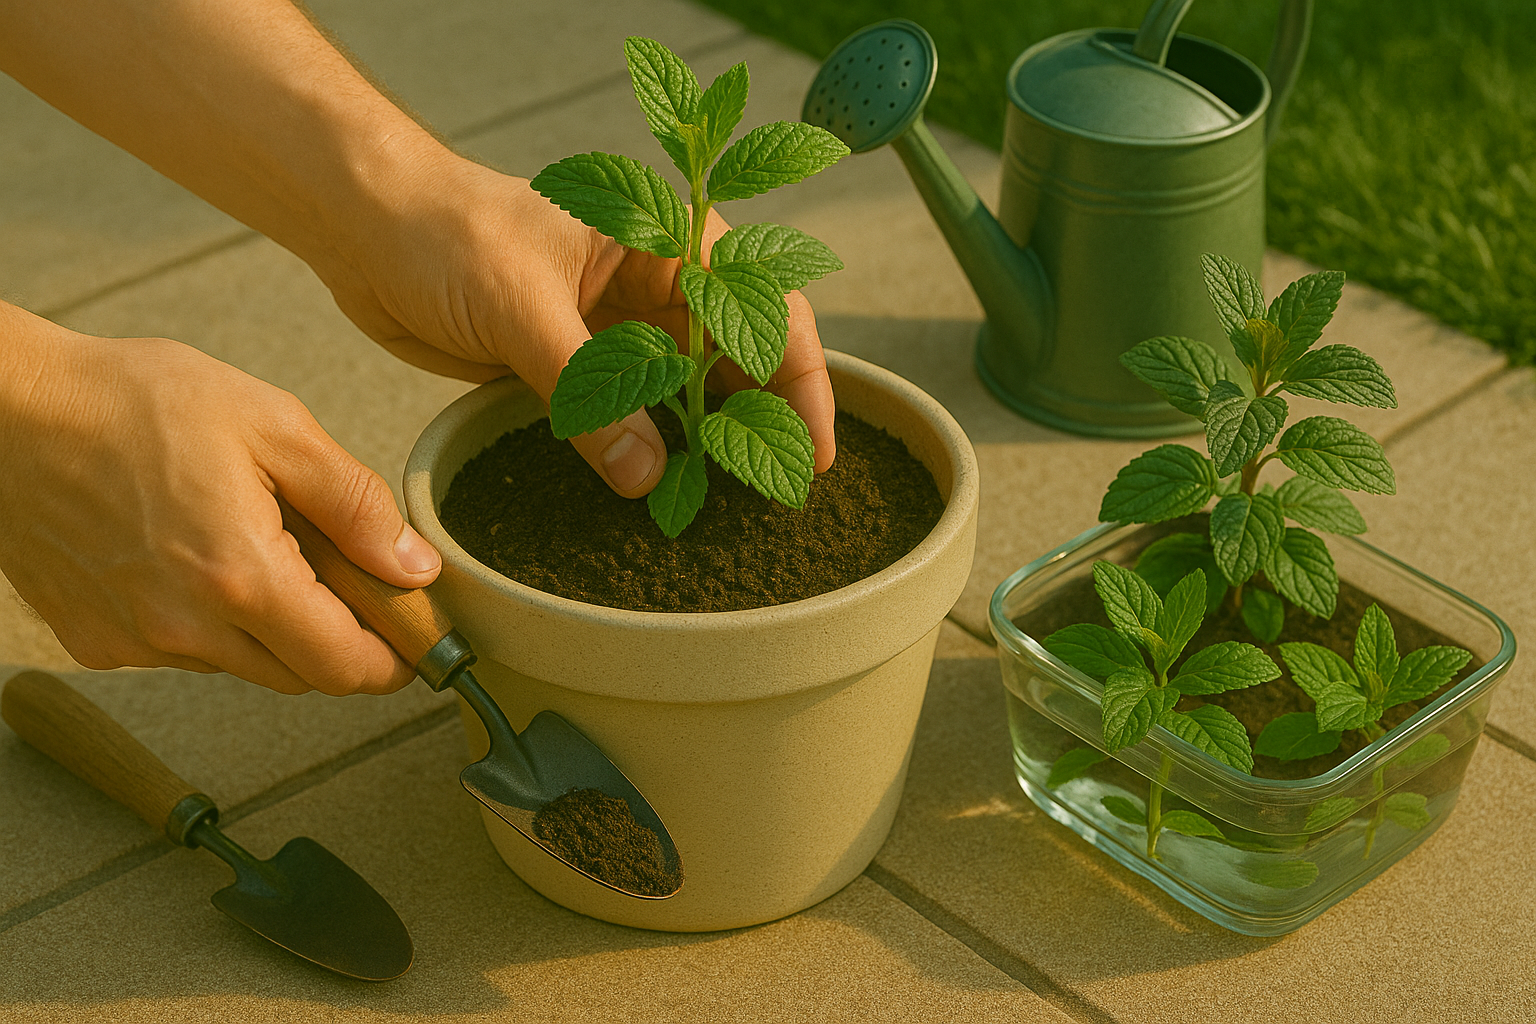
If you’re using cuttings, snip 4–6-inch stems from a healthy mint plant, remove the lower leaves, and root them in water for a few days until you see roots. Then plant them about 2 inches deep and water well.
With store-bought transplants, loosen the roots slightly before planting at the same depth as they were in their original pots.
Mint spreads fast, so if you’re planting multiple mints in a single container, leave at least 6–8 inches between each plant—though ideally, give each one its own pot.
After planting, water thoroughly until you see moisture draining from the bottom, and keep the soil consistently damp (but not soggy) for the first couple of weeks.
Indoors, place your mint pot on a sunny windowsill that receives at least 4–6 hours of bright, indirect sunlight each day. Outdoors, partial shade is ideal, especially in hotter climates, to keep the leaves tender and flavorful.
Whether you choose seeds (slower start but lots of variety), cuttings (quick rooting from a friend’s plant), or transplants (most convenient), following these steps will give you lush, fragrant mint ready for snipping in just a few weeks.
Mint grows fast, so pinch the tips regularly to keep the plant bushy and encourage fresh new leaves.
Essential Care Tips for Thriving Mint Plants
Keeping your mint plants lush and healthy starts with getting the watering routine right. Mint likes its soil consistently moist but never soggy, so check the top inch with your finger and water whenever it feels dry—typically every few days, but more often in hot weather. Good drainage is a must; make sure your pot has holes and empty the saucer underneath to avoid root rot.
When it comes to fertilizing, potted mint benefits from a light feeding every month during spring and summer. Use a balanced liquid fertilizer at half the recommended strength to promote steady, leafy growth without overwhelming the plant.
For pruning, pinch off the tips of the stems regularly—you can use these fresh leaves in teas or recipes. This simple act encourages the plant to branch out instead of growing leggy and tall. Don’t be afraid to cut your mint back by about a third if it starts looking scraggly; it bounces back quickly and will soon be bushier than ever.
Another smart habit is to rotate your pot every week so all sides get equal sunlight, helping the plant grow straight and full. Keep an eye out for root crowding: if you notice roots pushing through the drainage holes or the growth has slowed, it may be time to repot into a slightly bigger container.
Once a year, refresh at least half the potting soil—this prevents nutrient depletion and gives your mint a fresh start. With these simple routines, you’ll enjoy a thriving, aromatic mint plant that’s perfect for sprucing up drinks, desserts, and more.
Harvesting Mint & Ongoing Maintenance
Harvesting mint at the right time is key to enjoying its vibrant flavor and encouraging continual growth. For the tastiest leaves, harvest mint just before it flowers—typically in late spring or early summer—when the essential oils are most concentrated. Use sharp scissors or garden shears to snip off the upper sets of leaves, cutting just above a leaf node (where two leaves emerge from the stem). This method signals the plant to branch out, resulting in bushier, fuller growth.
Never remove more than one-third of the plant at once; overharvesting can weaken mint and slow regrowth. After harvesting, water the plant well and consider feeding it with a balanced, diluted fertilizer to encourage rapid recovery.
Regular cleaning is also important: remove any yellowing, damaged, or dead leaves to boost airflow and minimize disease risk. Inspect your mint weekly for common pests like aphids, spider mites, or whiteflies—look for sticky residue, tiny webs, or distorted leaves as clues. Gently wash pests off with a strong spray of water, or apply insecticidal soap if infestations persist.
Watch for signs of stress such as drooping leaves, stunted growth, or blackened stems, which could indicate overwatering, crowded roots, or fungal disease. In these cases, adjust watering routines, thin crowded clumps, or prune away affected areas.
Regular care and attentive harvesting help keep mint vigorous, lush, and ever-ready for your next cup of tea or homemade dish.
Common Problems and How to Solve Them
Mint is a hardy herb, but it can occasionally fall victim to pests and diseases—aphids and spider mites are some of the most frequent offenders. Aphids appear as tiny green or black insects clustered on stems and leaves, while spider mites cause delicate webbing and stippled, yellowing leaves.
Both pests thrive in dry, dusty conditions, so keep your plants well-hydrated and occasionally rinse leaves with water to deter infestations. If pests appear, a gentle solution of water and mild dish soap sprayed on affected areas can help remove them, or you can physically remove clusters with a strong jet of water.
Powdery mildew, a common fungal disease, appears as a white, powdery coating on leaves, usually when air circulation is poor or plants are too crowded. Prune back dense growth to let air move freely and avoid overhead watering.
Yellowing leaves in mint can also be caused by overwatering, poor drainage, or the plant becoming rootbound—make sure your pot has drainage holes and the soil isn’t soggy. If you notice roots circling the bottom of the pot, repot your mint into a slightly larger container.
Regularly harvesting mint also helps prevent crowding and encourages healthy, bushy growth, making your plants less susceptible to both pests and disease.
Bonus
Homegrown mint opens up a world of delicious and practical possibilities. To start, try the classic: steep fresh mint leaves in hot water for a calming homemade tea or muddle them with lime for a refreshing mojito. Toss chopped mint into fruit salads, green salads, or yogurt to add an instant burst of flavor, or sprinkle it over chocolate desserts and ice cream for a cool, aromatic twist.
Beyond food, arrange sprigs of mint in a small vase to naturally freshen up your kitchen or bathroom, or tuck some into a drawer to keep linens smelling clean. Mint-infused water or lemonade is an easy way to add a gourmet touch to any meal.
If your mint patch is overflowing, get creative:
- Dry extra leaves for herbal tea blends
- Freeze them in ice cubes for summer drinks
- Gift charming bundles to friends and neighbors
The versatility of mint means you can enjoy its vibrant taste and scent in countless ways, so don’t hesitate to experiment. With a little planning, you can preserve mint by drying or freezing, ensuring a stash of garden-fresh flavor all year long. Embrace its abundance and let homegrown mint inspire you to try something new every season!