Introduction
Yes, you can absolutely grow hydroponic rosemary, and it’s changing the way gardeners nurture this flavorful herb. Hydroponic gardening—growing plants without soil—offers several unique benefits for herbs like rosemary. Not only does it save you valuable space (perfect for apartment dwellers and urban gardeners), but it also reduces common pests and diseases that often affect soil-grown plants. Best of all, hydroponic rosemary can thrive year-round, giving you fresh sprigs whenever your recipes need that signature, aromatic flavor.
If you’re new to hydroponics, don’t worry; this article will guide you through everything you need to know. We’ll start by explaining the basics of hydroponic systems and how they work for rosemary, then cover the best varieties to grow, the optimal conditions (like light, nutrients, and temperature), and common troubleshooting tips. You’ll learn practical setup advice, from choosing containers to selecting nutrient solutions, plus how to harvest and use your hydroponic rosemary in the kitchen. Whether you have a sunny windowsill or a spare corner in your basement, you’re just a few steps away from growing lush, fragrant rosemary without a patch of soil in sight!
Why Grow Rosemary Hydroponically?
Growing rosemary hydroponically offers a range of benefits that make it an attractive option for both beginners and seasoned gardeners. One major advantage is consistent growth—because you control the water, nutrients, and light, your rosemary thrives year-round, regardless of outdoor weather. This means you can enjoy regular, predictable harvests right from your kitchen or indoor garden.
Hydroponic rosemary also tends to be cleaner than its soil-grown counterpart, since there’s no dirt or outdoor pollutants clinging to the leaves. This not only saves time on washing but also results in fresher-tasting, more aromatic herbs.
When it comes to speed, hydroponic systems deliver nutrients directly to the roots, encouraging quicker root development and leaf growth, so you can harvest your rosemary weeks sooner compared to traditional soil gardening.
In terms of taste and yield, many growers notice that hydroponically grown rosemary can have a slightly more pronounced flavor, thanks to the controlled environment, and plants often produce more robust, lush foliage.
Maintenance is also simplified; you spend less time weeding, worrying about pests, or dealing with soil-borne diseases. In contrast, soil-grown rosemary might suffer from inconsistent watering, pests, or slow growth, especially in poor-quality soil or challenging climates.
Once harvested, hydroponic rosemary is perfect for a variety of uses:
- Seasoning roasted meats, bread, and stews in the kitchen
- Soothing teas and home remedies
- Decorative pots or indoor herb gardens, thanks to its neat, bushy appearance
With all these perks, it’s easy to see why more home cooks and herbal enthusiasts are turning to hydroponics to grow this versatile herb.
Ideal Conditions for Hydroponic Rosemary
Hydroponic rosemary thrives when you pay close attention to its microclimate. Start with bright, direct light—this aromatic herb needs at least 12 to 16 hours of high-intensity LED or fluorescent grow lights daily to mimic the Mediterranean sun. Insufficient light will stunt growth and weaken flavor.
Keep your temperature between 65°F and 75°F (18°C to 24°C). Rosemary tolerates cooler nights but avoid sudden swings, as these can stress the plants. Humidity should be on the lower side—aim for 40% to 60%—since overly humid air encourages fungal diseases.
For system options, rosemary performs well in nutrient film technique (NFT) and ebb and flow systems, which provide excellent oxygenation and help prevent root rot. Deep water culture (DWC) can also work if you’re attentive to airflow.
When it comes to growing media, select materials that offer both drainage and aeration:
- Coco coir: Popular for its water-holding capacity while still allowing roots to breathe.
- Rockwool: Provides a sterile environment and great support.
- Perlite: Often mixed with vermiculite to keep roots from sitting in stagnant moisture.
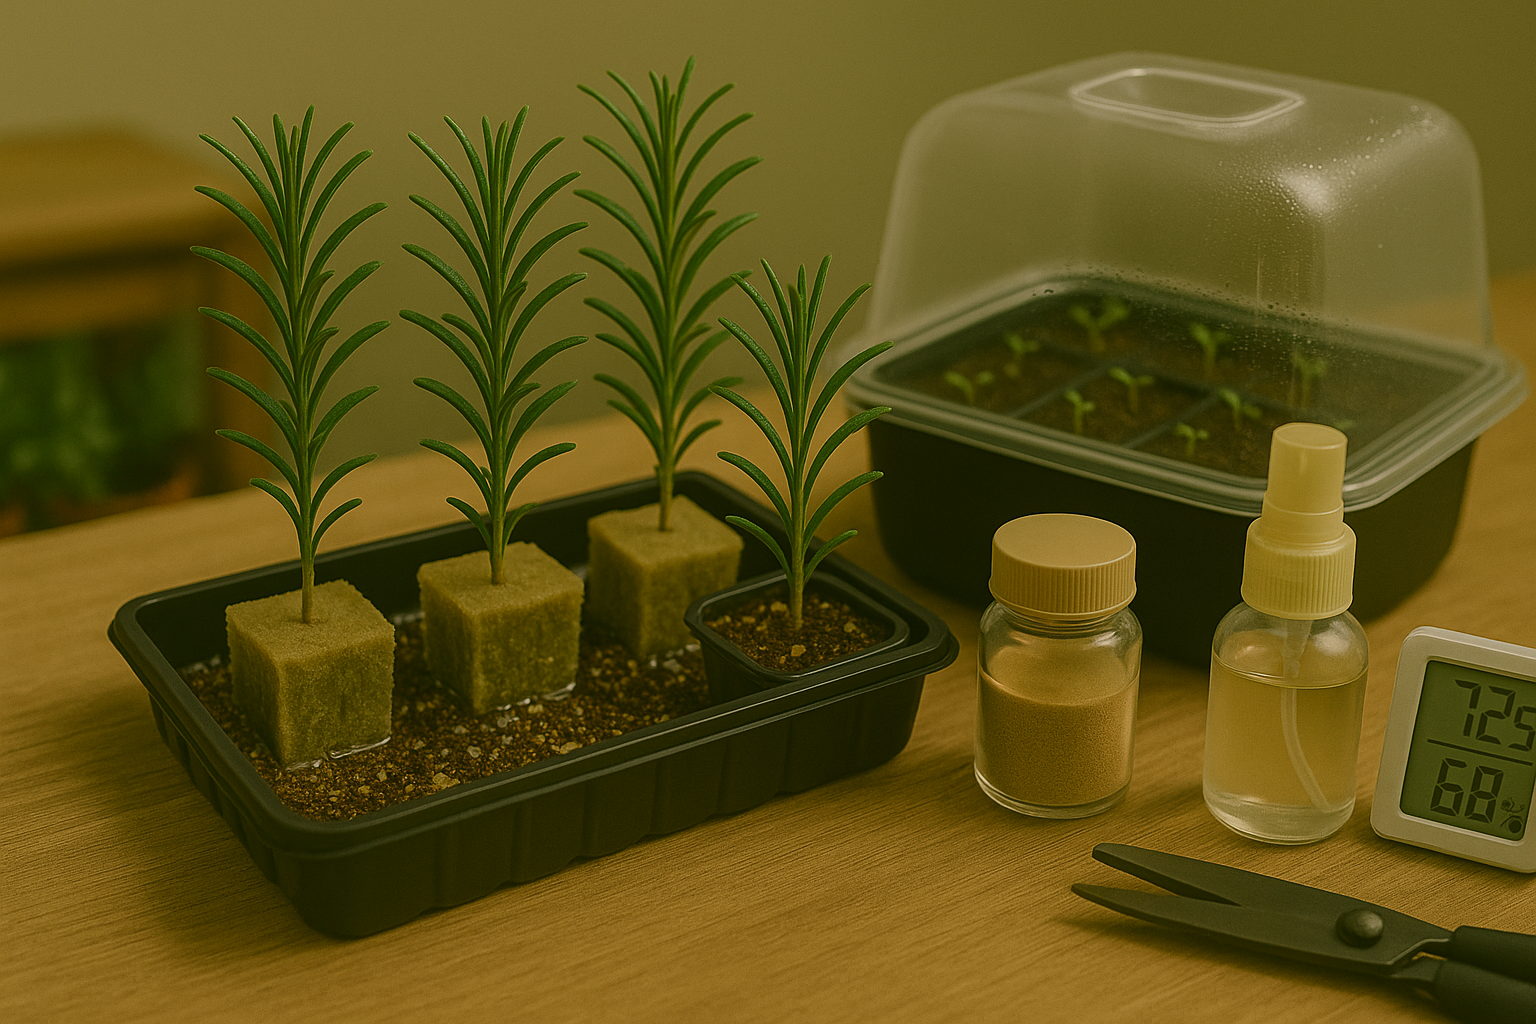
Practical tip: For young rosemary plants, start with rockwool cubes for germination, then transplant to larger containers using coco coir or a coco-perlite mix to encourage healthy root development.
Regularly monitor the environment with a simple digital hygrometer and thermometer to catch any problems early and maintain ideal conditions. Small tweaks go a long way toward growing lush, fragrant rosemary in your hydroponic setup.
Starting Your Hydroponic Rosemary
When deciding how to start your hydroponic rosemary, you’ll need to choose between seeds and cuttings. Starting rosemary from seeds is cost-effective and offers greater genetic variety, but germination is notoriously slow and inconsistent—sometimes taking up to three weeks with low sprout rates. On the other hand, using cuttings from an established plant guarantees a clone with proven growth and flavor traits, speeding up your harvest since rooted cuttings establish much faster.
However, sourcing healthy cuttings may require access to a mature rosemary plant and some plant care know-how.
If You Choose Seeds
Fill a seed tray with a sterile seed-starting mix, moisten the substrate, and scatter the seeds lightly on the surface, gently pressing them in without burying too deep. Cover the tray with plastic wrap or a humidity dome, and keep it in a warm spot with indirect light. Mist daily until sprouts appear.
If You Use Cuttings
Snip 4- to 6-inch sections from the soft, green growth of a healthy rosemary plant. Strip the leaves from the lower half and dip the cut ends in rooting hormone powder. Then, insert the cuttings into cubes of rockwool or coco coir, keeping the base damp and warm (about 70°F) under indirect light until roots emerge in two to three weeks.
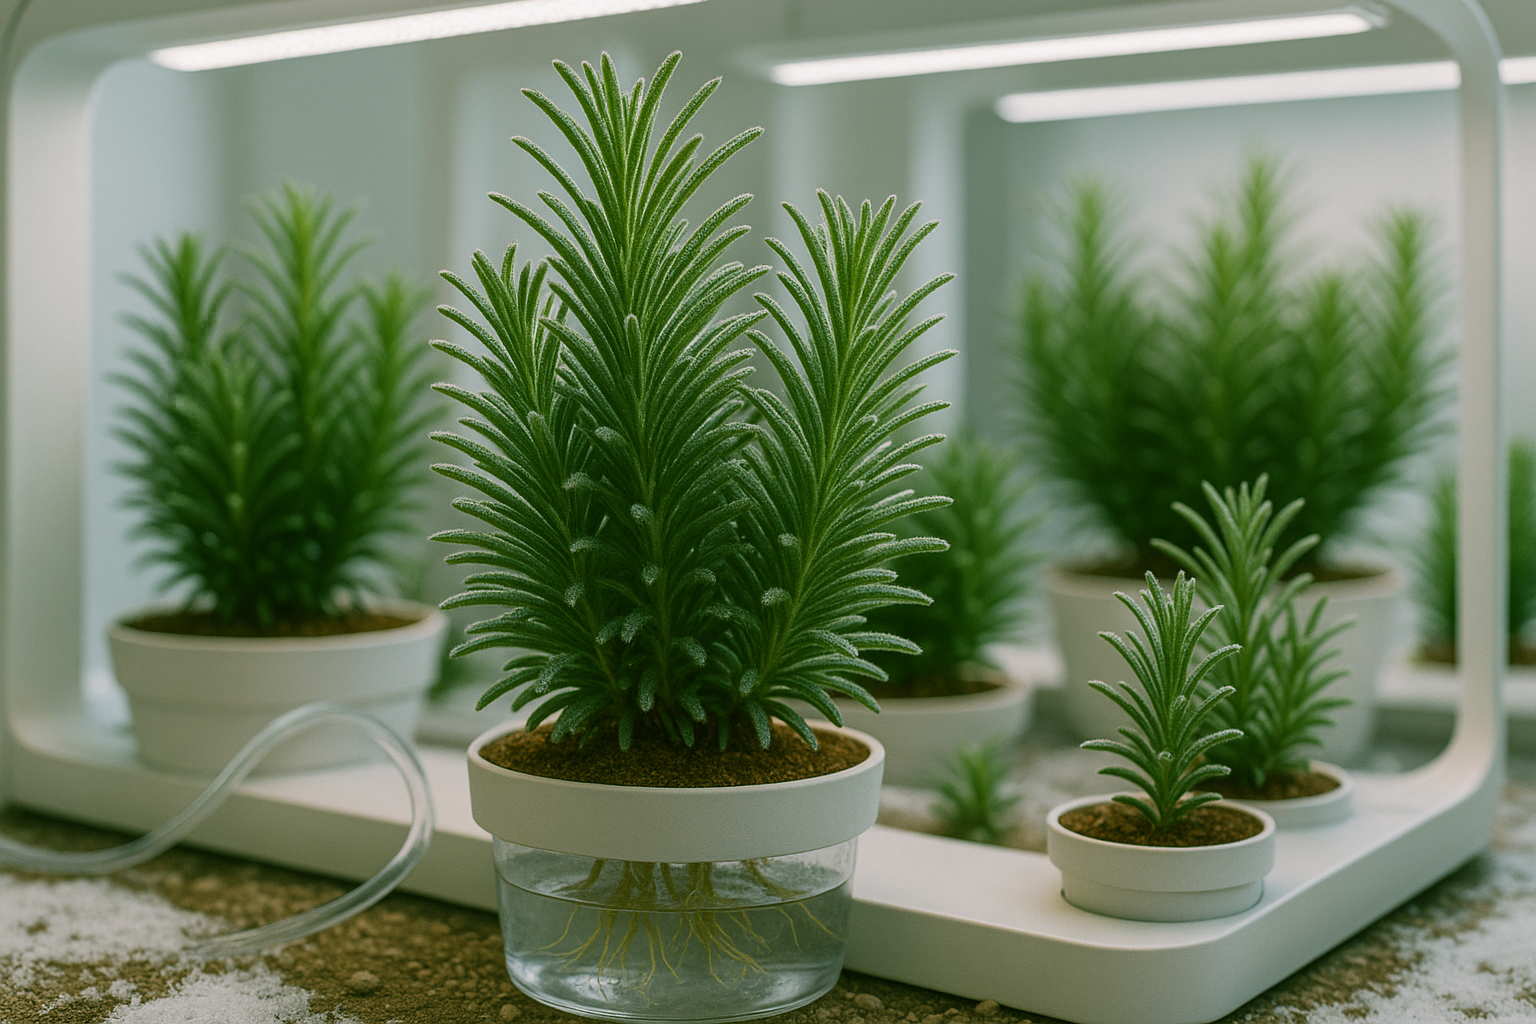
Once your seedlings have two to three sets of true leaves, or your cuttings show robust root growth, gently transplant them into your hydroponic system—making sure each plant’s roots contact the nutrient solution but are not submerged. Provide gentle airflow and avoid direct, harsh light at first to help the young plants adjust and thrive.
Daily Care and Maintenance
Daily care and maintenance for hydroponic rosemary start with the nutrient solution. Rosemary thrives with a nutrient mix designed specifically for herbs, ideally with a pH level between 5.5 and 6.5. It’s important to check the pH daily using a handheld tester, as imbalances can block nutrient uptake and stunt growth. Electrical conductivity (EC) should also be monitored, aiming for a range of 1.6–2.2 mS/cm.
Mixing the nutrient solution accurately helps avoid toxicity or deficiency, so always follow label directions and top up water as needed to maintain consistency—the roots should never be exposed to air. Alongside nutrient care, inspect water levels every day; low water can dry out roots, while too much can suffocate them. Proper oxygenation is vital, so ensure your system’s air stones or pumps are working well. Healthy roots are usually white and crisp, never slimy or brown.
Pruning and Monitoring
Pruning should be done regularly: trim rosemary’s tips every couple of weeks to promote bushier growth and prevent legginess. Watch out for common issues like:
- Yellowing leaves, usually a sign of nitrogen deficiency—adjust nutrients if needed.
- Brown or mushy roots, which indicate root rot—improve oxygenation and avoid overwatering.
- Pests such as aphids or spider mites.
For pests, rinse plants with a gentle stream of water or use an insecticidal soap that’s safe for hydroponic systems.
Consistency is Key
If you catch problems early and adjust your practices, rosemary can thrive hydroponically for months, supplying fresh herbs for your kitchen. The key is consistency—set a daily reminder to check your system, and you’ll avoid most headaches.
Harvesting and Using Your Hydroponic Rosemary
Harvesting hydroponic rosemary at the right time ensures you enjoy vibrant flavor and healthy regrowth. The best time to cut rosemary is in the morning, after the dew has dried but before the day heats up—this is when the oils and aroma are at their strongest. Use clean, sharp scissors to snip sprigs about 4-6 inches long, always taking from the tops and sides rather than the woody base.
Avoid cutting more than one-third of the plant at once to prevent stress and encourage bushier growth. Freshly cut rosemary is perfect for elevating your cooking—toss sprigs into roasted potatoes or chicken, infuse them in olive oil, or add chopped needles to bread, soups, and pasta sauces for a burst of herbal flavor.
To store, wrap sprigs in a damp paper towel and keep them in a zip-top bag in the fridge, where they’ll last up to two weeks. You can also dry rosemary by tying stems together and hanging them upside down in a dry, airy spot, or use a dehydrator for quicker results. Once dry, strip the needles into airtight containers for months of use.
For continued healthy growth, always water using a nutrient-rich solution and trim regularly, as this encourages new shoots and keeps the plant compact and thriving. Rotate your harvest locations around the plant each time, allowing previously cut sections to regenerate before harvesting again. This simple practice helps maintain both a consistent supply and plant vitality.
FAQs & Troubleshooting Tips
Hydroponic rosemary is a rewarding herb to grow, but beginners often have a few key questions. One common concern is growth rate—rosemary grows more slowly than many leafy greens, so don’t worry if your plant takes several weeks to mature. You can expect to see noticeable growth within 4–6 weeks, especially under optimal light and nutrient conditions.
Another frequent question is about system compatibility. Rosemary does well in most hydroponic setups, including nutrient film technique (NFT), deep water culture (DWC), and even simple Kratky jars, as long as the roots have access to oxygen and are not waterlogged.
If your rosemary seems to be growing slowly or struggling, check your water temperature—rosemary prefers relatively cool water (65–75°F) and good air circulation around both the foliage and roots. Watch for browning or wilting, which may indicate root rot caused by overwatering. In that case, reducing water levels or increasing aeration can often resolve the issue.
Nutrient imbalances are another common problem. Stick to a balanced solution formulated for herbs and verify your pH stays between 5.5 and 6.5. Finally, if your plant is leggy or sparse, it may not be getting enough light. LED grow lights placed close (but not touching) to the foliage are usually effective.
Regularly trim and harvest sprigs to encourage bushier growth. By troubleshooting issues as they arise and making small adjustments, you’ll be able to keep your hydroponic rosemary healthy and productive.