Introduction to Drying Sage Leaves at Home
Drying sage at home is an easy and rewarding way to preserve this aromatic herb for months of future use. Whether you love adding freshly ground sage to cozy dishes like roasted meats and soups or simply enjoy the earthy fragrance in your kitchen, drying sage helps lock in both flavor and aroma far better than store-bought options. By drying your own sage, you can control the quality, avoid unnecessary additives, and even save money in the long run. Plus, it’s satisfying to know the dried sage in your favorite seasoning blend came straight from your garden or kitchen windowsill.
When you dry sage at home, you preserve the essential oils that give the leaves their unique taste and scent—something often lost in commercial drying and packaging processes.
There are several simple ways to dry sage leaves at home, each with its own advantages depending on your setup and how quickly you need your herbs ready. The classic method—air drying—is perfect for low-tech, energy-free preservation and offers a hands-off experience. For those short on time, oven drying is a fast and effective way to quickly dehydrate sage. Alternatively, a dehydrator provides a reliable, gentle drying option with minimal effort. In this post, we’ll walk through all three main methods so you can enjoy vibrant, homemade dried sage all year long.
Harvesting and Preparing Sage for Drying

The best time to harvest sage for the richest flavor and highest concentration of essential oils is in the morning, after the dew has dried but before the day heats up—typically just before the plant starts to flower in late spring or early summer. Choose healthy, full-sized leaves that are free from blemishes or yellowing, as these will offer the best flavor and aroma.
If your sage is clean and hasn’t been exposed to pesticides or dust, it’s often better not to wash it since excess moisture can encourage mold during drying. However, if washing is necessary, gently rinse the leaves in cool water and pat them completely dry with paper towels, taking care not to bruise or crush them.
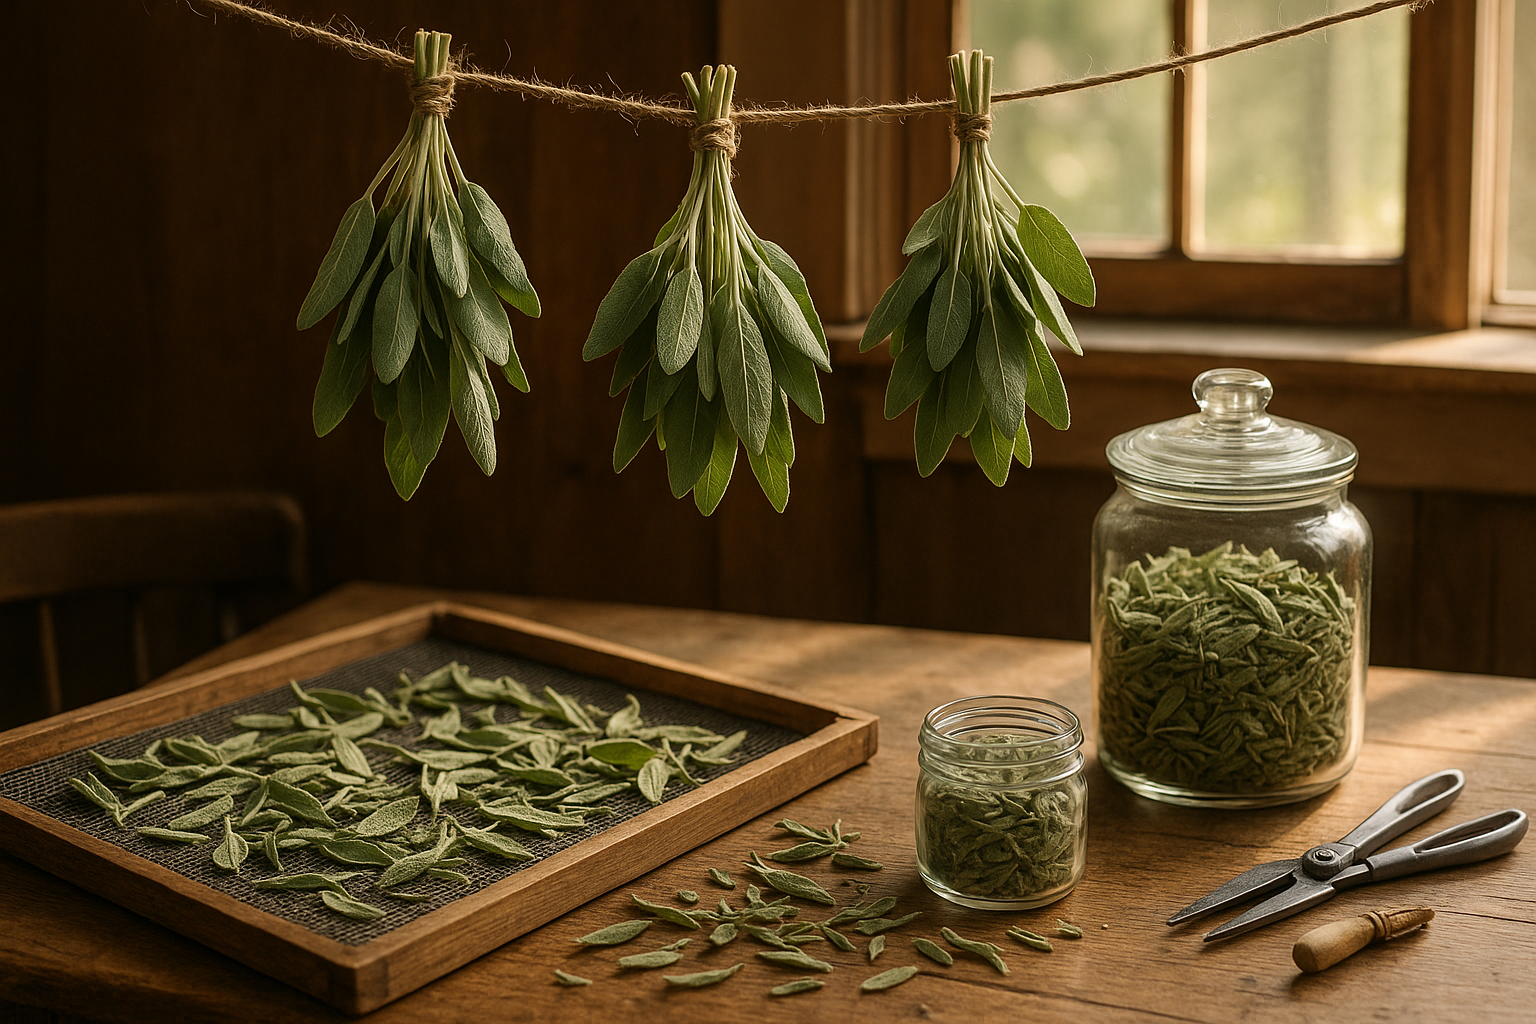
To prevent mold and preserve the leaves’ shape, dry your sage in small, loose bundles tied with string, then hang them upside down in a warm, well-ventilated area out of direct sunlight. Good airflow is key, so avoid bunching stems too closely together.
Alternatively, you can lay the leaves in a single layer on a fine mesh rack or baking sheet, turning them occasionally. Avoid drying near areas with high humidity, such as kitchens or bathrooms, and check the leaves daily for any signs of mold—discarding any that seem off. With patience and these precautions, you’ll end up with crisp, fragrant sage ready for your favorite recipes.
Air Drying Sage Leaves
Air drying sage leaves is a classic, low-tech method that’s both easy and effective for preserving this aromatic herb. Start by harvesting sage in the morning once the dew has dried but before the sun gets too hot. Remove any damaged or diseased leaves, then gently rinse the sage under cool water to get rid of dirt. Pat the leaves dry with a paper towel, as excess moisture can cause mold.
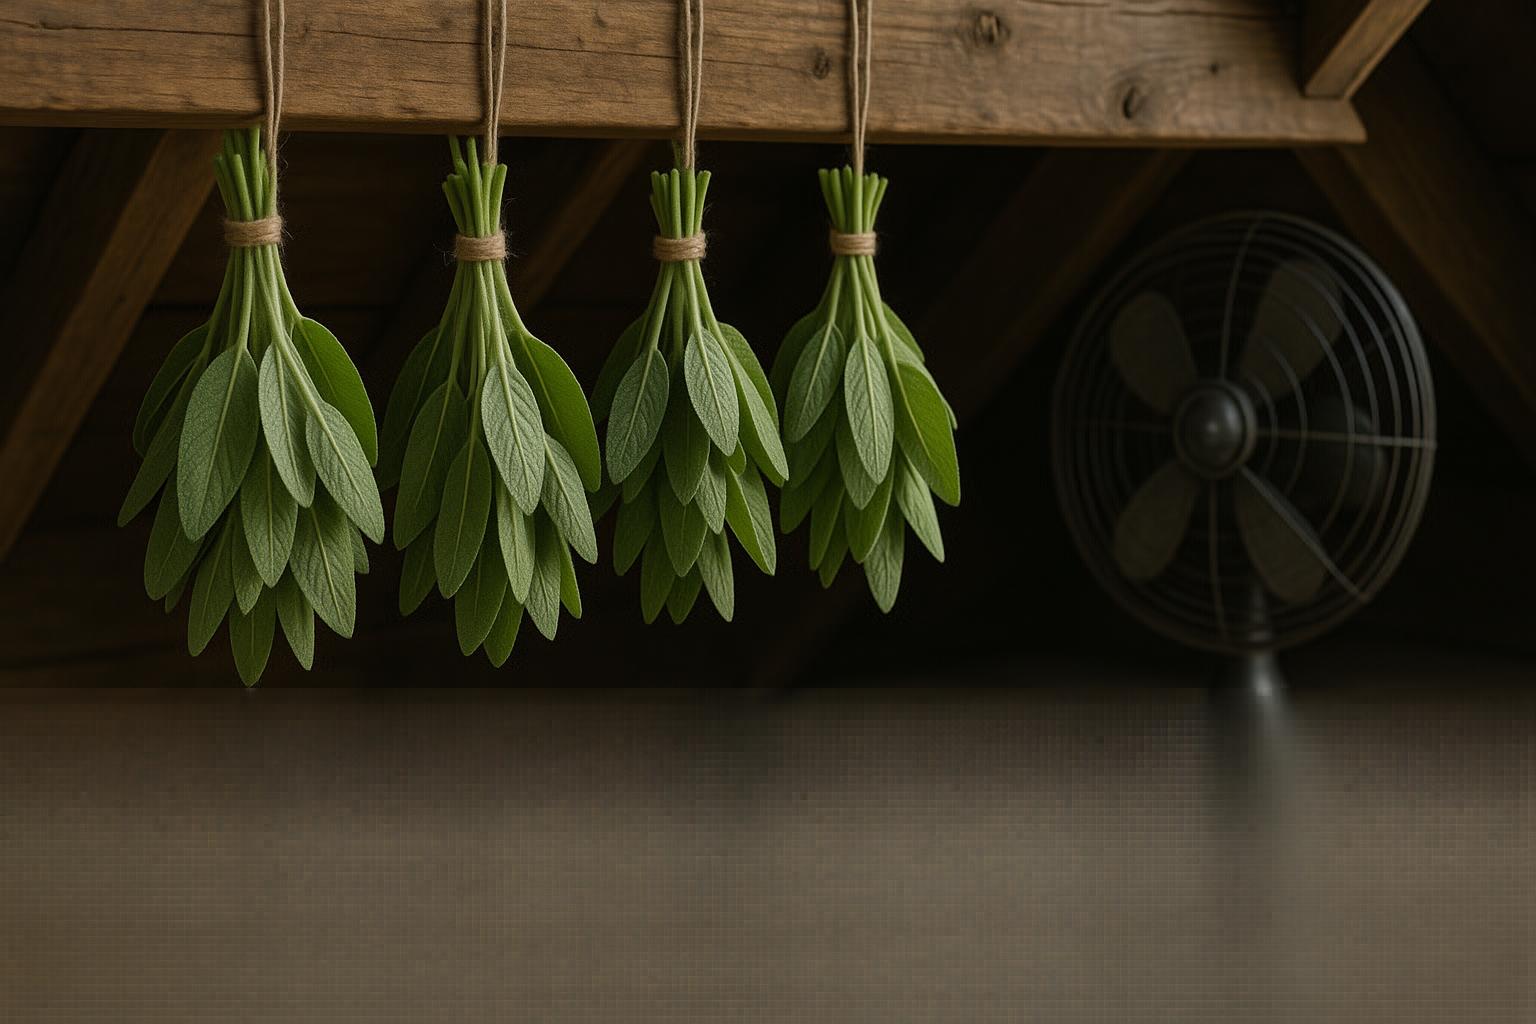
Gather five to ten stems together, tie them securely with cotton string or a rubber band, and create small, loose bundles to ensure good airflow. Hang your bundles upside down in a warm, dry spot with excellent air circulation—think a shaded porch, an attic, or even a well-ventilated spare room.
The ideal environment is around 70°F (21°C), with low humidity (ideally under 60%) to prevent mold and ensure thorough drying. The space should be out of direct sunlight, which can fade the leaves and diminish the sage’s flavor. Depending on your conditions, it can take anywhere from one to three weeks for the leaves to become crisp and crumbly.
Air drying is a completely natural method, so there’s no need for fancy equipment—just patience. The biggest perk is that you preserve the intense flavor of fresh sage, but one downside is that the process can be slow and weather-dependent.
If you live in a humid climate, consider using a fan to boost airflow or try a different drying method. Check the bundles regularly to ensure there’s no mold, and enjoy your home-dried sage all year round.
Drying Sage Leaves with an Oven
Drying sage leaves in the oven is a quick and convenient method, especially if you don’t want to wait days for air drying. Start by preheating your oven to its lowest setting, ideally between 170°F and 200°F (77°C–93°C), since higher temperatures can burn the leaves or cause them to lose their essential oils.
While the oven heats, gently rinse the sage leaves under cool water and pat them dry with paper towels to remove moisture and debris—wet leaves don’t dry evenly and might wilt. Next, arrange the sage leaves in a single layer on a baking sheet lined with parchment paper, making sure they don’t overlap. Good air circulation is crucial for even drying.
Place the tray in the oven and prop the oven door open slightly with a wooden spoon; this allows moisture to escape and prevents overheating. Check the sage every 10–15 minutes, flipping the leaves halfway through to ensure uniform drying. Depending on humidity and leaf size, drying can take 30 minutes to an hour.
The leaves are ready when they feel crisp and crumble easily between your fingers. Be careful not to leave them in too long, as over-drying or burning can hurt the flavor.
The biggest advantage of oven drying is speed—you can have dry sage within the hour. However, this faster method carries the risk of diminishing the herb’s oils and aroma, so keep temperatures low and monitor closely for the best results.
Using a Dehydrator to Dry Sage
Using a dehydrator is one of the easiest and most reliable methods to dry sage while preserving its vibrant aroma and flavors. Start by gently rinsing your sage leaves and blotting them dry with a paper towel.
Arrange the leaves in a single layer on your dehydrator trays, making sure they don’t overlap—this allows for even air circulation and faster drying. Set your dehydrator to a low temperature, ideally between 95°F and 115°F (35°C–46°C); higher temperatures may cause the sage to lose its essential oils and subtle taste.
Drying usually takes between 1 to 4 hours, depending on the humidity in your space and the thickness of the leaves. To get the best results, check the sage every hour and rotate the trays if your dehydrator doesn’t have strong airflow.
The sage is ready when the leaves are crisp and crumble easily between your fingers, with a fresh, strong aroma that signals their oils have been preserved. For maximum shelf life, let the dried sage cool before storing it in airtight containers away from light and heat.
A small tip: if you plan to use the dried sage for cooking, crumble it just before use to keep the flavors locked in. Using a dehydrator not only makes the process quick and hassle-free, but it also helps you keep your homegrown or fresh-picked sage at its very best for months to come.
Storing Dried Sage and Tips for Use
To know when sage leaves are fully dried and ready for storage, check that they feel crisp to the touch and crumble easily between your fingers—there should be no hint of flexibility or moisture, as this can cause mold. Store your dried sage in airtight containers such as glass jars or metal tins to protect it from air and humidity, which degrade its flavor.
Keep the container in a cool, dark cupboard away from direct sunlight and heat sources. Properly stored, dried sage retains its potency for up to one year; for the best flavor, label containers with the harvest date and use within this timeframe.
In the kitchen, dried sage pairs wonderfully with roasted meats, savory breads, and stuffing—simply crush the leaves before adding them to maximize flavor. For a simple home remedy, steep a teaspoon of dried sage in hot water to create a soothing tea that can help with sore throats or upset stomachs.
You can also make a natural air freshener by simmering sage with citrus peels and cloves, filling your home with a comforting herbal aroma. By following these storage tips and creative uses, you’ll enjoy the benefits of dried sage all year round.
Common Questions and Troubleshooting
Uneven drying is a common issue when preserving sage at home, often caused by overcrowding leaves or inconsistent temperatures. To ensure even drying, always spread sage leaves in a single layer—whether using a dehydrator, oven, or air-drying rack—and turn them halfway through the process.
If you notice an unpleasant musty odor, it’s usually a sign of mold growth, which often results from moisture trapped between overlapping leaves or from humid conditions. Discard any sage that smells off, and next time, keep the leaves separated and monitor the drying environment for excess humidity.
Mold can also be prevented by starting with freshly harvested, undamaged leaves and avoiding washing them right before drying unless absolutely necessary. If you do wash them, gently pat the leaves dry before arranging.
For over-dried sage that has lost some of its aroma, try lightly crushing the leaves between your fingers to release more of the essential oils just before use. You can also mix older sage with a pinch of fresh or high-quality store-bought sage for a flavor boost.
Storing dried sage in airtight containers away from sunlight and moisture will help maintain its potency and protect your hard work in the long run.