Why Grow Chamomile in Pots or Containers?
Growing chamomile in pots or containers offers plenty of practical benefits, especially if you have limited space or are new to gardening. One of the biggest advantages is space-saving—containers allow you to enjoy fresh chamomile even if all you have is a small balcony, patio, or windowsill. This makes it perfect for urban gardening where traditional garden beds aren’t an option.
Portability is another major benefit; you can move your chamomile to catch more sunlight, protect it from bad weather, or simply rearrange your outdoor space whenever you like. Growing in containers also helps with pest control, since potted plants are less accessible to slugs and ground-dwelling insects. Plus, it’s easier to keep an eye on the leaves and soil for any issues.
Beginners will especially appreciate how a small container keeps the growing environment manageable, reducing the chances of over-watering or under-watering. If you’re ready to start, consider German chamomile (Matricaria chamomilla), which thrives in pots thanks to its predictable, compact growth, or Roman chamomile (Chamaemelum nobile), which spreads nicely and makes a fragrant, low-maintenance ground cover. Both adapt well to containers and offer the same soothing flowers you’d expect from chamomile grown in garden beds.
Whether you want to sip homegrown herbal tea or add delicate blooms to your outdoor space, growing chamomile in containers makes this classic, calming herb easily accessible.
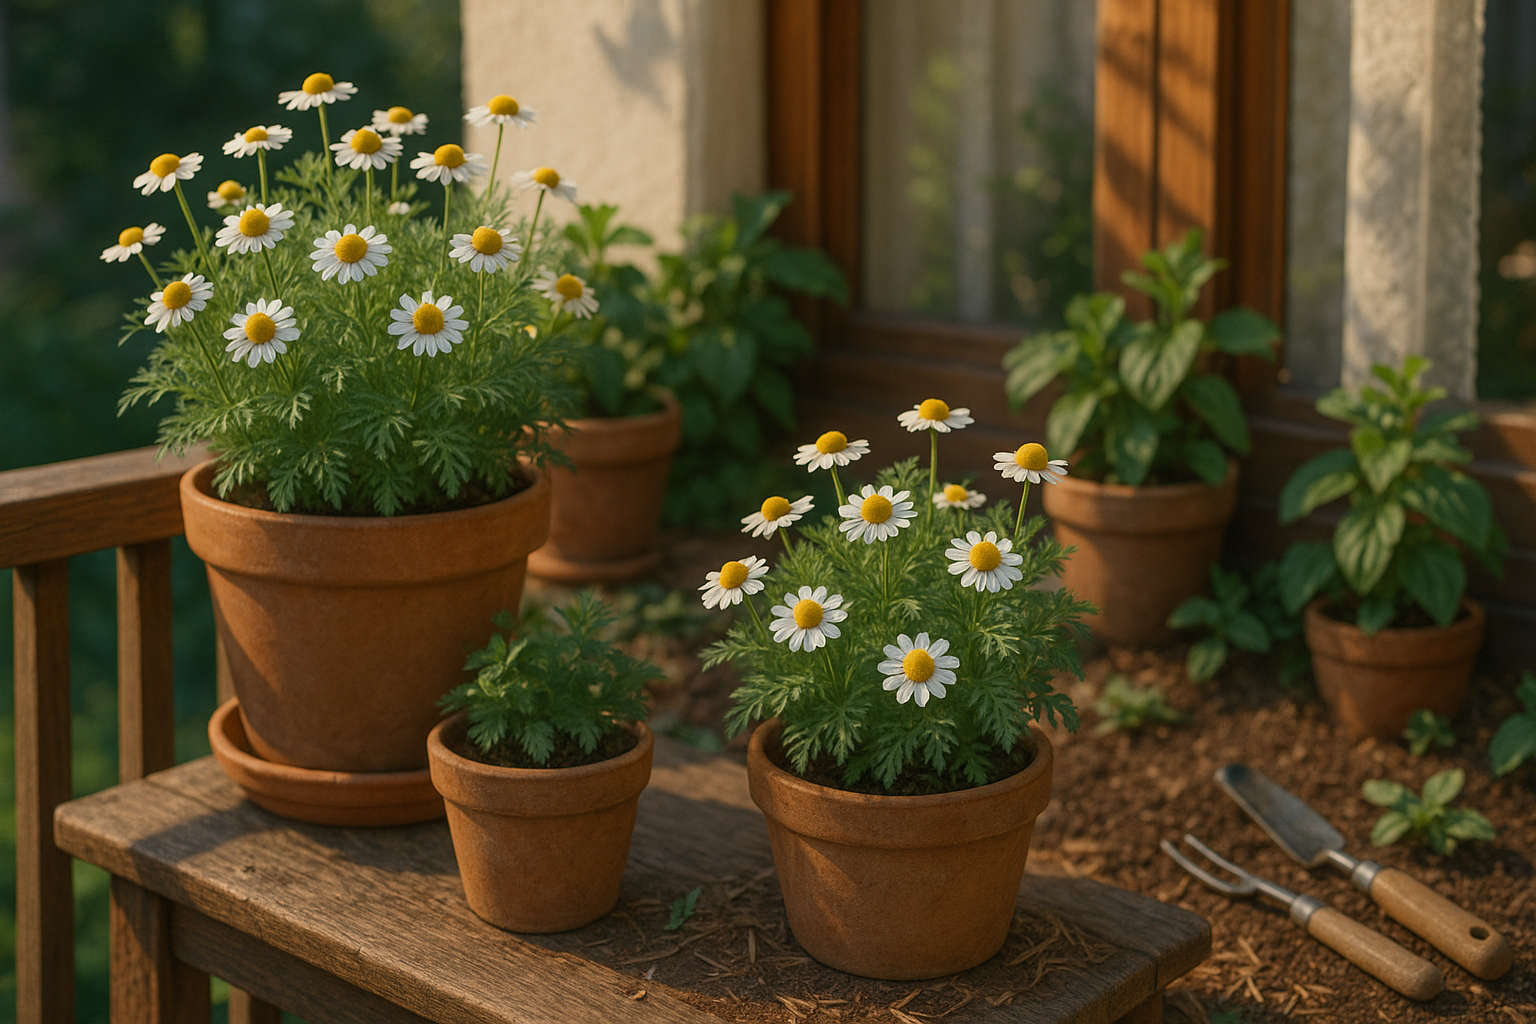
Choosing the Right Pot, Soil, and Site
When growing chamomile, the right container makes a big difference. Choose a pot that’s at least 8–10 inches deep and wide to allow room for the delicate roots to spread, especially if you’re cultivating Roman chamomile, which can get bushy. Terracotta or clay pots are great choices because they let soil breathe and help prevent waterlogging, but plastic pots with drainage holes can work too. Good drainage is critical—chamomile hates soggy roots—so ensure your pot has several drainage holes at the bottom.
For soil, opt for a light, well-draining potting mix. You can make your own by mixing standard potting soil with sand or perlite to boost drainage. Avoid heavy, clay-rich mixes, which hold too much water and can lead to root rot. Mixing in some compost will enrich the soil and give young seedlings a nutrient head start.
Placement is just as important as the container and the soil. Chamomile thrives in full sun, needing at least 5–6 hours of direct sunlight each day for lush, productive growth, so pick a sunny spot on your patio or windowsill. If you’re growing indoors, a south-facing window is best. Chamomile is adaptable and will tolerate partial shade, but too little light can make plants leggy and reduce blooms. Remember to rotate indoor pots every week to ensure even growth and prevent plants from leaning toward the light.
With these simple tips on containers, soil, and light, you’ll set your chamomile up for a healthy, fragrant harvest whether it’s outside on a balcony or inside near a sunny window.
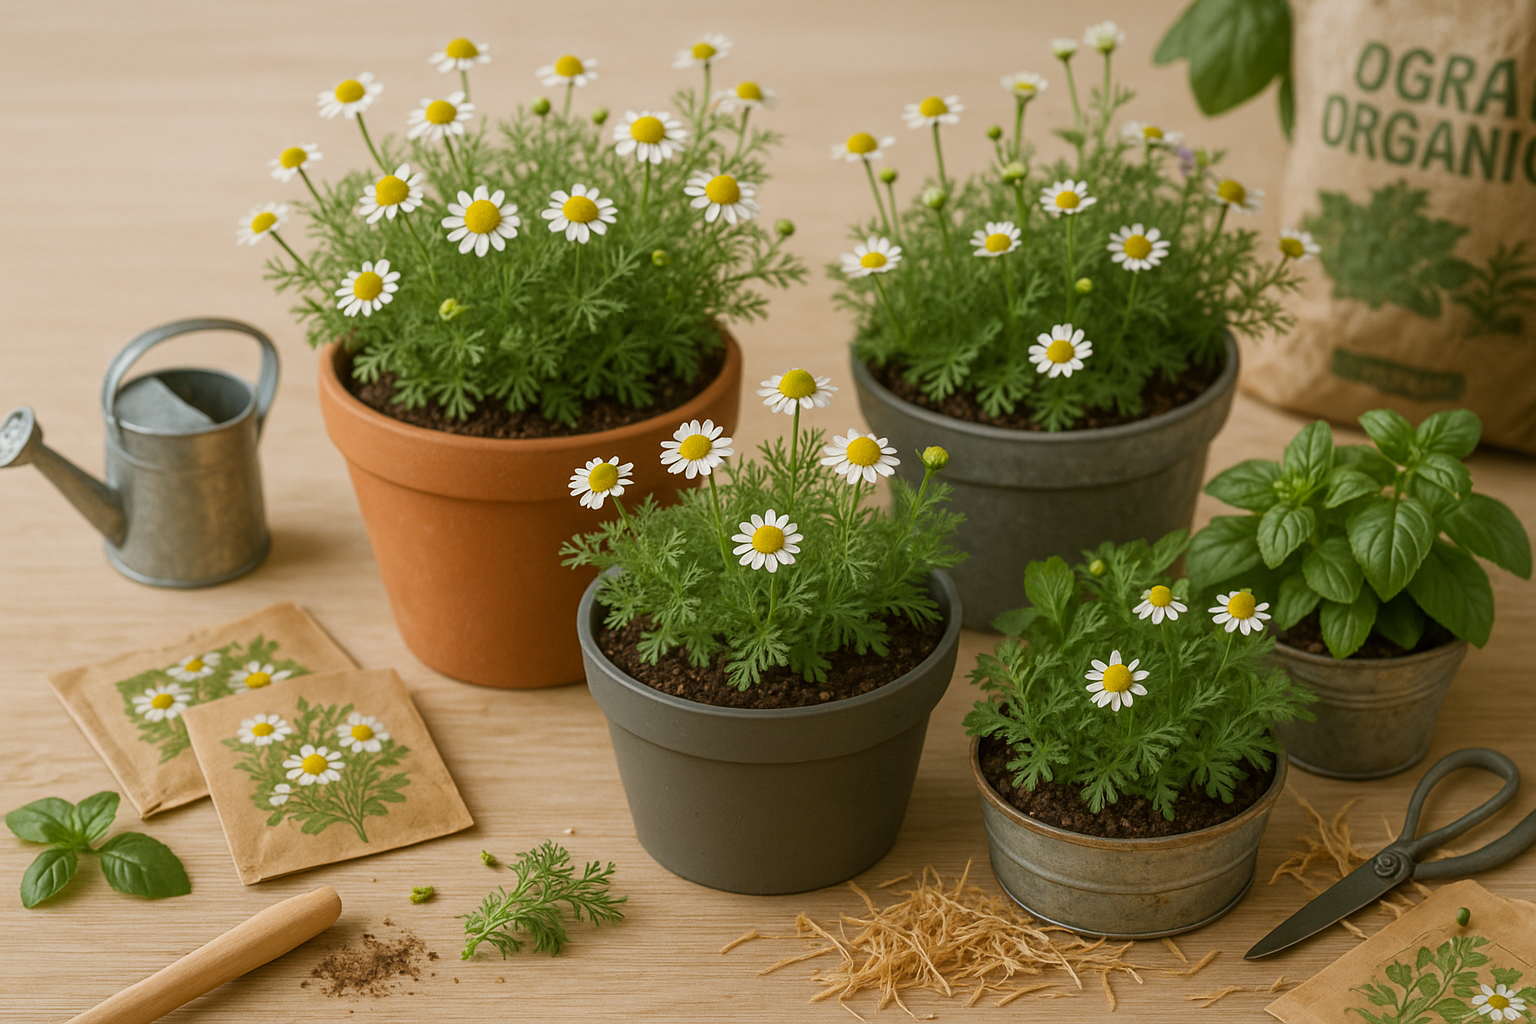
Planting Chamomile Seeds or Seedlings
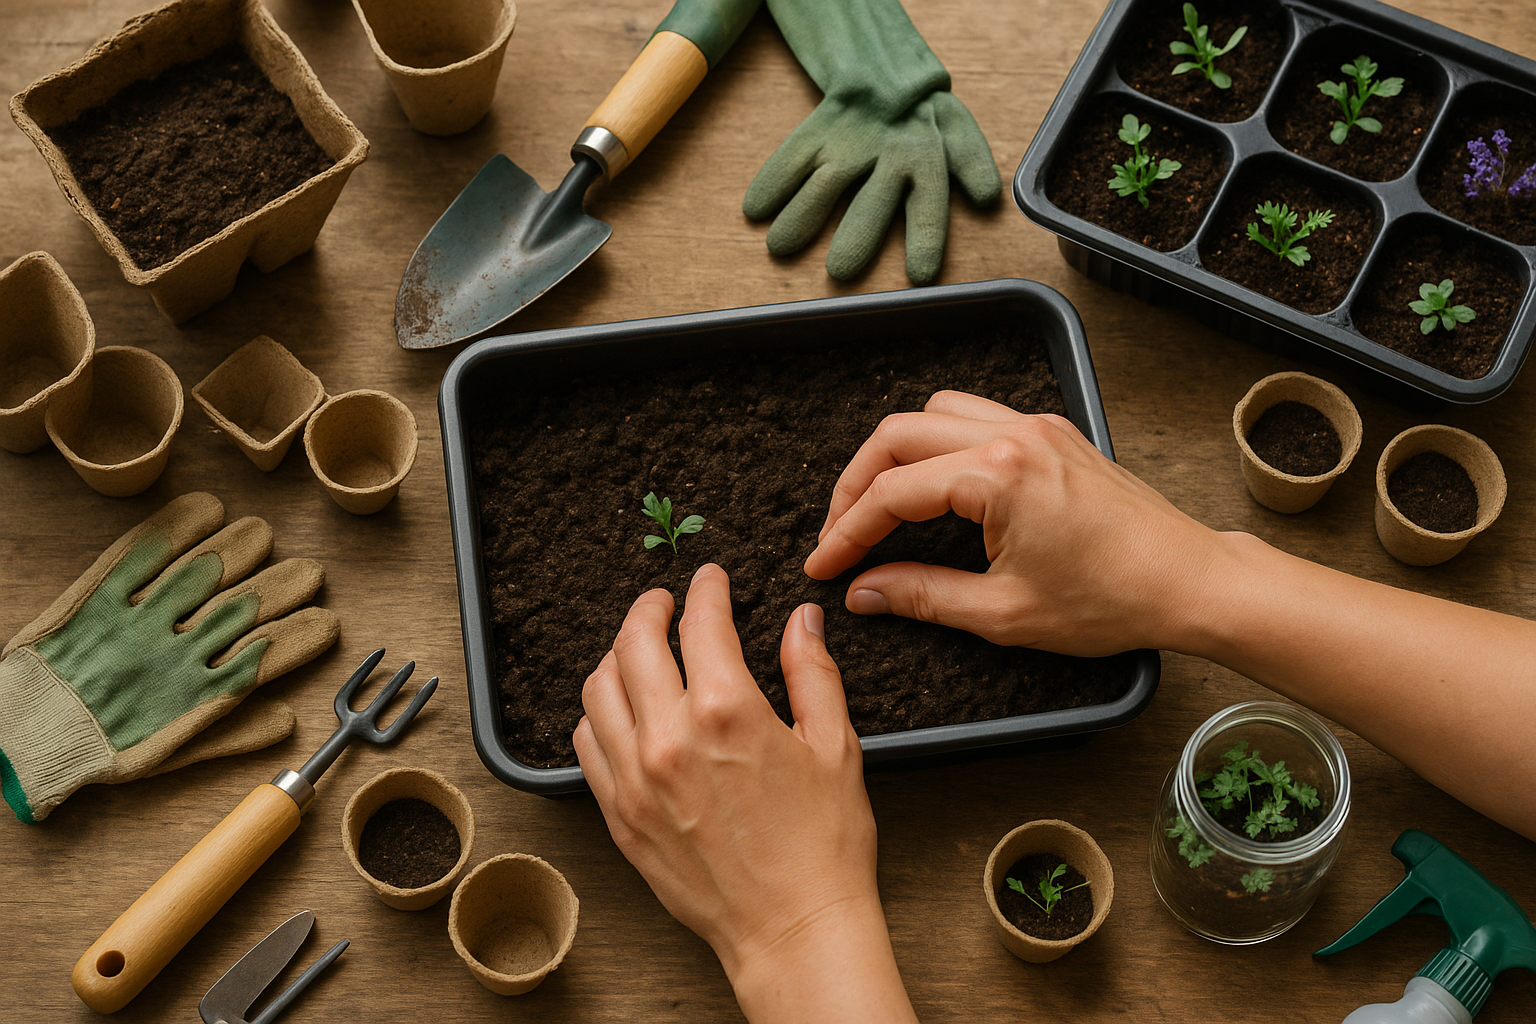
Planting chamomile in containers is easy and rewarding, whether you’re starting from seeds or transplanting seedlings. First, choose a well-draining pot at least 6 inches deep so the roots have room to grow.
For seeds, chamomile thrives when sown in spring after the last frost. It prefers cool weather to start but needs sun to flourish. Scatter seeds thinly over moist potting soil—don’t bury them deeply. Just press them in lightly since chamomile seeds need light to germinate. Aim to space seeds or seedlings about 2 inches apart so each plant has good airflow and room to expand.
Lightly mist the soil to keep it consistently damp, but avoid overwatering, as soggy soil can rot the seeds. If transplanting seedlings, dig small holes just as deep as the root balls and gently firm the soil around them. Continue watering with a fine spray or a gentle watering can, keeping the soil moist but never waterlogged during the first few weeks.
Place your container in a spot that receives at least 4-6 hours of sunlight per day, and watch for tiny green shoots within one to two weeks if starting from seed. In hot climates, partial afternoon shade helps, while in cooler regions, maximize sun exposure.
With these simple steps, your chamomile should establish quickly and reward you with fragrant blooms by early summer.
Essential Care for Thriving Container Chamomile
Caring for chamomile in containers means paying close attention to its unique needs throughout the growing season. Start with a well-draining potting mix—chamomile dislikes soggy roots—and ensure your container has drainage holes.
Water young plants gently, keeping the soil consistently moist but not soaked. Once plants mature, water only when the top inch of soil feels dry to the touch. Avoid both overwatering and underwatering, as these can cause yellowing leaves or wilting.
Chamomile grows best in full sun, so place pots where they’ll receive at least six hours of direct sunlight daily. In especially hot climates, a bit of afternoon shade can prevent scorching.
Feeding and Pest Management
Fertilize lightly every 4-6 weeks with a balanced, dilute liquid feed. Avoid heavy applications that encourage excessive leafy growth at the expense of flowers.
Watch out for container-specific problems like root rot caused by too much moisture, and monitor leaf color for early signs of distress. If you spot aphids or spider mites—common pests for container herbs—wash the foliage with a gentle stream of water or spray with insecticidal soap.
For powdery mildew, improve air circulation around your plants and avoid wetting the leaves.
Seasonal Adjustments and Winter Care
- In spring and summer, water more frequently.
- Reduce watering as temperatures cool in fall.
- When frost threatens, move pots indoors to a sunny window or sheltered porch—chamomile isn’t frost-hardy, and a sudden cold snap can kill delicate plants.
Elevating pots with saucers or stands helps prevent soil from staying too wet after rain, while grouping containers together can provide some insulation during chilly nights.
With this attentive routine, your container chamomile will flourish, providing fragrant flowers for tea or garden enjoyment throughout the growing year.
Harvesting and Storing Chamomile Flowers
Chamomile flowers are best harvested when their daisy-like blooms are fully open and flat, typically in the early morning after the dew has dried but before the midday heat sets in. You’ll know they’re ready if most petals are white and radiate out horizontally from the yellow center—avoid picking while the petals are curled under or have begun to brown.
Use your fingertips or small scissors to gently pluck the flower heads, taking care not to pull up stems or disturb new buds to encourage continued blooming. For container gardeners wanting to maximize their yield, deadhead spent blossoms regularly to stimulate new growth, keep the soil evenly moist, and feed plants with diluted organic fertilizer every few weeks.
Once you’ve gathered your flowers, spread them in a single layer on a clean baking sheet or mesh screen in a warm, dry, well-ventilated space out of direct sunlight. Turn them gently every day and allow a week for thorough drying—the flowers should feel crisp and easily crumble between your fingers.
Store fully dried chamomile in airtight glass jars or paper bags, placing them in a cool, dark cupboard to protect from moisture and UV rays, which can degrade flavor and potency over time. Label your containers with the harvest date, and enjoy the flowers for up to a year, using them in teas, infusions, or skincare.
Remember, smaller containers warm quickly, so water often, rotate plants for even sun, and thin overcrowded seedlings early to give each chamomile plant optimal space for lush blooming.
Enjoying and Using Homegrown Chamomile
Homegrown chamomile is a versatile treasure that’s easy to enjoy in daily life. For starters, making your own chamomile tea is simple: gather the dried flower heads, rinse if needed, then steep about two teaspoons in a cup of hot water for five minutes—strain and sweeten with honey if you like. Sip this gentle brew to unwind before bed or soothe a mildly upset stomach.
Beyond tea, chamomile can be used as a natural remedy for minor skin irritations. Create a calming compress by steeping the flowers and soaking a clean cloth in the cooled liquid. You can also infuse chamomile into homemade bath soaks or combine it with other dried flowers to craft fragrant sachets for drawers and closets.
Chamomile’s calming, anti-inflammatory, and digestive properties have made it a trusted herbal helper for centuries. Don’t hesitate to get creative—sprinkle dried chamomile blossoms into homemade candles, soap, or potpourri for a soothing scent around your home.
Whether you’re looking to relax, treat your skin gently, or add a special touch to DIY projects, homegrown chamomile is a delightful and rewarding addition to your routine.