Why Grow Sage in Pots?

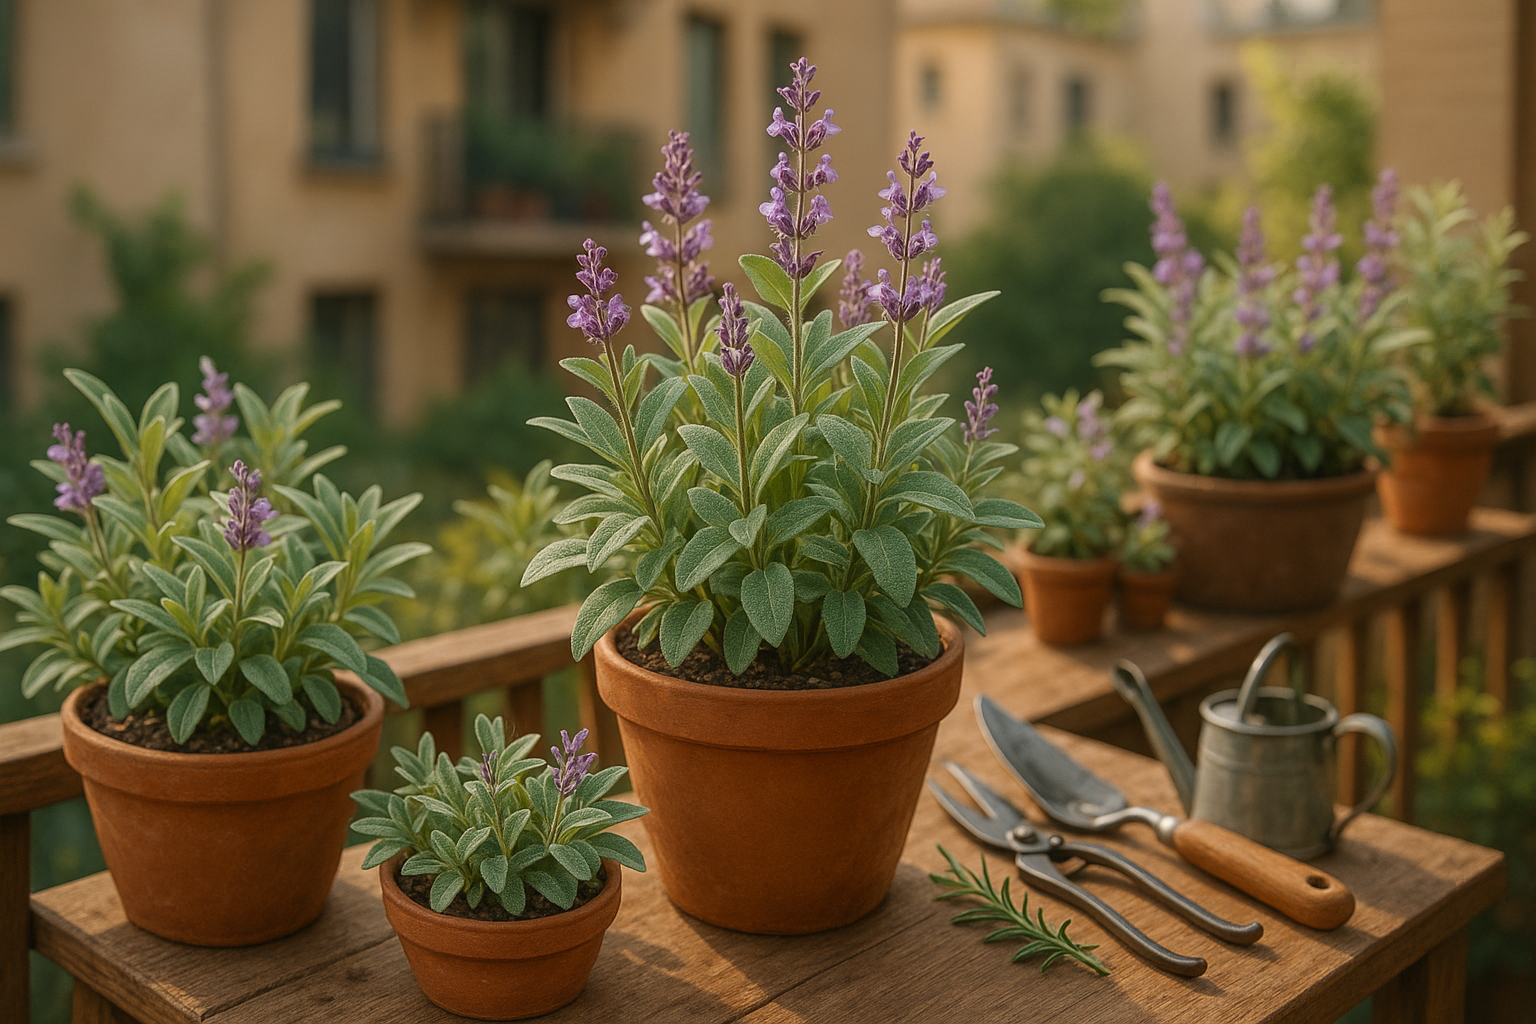
Growing sage in pots is a smart choice for gardeners with limited space or those seeking flexibility. Container gardening lets you enjoy fresh, homegrown herbs even if you only have a balcony, small patio, or sunny kitchen windowsill.
By keeping sage in a pot, you can easily move the plant to catch more sunlight or bring it indoors when the weather turns harsh. This is especially helpful in colder climates where sage struggles outdoors during winter. Containers also help manage pests like slugs or mildew, allowing you to spot problems early and take action before they spread.
Sage is more than just a practical herb; its soft, silvery-green leaves and delicate purple flowers provide a beautiful accent for decks, doorsteps, or windowsills, making it both decorative and useful. In the kitchen, potted sage is always within reach to flavor roasts, soups, or teas.
Since sage doesn’t need much space to thrive, a medium-sized container with well-draining soil is perfect for its roots. Whether you’re a seasoned chef, novice gardener, or just want to brighten your living area, growing sage in a pot offers convenience, continuous harvests, and a touch of leafy charm—no backyard required.
Choosing the Right Pot and Soil
Selecting the right pot and soil is crucial for healthy, thriving plants, especially in container gardening. Start by choosing a pot that offers enough room for your plant’s roots to grow—typically, a pot that is 2-4 inches wider than the plant’s current root ball is ideal.
Opt for materials like terracotta, ceramic, or plastic, but always make sure your container has sufficient drainage holes at the bottom. This prevents water from accumulating and causing root rot.
When it comes to soil, most container plants prefer a well-draining, slightly alkaline potting mix. For best results, combine standard potting mix with perlite or coarse sand to improve aeration. Mix in a handful of garden lime to gently raise the pH if your plants need slightly alkaline conditions.
Before planting, clean your pots thoroughly to remove any lingering pathogens from previous use. Also, place a small layer of gravel or broken pottery shards over the drainage holes—this allows excess water to escape while keeping the soil from washing out.
Give the potting mix a good stir and moisten it lightly before filling your container; pre-moistened soil ensures that roots settle in evenly and helps prevent dry spots.
By investing a little extra effort in selecting the right pot and preparing the soil, you’ll set the foundation for strong roots and healthy growth.
Planting Sage
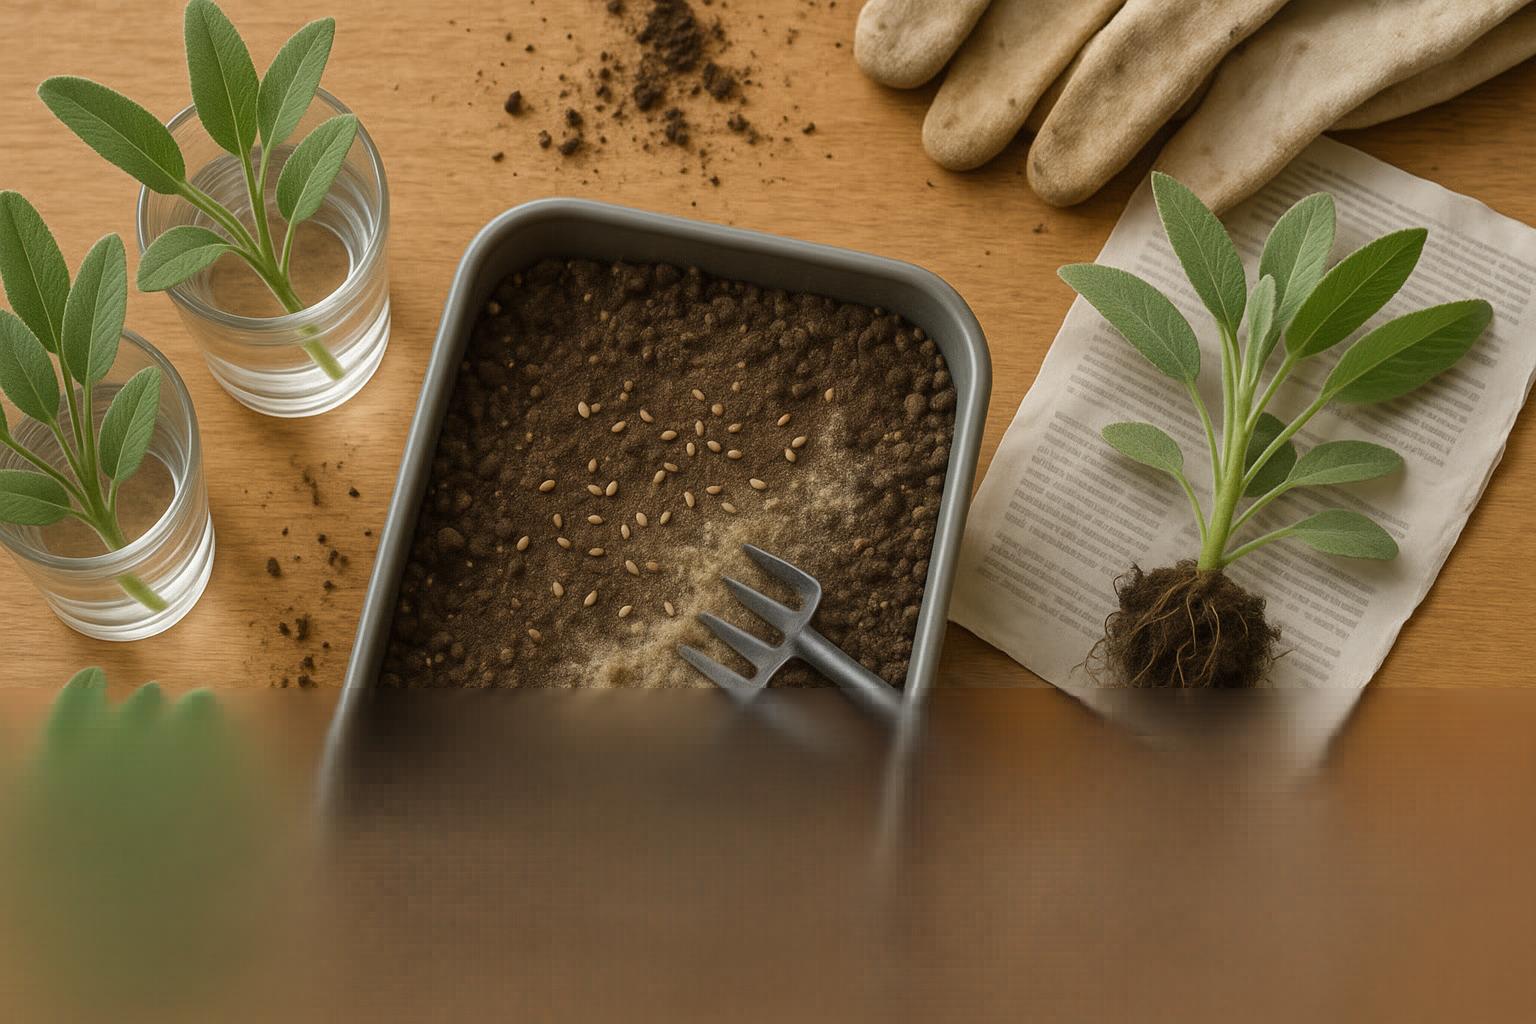
When it comes to planting sage in containers, you have three main options: starting from seeds, taking cuttings, or transplanting young nursery plants—each with its own benefits and challenges.
Growing from seeds is affordable and gives you plenty of plants, but it’s slower and requires patience. Simply fill your container with gritty, well-draining soil, scatter seeds lightly over the surface, and cover with a thin dusting of soil. Mist to moisten, keep the pot in a warm, bright spot, and expect seeds to sprout within two to three weeks.
If you want a quicker start, take 4-inch stem cuttings from healthy sage plants. Snip just below a leaf node, remove the lower leaves, and stick the stem in moist potting mix or a glass of water. Roots form in about two weeks; once rooted, transplant the cutting into your container. This method ensures your new sage will be true to its parent and is often more reliable than seeds.
For near-instant gratification, nursery-bought young sage plants are the easiest. Simply remove the plant from its pot, gently loosen the roots, place it in your container, and fill in around it with soil.
Whichever method you choose, set the container in a sunny spot—such as a windowsill or balcony—where the sage gets at least six hours of sunlight a day. Water lightly after planting, allowing the soil to dry a bit between waterings to avoid rot—sage hates soggy roots. Start trimming the tips once the plant is established, and you’ll enjoy fresh sage at arm’s reach.
Essential Sage Plant Care in Containers
Sage thrives in bright sunlight, so for indoor containers, position your pot on a south-facing windowsill where it can soak up at least 6 hours of direct sunlight daily. If natural light is limited, consider supplementing with a grow light to keep your plant healthy and flavorful.
Outdoors, place sage pots in a spot that receives full sun—an open patio, balcony, or garden edge works perfectly. Good airflow is crucial, but if your summers get scorching, some light afternoon shade can protect the soft leaves from burning.
When it comes to watering, sage hates soggy roots, so let the top inch of soil dry out before watering again, usually every 5–7 days indoors and slightly more often if pots dry out quickly outside. Always use pots with drainage holes and go easy to avoid overwatering, which can invite root rot.
Sage prefers warm temperatures between 65–75°F (18–24°C) and doesn’t like high humidity. If you live in a humid region, ensure good airflow around the pot and avoid misting.
In cold climates, bring outdoor pots inside before the first frost—choose a cool, sunny spot indoors and cut back slightly on watering during winter dormancy.
Fertilize sparingly, using a balanced liquid fertilizer diluted to half strength every 6–8 weeks in spring and summer, since excess nutrients can reduce flavor intensity.
Prune regularly by pinching back the tops when stems get lanky, and trim away flower buds to encourage bushier, leafier growth for cooking. Regularly harvesting sprigs also promotes fullness and prevents your sage from getting woody and sparse.
With the right setup, your container-grown sage will reward you with strong, aromatic leaves all season long.
Harvesting and Using Your Sage
For the best flavor, harvest sage leaves in the morning after the dew has dried but before the sun gets too hot, as this is when the oils are most concentrated. Snip leaves from the top of the plant, choosing the youngest, most tender leaves for a milder taste and the older ones for a stronger flavor.
Use clean, sharp scissors and always leave at least two-thirds of the plant intact to encourage healthy regrowth. Regularly trimming sage not only keeps the plant looking tidy but also stimulates new shoots for a continual harvest throughout the growing season. After cutting, water your sage lightly and ensure it gets plenty of sunlight to recover quickly.
Fresh sage adds an earthy flavor to roasted meats, potatoes, and homemade stuffing, while dried leaves can be crumbled into teas or used in herbal blends for cold and sore throat relief. To dry sage, gather a small bunch and hang it upside down in a warm, well-ventilated area. Once dried, store the leaves in an airtight jar.
Whether you’re infusing olive oil or mixing it into natural cleaning products, both fresh and dried sage are versatile staples for the kitchen and home.
Common Problems and Solutions When Growing Sage in Pots
Growing sage in pots is rewarding, but like all herbs, it comes with a few challenges. Common pests such as aphids can cluster on new shoots, causing leaves to curl or turn sticky. Check your plant regularly and spray with a mild soapy water solution if you notice these pests.
Powdery mildew, a white, powdery coating on leaves, thrives in humid conditions. Prevent it by spacing your pots for good airflow and watering at the base rather than overhead.
Root rot is another frequent issue when pots don’t drain well. Symptoms include wilting, yellowing leaves, and a musty smell from the soil. To combat this, ensure containers have drainage holes and use a well-draining potting mix, letting the soil dry between watering.
Sage grown indoors or in low light can become leggy, with long, weak stems and sparse foliage. Remedy this by placing pots in a sunny spot and rotating them regularly for even growth.
Yellow leaves often signal overwatering or poor soil. Back off on watering and refresh the top inch of potting mix if needed.
Prevent most problems by starting with disease-free plants, cleaning pots before planting, and removing any dead or diseased foliage as soon as it appears. These small steps keep your potted sage thriving, flavorful, and healthy throughout the season.
Pro Tips for Thriving Sage in Small Spaces
Thriving with sage in small spaces is all about making the most of every inch while keeping things simple and rewarding. Try companion planting by tucking sage next to herbs like rosemary or thyme in the same container—these Mediterranean plants enjoy similar sunlight and watering needs, making care a breeze.
Rotate your containers every few weeks to ensure each side gets even sun exposure, helping sage grow bushier and healthier. If counter or patio space is tight, get creative with vertical solutions: hang wall-mounted planters, install a tiered shelf, or repurpose an old ladder to display pots at varying heights.
Don’t stop at common garden sage—experiment with purple sage, golden sage, or even the aromatic pineapple sage to add color and fragrance to your tiny garden. Sage also makes a stellar centerpiece in a mixed container herb garden. Surround it with trailing mint or compact basil, and you’ll have a vibrant, edible display that’s as practical as it is beautiful.
Keep learning as you go! Pay attention to how your sage responds to light, water, and neighbors, and tweak your setup over time for the best results. Small space gardening is the perfect playground for curiosity and creative solutions—embrace it and watch your sage thrive.