Introduction
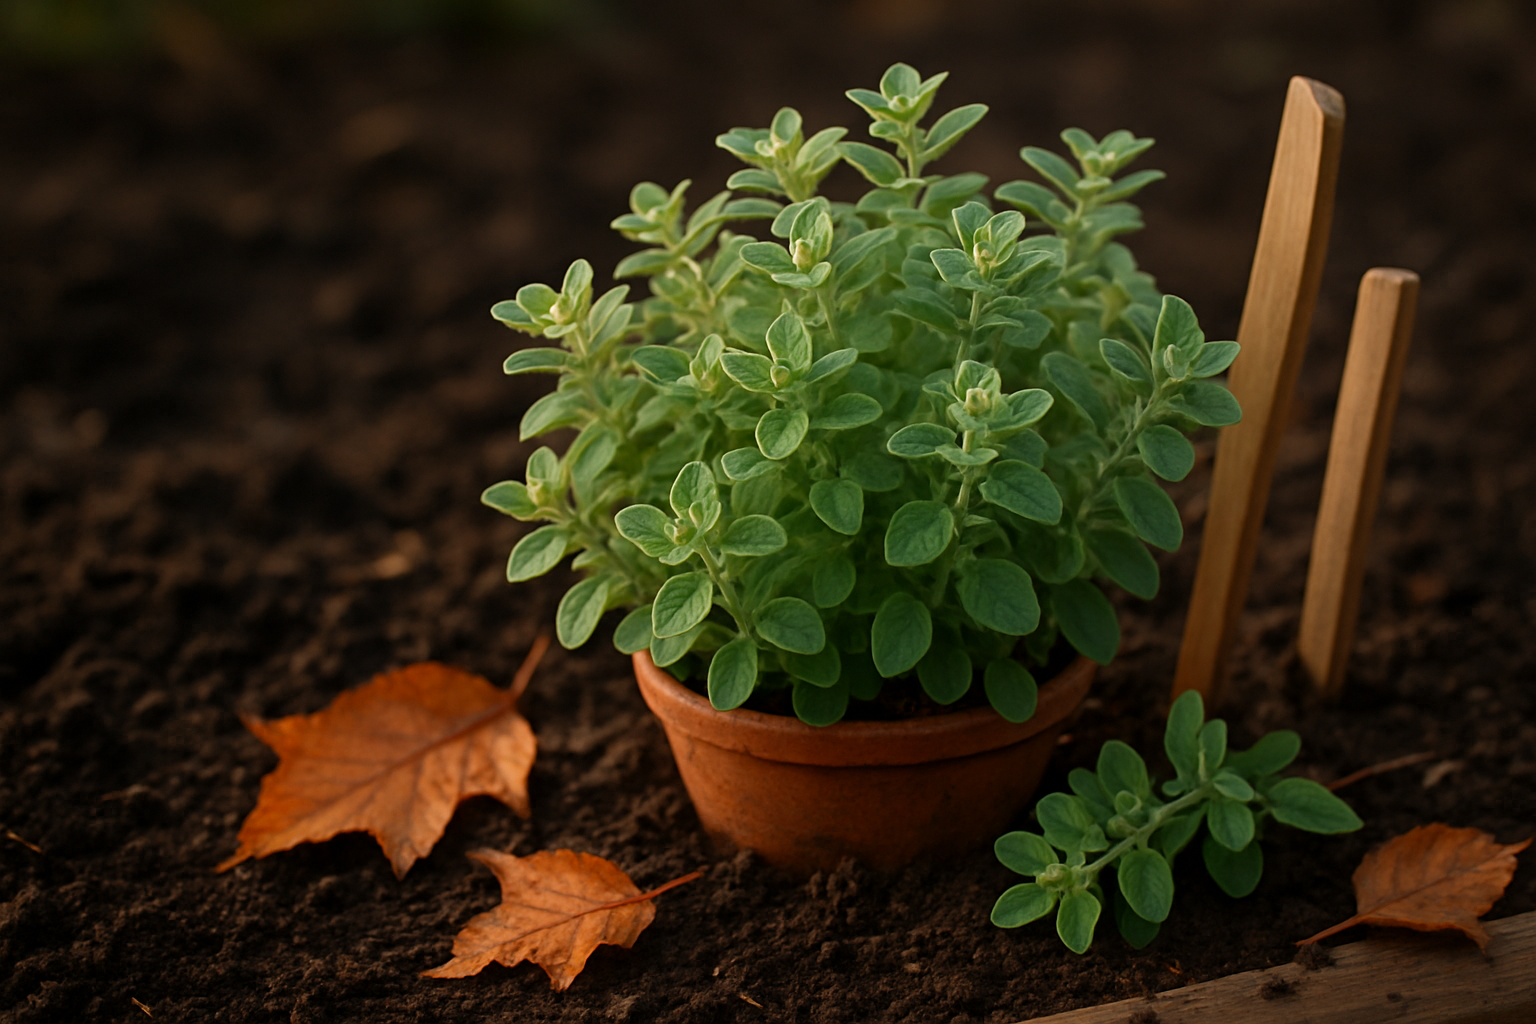
Marjoram in winter can be a delightful addition to your garden, even in colder climates where many herbs struggle to thrive. Marjoram is a versatile herb, loved for both its rich culinary flavors and gentle medicinal properties. Its sweet, aromatic leaves enhance everything from soups to teas, making it a favorite among home gardeners who appreciate its robust aroma and easy care.
But as frosty weather approaches, keeping marjoram healthy can be a challenge. Whether you’re an experienced green thumb or a beginner hoping to jar your own herbs, this guide will walk you through every step. You’ll learn how to sow marjoram seeds, nurture your plants through the chilliest months, and harvest lush, fragrant sprigs—even when there’s snow on the ground.
Plus, discover real-world storage strategies so your hard-earned bounty lasts well beyond the growing season. Let’s get your marjoram thriving, no matter the temperature outside!
Choosing the Right Marjoram Variety
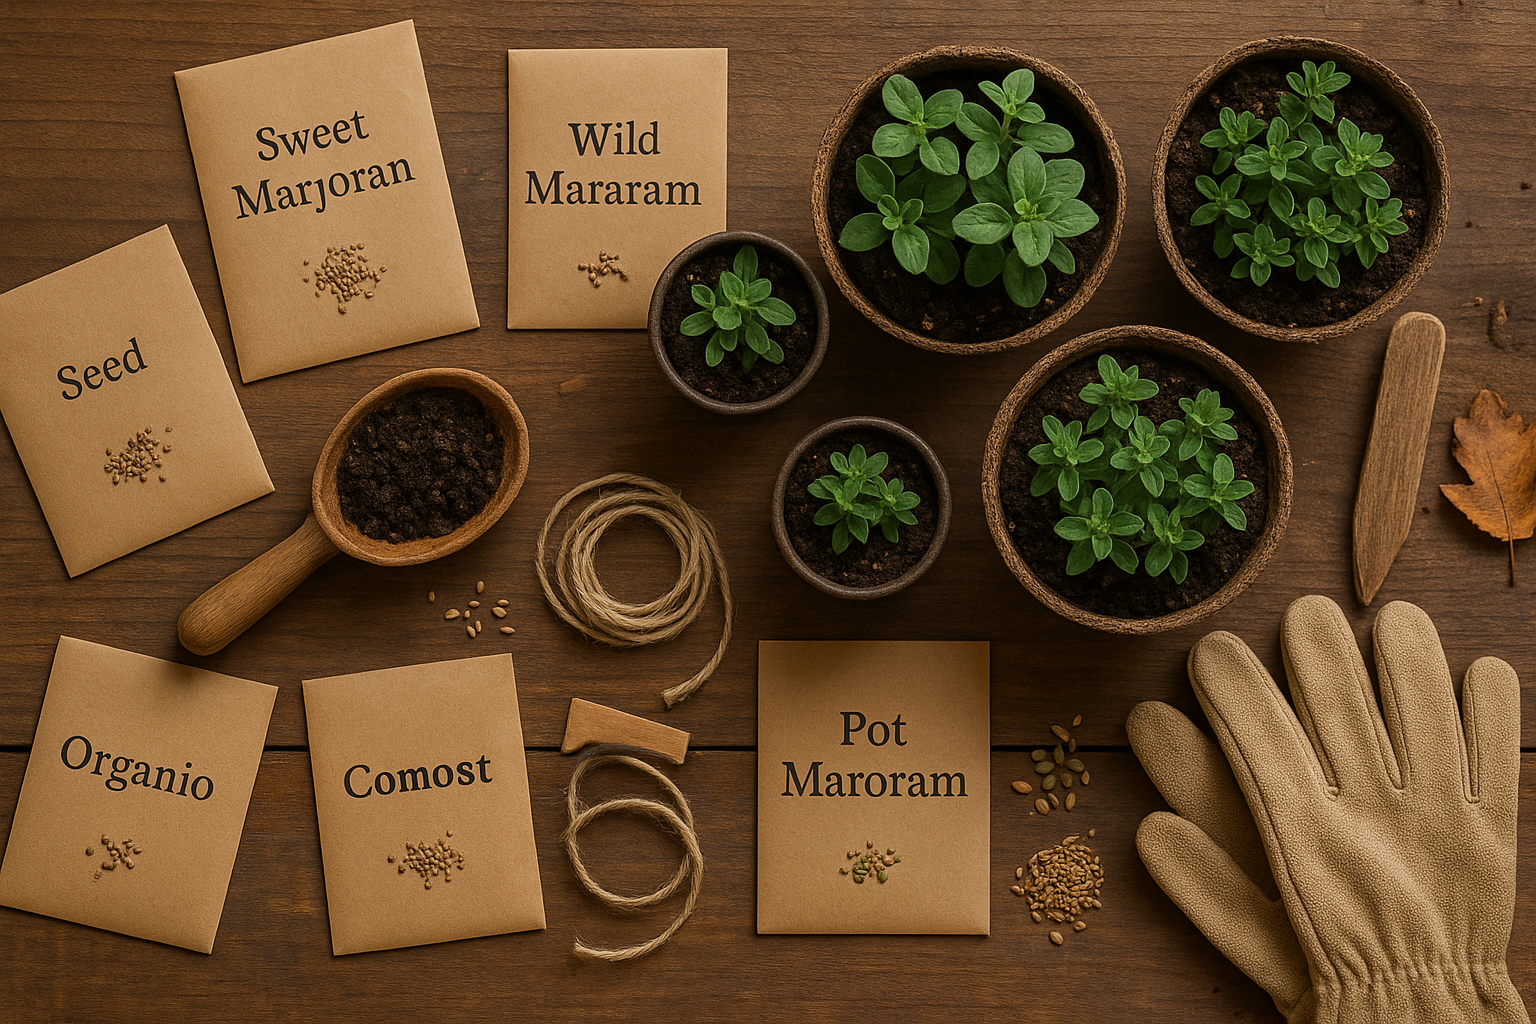
When it comes to choosing the right marjoram variety for your garden or kitchen, it’s important to understand the key differences between sweet marjoram, oregano, and wild marjoram. Sweet marjoram (Origanum majorana) offers a gentle, slightly floral flavor with subtle citrus notes, making it perfect for seasoning Mediterranean dishes, roasted vegetables, and poultry.
In contrast, oregano (Origanum vulgare), sometimes called wild marjoram, delivers a bolder, spicier punch and is a staple in Italian tomato sauces and grilled meats. If you’re seeking a milder, sweeter touch—especially for salads or soups—sweet marjoram is the way to go.
Consider your local climate when choosing a variety—sweet marjoram thrives in warm, sunny spots with well-drained soil but may need to be grown indoors or as an annual in cooler areas. It’s also wise to select disease-resistant varieties to minimize gardening headaches; many heirloom types are known for their hardiness.
For sourcing seeds or starter plants, look for reputable nurseries or online retailers specializing in organic or heirloom selections, such as Baker Creek Heirloom Seeds or local cooperative extensions. These options not only support sustainable gardening but often result in healthier, more flavorful harvests.
Starting with high-quality, organically grown plants can make a big difference in both the resilience of your herb garden and the taste of your kitchen creations.
Sowing and Planting Marjoram
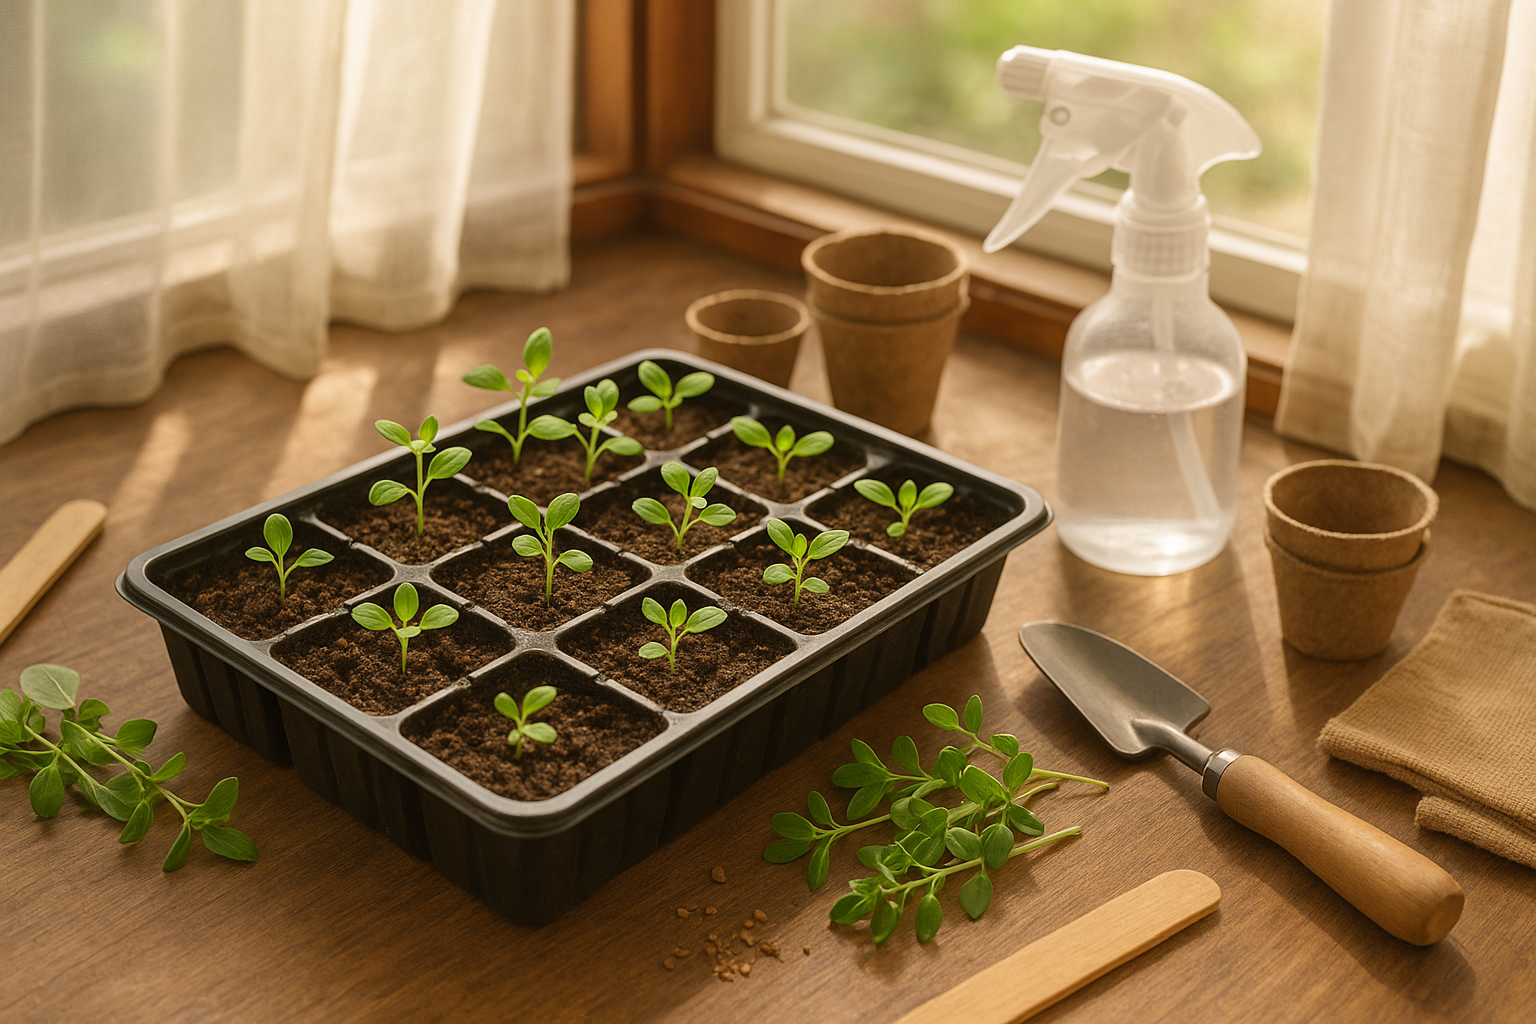
Starting marjoram from seed offers flexibility—indoors or outdoors, your timing and technique set the stage for healthy growth. For an early start, sow seeds indoors about 6-8 weeks before your last expected frost date using seed trays filled with light, well-draining potting mix. Gently press seeds onto the soil surface without covering them, as marjoram needs light to germinate. Mist lightly and place trays in a warm, sunny spot; germination usually takes 10-14 days.
If you prefer direct sowing, wait until all danger of frost has passed and soil temperatures reach at least 65°F (18°C). Prepare garden beds or container soil by loosening it to a depth of 6 inches and mixing in compost for drainage and nutrients. Whether outdoors or inside, keep seeds about ¼ inch apart and barely covered, as overcrowding leads to spindly plants.
Marjoram thrives in full sun, so choose the sunniest spot available. In garden beds, maintain 12-inch spacing between seedlings; in containers, opt for a pot at least 8 inches wide and deep per plant. Containers are excellent if your garden soil doesn’t drain well or you want to move plants indoors later; just ensure they get at least 6 hours of sunlight.
When transplanting indoor seedlings outdoors, harden them off over 7-10 days by gradually increasing their exposure to outdoor conditions—this prevents shock and stunted growth. Set hardened seedlings at their original soil depth and water well to help roots settle.
Paying attention to timing, soil, spacing, and sun exposure sets up your marjoram for a lush, fragrant season whether on your windowsill or in the backyard.
Caring for Marjoram Plants
Marjoram plants thrive best in full sunlight, so aim to provide at least six hours of direct sun daily. Windowsills, patios, or a sunny corner of your garden are all great options.
These herbs prefer well-draining soil, so mix sand or perlite into heavy or compacted soils to prevent soggy roots, which marjoram dislikes.
When it comes to watering, keep the soil evenly moist but never waterlogged. Let the top inch of soil dry out between waterings, and reduce watering in cooler months.
For soil amendment, work compost or well-rotted manure into the bed before planting, and refresh with a balanced organic fertilizer every four to six weeks during the growing season to ensure steady nutrients.
Healthy marjoram is less susceptible to pest and disease issues, but you can further protect your plants by mulching with straw or leaf mold. This helps retain moisture, suppress weeds, and prevent fungal spores from splashing onto leaves.
If aphids or spider mites appear, wash them off with a gentle stream of water or use a diluted neem oil spray instead of harsh chemicals.
Always observe your marjoram plants for signs of yellowing leaves, drooping, or spots—catching problems early makes them easier to fix.
Handle your marjoram gently during pruning or harvesting, as rough handling can stress the plant and invite disease.
With attentive care and simple organic practices, your marjoram will reward you with aromatic, healthy growth season after season.
Pruning, Training, and Troubleshooting
Pruning is essential for keeping plants healthy and productive. Begin by pruning early in the vegetative stage, once your plants have developed a few sets of true leaves. Use clean, sharp scissors or pruning shears to snip off the top growth just above a leaf node—this popular “topping” method encourages side shoots and creates a bushier plant.
Another effective technique is “FIMing” (short for “f***, I missed!”), which involves pinching off about 75% of the new growth at the tip to encourage multiple new shoots. Regularly remove any yellow, damaged, or crowded leaves to boost airflow and let light reach lower branches, which prevents disease and promotes even growth.
To prevent legginess—where plants grow tall and sparse—make sure they have plenty of strong, direct light, and don’t overcrowd them; space plants well and rotate them every few days for even exposure.
If you notice yellow leaves, check your watering habits: both overwatering and underwatering can cause leaf discoloration. Inspect the roots for a foul smell or brown, mushy spots, which may indicate root rot. To fix this, let the soil dry more between waterings, ensure good drainage, and trim away affected roots with sterile scissors.
For pests like aphids or spider mites, try blasting leaves with water, applying neem oil, or introducing beneficial insects like ladybugs. Regular observation and quick action are key—catching issues early keeps your plants healthy and yields high.
Harvesting and Storing Marjoram
Knowing when and how to harvest marjoram ensures the freshest flavor for your kitchen and the most potent oils for any medicinal uses. The best indicator that marjoram is ready for harvest is when plants begin to bud, showing clusters of small, tight flower buds but before the flowers fully open—this is when the leaves are at their most flavorful and aromatic.
For picking, use sharp scissors or garden snips, and cut stems several inches above the base. Ideally, harvest in the morning after the dew has dried, as essential oils peak at this time. Regular trimming every few weeks encourages bushier growth and higher yields throughout the season.
For maximum flavor retention, tie stems into small bunches and hang them upside down in a warm, dry, and well-ventilated area away from sunlight for about a week. Once the leaves crumble easily, store them in airtight glass jars. Alternatively, you can freeze fresh marjoram by chopping the leaves and putting them in ice cube trays with a bit of water or olive oil.
Always label your containers with the date to ensure freshness, since dried marjoram is best used within a year. These careful storage methods preserve marjoram’s signature gentle, sweet flavor—perfect for seasoning soups, meat dishes, and sauces or brewing into digestive teas.
In addition to its culinary appeal, marjoram has a history of use in traditional remedies to soothe coughs, reduce inflammation, or encourage relaxation—adding extra motivation to grow and preserve this versatile herb in your own garden.
Overwintering and Year-Round Care
As temperatures drop, marjoram can struggle outdoors—especially in colder zones—so consider digging up your plants and transferring them to pots before the first frost. Place potted marjoram on a sunny indoor windowsill where it will receive at least 6 hours of light daily, and water only when the soil feels dry to the touch.
If you live in a milder climate where winters are not severe, mulching your marjoram with a thick layer of straw or leaves will help insulate the roots and shield plants from cold snaps. Perennial marjoram varieties benefit from a gentle prune in early autumn to remove straggly stems, making them less vulnerable to winter stress.
Through the cold months, avoid overwatering; too much moisture can cause root rot when growth slows down. Come spring, gradually reintroduce overwintered pots to outdoor conditions by placing them outside for a few hours each day, increasing the time spent outside over a week.
Once the risk of frost has passed, trim back any winter-damaged stems to encourage bushy new growth. Feed your marjoram with a balanced, organic fertilizer, and your plant should bounce back quickly, rewarding you with tender leaves and vigorous shoots for another year of harvests.
Conclusion
Growing marjoram successfully starts with selecting a sunny spot, planting in well-draining soil, and keeping the herbs consistently moist but not waterlogged. Regularly pinching back the stems encourages bushier growth, while timely harvesting just before flowering ensures the best flavor.
Don’t be afraid to experiment—try marjoram in different recipes or alongside other herbs to discover new flavors. Every garden is unique, so observe what works best in your environment and have fun with the process.
Engaging with local gardening communities, whether online forums or neighborhood groups, can offer extra support, fresh ideas, and troubleshooting advice. This way, you can continue learning and enjoy the journey of growing your own herbs.