Introduction to Growing Sage from Seed
Wondering if you can grow sage from seed and enjoy its earthy aroma and flavor in your kitchen and garden? Sage is a beloved herb prized for its fragrant leaves, which add depth to savory dishes and bring a beautiful, drought-tolerant touch to herb gardens and borders. Good news: it’s completely possible to grow sage from seeds, and with the right approach, you’ll soon be harvesting your own homegrown supply.
Whether you’re new to gardening or a seasoned plant enthusiast, this step-by-step guide will show you how to successfully start sage from scratch. You’ll find expert tips on seed starting, ensuring healthy germination, and nurturing young seedlings into robust, aromatic plants that thrive all season long.
Ready to get your hands dirty and enjoy fresh sage straight from your garden? Let’s dig in!
Understanding Sage Seeds & Varieties
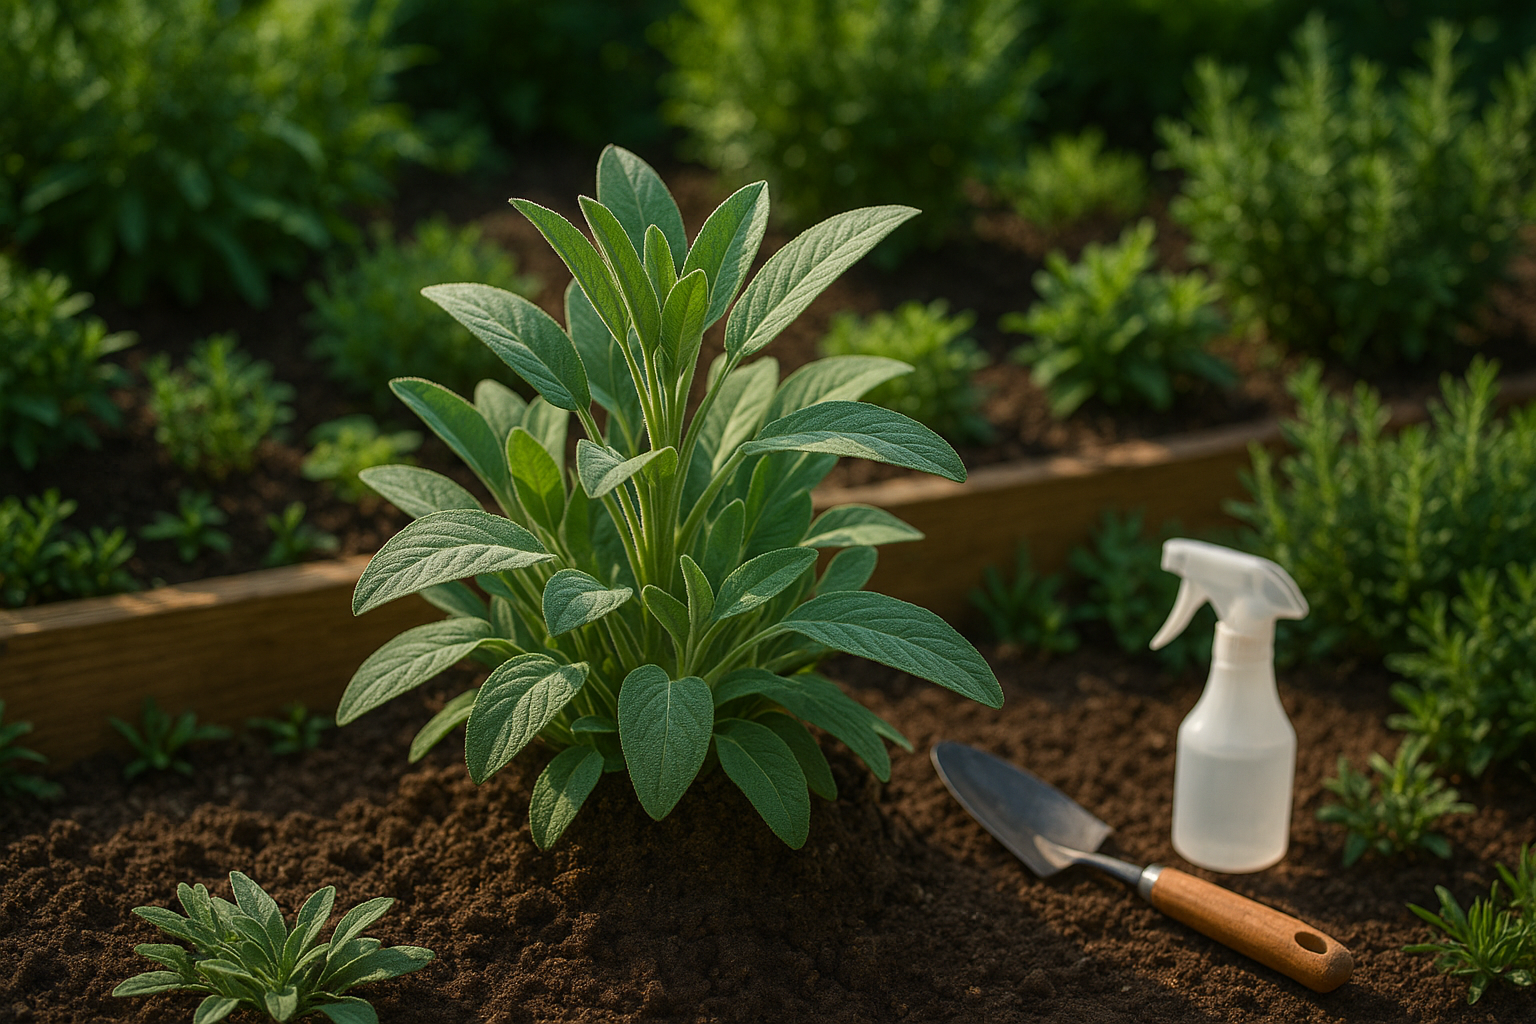
When starting a sage garden, the most popular variety grown from seed is common sage (Salvia officinalis), prized for its gray-green leaves and earthy flavor, perfect for cooking. Other seed-grown options include purple sage, which adds striking color to herb beds, and golden sage, known for its ornamental yellow-green foliage.
Tricolor sage, with its splashes of pink and cream, is usually propagated from cuttings rather than seed, since it rarely produces true-to-type offspring from seed.
Growing sage from seed requires patience, as germination can be slow and young plants delicate, but it’s rewarding for large batches or unique varieties. In contrast, growing from cuttings offers faster results and ensures you’re replicating an established plant—ideal for special cultivars like tricolor.
For high-quality seeds, look to reputable sources like Botanical Interests, Johnny’s Selected Seeds, or Baker Creek Heirloom Seeds, which offer a range of sage varieties and helpful growing tips.
When and How to Sow Sage Seeds
The best time to sow sage seeds indoors is 6 to 8 weeks before your region’s last expected frost, typically in late winter or early spring. For outdoor sowing, wait until all danger of frost has passed and soil temperatures consistently reach at least 65°F (18°C), usually in mid to late spring.
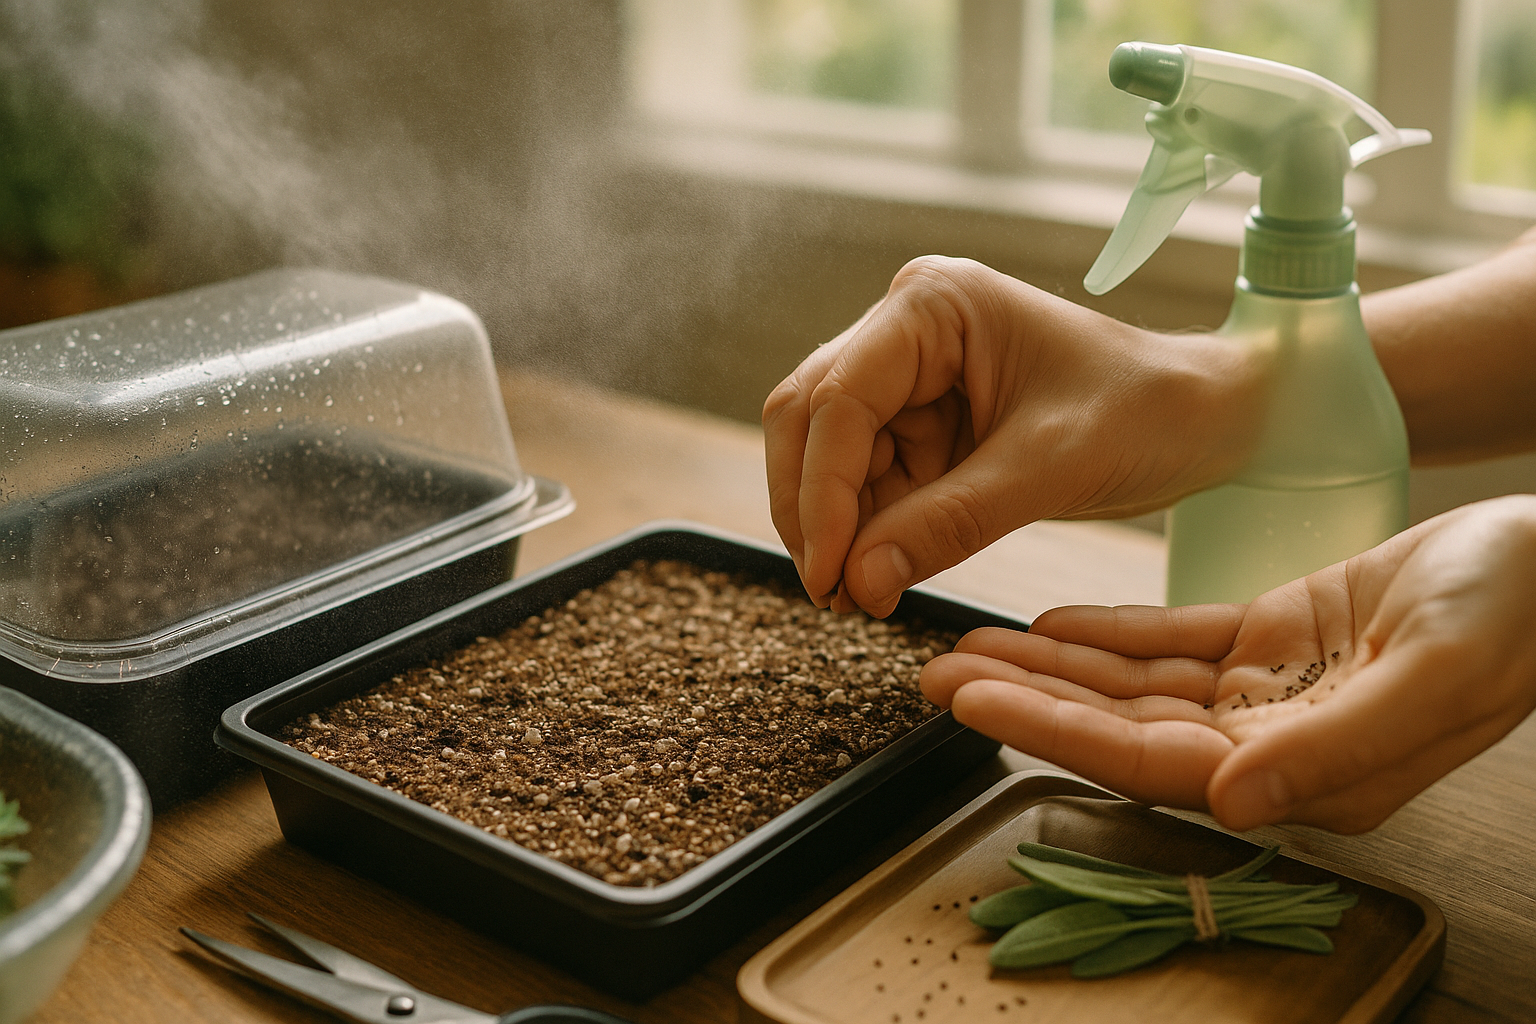
To start indoors, prepare small seed trays or pots with a light, well-draining seed-starting mix. Moisten the soil, then scatter the seeds on the surface—sage seeds need light to germinate, so cover them with only a thin dusting of soil (about 1/8 inch). Gently mist with water, and cover the trays with clear plastic or a humidity dome to retain moisture.
Place your containers in a warm location, aiming for a steady 65–70°F (18–21°C). For best results, you’ll need quality sage seeds, starter pots or trays, seed-starting soil mix, a spray bottle, clear covers, and a warm, brightly lit growing area.
Maximize germination by keeping the soil consistently moist but not soggy, and remove covers as soon as seedlings emerge (in 10–21 days). Thin the seedlings when they are large enough to handle, and give them plenty of airflow to prevent mold and damping-off disease.
Caring for Sage Seedlings
Caring for sage seedlings is simple if you focus on their key needs. Water them just enough to keep the soil moist but not soggy—overwatering is a common mistake that can cause damping-off, a fungal disease that can quickly kill young plants. Use a spray bottle to lightly mist the soil surface, and ensure your seed trays or pots have drainage holes.
Place your seedlings in a spot with plenty of bright, indirect sunlight, such as a sunny windowsill, or use a grow light for 12 to 14 hours a day. Sage prefers warmth, so keep the temperature between 65–75°F (18–24°C).
Once your seedlings have two sets of true leaves, thin them out so each plant has about 2 to 3 inches of space. This helps promote good airflow and stronger growth. Prevent problems by avoiding overcrowding and using clean pots and soil.
When your sage seedlings are about 3 inches tall and nighttime temperatures stay above 50°F (10°C), they’re ready to be transplanted. Gently lift each seedling by its leaves (not the stem) and move them to larger pots or directly into the garden, spacing them 18–24 inches apart to give them room to thrive.
Planting Sage Outdoors & Ongoing Maintenance
Before moving your sage plants outdoors, it’s crucial to harden them off by gradually introducing them to outside conditions over the course of a week. Start with a few hours in partial shade, then slowly increase their time and sun exposure. Once outdoor nighttime temperatures consistently stay above 50°F (10°C), you’re safe to transplant.
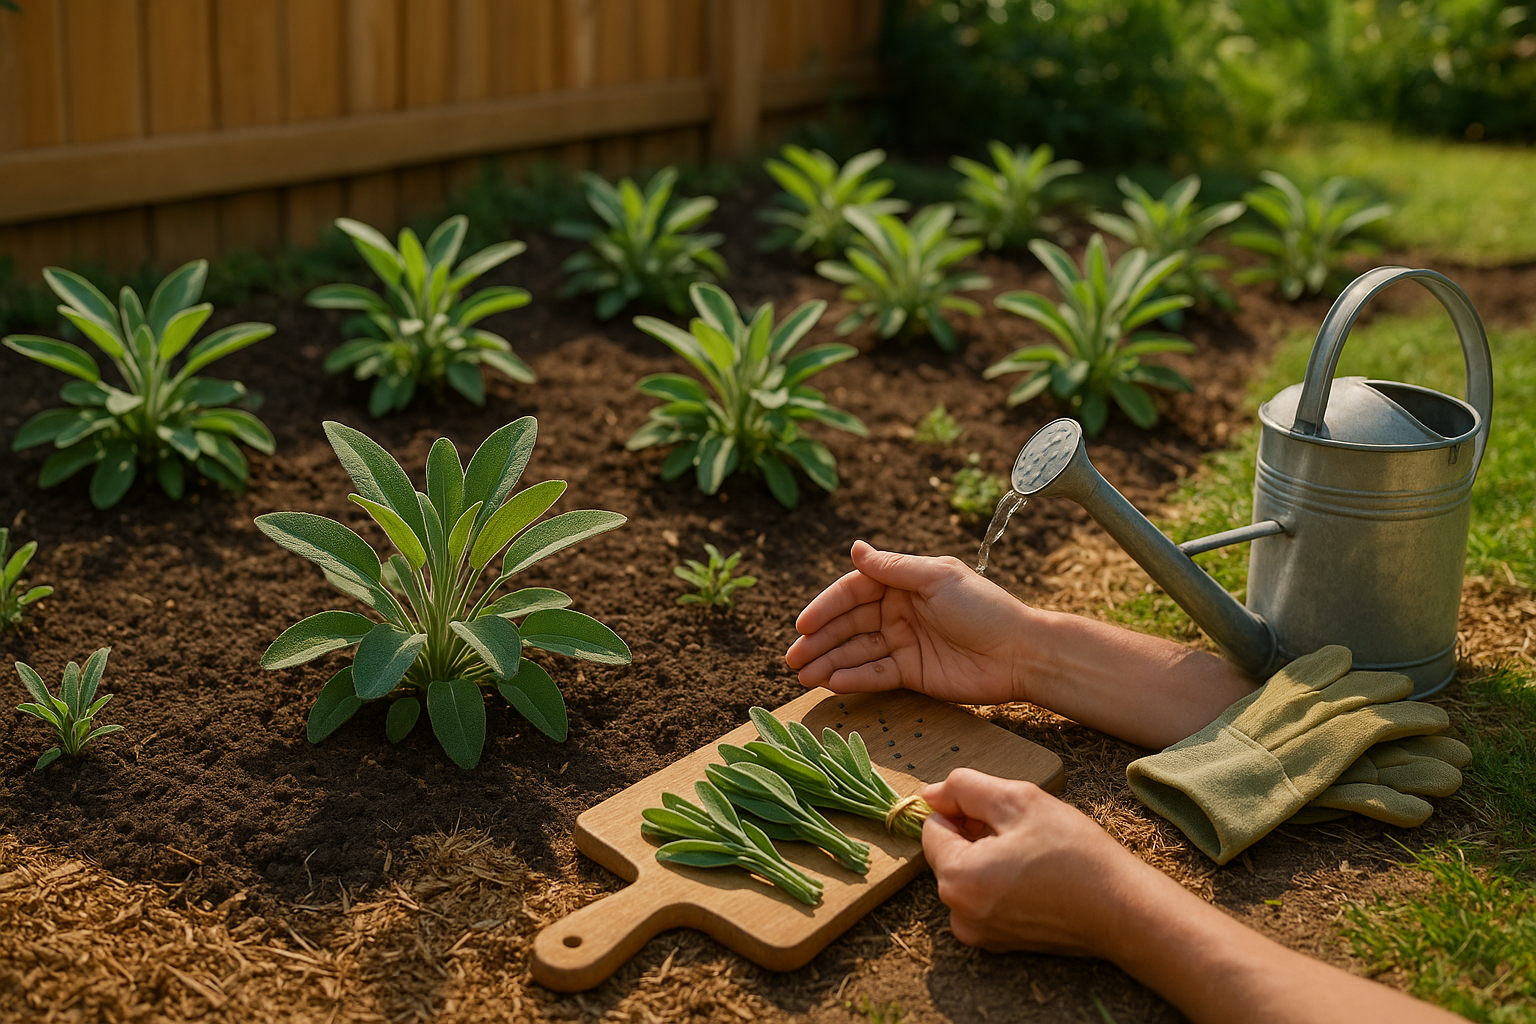
Space sage plants about 18-24 inches apart in well-drained soil, ideally enriched with compost. Sage thrives in slightly alkaline conditions and needs full sun for optimal growth, so choose a spot that gets at least six hours of direct sunlight daily.
Water established sage deeply but infrequently—let the top inch of soil dry out between waterings to avoid root rot. Mulch around the plants to conserve moisture and prevent weeds.
Prune regularly by snipping the top leaves from each stem to encourage bushy growth. Trim back woody stems in early spring, and remove any flowers that appear if you want to maximize leaf production.
For pests, opt for organic solutions like spraying neem oil or introducing ladybugs to control aphids. Always inspect leaves for signs of trouble, handpick pests when you see them, and encourage good air circulation to deter fungal issues.
With a little attention, your sage will thrive and provide aromatic leaves for months to come.
Harvesting Sage Leaves
For the best flavor and to keep your sage plant healthy, harvest sage leaves in the morning after the dew has dried but before the midday sun gets too hot—this is when their essential oils are most concentrated. Use sharp scissors or garden shears to snip individual leaves or cut stem tips just above a leaf node, which encourages bushier growth.
Avoid taking more than one-third of the plant at a time, especially during its first year.
To dry sage, bundle a few stems together and hang them upside down in a well-ventilated, shady spot, or use a dehydrator for faster results. Once the leaves are crispy, remove them from the stems and store them in an airtight jar away from light and heat.
Dried sage brings depth to roasted meats, stuffings, and even compound butters, while fresh leaves can perk up vegetables, breads, and savory cocktails.
Troubleshooting & Common Growing Problems
Growing your own plants can be rewarding, but it’s not without its challenges. Poor germination is a common frustration—make sure your seeds are fresh, the soil is moist (but not soggy), and keep them warm for the best results.
If pests like aphids or spider mites appear, try natural remedies such as neem oil or introducing ladybugs to your garden. Fungal diseases, like powdery mildew or damping-off in seedlings, can be reduced by watering early in the day and providing good air circulation.
Regularly check your plants for early signs of problems so you can act quickly. Keep your tools clean, rotate crops yearly, and avoid overcrowding to help prevent future issues.
For personalized help, reach out to local extension offices or gardening groups online—many offer free advice tailored to your region. You can also connect with fellow gardeners through social media forums like Reddit’s HomeGardening or Facebook plant communities.