Introduction
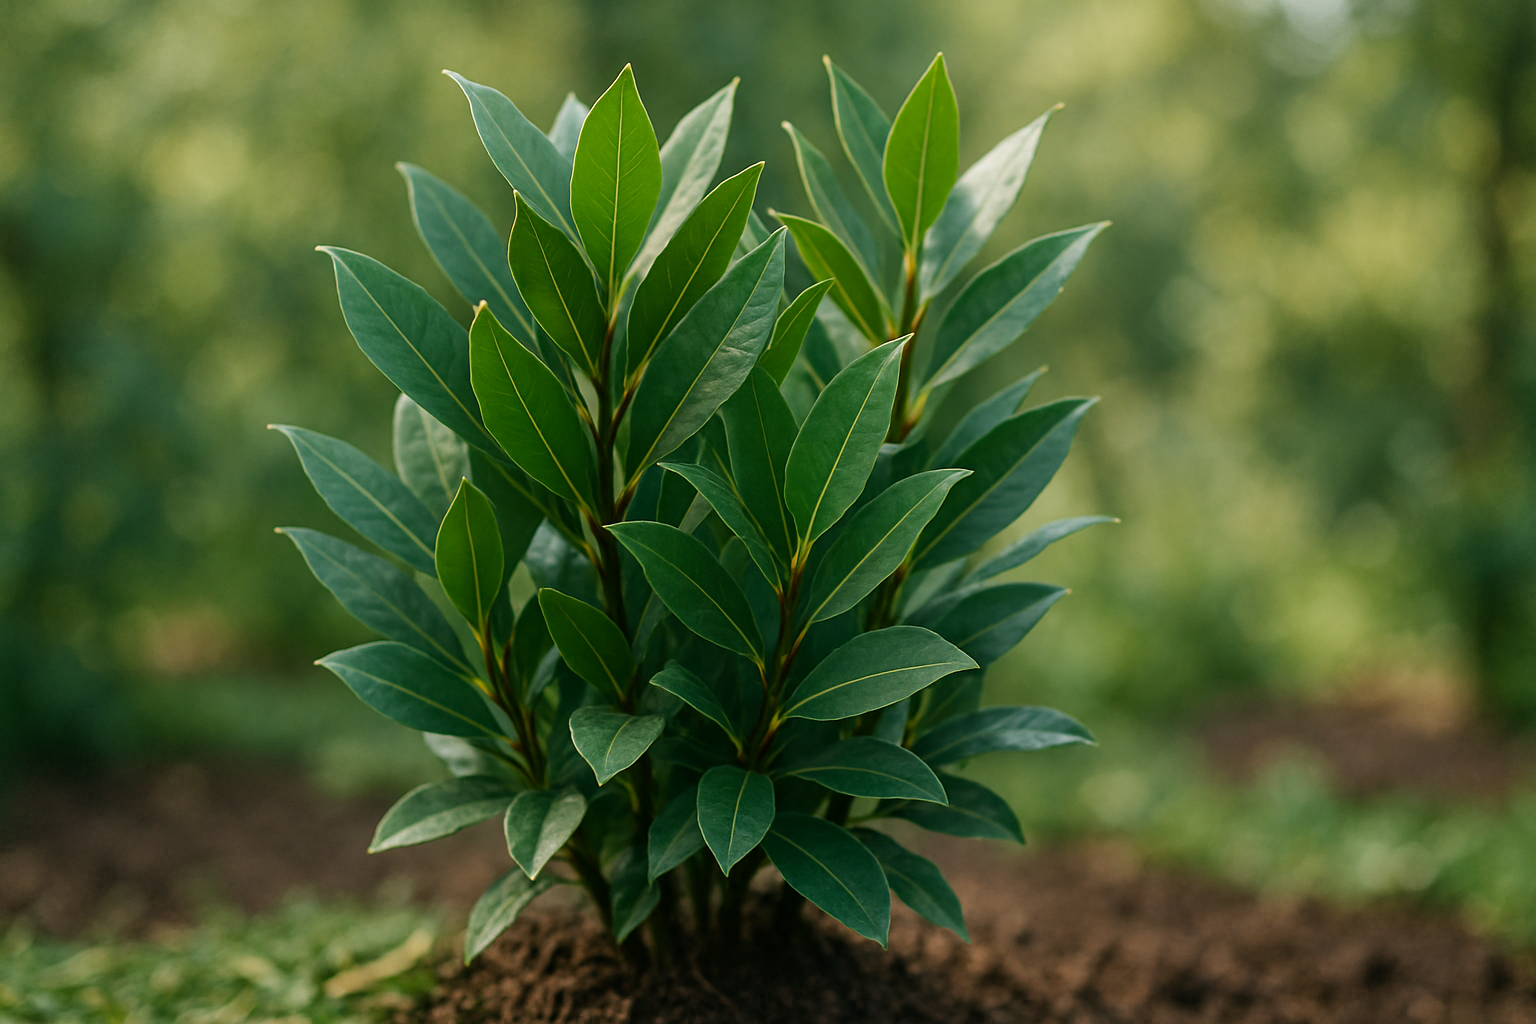
If you’ve ever reached for a bay leaf while cooking, you already know the intense flavor this humble herb adds to soups, sauces, and roasts. Many home gardeners now hope to grow bay leaf from cuttings, drawn to Laurus nobilis for both its culinary value and evergreen good looks. A bay laurel shrub or small tree is not only easy on the eyes but, with a little care, provides an endless supply of aromatic leaves for your kitchen.
While you can start bay leaf from seeds, gardeners often find this route slow and challenging since seeds can take months to sprout and may not always be true to type. Propagating bay laurels from cuttings, on the other hand, is quicker, easier, and lets you reliably produce new plants identical to the parent. This method is especially handy if you want to expand your herb garden, share plants with friends, or replace aging shrubs.
In this blog post, you’ll find a practical, step-by-step guide to growing bay leaf from cuttings—including the tools you’ll need, the best time of year to take cuttings, and tips for encouraging strong, healthy roots. Whether you’re an experienced gardener or a curious beginner, you can start enjoying fresh bay leaves at home sooner than you think.
Choosing the Best Time and Type of Cuttings
When it comes to propagating bay leaf plants, timing and technique make all the difference. The best time to take bay leaf cuttings is in late spring to early summer, when the plant is actively growing and the stems are full of energy but not yet woody. This timing gives your cuttings the best chance to root successfully.
Bay leaf can be propagated from different types of cuttings—softwood, semi-hardwood, and hardwood.
- Softwood cuttings come from the fresh, green growth that appears in spring and early summer. These are flexible and fast-growing but more delicate and prone to drying out.
- Semi-hardwood cuttings are taken a bit later, usually in late summer, when the current season’s growth has started to mature but is not fully hard.
- Hardwood cuttings, cut in late fall or winter, come from woody, dormant stems. These are tougher but root more slowly and are less reliable.
For bay leaf, softwood cuttings are generally the ideal choice because they root more readily and thrive in the warm, bright conditions of late spring and early summer.
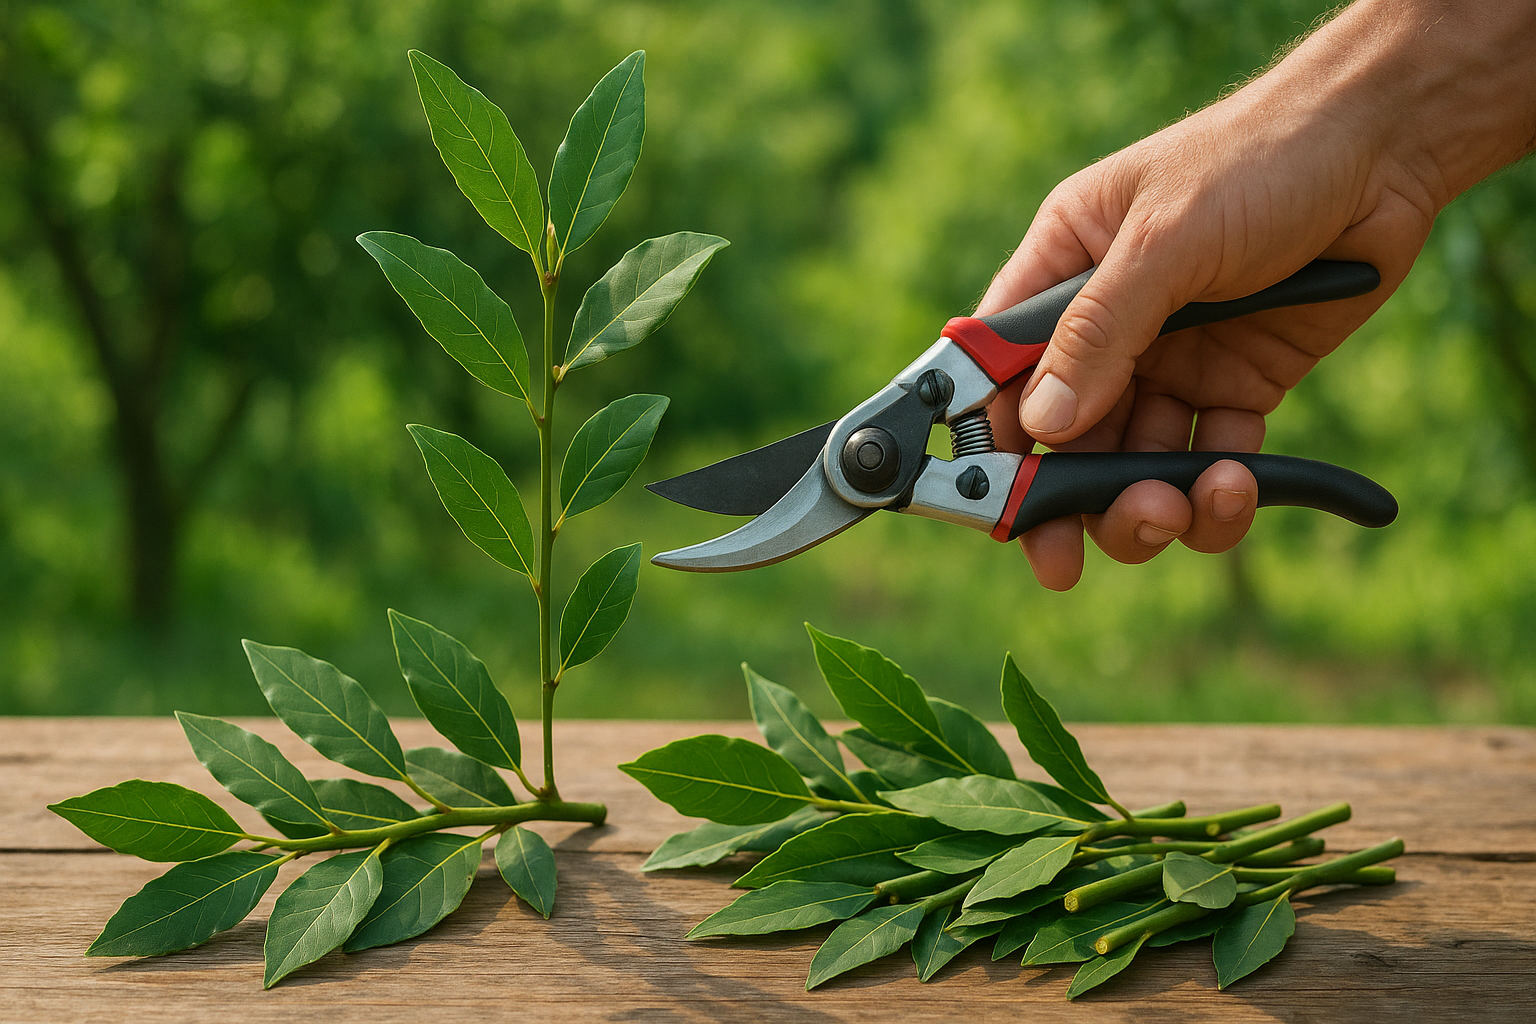
When selecting cuttings, always choose a healthy, well-established parent plant—look for one with lush green leaves, no signs of disease or insect damage, and vigorous new growth. Snip non-flowering stems that are about 4 to 6 inches long, using clean, sharp scissors or pruners. Pick stems that are neither too soft (which can wilt quickly) nor completely woody (which resist rooting), aiming for growth that is still pliable but beginning to firm up. This balance gives your cuttings the strength to establish roots while still being flexible enough for easy propagation.
How to Take and Prepare Bay Leaf Cuttings
Taking and preparing bay leaf cuttings for propagation is simple with the right approach and a few essential tools. Start by selecting a healthy, mature bay laurel plant—look for a branch with no signs of disease or damage.
Use sharp, sterilized pruning shears or scissors to cut 4- to 6-inch stem sections from the current season’s growth, ideally early in the morning when plants are well-hydrated. Snip each cutting just below a leaf node at a slight 45-degree angle to maximize the rooting area and encourage water uptake.
Immediately strip off the lower leaves, leaving just two or three at the tip; this reduces excess moisture loss and directs energy to root development. For thicker cuttings, carefully slice the base lengthwise about half an inch to increase rooting chances.
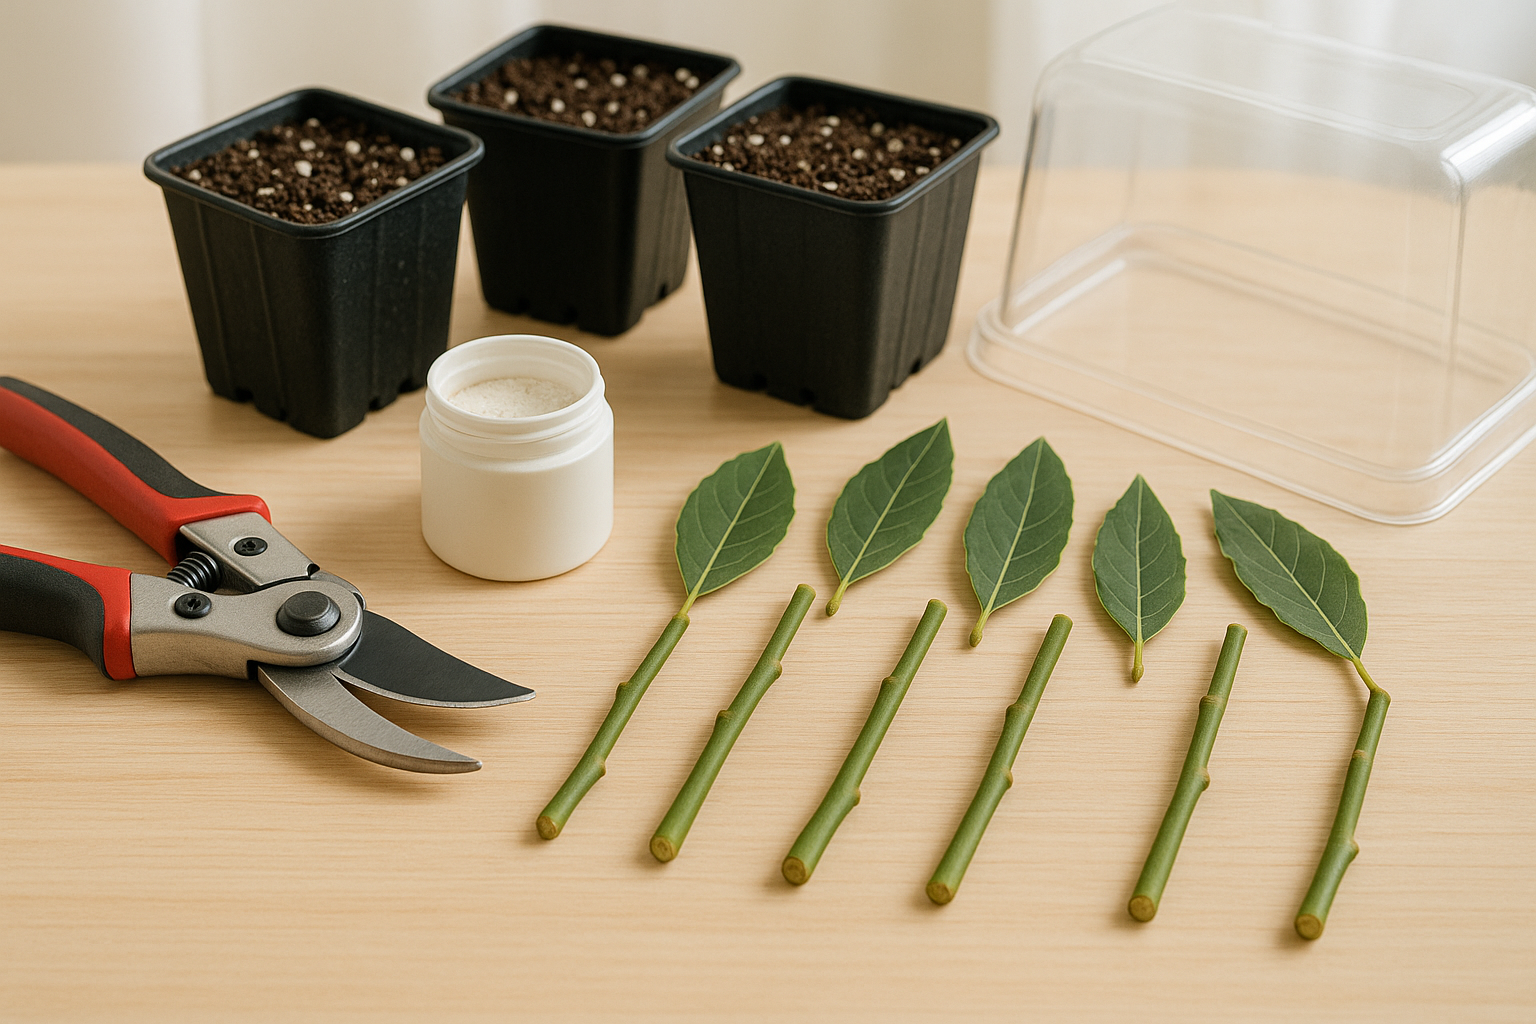
Before planting, dip the cut end in a rooting hormone powder or gel—widely available at garden centers—to stimulate rapid root growth and protect against infections. To minimize disease risk, always sterilize tools with rubbing alcohol before use, and prepare your work area on a clean surface. If you’re reusing pots or trays, wash them with hot, soapy water first.
Plant each cutting in a small pot filled with damp, well-draining soil mix—combine perlite, peat moss, and sand for best results. Water gently, cover pots with clear plastic or a humidity dome to retain moisture, and place them in a bright, indirect light location.
Avoid direct sun, which can scorch cuttings, and check daily for mold or rot; remove affected cuttings right away to prevent spread. With patience and proper care, bay leaf cuttings typically root in six to eight weeks.
Following these practical steps increases your chances for healthy, robust bay laurel plants ready for your garden or kitchen.
Rooting Bay Leaf Cuttings
To successfully root bay leaf cuttings, start by selecting a well-draining yet moisture-retentive potting mix. A blend of equal parts perlite and peat moss works especially well, as it keeps the cuttings moist without becoming waterlogged and allows for adequate air circulation around developing roots. If you prefer, add some vermiculite for extra water retention.
Begin by filling a small nursery pot or tray with this mix and lightly moisten it; avoid saturating, as excess water can lead to rot. Insert your bay cuttings about an inch deep and gently firm the mix around each stem to remove air gaps. Watering requires a delicate balance—keep the medium consistently damp but not soggy. Check the surface daily and mist lightly with a spray bottle if it feels dry, but let the top layer dry out very slightly between waterings.
For light, bay cuttings root best in bright, indirect sunlight. Too much direct sun can scorch tender leaves, while dim corners slow root development. A windowsill with filtered light or a spot under grow lights for 10–12 hours a day is ideal.
To maintain the high humidity bay cuttings crave, create a mini greenhouse by covering the pot with a clear plastic bag or dome. Prop the cover away from the leaves with sticks or wire to prevent fungal issues, and leave a small gap for airflow. Mist inside the “tent” every couple of days to prevent drying out, and lift the cover briefly each day to exchange air.
With these methods and some patience, your bay cuttings should start developing roots within a few weeks, setting the stage for healthy, thriving new plants.
Transplanting and Ongoing Bay Leaf Care
Once your bay leaf cuttings have developed a healthy set of roots—typically after several weeks—it’s time to think about transplanting. The best time to move rooted cuttings is in spring or early autumn, when temperatures are mild and the plant can settle without the stress of extreme heat or cold.
Whether you’re planting into larger pots or directly into the garden, preparation is key. Choose a deep container with good drainage or a garden spot with well-draining, loamy soil and dappled sunlight—bay trees dislike soggy ground and deep shade. Gently ease the cutting from its nursery pot, being careful not to disturb the roots, and plant it at the same depth it had before. For garden planting, space each bay plant at least 3 feet apart to accommodate future growth.
Hardening Off Your Bay Plant
Before your young bay plant takes on the elements full-time, introduce it gradually through a process called hardening off. Set the pot outside in a sheltered, lightly shaded spot for a couple of hours daily, then increase exposure to sun and wind over 7 to 10 days. This simple step helps prevent shock from sudden changes in light, temperature, or breeze. Once acclimated, your bay can thrive with minimal fuss.
Watering and Feeding
Water regularly during the first year, keeping the soil moist but never waterlogged. After establishment, bay is drought-tolerant and needs water mainly during prolonged dry spells. Feed with a balanced liquid fertilizer in early spring and midsummer to support leafy growth, especially for container plants.
Pruning and Maintenance
Pruning isn’t essential, but shaping your bay by pinching out growing tips or trimming in late spring keeps it attractive and can encourage bushiness. Remove any dead or crossing branches as needed.
With a thoughtful start and mindful care, your bay tree will flourish, adding fragrance and flavor to your garden and kitchen for years to come.
Common Challenges and Troubleshooting
When propagating plants, several challenges can arise, but knowing what to look for helps you respond quickly and improve your success rate. Wilting is common and often caused by too much sun or dry air—keep cuttings in bright, indirect light and mist them regularly to maintain humidity.
Rot, a frequent problem, usually occurs when the soil remains too wet or if you use dirty tools to cut. Always use sterilized scissors and well-draining substrate. If you notice mushy stems or blackened areas, snip off the affected parts and let healthy cuttings callous over before replanting.
Poor root development is another setback, often linked to old or weak parent plants, improper hormone use, or temperature fluctuations. To encourage root growth, select vigorous parent plants, dip cut ends in rooting hormone, and keep your propagation trays in a consistently warm, draft-free spot.
If you see little progress after several weeks, don’t hesitate to try again with fresh cuttings or adjust your methods—sometimes switching to water propagation or modifying light levels can make all the difference.
If fewer than half your cuttings survive despite your best efforts, review every step, from sanitation to environmental conditions. A small change, like increasing airflow or switching to a coarser substrate, may turn things around. Propagation often involves some trial and error, but patience and small adjustments are key to growing consistent, thriving new plants.
Harvesting and Using Your Home-Grown Bay Leaves
To get the most flavor out of your home-grown bay leaves, timing your harvest is key. For the best results, pick mature leaves from your bay tree during late summer or early autumn, when the essential oils are most concentrated. Choose whole, healthy leaves that feel firm and deep green—avoid any that look yellow or damaged.
To harvest, use clean garden scissors and snip individual leaves rather than large branches. Once picked, rinse the leaves gently to remove dust and pat them dry with a clean towel.
For drying, the simplest method is to lay the leaves flat on a baking tray or mesh rack in a single layer, keeping them out of direct sunlight in a warm, dry place indoors. After about two weeks, when the leaves are crisp and snap easily, transfer them to an airtight glass jar and store away from light and heat—this helps lock in the aromatic oils.
Fresh bay leaves can be used straight from the tree, but their flavor is milder. Try adding them to soups and stews near the end of cooking for a subtle note. Dried bay leaves, on the other hand, are more potent: toss one or two into simmering sauces, braises, or rice dishes, and remember to remove the leaves before serving.
By harvesting at the right time and storing your bay leaves carefully, you’ll always have a robust, homegrown seasoning on hand for all your cooking adventures.