Introduction
If you’re looking for ways to enjoy healthier, fresher salads at home, self-watering containers for lettuce are one of the smartest gardening hacks to try. Compared to traditional in-ground planting, container gardening offers major advantages: you can grow lettuce almost anywhere—even on a sunny balcony or small patio—while avoiding many soil-borne pests and diseases.
However, even with pots or raised beds, one big challenge remains—consistent watering. Lettuce roots are shallow and sensitive to both drought and overwatering. Skip watering for a day, and your lettuce might wilt or turn bitter; water too much, and the roots can rot.
That’s where self-watering containers truly shine. These clever planters supply moisture directly to the plant roots as needed, removing much of the guesswork and stress. With a built-in reservoir, your lettuce draws just the right amount of water, staying crisp and lush even if you miss a day or two of care.
The best part? You don’t need to spend a fortune. DIY self-watering solutions can be made from simple, affordable materials you probably already have around the house, making this smart gardening trick accessible to both beginners and experienced growers alike.
How Do Self-Watering Containers Work?
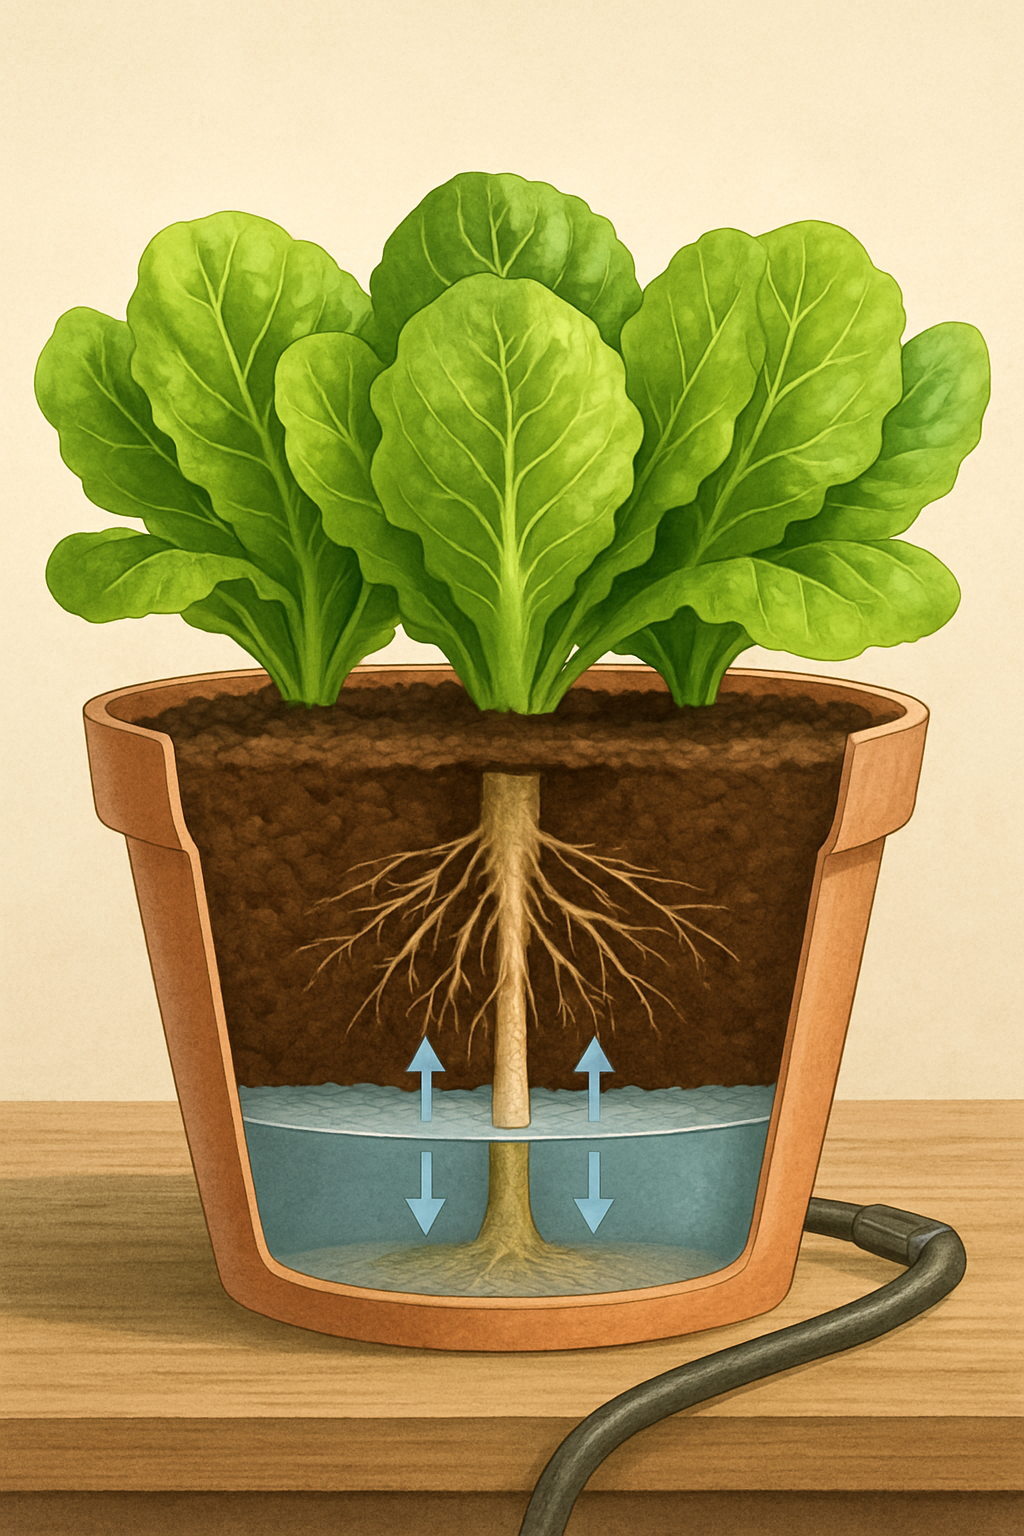
Self-watering containers are designed with simplicity and convenience in mind, making them an ideal choice for both seasoned gardeners and beginners. At their core, these planters consist of two main parts: a water reservoir at the bottom and a growing chamber above.
The key mechanism at work is called wicking—plants absorb water through their roots, and a wick (often a cotton string or a column of soil that dips from the growing medium down into the water) helps draw moisture upward as needed. This means your leafy greens, like lettuce, get a steady supply of moisture directly to their roots without the risk of waterlogging or drying out.
The reservoir can be refilled as needed, reducing the frequency of manual watering and ensuring consistent soil moisture—something lettuce and other leafy greens love for producing crisp, tender leaves.
Store-bought self-watering containers often come with built-in indicators to show water levels, sturdy materials, and sleek designs, but they can be pricey. Homemade options, on the other hand, can be as simple as repurposed plastic containers or buckets, using materials you already have at home.
With a bit of creativity, you can craft effective DIY self-watering planters by mimicking the basic principles: just ensure there’s space for water at the bottom, a pathway for roots or wicks, and a secure separation from the soil above. This opens the door for growers to customize containers to suit their space or quantity needs—perfect for small-scale salad gardens or experimenting with various greens.
Choosing the Right Container and Materials
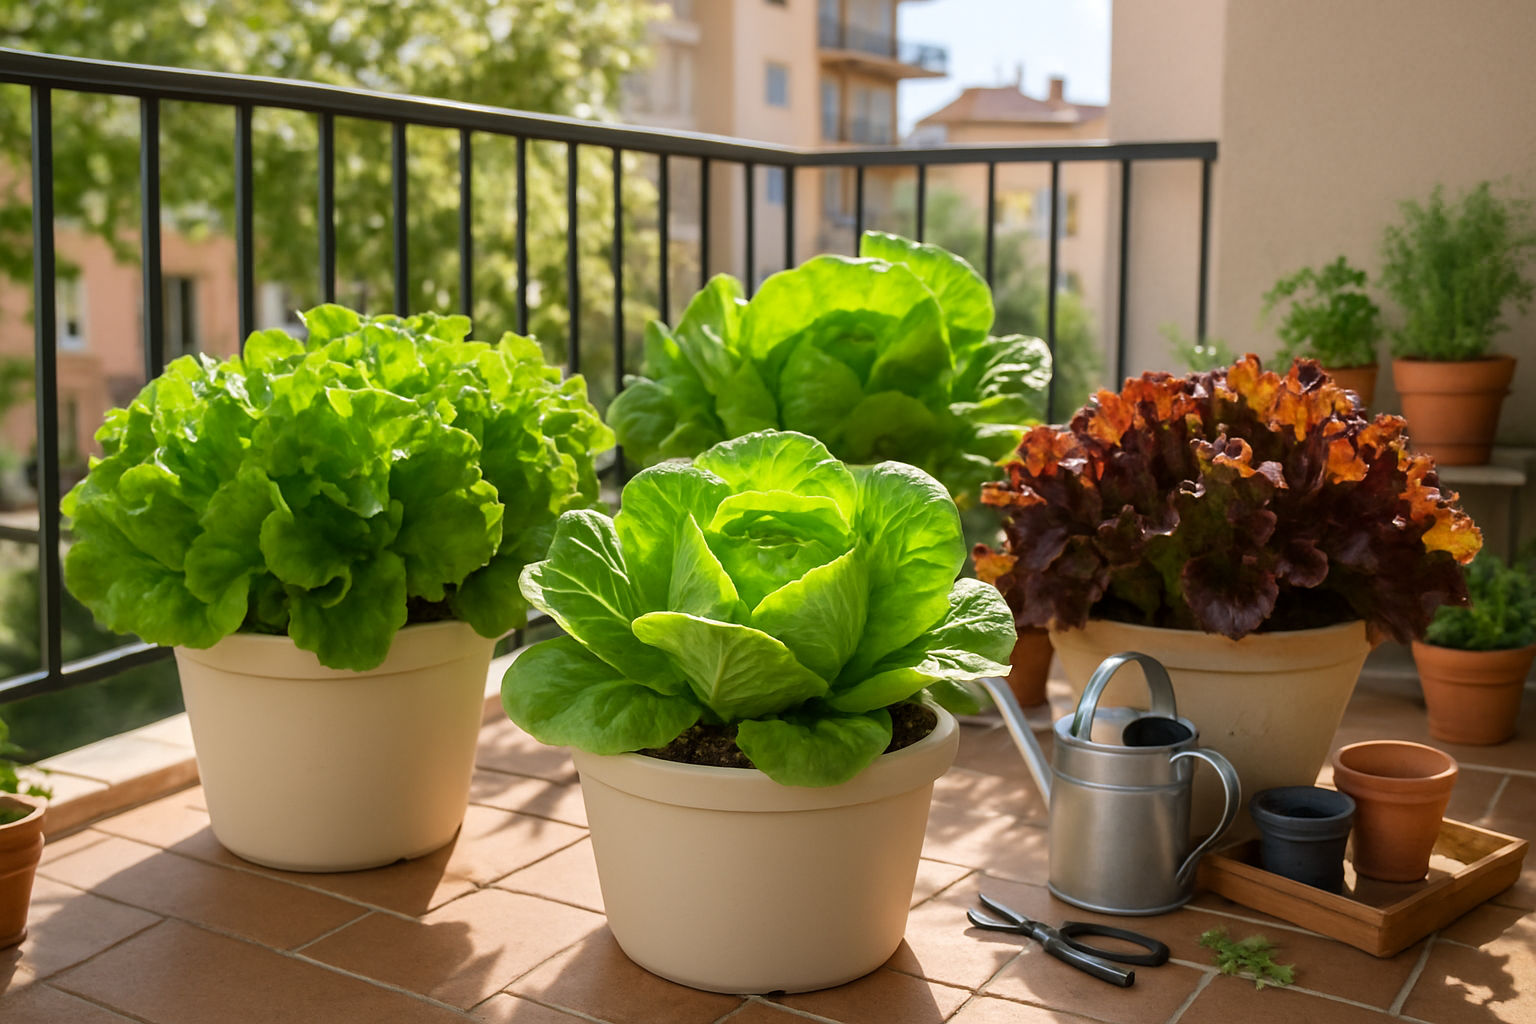
When choosing a container for growing lettuce, prioritize ample room for roots—aim for a depth of at least 6 to 8 inches and enough width to allow optimal airflow between plants. Select containers made from food-safe plastics, ceramic, or glazed terra cotta, as these materials resist disease, retain moisture, and are lightweight enough for easy movement.
Drainage is crucial; look for pots with several holes at the bottom, or drill your own if using upcycled materials. For cost-effective, DIY self-watering systems, try repurposing five-gallon buckets, large recycled food tubs, or sturdy plastic storage bins. With these, you can add a reservoir at the bottom—using plastic bottles, old yogurt cups, or wicking rope—to keep soil consistently moist without daily watering.
Indoor setups often benefit from smaller containers that fit on shelves or windowsills, and you might want trays underneath to catch excess water. Outdoor growers have more options for size but should choose materials and colors that can withstand sun exposure and temperature swings; lighter colors help prevent root overheating.
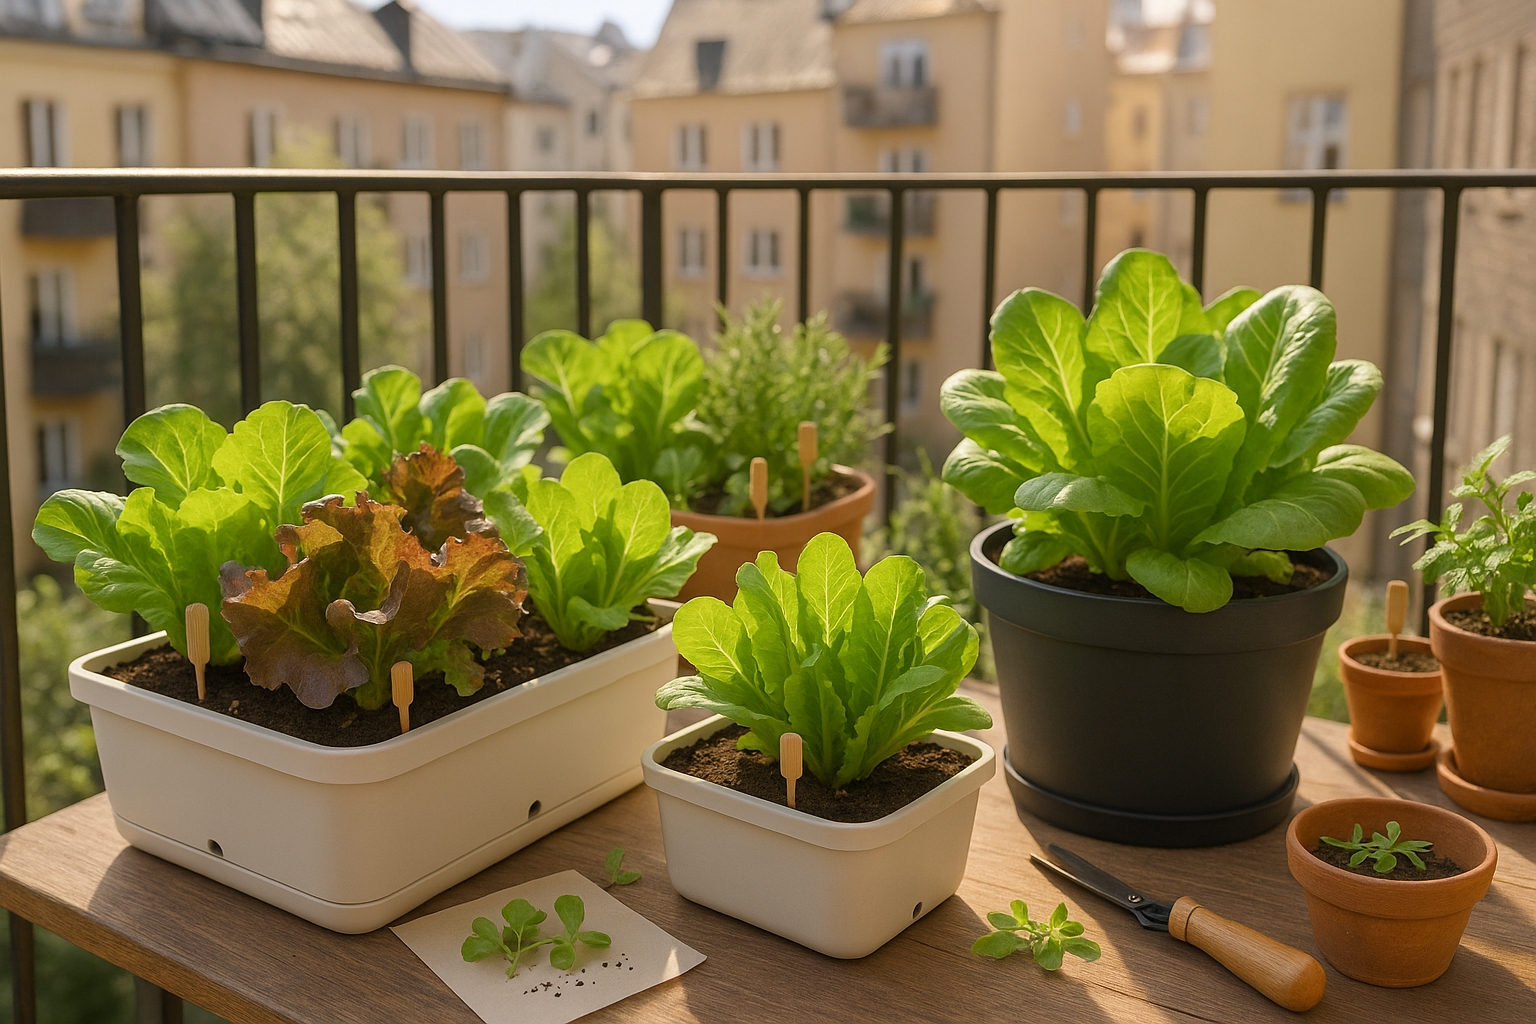
If space is limited, vertical planters or rail-mounted pots make great use of balconies or stair railings. Remember, lettuce prefers cool roots and consistent moisture, so whether inside or out, pick containers that support healthy growth and match your available space.
DIY Self-Watering Container
Building your own self-watering container is an easy and rewarding DIY project that keeps plants hydrated and makes gardening a breeze, even for beginners. Start by choosing two sturdy plastic containers: one large for the outer reservoir and a slightly smaller one to nest inside as the main planting area.
Drill several small holes in the bottom of the inner container for drainage, and one large hole on the side of the outer container about 2 inches from the bottom—this acts as an overflow to prevent overwatering and root rot. Place a sturdy, upcycled plastic cup or a section of PVC pipe (with holes drilled in it) vertically in the center of the outer container; this will wick moisture up to the soil.
Nest the inner container on top, making sure the holes in its base align with both the cup/PVC wick and allow excess water to drain into the reservoir. Fill the inner container with high-quality potting mix, which holds moisture better than garden soil, and add your plants.
Water thoroughly from the top at first, then switch to filling the reservoir via a separate fill tube (a piece of PVC pipe sticking up at one edge works well—just cap it when not in use). To avoid leaks, use containers with tight-fitting lids or reinforce the edges with waterproof sealant.
For small spaces like balconies, use recycled water bottles or smaller food containers; for bigger projects or raised beds, scale up with sturdy storage bins or large totes. Monitor water levels regularly, and clean the reservoir every month to avoid algae and salt buildup.
For a visual reference, seek out diagrams or step-by-step videos on gardening blogs such as Gardening Know How or Epic Gardening, which explain the process with helpful illustrations.
With a bit of planning, this simple setup can help you grow herbs, veggies, or flowers with much less fuss and water waste—perfect for busy city dwellers or anyone eager to make gardening smarter and easier.
Best Practices for Growing Lettuce in Self-Watering Containers
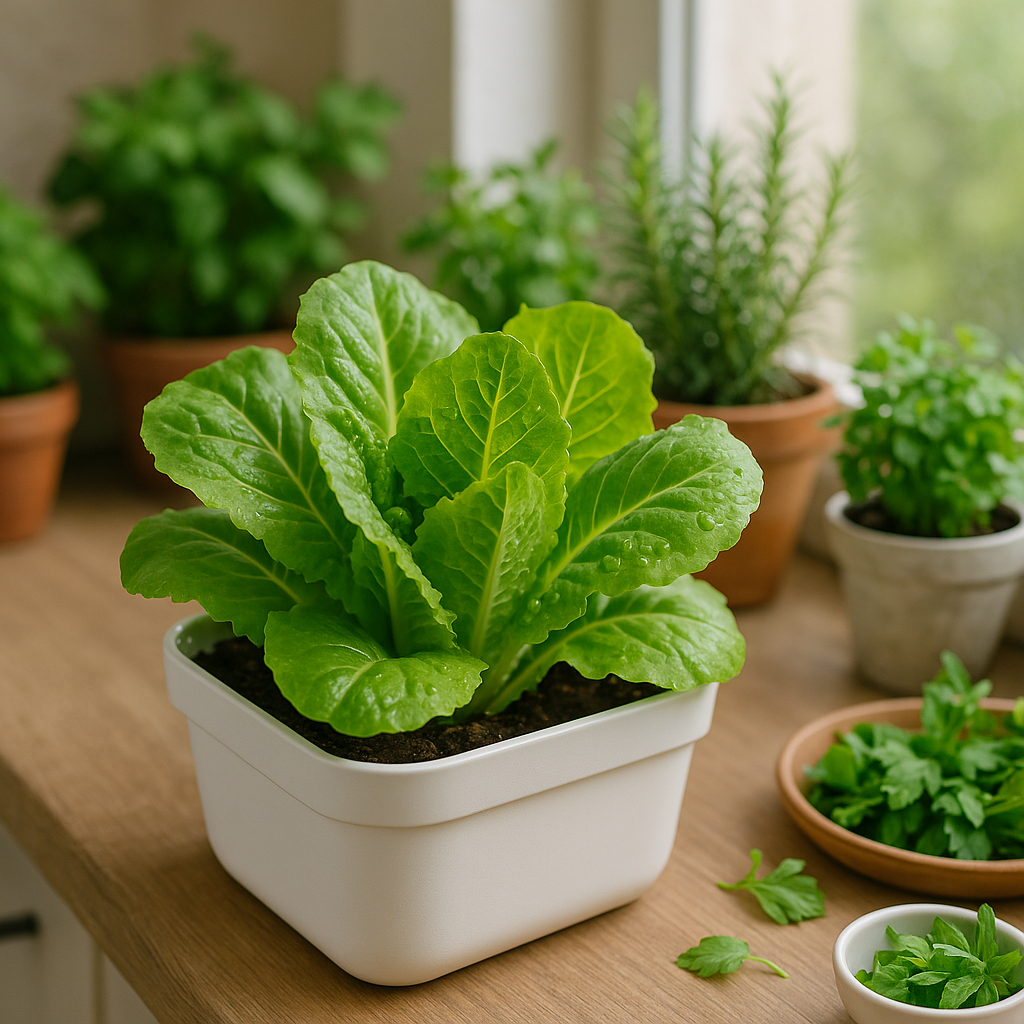
To grow crisp, healthy lettuce in self-watering containers, start with a lightweight, well-draining potting mix—avoid standard garden soil, which can compact and hinder root growth. A blend tailored for vegetables or herbs is ideal, often including peat moss or coconut coir for moisture retention and perlite for drainage.
Place your container where it will receive 6-8 hours of indirect sunlight each day; morning sun is best, as hot afternoon rays can stress lettuce, causing bitter leaves and early bolting.
Keep an eye on the water reservoir—lettuce prefers consistently moist soil but not soggy roots. Check and refill the reservoir every few days, especially during warm weather, and use the indicator if your container has one to monitor water levels.
Opt for lettuce varieties that thrive in containers, such as Buttercrunch, Little Gem, Salad Bowl, or leaf types like Black Seeded Simpson. These varieties are compact and quick-maturing.
Sow seeds directly in the container about ¼ inch deep, spacing them according to the seed packet directions. Consider succession planting every 2-3 weeks for a steady harvest.
Remember, lettuce prefers cooler weather, so start sowing a few weeks before your area’s last expected frost and again in late summer for a fall crop.
With these practices, you’ll enjoy homegrown salads right from your patio or balcony in no time.
Maintaining and Troubleshooting Your Self-Watering Setup
Keeping your self-watering setup in top shape ensures healthy plants and stress-free gardening. Start with routine maintenance: every couple of weeks, clean the containers and reservoirs to prevent salt buildup and root rot. Wipe down surfaces with a mild vinegar solution to keep algae at bay—sunlight and stagnant water are an open invitation for green slime.
Make it a habit to check water levels every few days; your plants can quickly run dry or, if the reservoir overflows, become waterlogged. Overwatering often shows up as yellowing leaves or wilting—if you spot this, reduce the water level and let the soil dry out a bit before refilling.
Keep an eye out for pests like fungus gnats, which love moist conditions; sticky traps and a top dressing of decorative gravel can help deter them. If your plants look sickly, check for nutrient deficiencies since water dilution can sometimes wash away essential minerals—consider using a liquid fertilizer every few weeks.
For leaks or wick malfunctions, inspect connections and tubing for cracks, and replace faulty wicks or tubes promptly. A quick test: if the wick feels dry or isn’t drawing water, flush it with clean water or swap it for a fresh, properly sized one.
Regular upkeep pays off with lush, thriving plants and fewer headaches.
Harvesting Lettuce and Getting the Most from Your DIY System
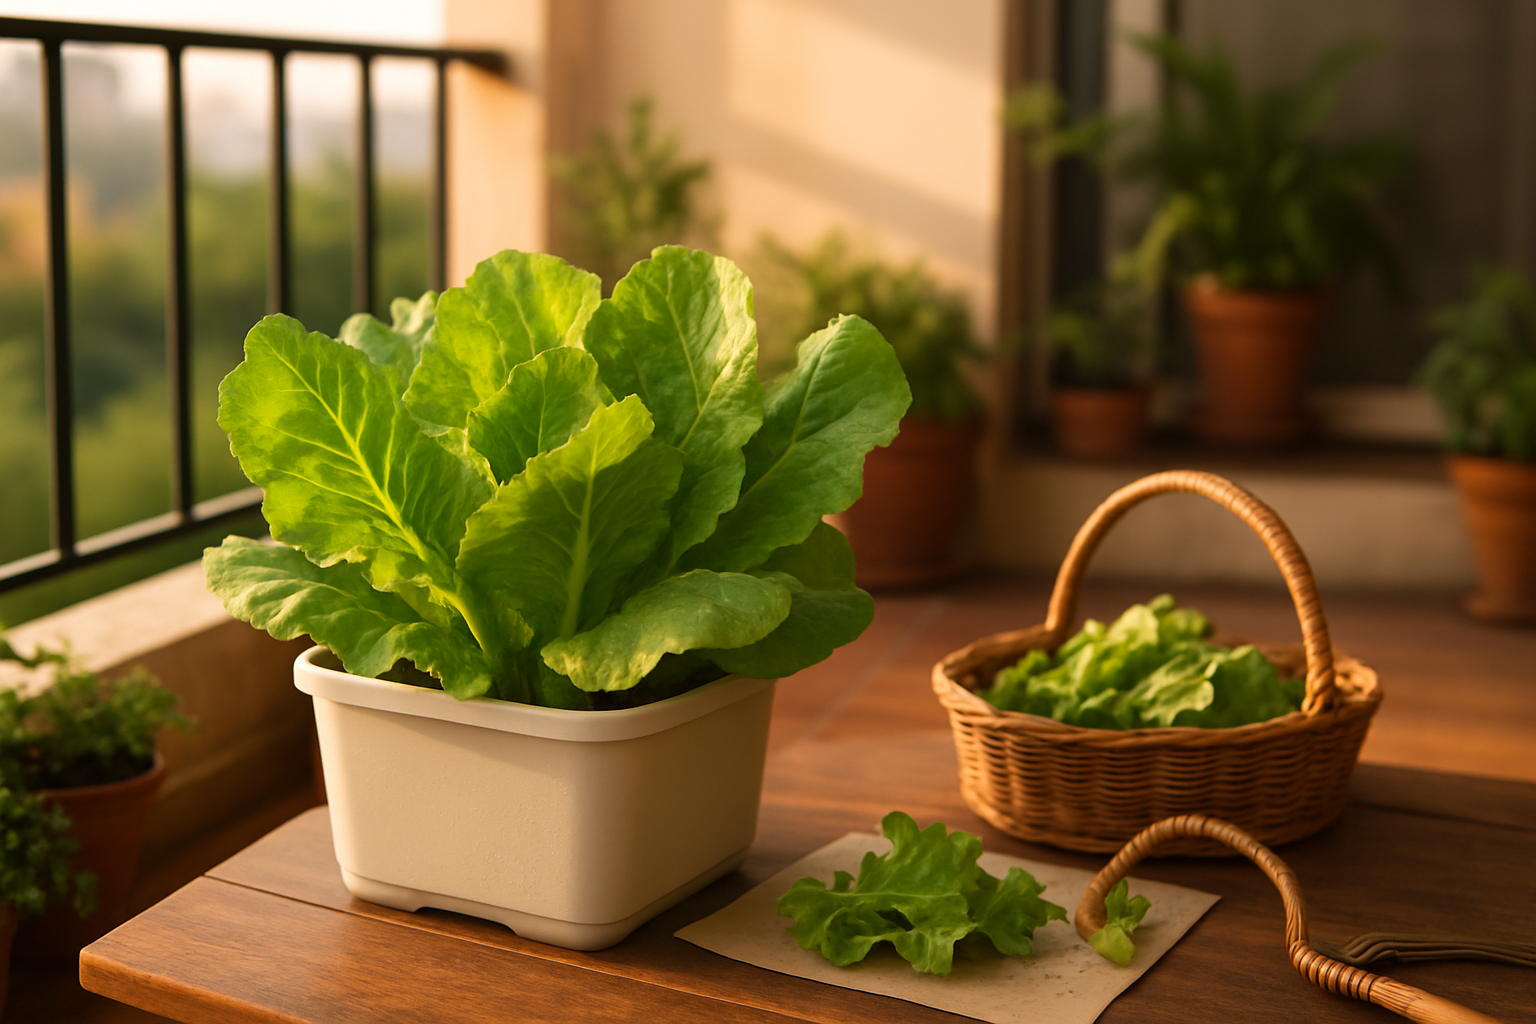
Harvesting your container-grown lettuce at the right time ensures the freshest, most flavorful leaves and encourages ongoing production. For leaf varieties, start snipping the outer leaves when they reach about 4 to 6 inches tall—use clean scissors and take only what you need, allowing the younger inner growth to keep thriving.
For head lettuce, wait until the heads are firm and well-formed, but don’t delay too long or they may bolt and turn bitter. After your first harvest, remove any spent or damaged leaves to keep the plants healthy and productive.
If a container finishes, refresh the soil with compost and rotate crops—try planting arugula, spinach, or kale, which do well in similar conditions and help break pest and disease cycles. Succession planting every few weeks ensures a steady supply, and experimenting with new leafy greens can add variety to your harvests.
Don’t hesitate to tweak your DIY self-watering setup based on your observations. Maybe your system needs bigger reservoirs in hot weather or extra drainage holes during rainy spells. Keep notes on what works best for your space and climate—these small adjustments over time can make a big difference in both yield and plant health.