Why Grow Oregano from Cuttings?
Growing oregano from cuttings offers several clear advantages over starting from seeds, making it a top choice for both new and seasoned gardeners. While starting oregano from seeds can be slow and unpredictable, using cuttings guarantees a plant identical to the parent, preserving the rich flavor and aroma that make fresh oregano so desirable.
Cuttings take root quickly—in as little as two to three weeks—so you’ll have a lush, healthy plant much faster than waiting for seeds to sprout and mature. This quicker turnaround means you can enjoy homegrown oregano leaves in your dishes sooner, from classic Italian pizzas to Greek salads, and even herbal teas known for their immune-boosting properties.
Propagating from cuttings also saves money, especially if you already have a robust oregano plant or know someone willing to share. You’ll avoid buying new seed packets each season and sidestep the guesswork of uneven germination. Plus, every cutting inherits the hardiness and vibrant taste of its source, giving you consistent results in your culinary creations and home remedies alike.
In short, growing oregano from cuttings is a savvy, cost-effective way to ensure a thriving, reliable herb garden with minimal fuss and quicker, more rewarding harvests.
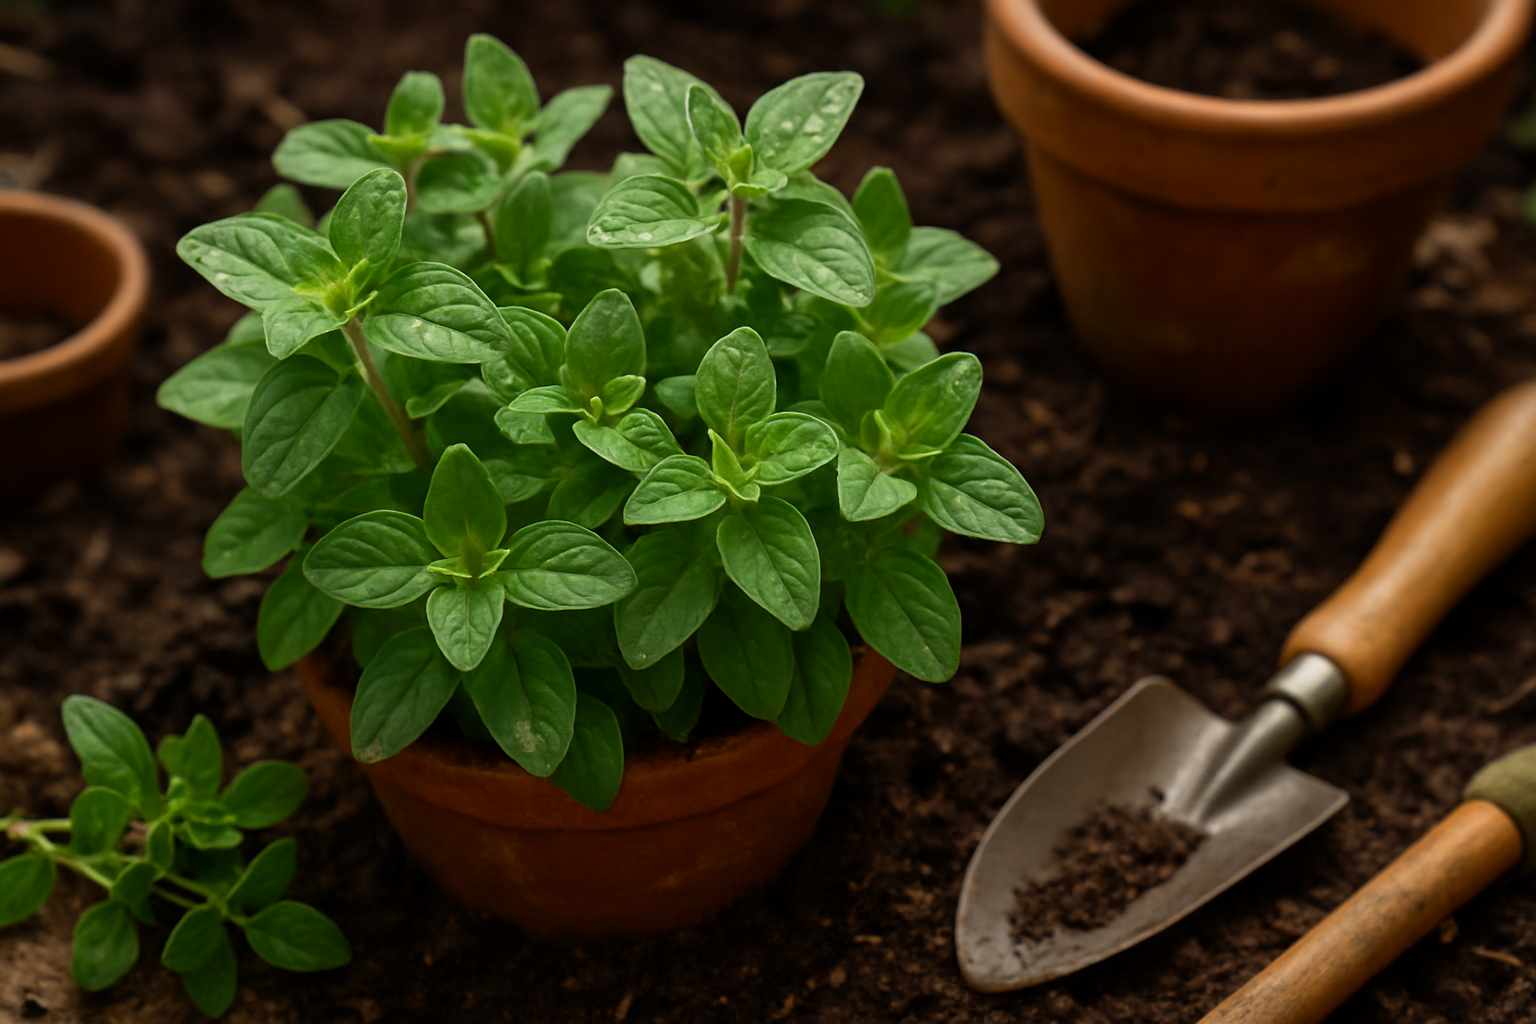
Choosing the Right Parent Plant
When selecting the ideal parent oregano plant for propagation, start by assessing the overall health and vigor of your options. Look for plants with vibrant green leaves, sturdy stems, and no signs of pests such as aphids or spider mites, nor any disease symptoms like yellowing or spots.
A robust, bushy oregano plant shows it’s getting proper care and will provide strong cuttings. Among oregano varieties, Greek oregano (Origanum vulgare subsp. hirtum) is a favorite due to its intense flavor and hardy nature—perfect for both garden beds and pots. Italian and Syrian oreganos are also great choices, prized for their rich aroma and resilience.
Before taking cuttings, water your parent plant well a day ahead to ensure it’s hydrated and less stressed. Prune away any dead or damaged leaves so the plant can direct energy into new, healthy growth. Be sure to focus on clipping non-flowering stems, as they tend to root more quickly.
Following these steps will give your oregano cuttings the best chance to thrive and grow into productive new plants.
Taking and Preparing Oregano Cuttings
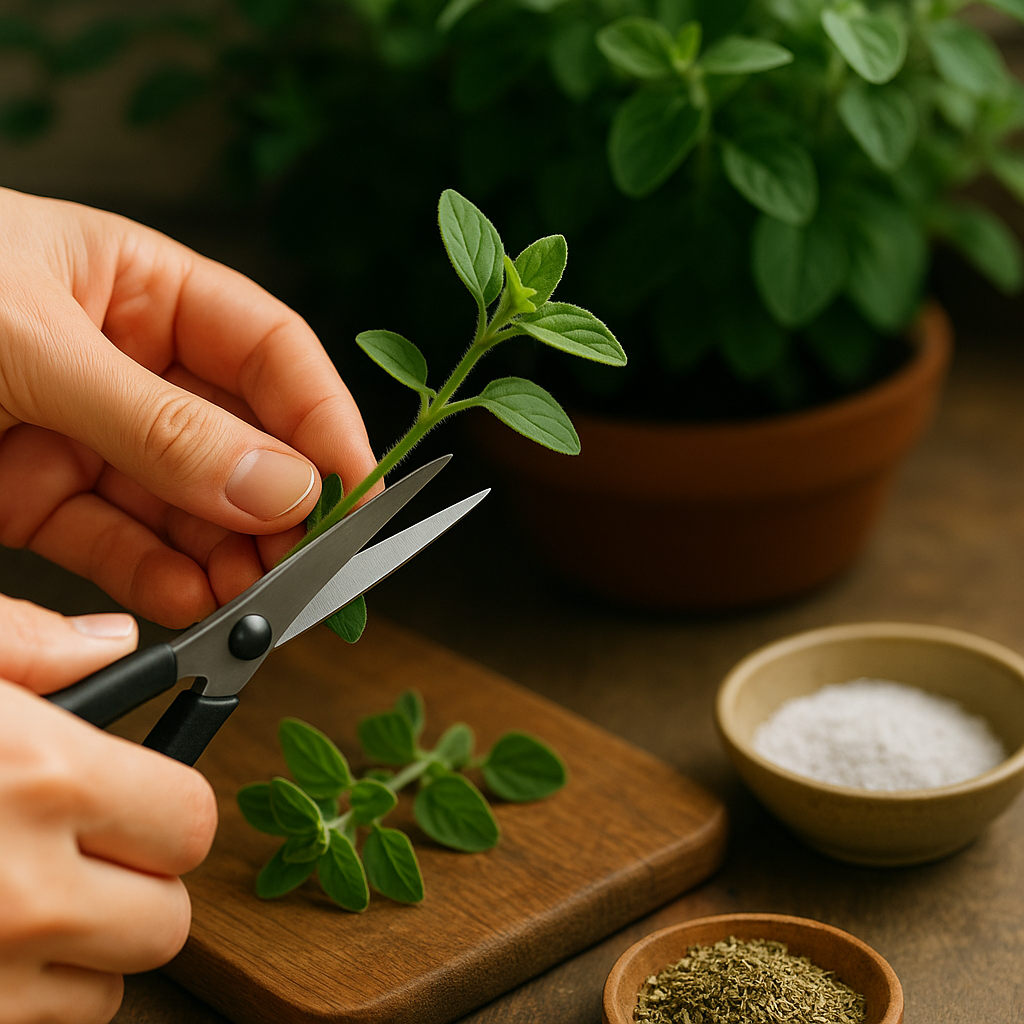
Taking oregano cuttings is an easy way to grow new plants, and you can do it right from your kitchen or garden with just a few minutes of preparation. Start by choosing a healthy oregano plant and locating non-flowering stems with bright green growth; these are called “softwood” cuttings and root faster than the tougher “hardwood” stems.
Using clean, sharp scissors or garden pruners—important to prevent disease—snip a 4-6 inch piece just below a leaf node (the spot where leaves join the stem). Remove the leaves from the lower half of your cutting, leaving only a few at the top. This helps the plant focus its energy on root development rather than leaf growth.
For best results, avoid cuttings that are woody or have thick, brown stems—these “hardwood” pieces are less likely to root quickly. Once your stems are prepped, you can dip the cut end in rooting hormone (optional) and plant the cutting in moist soil, or place it in a glass of water until roots appear.
Remember to always disinfect your tools before and after use to keep your oregano healthy. This step-by-step approach gives you a strong start for propagating lush, flavorful oregano in your own garden.
Rooting Oregano Cuttings
When propagating oregano, choosing between rooting cuttings in water or soil depends on your goals and setup. Rooting cuttings in water is simple and visually rewarding—you can easily track root growth, making it a great option for beginners. However, transitioning water-rooted cuttings to soil can sometimes shock the plant, as water roots are more delicate.
In contrast, rooting in soil leads to stronger roots better adapted for planting out, but it’s harder to tell what’s happening below the surface.
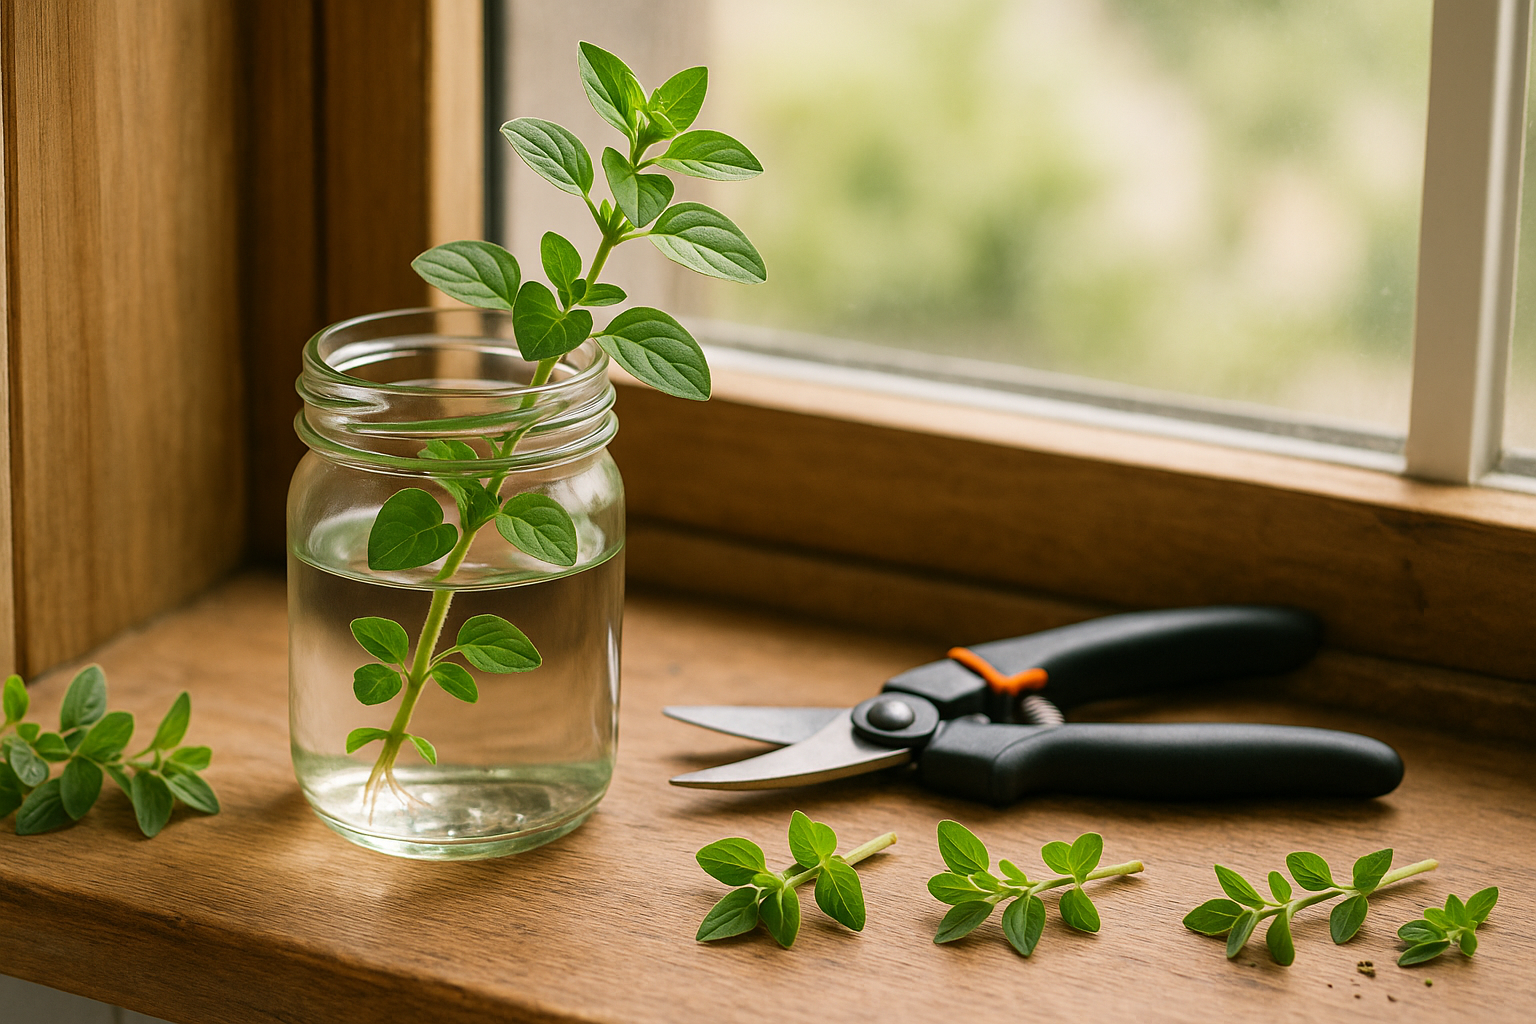
How to Root Oregano Cuttings in Water
- Snip a 4-inch healthy stem just below a leaf node.
- Remove the lower leaves.
- Place the cutting in a small clear glass or jar with just enough fresh, room-temperature water to cover the node.
- Change the water every 2–3 days to prevent rot.
- Set the container on a bright, indirect windowsill.
How to Root Oregano Cuttings in Soil
- Fill a small pot or tray with a well-draining mix, like half peat and half perlite.
- Make a hole in the damp soil and stick the prepared cutting in gently.
- Firm the soil around the cutting.
- Cover the container with a clear plastic bag or use a humidity dome to retain moisture.
- Place in bright but indirect light.
Tips for Success
Hands-off observation is key. Roots in water are ready when they reach about one or two inches, usually within 2–3 weeks. Soil-rooted cuttings will resist a gentle tug and show signs of fresh growth.
Watch for issues like:
- Yellowing leaves: Often caused by overwatering or poor light.
- Lack of roots: Usually due to too little humidity or old wood.
- Mold: Fix by improving air circulation and avoiding soggy soil.
With patience and these tips, you’ll soon have new oregano plants ready for your kitchen windowsill!
Transplanting and Caring for Young Oregano Plants
Transitioning young oregano plants from rooted cuttings to pots or garden beds requires some care, but doing it right helps them thrive for months to come. Start by choosing a mild, overcast day or transplant in the evening to avoid harsh sun that can stress delicate roots.
Gently ease each cutting from its starter container, keeping as much root attached as possible, and plant in well-draining soil—whether in a raised bed, garden row, or at least a six-inch pot.
Hardening Off
To acclimate oregano to the outdoors (a process known as hardening off), set the plants outside in partial shade for a few hours each day, gradually increasing sunlight and exposure to wind over a week.
Keep soil consistently moist but not soggy during this adjustment phase; oregano prefers to dry out slightly between waterings, but young roots can’t handle complete dryness. Maintain temperatures above 50°F (10°C) to prevent cold shock.
Encouraging Bushier Growth
Pinching back the growing tips once the plants are 4–6 inches tall is a great trick: simply snip the top inch or so of growth to encourage fuller, bushier plants instead of spindly stems. Repeat pinching every few weeks for a fuller herb harvest.
Monitoring for Transplant Shock
Watch for signs of transplant shock such as wilting or yellowing leaves; if these appear, move your plant to a shadier spot and check watering.
Taking these simple steps will give your young oregano the best possible start.
Maintaining Healthy, Productive Oregano Plants
Keeping your oregano plants healthy and productive over time is simpler than you might think. Start by placing your plants in a sunny location—oregano thrives with at least 6 hours of direct sunlight daily. Water moderately, allowing the soil to dry out between watering sessions, since oregano prefers well-drained soil and can suffer from root rot if kept too moist.
Fertilize sparingly; a light dose of balanced fertilizer once a month during the growing season is plenty—too much fertilizer can dull the flavor of the leaves. Pruning is key: begin snipping back stems once the plant reaches about 4 inches tall, ideally in spring and summer.
Regular harvesting encourages bushier growth and more leaves, so snip stems just above a leaf node to stimulate side shoots. Avoid letting the plant flower if leaf production is your goal; pinch off flower buds as soon as they appear.
Keep an eye out for common pests like aphids and spider mites—spray affected plants with a mix of water and mild soap if you notice tiny bugs or sticky residue. For disease prevention, avoid wetting the foliage and space plants to enhance airflow, which helps prevent fungal issues like powdery mildew.
With these simple habits, your oregano will stay robust and ready to flavor your kitchen creations.
Common Problems & Troubleshooting
Even experienced gardeners can run into challenges when propagating plants, but most issues can be overcome with a few adjustments. A common setback is failure to root, which often results from using unhealthy cuttings or poor-quality potting mix. Always choose vigorous stems and use a fresh, well-draining medium to boost your chances.
Wilting is another frequent problem and typically signals overwatering, poor humidity, or heat stress. Try keeping cuttings in a humid spot out of direct sun and mist lightly to maintain moisture, but avoid soggy soil.
Fungal diseases can strike if the environment is too damp or tools aren’t clean. Sterilize scissors with rubbing alcohol and use trays with drainage holes. If mold appears, trim off infected areas and let the cuttings dry out before replanting.
Legginess, where new shoots are long and weak, is usually due to insufficient light. Move cuttings closer to a bright window or consider a grow light.
To further increase your success, dip stem ends in rooting hormone before planting. This encourages root growth and helps ward off rot.
Above all, be patient—some varieties take weeks to show signs of new roots, so resist the urge to check constantly or disturb the cuttings. With cleanliness, the right techniques, and a bit of patience, most propagation problems can be solved or avoided entirely.