Why Pruning Thyme Is Essential for Healthy, Bushy Growth
Pruning thyme is more than just a routine garden chore—it’s the key to growing a lush, thriving herb that rewards you season after season. Regularly trimming thyme encourages the plant to branch out and develop a bushier, fuller shape instead of becoming leggy and sparse.
This happens because cutting back the stems prompts the plant to send out new shoots, filling in empty spaces and preventing it from stretching out with just a few leaves at the tips. Without pruning, thyme often grows woody, with thick, bare stems that produce far fewer flavorful leaves. Not only does this reduce your potential harvest, but it also shortens the plant’s lifespan since older, woody sections are less likely to bounce back in spring.
Pruning also improves airflow around the plant, helping leaves dry quickly after rain or watering, which makes thyme less prone to fungal diseases like powdery mildew.
For the home gardener, the payoff is significant: pruned thyme is not only prettier and more compact, but it also produces a constant flush of tender new growth perfect for culinary use.
To keep your thyme healthy, simply use clean scissors to snip off the top inch or two of growth every few weeks during the growing season. Focus on shaping the plant and removing any dead or woody stems. This simple habit keeps your herb patch vigorous and productive, ensuring fresh sprigs for your kitchen all year round.
The Best Time to Prune Thyme
Pruning thyme at the right time makes all the difference for healthy, bushy growth. The best times to prune are early spring, just as new growth appears, and right after flowering in summer.
In early spring, pruning encourages a strong flush of new shoots and prevents the plant from becoming woody or leggy. After the blooms fade, a light trim helps tidy up your thyme and promotes more compact growth without stressing the plant. Both these times give thyme enough warm weather to recover and quickly produce fresh leaves.
Avoid hard pruning in late fall, winter, or during the peak of summer heat. Cutting right before cold weather can leave thyme vulnerable to frost and disease, while trimming during hot spells or drought can shock the plant and slow regrowth.
For an easy cue, prune when you see the first buds forming in spring, and in summer, cut back as soon as most flowers turn brown and dry. Mark your calendar: early April and late July work for most climates, but keep an eye on the weather for frost or extreme heat.
By timing your cuts to these gentle windows, you’ll help thyme bounce back quickly—delivering lush, fragrant sprigs and a healthier patch season after season.
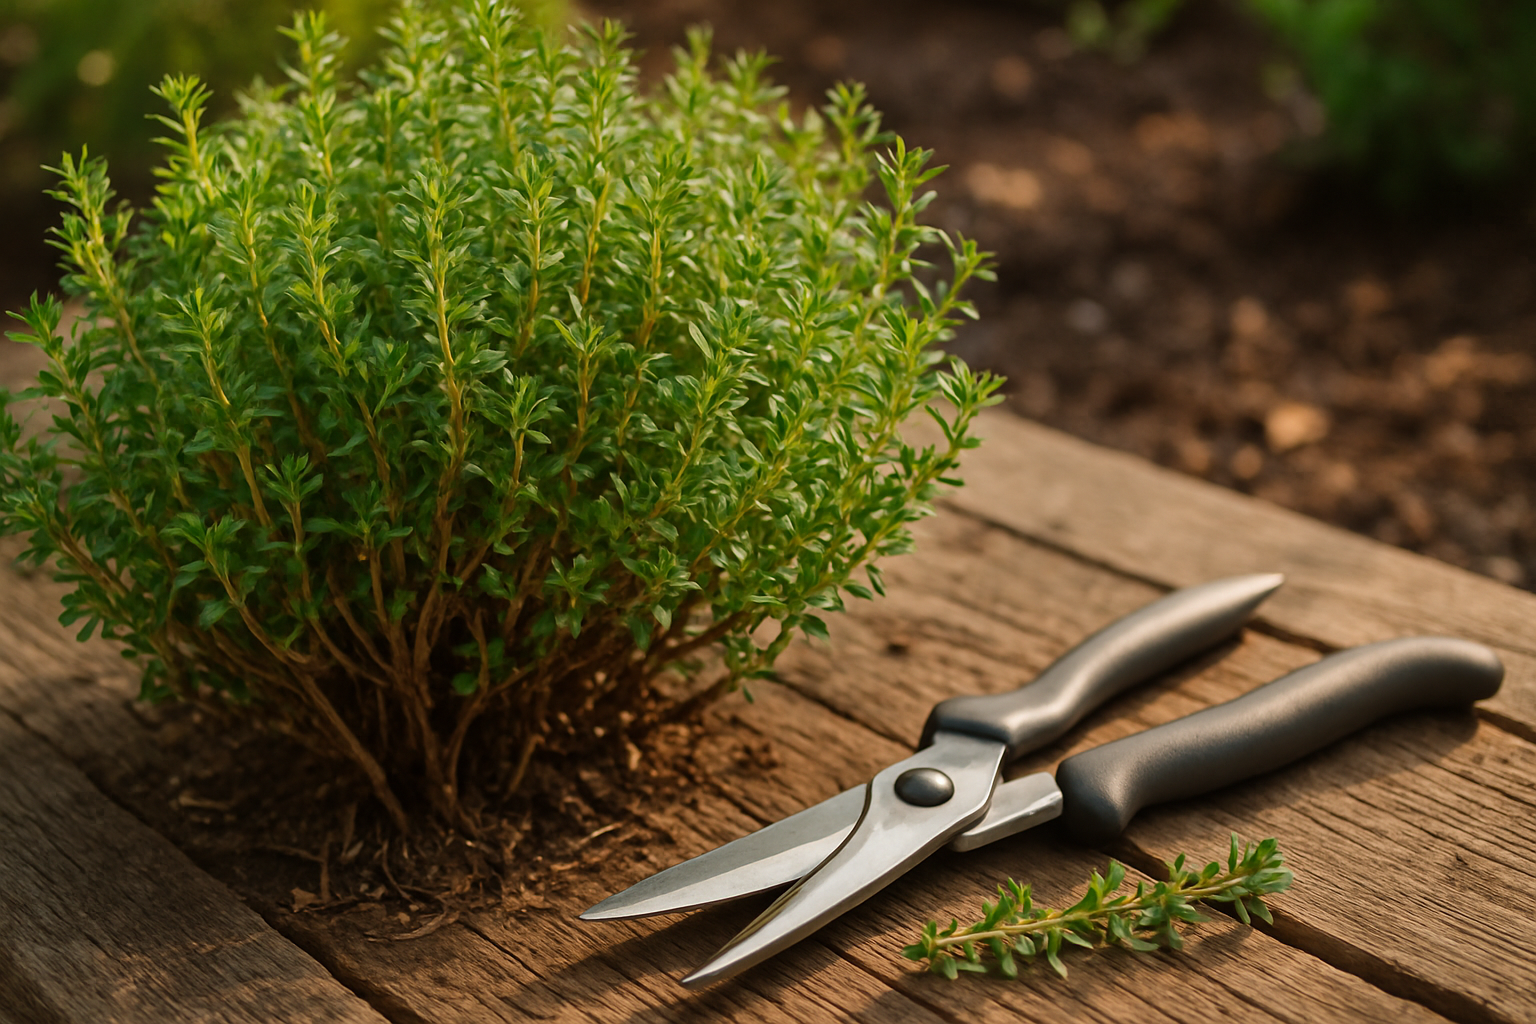
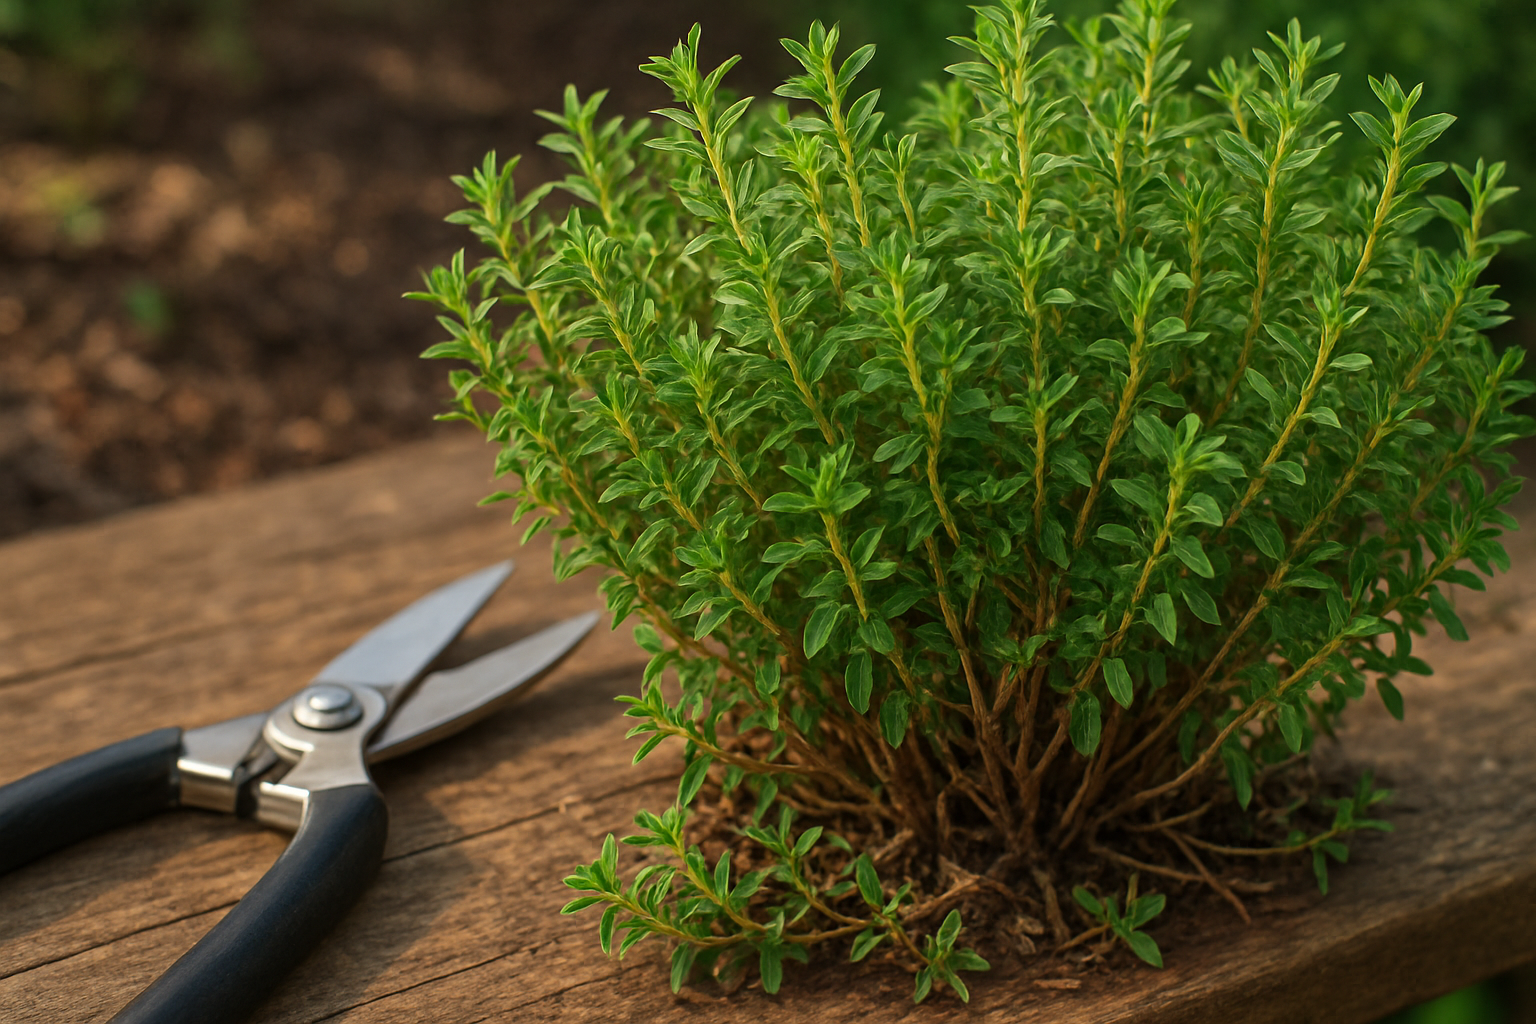
Tools and Techniques
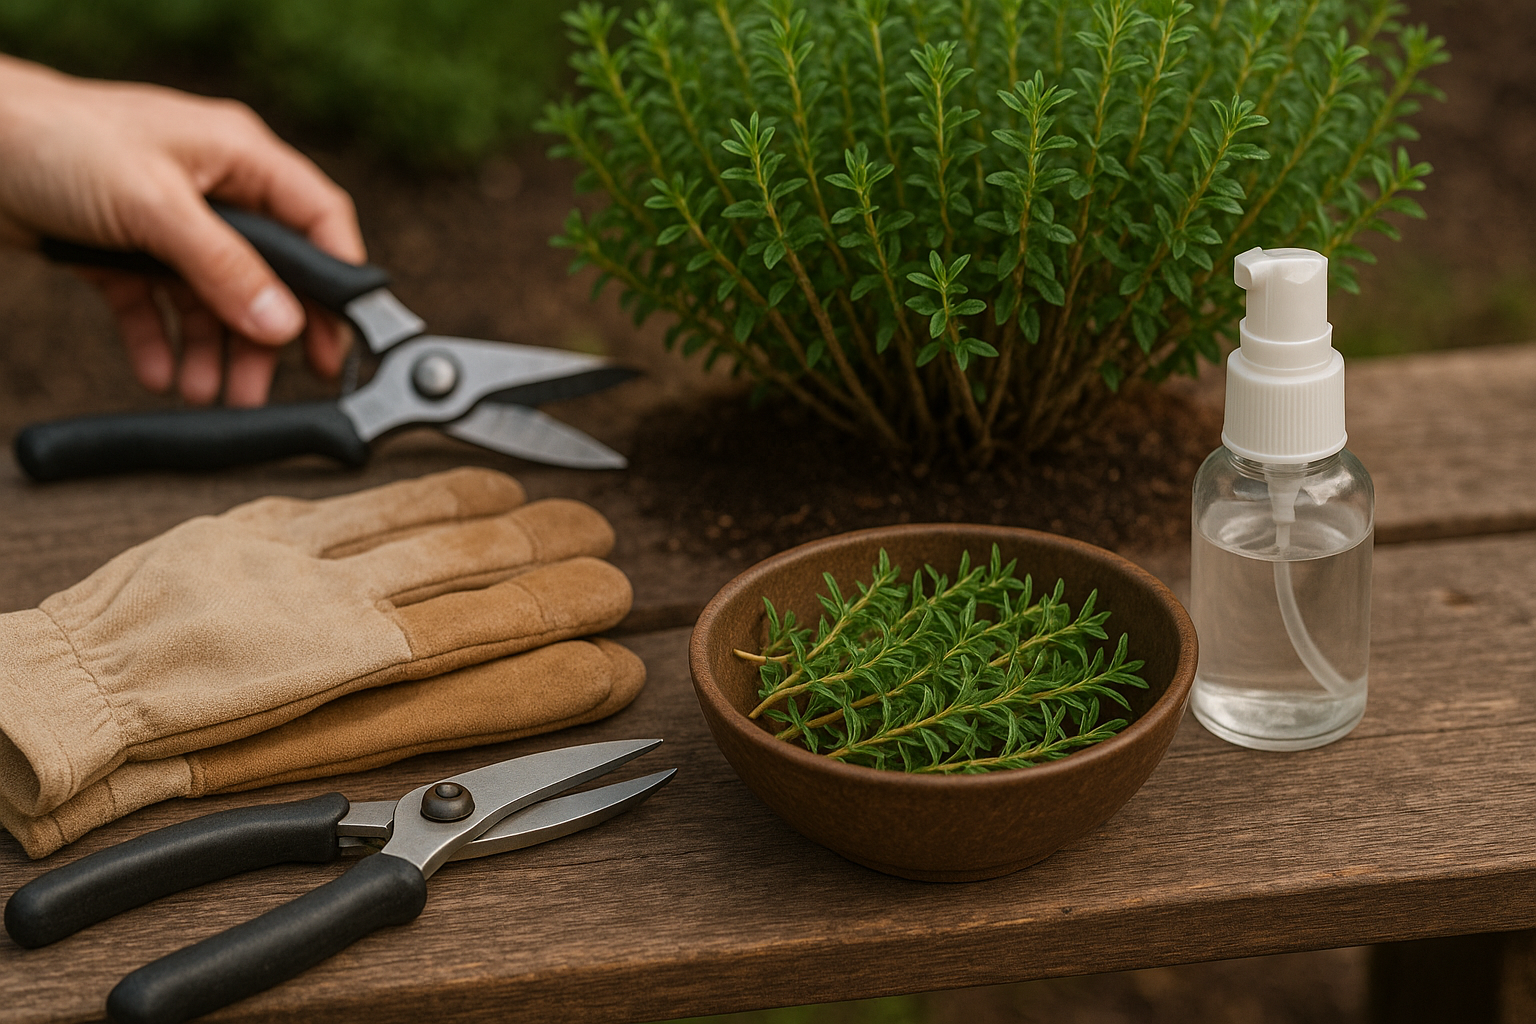
Pruning thyme may seem intimidating, but with a few essential tools and the right techniques, it’s an easy way to keep your herb healthy and productive. Always start with a pair of clean, sharp garden shears—dull blades can bruise the plant and promote disease. A comfortable set of gardening gloves will also help protect your hands from potential irritation.
Begin pruning by identifying fresh green growth, which is flexible and aromatic, and avoid cutting into the older, woody stems since those won’t regrow as vigorously. For light rejuvenation, simply pinch or snip off the top inch or so of green growth, ideally above a pair of leaves—this encourages the plant to branch out and become fuller.
When a thyme plant looks leggy or sparse, a hard cut can revive it: trim back up to a third of the plant, sticking strictly to green stems and watching for new shoots at the base that signal healthy regrowth. Shaping, meanwhile, involves trimming the outermost foliage to create a rounded, attractive form—just be sure to preserve plenty of healthy leaves and green stems so the plant can recover quickly.
For lush, bushier growth throughout the season, opt for regular tip pinching rather than infrequent heavy trims; this not only helps the thyme stay compact but also promotes more flavorful, tender leaves for culinary use.
If you’re new to pruning, err on the side of caution by making smaller cuts and checking your progress—thyme is forgiving, and with attentive care, it will thrive for many seasons.
Common Mistakes and How to Avoid Them
One of the most common mistakes when pruning thyme is cutting the stems too low, which can severely weaken the plant. When you prune below the leafy growth into the woody stems, thyme often struggles to recover, resulting in sparse regrowth and a scraggly appearance.
Another frequent error is pruning at the wrong time—typically during cold months or when the plant is in bloom. Pruning in late fall or winter can expose thyme to frost damage, while trimming during flowering can reduce the next season’s harvest.
Using unsterilized tools poses another risk; dirty shears can introduce bacteria and fungi that lead to plant disease and a decline in vigor.
To avoid these pitfalls, follow these tips:
- Always prune just above a pair of healthy leaves.
- Aim to remove no more than a third of the plant at once.
- The best time for major pruning is early spring, just as new growth appears.
- You can lightly trim throughout summer for shaping.
- Clean your pruning tools with rubbing alcohol before use to prevent spreading pathogens.
If you’ve over-pruned and your thyme looks weak or patchy, don’t panic—allow the plant to rest and avoid further cutting. Provide regular watering and a light dose of balanced fertilizer. Be patient; healthy thyme often rebounds with the right care, producing new shoots from undamaged stems.
By pruning thoughtfully and maintaining good hygiene, you’ll enjoy a lush, productive thyme plant all season long.
Caring for Thyme After Pruning
After pruning your thyme, give it a gentle but thorough watering to help reduce transplant shock and support new growth. Keep the soil lightly moist, but avoid waterlogging—thyme prefers a well-drained environment, and soggy roots can lead to rot. Check the base of your plants for any yellowing or wilting, which may indicate overwatering or lingering stress.
About a week after pruning, feed your thyme with a balanced, organic fertilizer or a diluted liquid seaweed solution to replenish nutrients. Take care not to overfeed—too much fertilizer can cause leggy growth and reduce the oil concentration in the leaves.
Maintaining healthy, airy soil is also crucial. Lightly loosen the top layer of soil with your fingers every few weeks, and consider a thin layer of mulch like straw or fine bark chips to retain moisture without crowding the stems.
Pruning exposes the plant’s inner branches, making it easier to spot pests like spider mites or aphids and to catch early signs of fungal diseases. If you notice sticky residue or browning leaves, respond promptly with insecticidal soap or fungicide as needed.
Resume light harvesting once you see fresh, green shoots—usually two to three weeks after pruning—by snipping the tips, which encourages even bushier growth. For consistent vigor, continue performing small trims throughout the growing season, always avoiding cutting into old wood, as thyme doesn’t regenerate well from older, woody stems.
This ongoing attention keeps your thyme lush, healthy, and ready for the kitchen.
Harvesting and Using Thyme
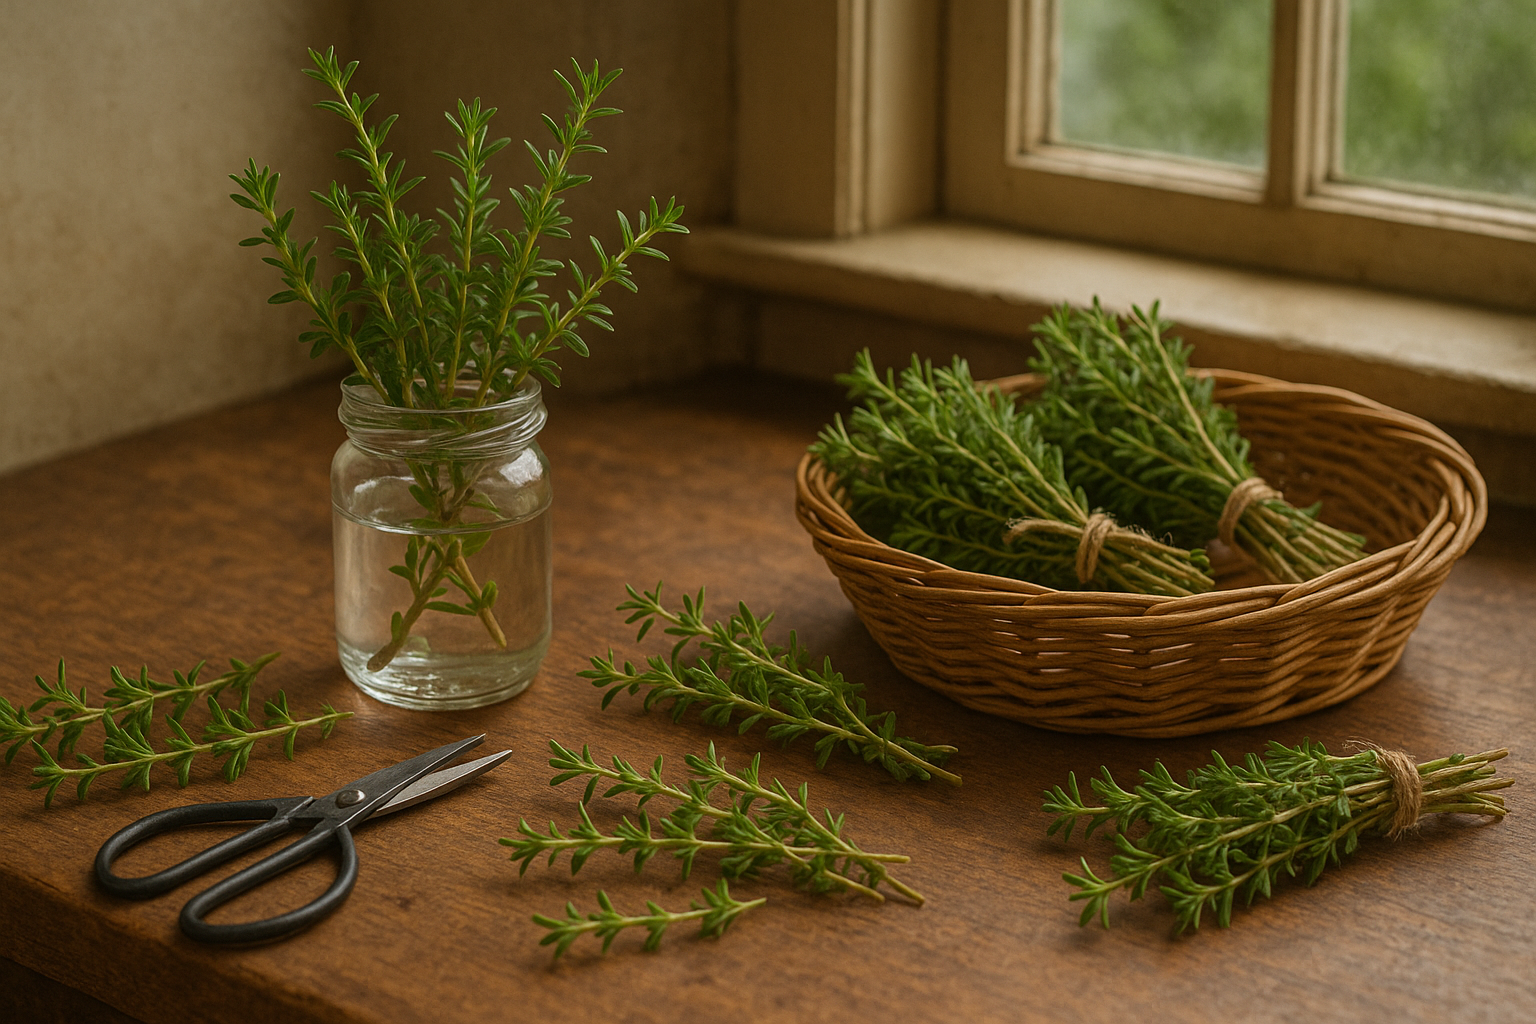
Harvesting thyme at the right moment is key to capturing its freshest flavor—pick sprigs just before the plant starts flowering, ideally during your regular pruning sessions. Use sharp scissors or small garden snips to cut stems just above a leaf node, leaving at least a third of the plant intact so it can stay bushy and healthy.
Regular harvesting, especially when removing woody stems and older growth, not only provides a steady supply of thyme but also encourages new, tender shoots to grow. This results in a lusher, longer-lived plant.
After cutting, rinse the thyme lightly and pat it dry. You can store fresh sprigs in a glass of water on your kitchen counter for about a week or wrap them in damp paper towels and keep them in a zip-top bag in your refrigerator. For longer storage, bundle stems and hang them upside down in a dry, airy place—once fully dried, strip the leaves and keep them in an airtight jar away from sunlight.
Garden-grown thyme brings real flavor to your meals: toss whole sprigs into soups and stews, sprinkle chopped leaves over roasted veggies or chicken, or infuse olive oil for a simple herby boost. By making pruning and harvesting a regular habit, you’ll not only enjoy better flavor in your cooking but also reward your thyme plant with full, robust growth for seasons to come.