Introduction to Year-Round Chive Growing
Year-round chives are a true game-changer for anyone who loves cooking with fresh herbs, no matter the season. Chives are one of the most popular kitchen staples, praised for their mild onion flavor that brightens everything from baked potatoes to scrambled eggs. Besides adding a delicious boost to your meals, they’re packed with nutrients like vitamins A and C, and they’re incredibly easy to grow—even if you don’t have a green thumb.
Their versatility means you can use them fresh, dried, or as a garnish for a pop of color and taste. In this article, we’ll show you how to keep chives thriving all year, both indoors on a sunny windowsill and outdoors in your garden or patio. You’ll discover essential steps for planting and nurturing your chive plants, easy tips for care and troubleshooting common problems, and smart harvesting methods to ensure a constant supply.
Whether you’re a seasoned gardener or just starting out, you’ll find everything you need to enjoy the fresh, flavorful rewards of year-round chives straight from your own home.
Understanding Chives
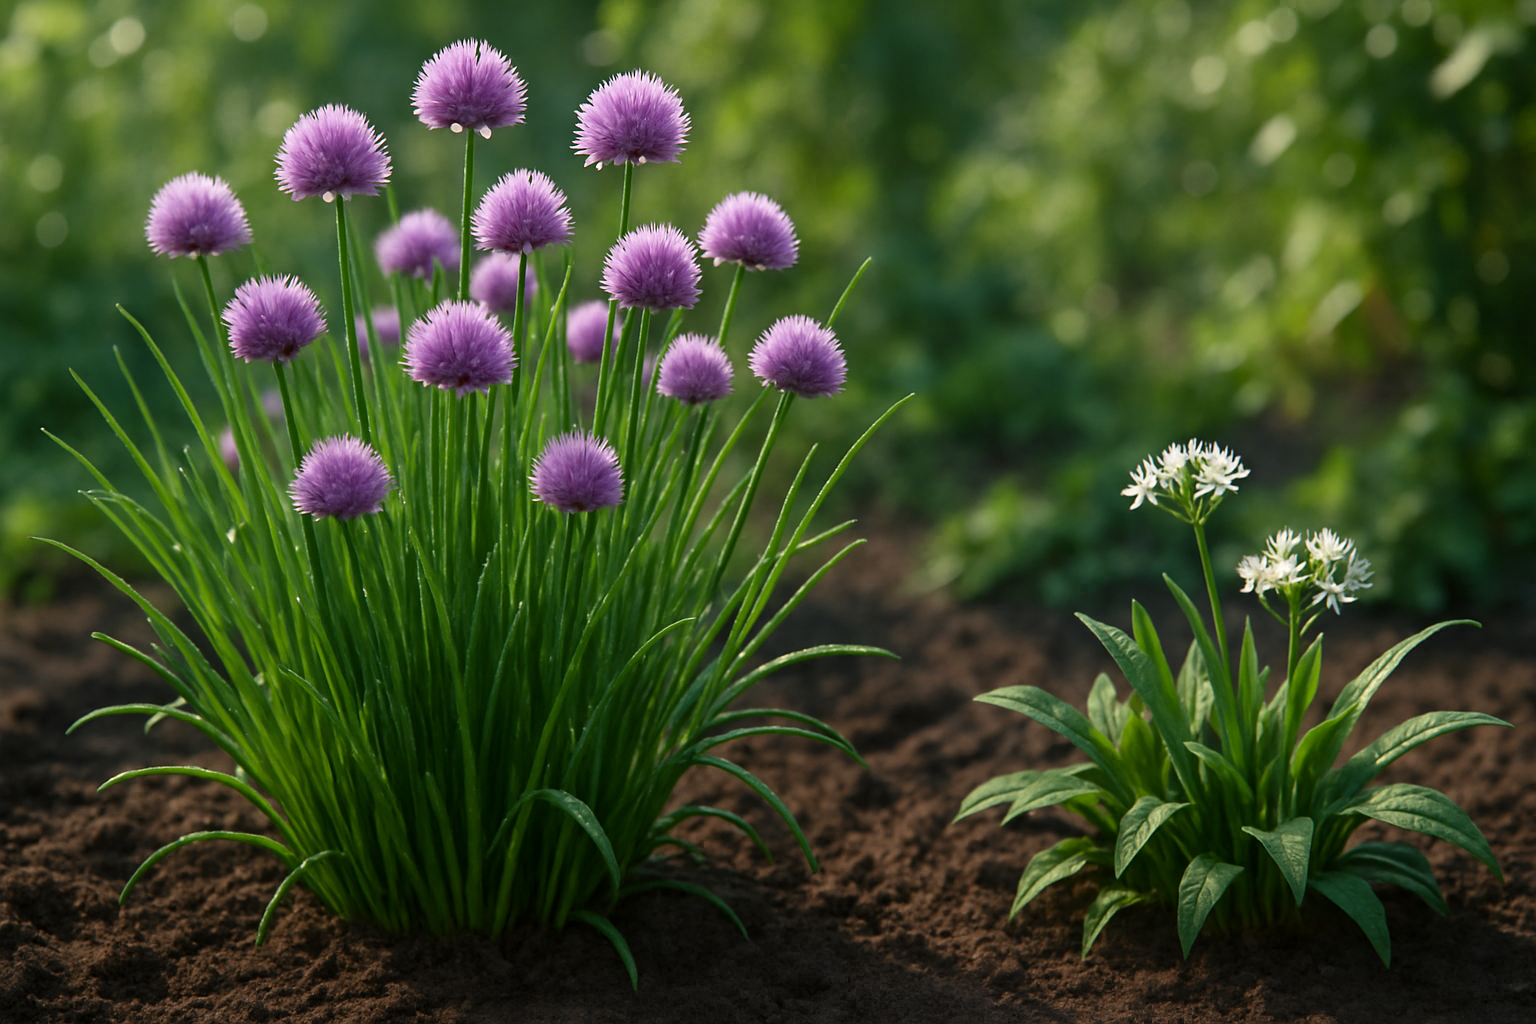
Chives are a staple herb for home gardeners, but not all chives are the same—two main varieties are commonly grown: onion chives (Allium schoenoprasum) and garlic chives (Allium tuberosum).
Onion chives are what most people think of first; they have slender, hollow, grass-like leaves and purple, globe-shaped flowers. Their flavor is mild and reminiscent of sweet onions, making them perfect for garnishing salads, potatoes, and eggs.
In contrast, garlic chives have flatter, broader leaves with a distinct garlicky aroma and taste. Their white, star-shaped blossoms add visual interest and can even be eaten.
Both types are hardy perennials, returning year after year when planted in well-draining soil and placed in a sunny to partly shaded location. Chives go dormant in winter and reliably re-sprout in spring, often being among the earliest herbs to emerge.
In late spring or early summer, mature clumps produce flower stalks that attract pollinators. If you don’t want the plants to self-seed aggressively, simply snip off the blooms as they fade.
To keep chives vigorous, regularly harvest by trimming the outer leaves, and divide clumps every few years to prevent overcrowding. They require minimal care, thriving with occasional watering during dry spells and a light top-dressing of compost in early spring.
Growing chives is practical for small gardens and containers. With such minimal upkeep, you’ll enjoy fresh herbs and pretty flowers season after season.
Getting Started
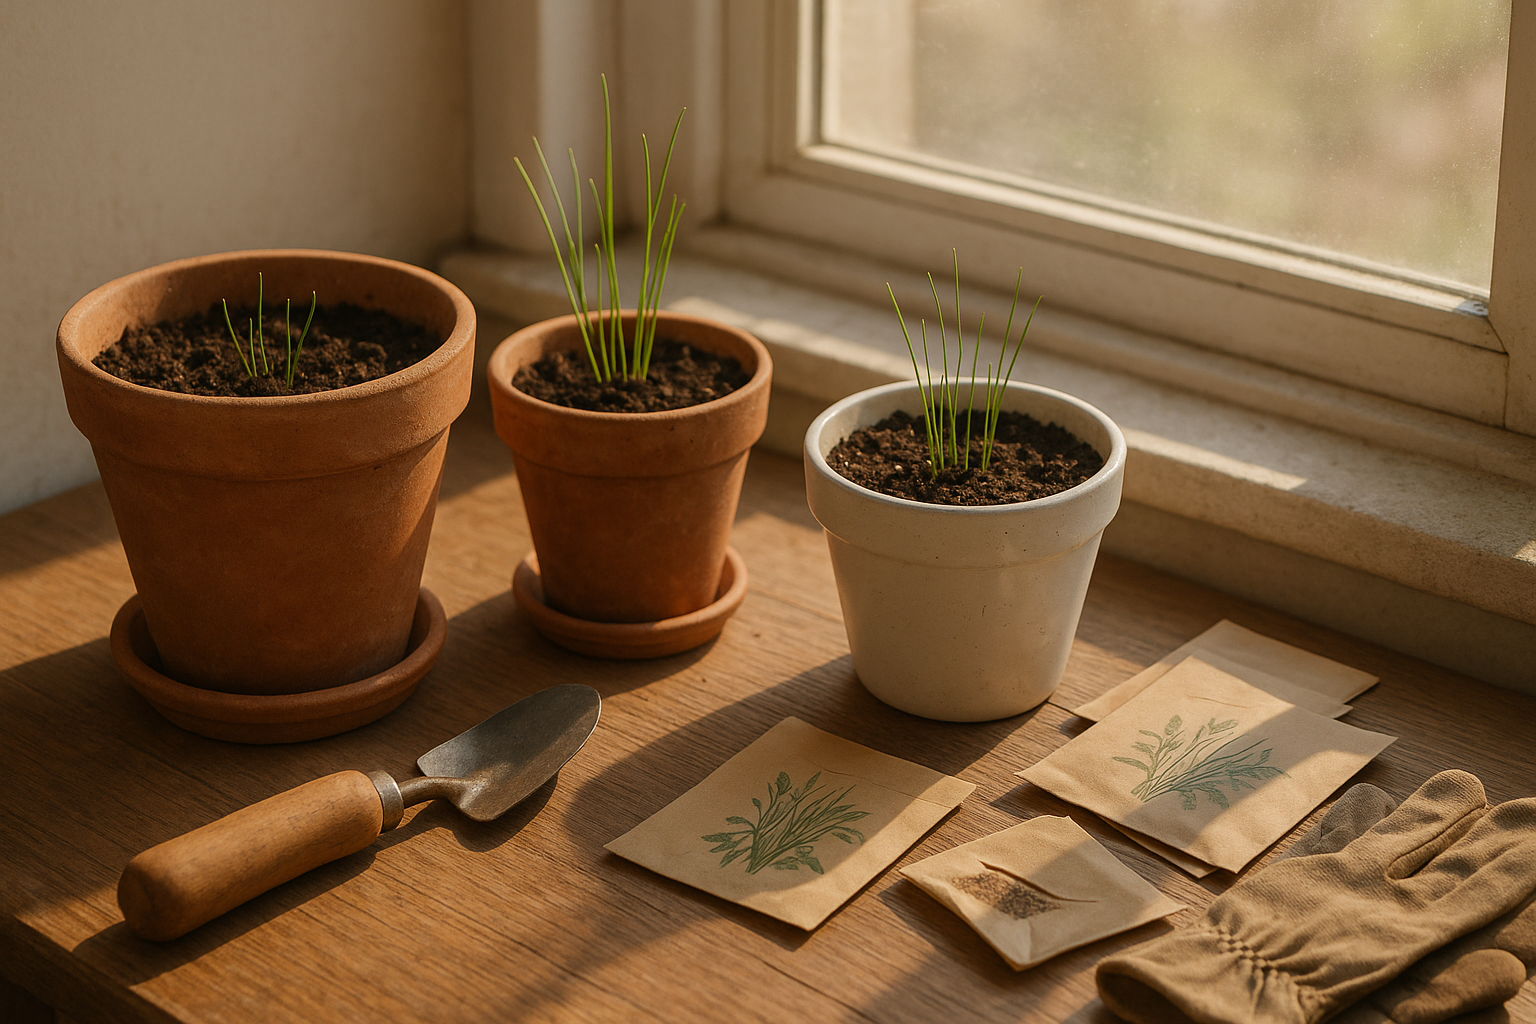
When starting your chive patch, you have a few easy options: growing from seeds, picking up transplants from a nursery, or dividing a healthy clump from a friend’s garden. If you’re sowing seeds, sprinkle them in early spring directly into well-drained, rich soil—chives love full sun but will also tolerate partial shade.
For best indoor results, use a pot with drainage holes, filled with quality potting mix, and position it near a sunny window. Transplants and divided clumps are best planted in early spring or fall, spaced about 6 inches apart to give each plant room to flourish.
Outdoors, chives need 6 hours of sunlight and soil that’s not soggy; you can improve heavy soils by mixing in compost. Indoors, containers at least 6 inches deep will let roots stretch comfortably. Water lightly and keep the soil just moist, not wet.
For a consistent harvest, plant seeds or clumps in staggered rows or clusters. With these simple steps, you’ll be enjoying fresh, homegrown chives in no time, whether you have a garden bed or just a sunny kitchen windowsill.
Year-Round Care
Caring for chives year-round isn’t tough, but a few smart routines will keep your harvests steady and flavorful.
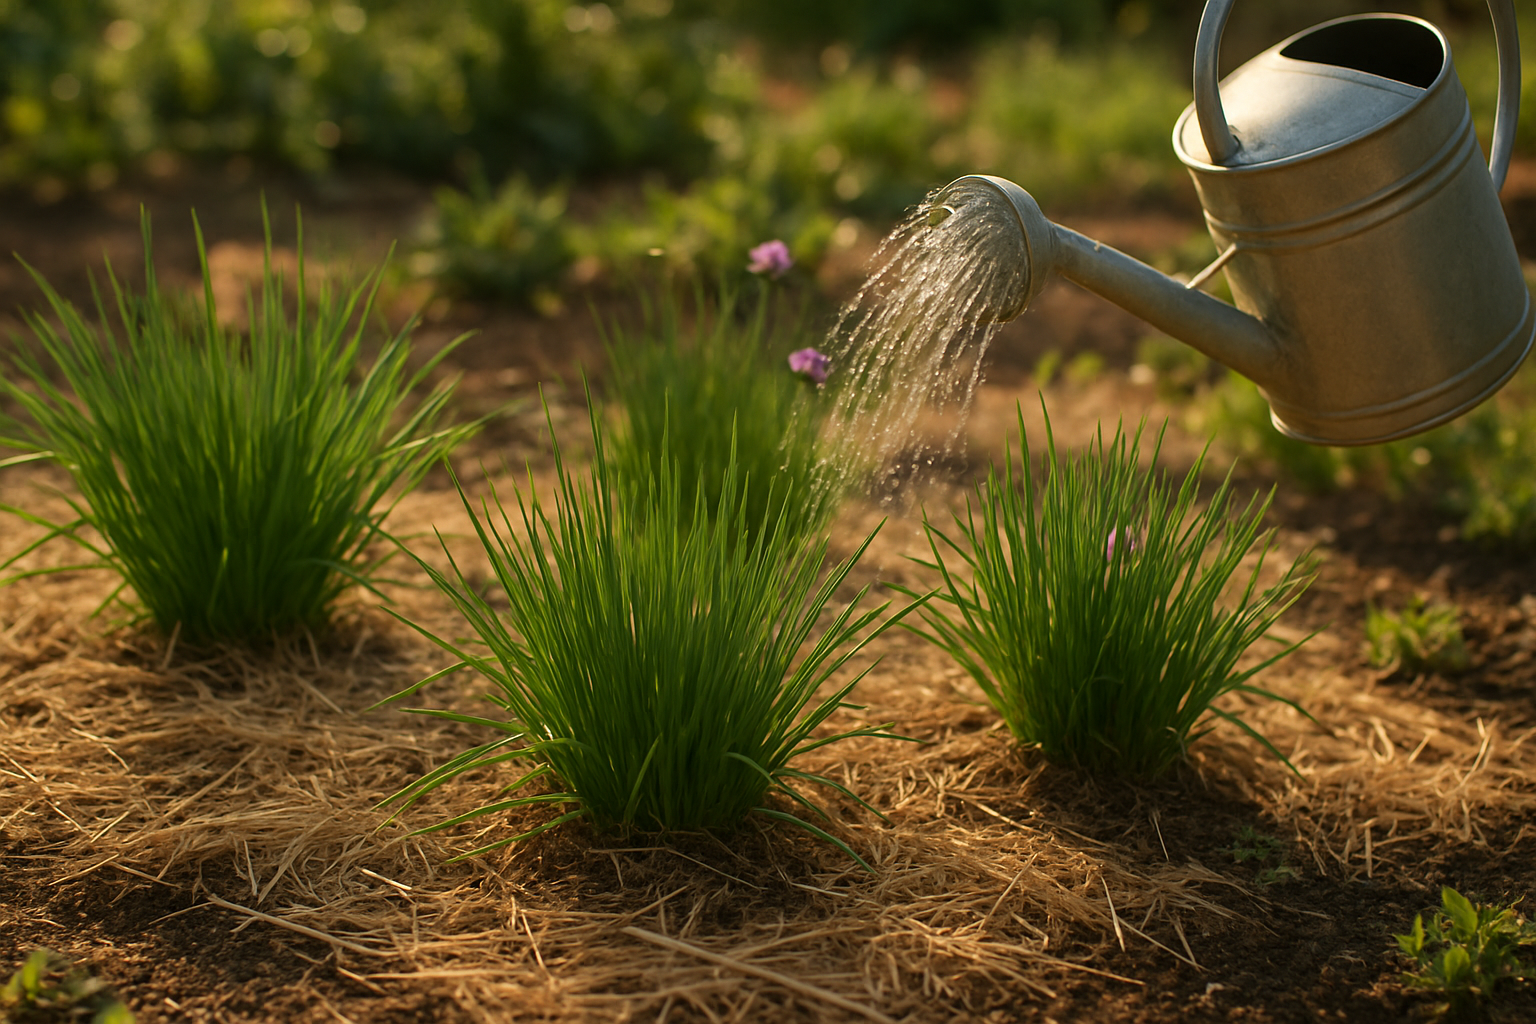
Watering
Potted chives need regular moisture: let the top inch of soil dry out between waterings, then soak thoroughly, making sure pots have drainage holes to prevent soggy roots. In garden beds, chives are more tolerant of drought but aim for about an inch of water weekly, especially during dry summer spells. Mulching with straw or shredded leaves helps the soil retain moisture.
Feeding
Feeding chives is easy. Because they aren’t heavy feeders, use a balanced liquid fertilizer (like 10-10-10) every four to six weeks in spring and summer for lush growth. Stop feeding several weeks before cooler weather arrives to avoid weak, frost-sensitive shoots.
Sunlight
Chives thrive in full sun outdoors—at least six hours daily—but tolerate partial shade, especially in hotter climates. Indoors, place pots on a sunny south-facing windowsill or under a fluorescent grow light for 12-14 hours each day to mimic natural sunlight. Rotate pots every week to keep plants growing straight and full.
Winter Care
As winter approaches, outdoor chives will die back naturally in most climates but bounce back in spring. Help them out by cutting back dead foliage, applying a light mulch, and watering sparingly if the soil isn’t frozen. If you want fresh chives indoors through winter, dig up a clump before the first frost, pot it, and bring it inside. Keep it cool for a few weeks, then move it to a warm, bright spot to encourage new growth.
With thoughtful watering, feeding, and attention to light, your chive plants will deliver year-round flavor with minimal fuss.
Keeping Chives Productive
Pruning chives regularly is the secret to a thriving patch that produces tender, flavorful leaves all season long. Use clean scissors or garden shears to snip chives down to about two inches above the soil whenever they reach 6–8 inches high. Frequent cutting encourages regrowth and prevents tough, fibrous stems.
If you notice flower stalks forming—which divert energy from leaf growth—clip them too, unless you want to collect seeds or enjoy the edible blossoms.
Every three to four years, your chive clumps may start to look crowded, produce thinner leaves, or slow down in growth. This is when dividing them makes all the difference. Dig up the entire clump in early spring or late summer, gently pull apart the bulbs (each with a bit of root attached), and replant with about 4–6 inches between divisions. Dividing revives overgrown chives and ensures each plant has enough space to flourish.
Keep an eye out for common pests like aphids or thrips. If you spot them, simply hose off the leaves or use insecticidal soap. Fungal diseases can sometimes pop up in humid weather; thinning out dense clumps and watering at the base helps improve air circulation and reduce risk.
If your chives seem weak or yellowing, consider amending the soil with compost for a nutrient boost, and double-check that your plants are getting at least six hours of sun daily.
With these simple steps, you’ll keep your chives lush, healthy, and ready to snip whenever inspiration strikes your kitchen.
Harvesting and Using Chives Year-Round
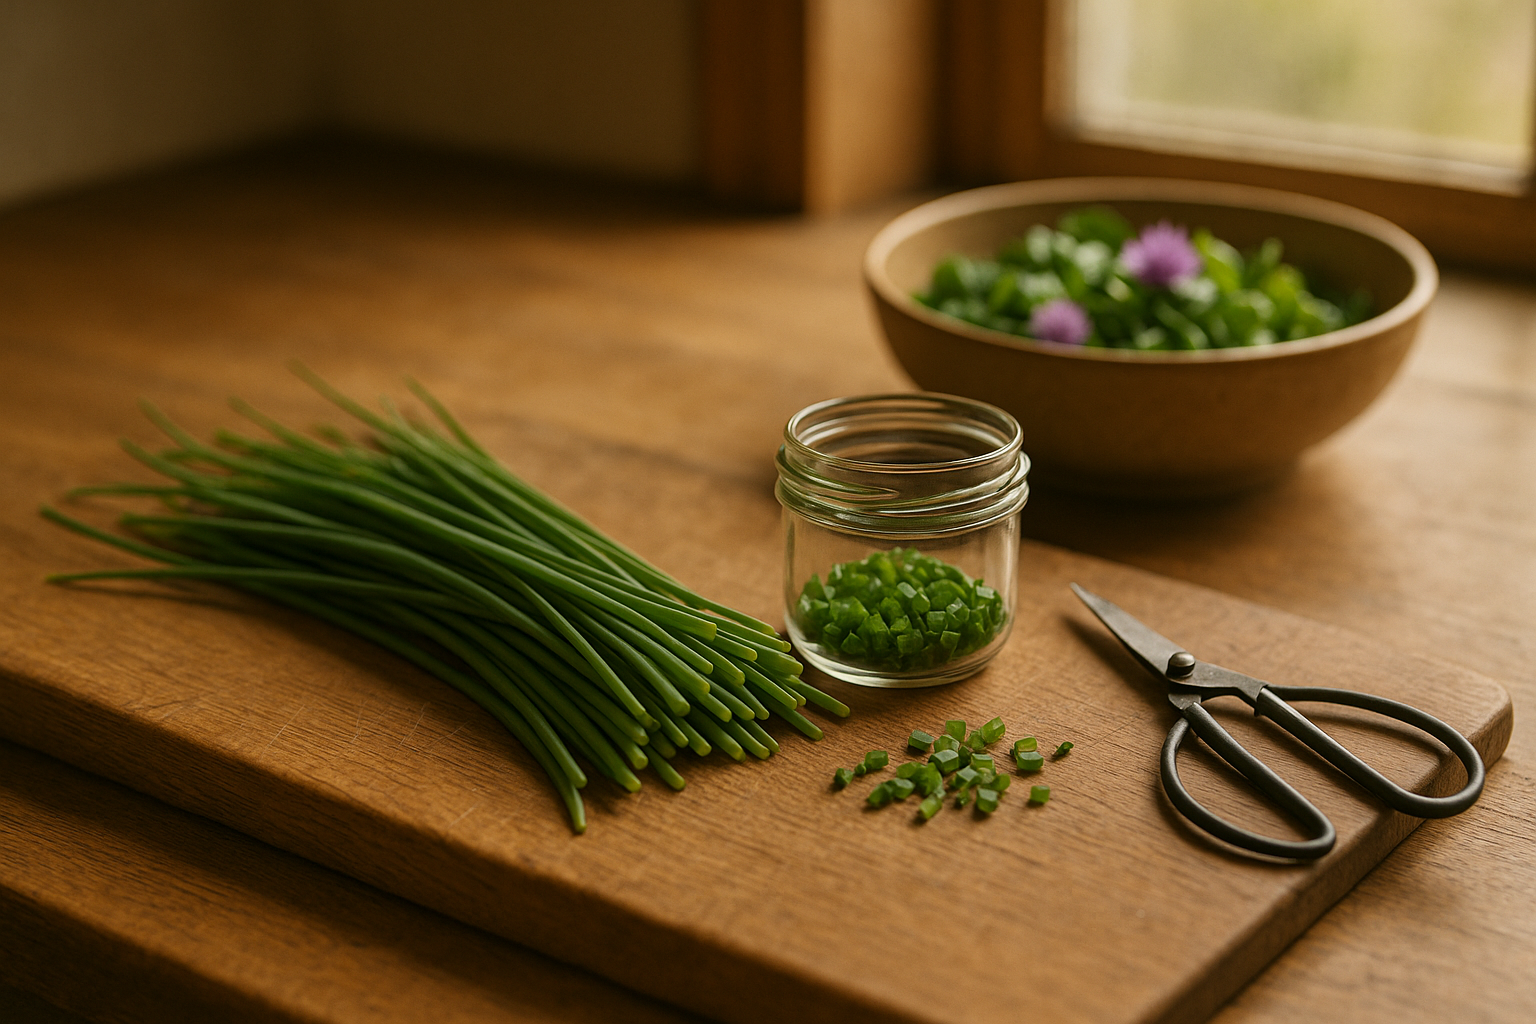
Harvesting chives is simple, but timing and technique make all the difference for flavor and plant health. For the best taste, use sharp scissors to snip the leaves early in the morning after the dew has dried, cutting just above the soil line and taking only a third of the plant at a time—this encourages steady regrowth all season long.
Don’t overlook the edible purple blossoms, which are milder in flavor and gorgeous sprinkled over salads or stirred into compound butters.
To use chives year-round, fresh stems keep well in the fridge when wrapped in a damp paper towel and sealed inside a bag for up to a week.
For longer storage, chop and freeze chives in ice cube trays with a splash of water or oil—this method preserves both flavor and color for soups, sauces, or omelets all winter.
Dried chives are another handy option; simply air-dry or use a dehydrator and store the crumbled pieces in an airtight container away from light.
When it comes to cooking, chives are exceptionally versatile:
- Mince and scatter them over baked potatoes, scrambled eggs, or creamy dips.
- Mix them into biscuit dough for extra flavor.
- Add chive blossoms to vinaigrettes or steep a handful in vinegar for a subtle oniony tang.
With these techniques, you’ll be able to savor the mild, fresh charm of chives in your kitchen no matter the season.
Companion Planting and Creative Uses in the Garden

Chives are more than just a tasty garnish—they’re a secret weapon in any organic garden. As a companion plant, chives can help deter pests like aphids, Japanese beetles, and carrot flies thanks to their natural sulfur compounds, making them ideal allies for crops such as tomatoes, carrots, lettuce, and roses.
Their clumping growth habit not only saves space but also brings diversity to your planting beds, which can improve overall plant health and reduce disease risk. For an even more productive plot, try tucking chives along garden borders, at the base of fruit trees, or in between vegetable rows.
They thrive in containers too, so you can place pots near kitchen doors or outdoor seating areas for easy snipping and a decorative touch. Indoors, small chive pots brighten sunny window sills and provide a fresh, readily available herb all year round.
Plus, their pretty purple blooms attract pollinators, supporting a healthy ecosystem. Whether you’re aiming to boost your harvest or simply add color and utility around your home, chives adapt beautifully and offer a low-maintenance way to make your garden spaces more vibrant, resilient, and pest-resistant.