Understanding Chives’ Watering Needs
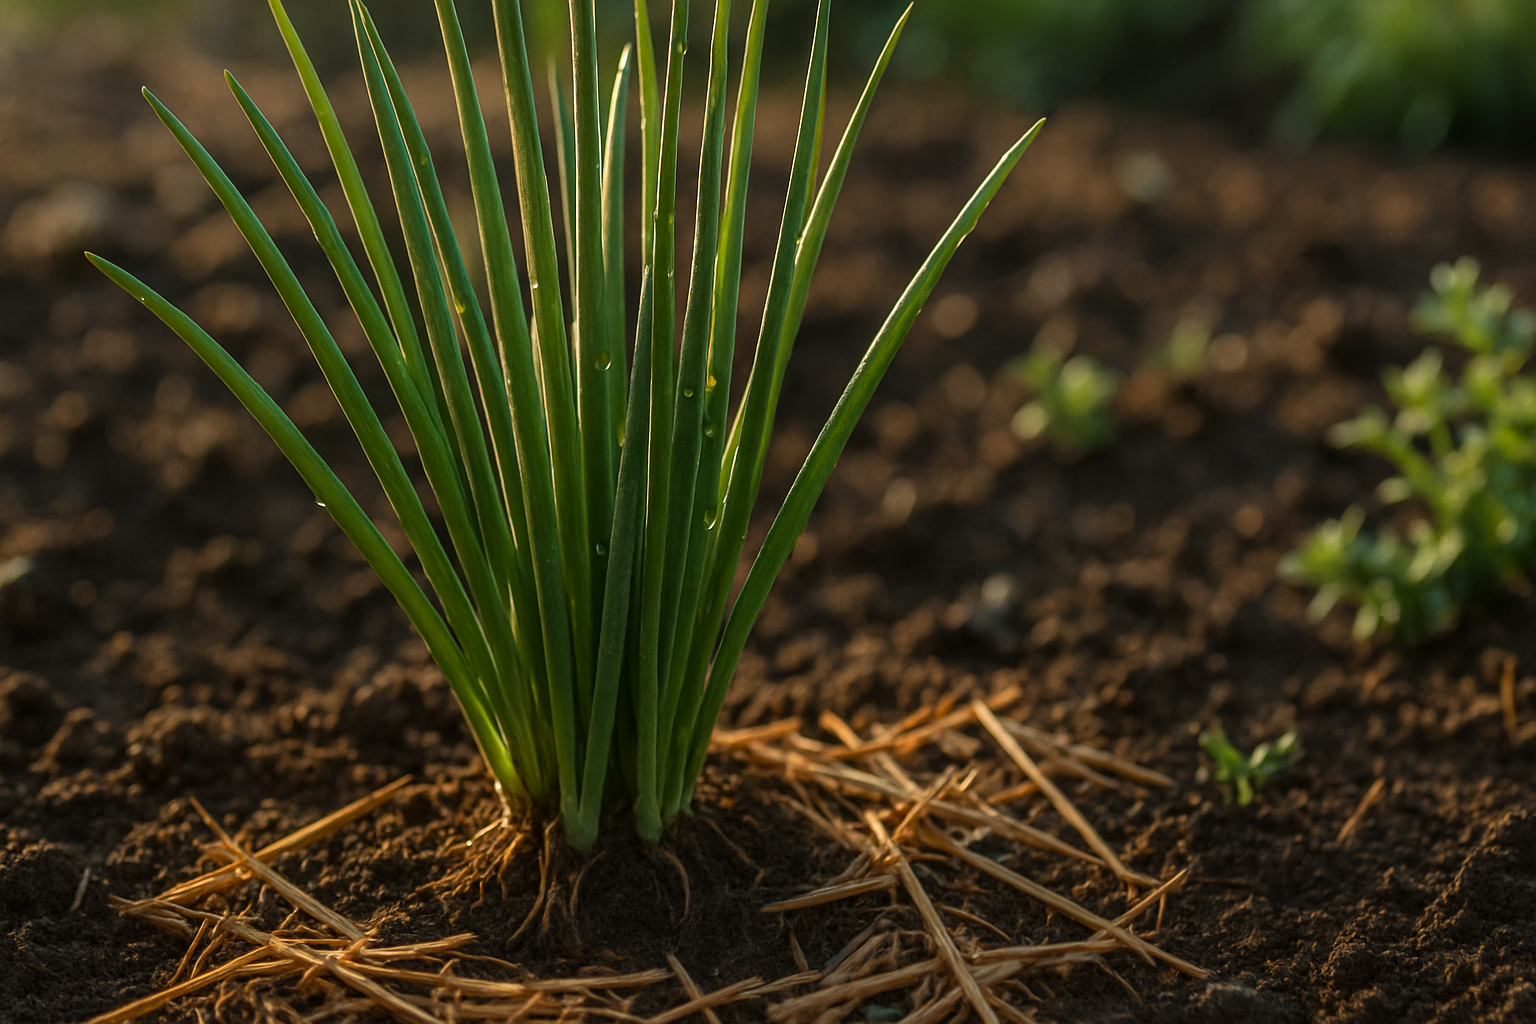
Chives are an easy-going herb, but like all plants, they need proper watering to thrive. Water is crucial because it supports essential processes like nutrient absorption, leaf development, and overall plant health. Since chives have a shallow root system, they can’t access water deep in the soil and are more prone to drying out.
Because of this, it’s important to maintain consistent soil moisture, especially during warm months or dry spells—aim for about one inch of water per week and keep the soil evenly moist but not soggy.
The way you water your chives will also depend on their growing conditions. For example, chives planted in direct, all-day sunlight or exposed to high temperatures lose moisture faster and likely need more frequent watering.
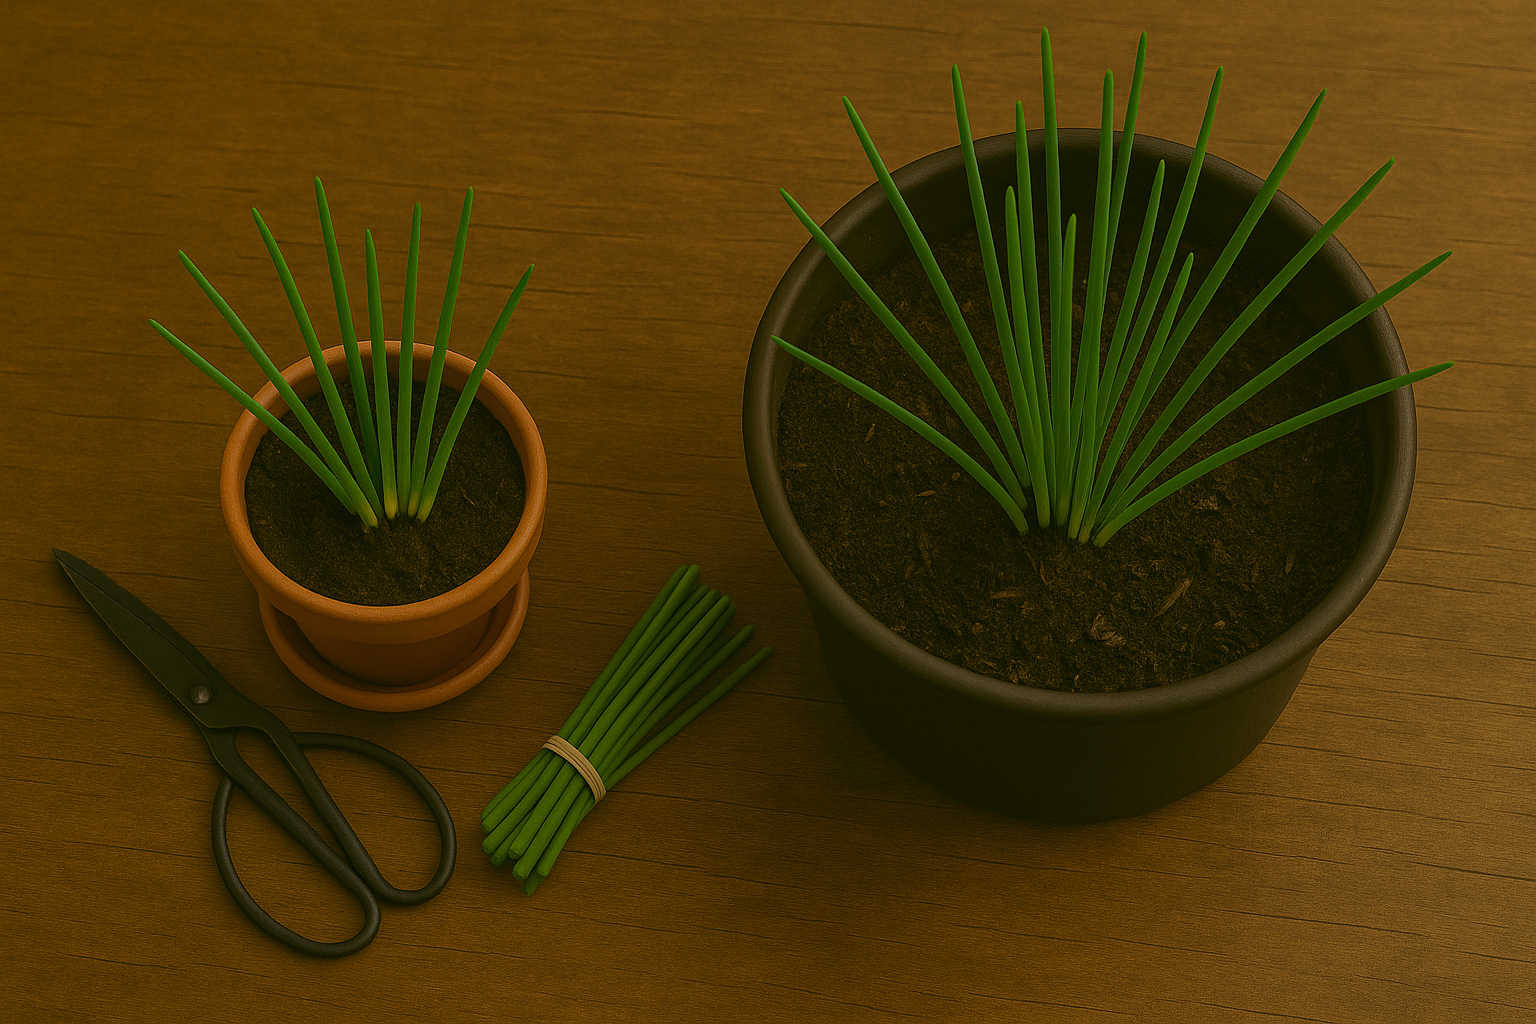
If you’re growing chives in containers or pots, the soil can dry out even quicker than in garden beds, so check them daily—water whenever the top inch of soil feels dry to the touch.
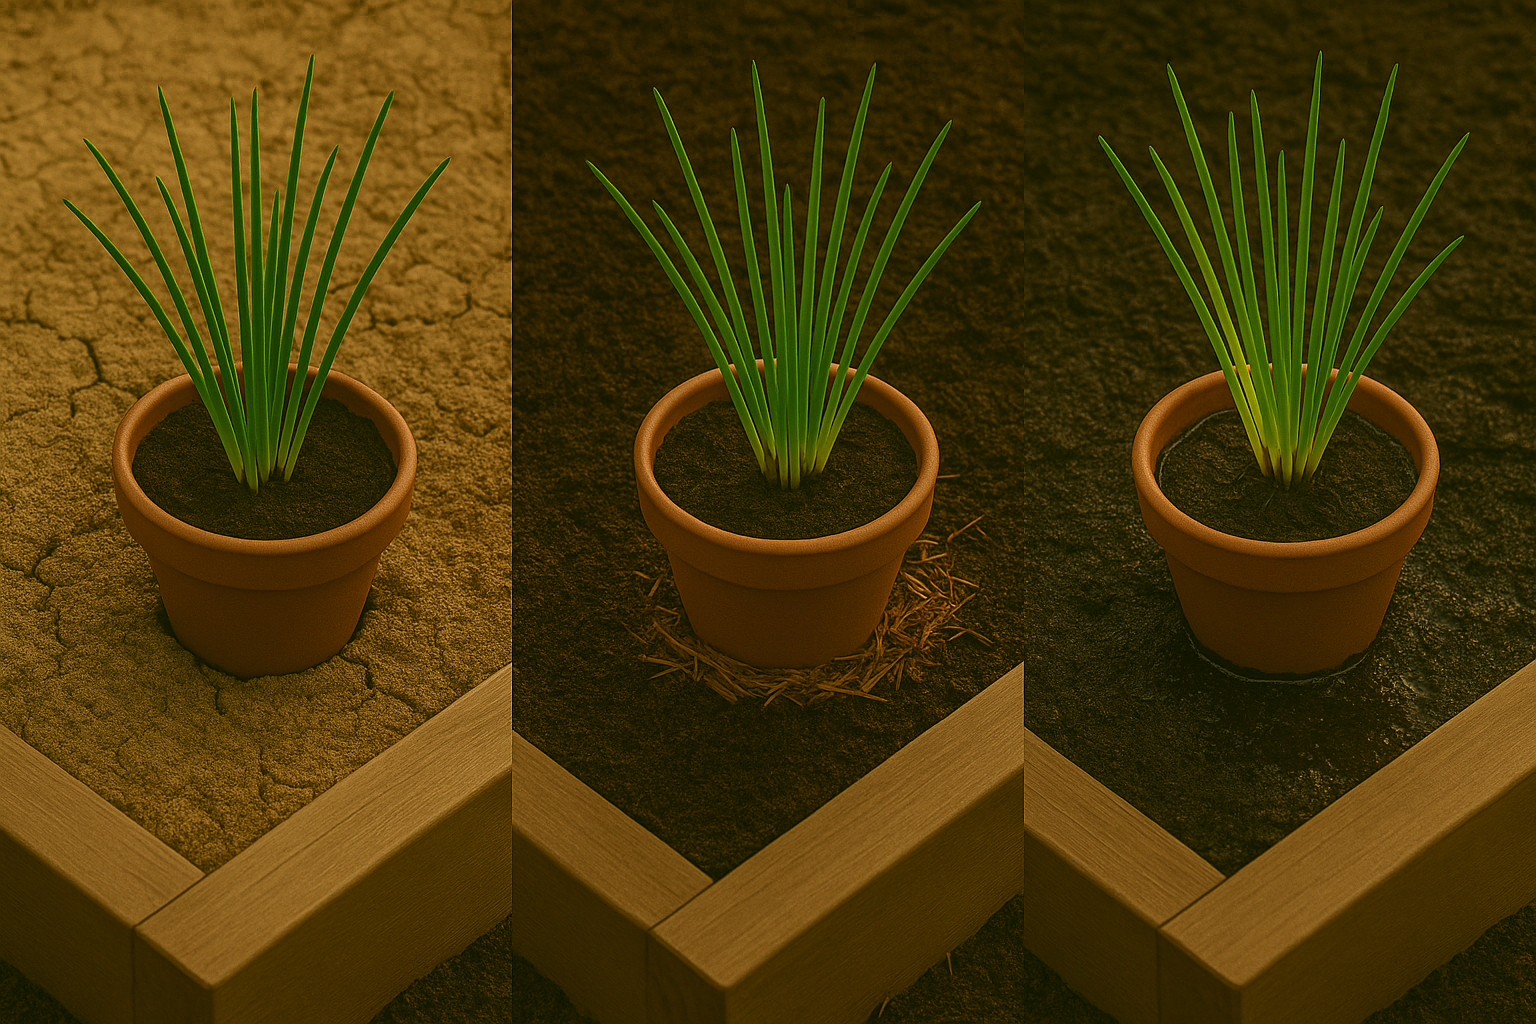
On cooler or overcast days, especially in early spring or late fall, you may need to water less since the soil retains moisture longer. Mulching around your chives, whether in the ground or containers, is a smart way to slow evaporation and keep their shallow roots happy.
Also, pay attention to rainfall; if nature is watering your plants, ease up on the hose to avoid root rot. Remember, consistency is key—quick, deep soakings are better than frequent, light sprinkles, which can encourage shallow roots and increase vulnerability to drought.
By tuning in to your chives’ changing environment and checking the soil regularly, you’ll help ensure lush, healthy growth all season long.
How Often Should You Water Chives?
When it comes to watering chives, finding the right balance is key to keeping these flavorful herbs healthy and thriving. For indoor chives, a good rule of thumb is to water them once the top inch of soil feels dry—usually once or twice a week, depending on your home’s temperature and humidity. Overwatering can quickly lead to root rot, so it’s crucial to check the soil moisture with your finger before reaching for the watering can.
Outdoor chives, on the other hand, may need a little less frequent attention, especially if they receive rainfall. During spring and fall, you’ll likely water your outdoor chives about once a week, but always let the soil’s surface guide you. In hot summer months or periods of drought, your chives may need more frequent watering—possibly every 3–4 days—as the soil dries out faster.
Conversely, during rainy stretches or if your chives are tucked into a shady spot, the soil will retain moisture longer, and you can skip a scheduled watering. No matter where your chives are planted, avoid letting them sit in soggy soil, as this can stress the plant. Use mulch in outdoor beds to help retain moisture in the summer and protect roots, but avoid piling it too close to the base of the plants.
A simple way to check if your chives need water is to notice if the leaves look limp or pale; this is a sign they’re thirsty. Setting up a reminder to monitor your chives’ soil moisture—rather than watering on autopilot—is the secret to vibrant, flavorful leaves. By tuning into seasonal changes and weather patterns, you’ll encourage strong root systems and a steady harvest of delicious chive greens all year long.
Signs Your Chives Need Water (or Too Much!)
Chives are relatively low-maintenance, but they’ll start showing distress if their watering needs aren’t met. Knowing the signs helps you act fast.
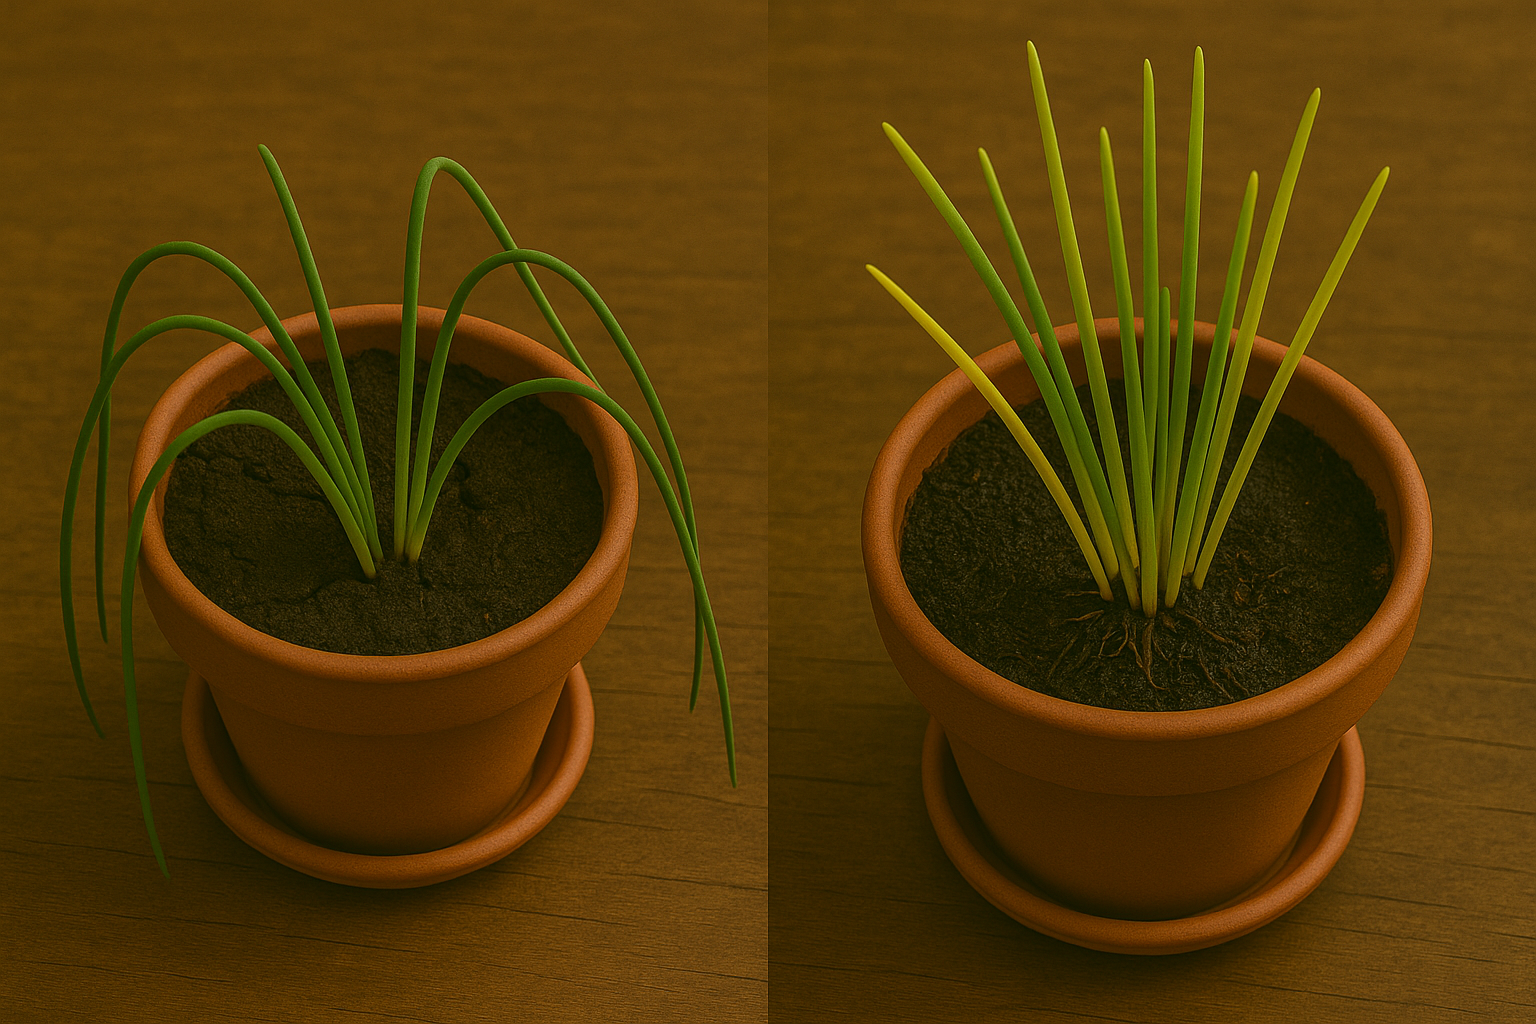
If your chives need water, the first clues are wilting or drooping leaves—they’ll look limp rather than perky and upright. The leaf tips might also turn brown or crispy, signaling dehydration. Check the soil: if the top inch feels dry to the touch and pulls away from the pot’s edges, it’s time to water.
On the other hand, overwatering chives can cause the leaves to yellow or develop mushy spots. You might also notice a musty odor—signs of root rot. Consistently soggy soil is a red flag; chives dislike having “wet feet.”
How to Fix Underwatering
- Water thoroughly, so moisture soaks the root zone.
- Let excess water drain away—don’t leave pots sitting in water.
How to Fix Overwatering
- Gently pull the plant from the soil to check the roots: healthy roots are white, while brown or black mushy roots need trimming.
- Repot the plant in fresh, well-draining soil.
- Hold off watering until the top inch of soil is dry.
Using pots with drainage holes and watering only when necessary will help you avoid both extremes. Regularly checking your plants and soil will keep your chives thriving—consistency is key for these hardy herbs.
Tips for Watering Chives Effectively
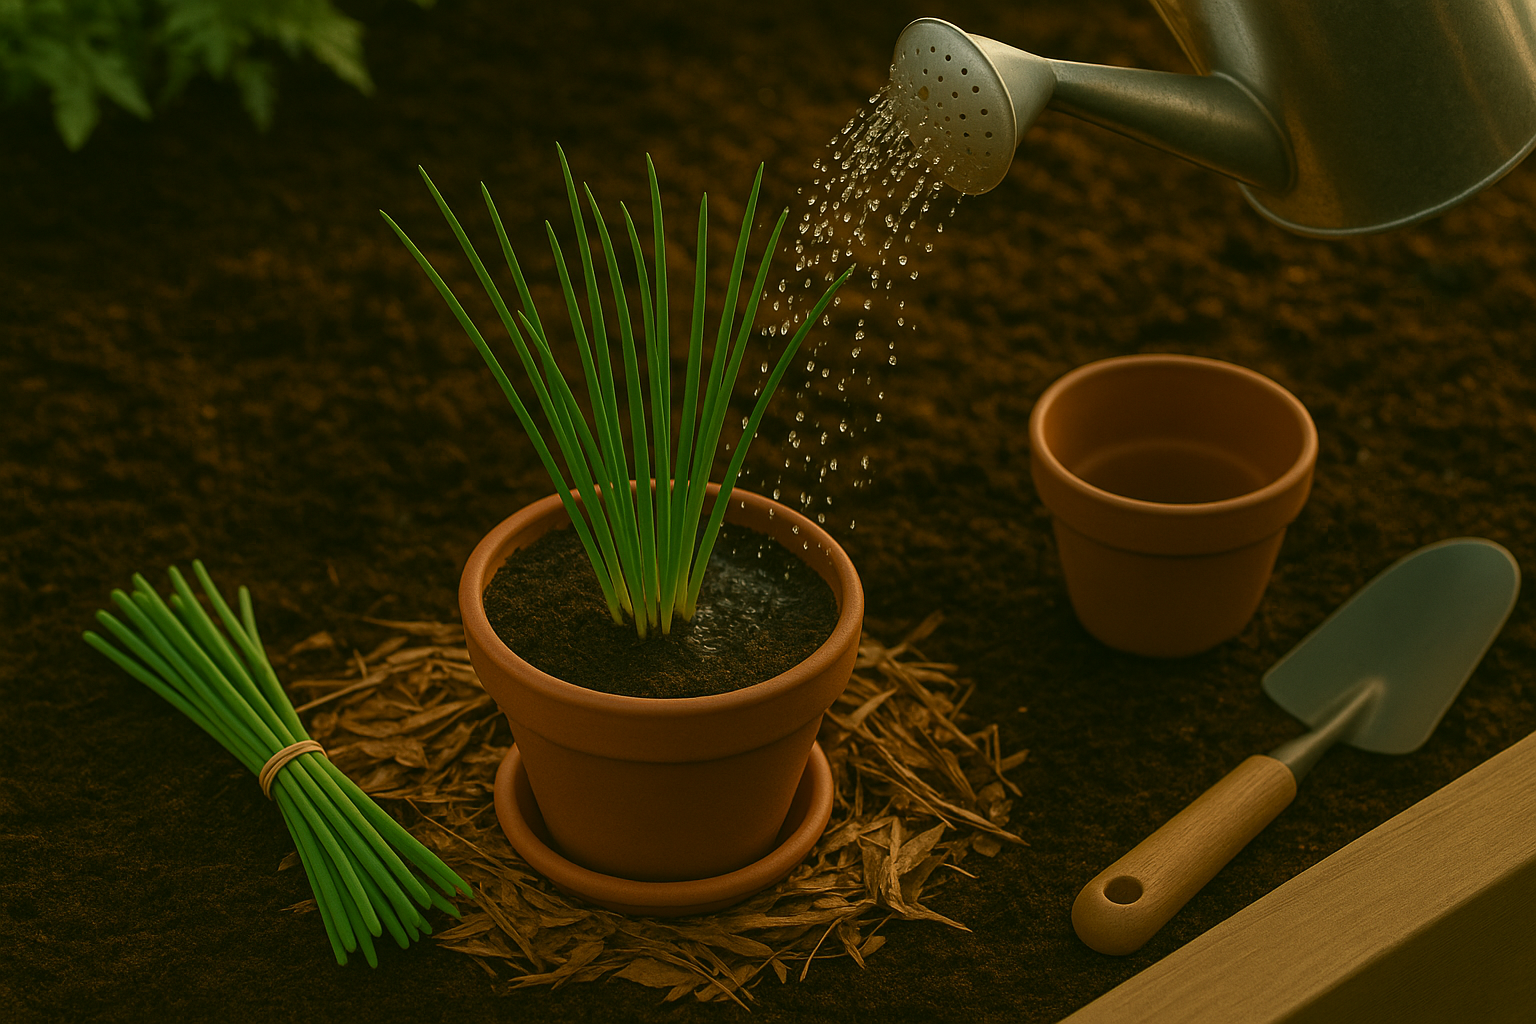
Watering chives isn’t just about splashing water onto the soil—timing and technique matter if you want healthy, flavorful plants. The best time to water chives is in the early morning, before the sun has fully risen. Morning watering allows moisture to soak down to the roots before the day heats up, reducing water evaporation and preventing fungal diseases that thrive in damp, evening conditions.
When it comes to technique, aim for deep watering rather than frequent, shallow sprinkles. A deep soak encourages chive roots to grow downward, creating a more robust and drought-resilient plant. To do this, water until the ground is moist several inches below the surface, then wait until the top inch of soil dries out before watering again—usually about once or twice a week, depending on rainfall and temperature.
Mulching is another game changer in chive care. By adding a two-inch layer of organic mulch, such as straw or shredded leaves, around the base of your chive plants, you help the soil retain moisture longer, suppress weeds, and slow down water evaporation. Mulch also acts as an insulator, keeping soil temperatures more consistent through hot days and cool nights.
Together, early morning deep watering and a layer of mulch make it easier to maintain the even soil moisture that chives love, so your garden beds or pots stay productive and your chives remain tender and full of flavor.
Factors That Affect Watering Frequency
When it comes to how often you should water your plants, a big factor to consider is soil type. Sandy soils drain water quickly, meaning moisture doesn’t stick around long, so you may need to water more frequently—sometimes daily in hot weather. Clay soils, on the other hand, hold water much longer and run the risk of becoming waterlogged, so you’ll want to water less often but more deeply. Loamy soil is the ideal balance, retaining enough moisture for roots while still allowing excess to drain away, which typically means watering every few days works well.
The type and size of container also matter. Small pots dry out faster than large ones, and plants in containers need more frequent watering than those planted in the ground, since soil volume is limited and exposed to more air. If you have a small succulent on your windowsill, you might need to check the soil moisture every other day, while garden beds often go longer between waterings.
Beyond soil and containers, pay attention to environmental factors: hot, dry weather will cause soil to dry out faster, as will windy conditions, which pull moisture away from both soil and leaves. Humid climates help the soil stay damp longer, so you can typically water less often than in drier areas.
Adjust your routine as seasons change—summer heat and wind mean plants will probably need more hydration, while cool, overcast days or indoor growing typically require less frequent watering.
Preventing Water-Related Problems
Keeping your chives healthy starts with finding the sweet spot between overwatering and underwatering—both can quickly lead to wilting, yellowing, and even plant death. Always check the soil before watering; stick your finger about an inch deep, and if it feels dry, it’s time to give your chives a drink.
For indoor pots, choose containers with drainage holes to let excess water escape. If you’re planting outdoors, make sure the bed drains well—no standing puddles after rain. Amend heavy soils with compost, sand, or perlite to improve aeration and drainage; this prevents water from pooling around the roots, which is key to avoiding fungal issues and dreaded root rot.
Mulching with straw or bark can help the soil retain even moisture, but avoid piling it directly against the plant base, as this can invite disease. Inspect your chives weekly—look for limp stems, discolored leaves, or musty smells, which can signal trouble. Remove any yellow or mushy parts promptly, and clear away fallen debris to reduce fungal risks.
A consistent routine will help you catch small issues before they become big problems, keeping your chive patch lush and productive. By tailoring your watering habits, choosing the right soil, and staying alert for early warning signs, you’ll ensure your chives thrive all season long.
Frequently Asked Questions About Watering Chives
New chive growers often wonder if chives can handle periods without water or recover from watering mistakes. Chives are more drought-tolerant than many herbs and can survive dry spells, but they thrive best with consistent moisture.
If you forget to water and notice wilting, a thorough soaking will usually revive them. However, overwatering poses a bigger threat. Constantly soggy soil suffocates the roots, often causing yellowing leaves and root rot.
If overwatering happens, reduce watering, trim off any mushy stems, and let the soil dry out before watering again. To keep your chives happy, water when the top inch of soil feels dry, and always use pots or beds with good drainage.
Avoid letting chives sit in standing water and skip daily sprinkling routines—chives prefer a deep, less-frequent drink over light, frequent watering. Watch for droopy, faded foliage as a sign of both underwatering and overwatering, and adjust your habits accordingly.
In short, be attentive but not obsessive; chives are forgiving, but regularly checking soil dampness and leaf health will keep them lush and flavorful.