
Can You Grow Chives in Winter?
Chives are a beloved culinary herb, often snipped fresh from kitchen gardens to add a mild oniony kick to salads, soups, and omelets. As cold weather approaches, you might wonder if it’s still possible to enjoy their tender green shoots through winter. The good news is that chives are among the hardier herbs, unlike tender basil or cilantro, and can survive moderate frosts outdoors. However, their growth does slow dramatically when temperatures dip.
For dedicated herb lovers, there are a few tried-and-true ways to keep chives available even in the chilliest months. Outdoors, established chive plants often go dormant but can survive with a layer of mulch protecting their roots, ready to bounce back come spring. If you crave fresh snips year-round, bringing a pot of chives indoors is a simple solution—just place them on a sunny windowsill and water moderately.
Some gardeners start new pots from seed or divide a clump from the garden before the first hard frost, acclimating them indoors to avoid shock. Overwintering established clumps outside means you’ll wait until spring for regrowth, but indoor methods keep fresh greens within reach for winter meals.
Throughout this article, we’ll dive deeper into simple seasonal care, practical overwintering strategies, and handy tips to keep your chives thriving—ensuring you never have to settle for dried herbs, even when the garden sleeps.
Indoor vs. Outdoor Winter Chive Growing
Chives are hardy perennials that thrive with plenty of light, moderate temperatures, and well-draining soil, but winter’s chill changes the growing game. Outdoors, chives can withstand frosts and even light snow, especially if mulched and grown in raised beds or insulated pots. However, cutting fresh stalks becomes tricky since their growth slows dramatically in cold soil.
If you live in a milder climate, planting chives outdoors is low-maintenance—just add mulch, and their clump will bounce back in spring. However, in colder zones or for year-round harvest, indoor growing is a smart choice.
Indoor Growing
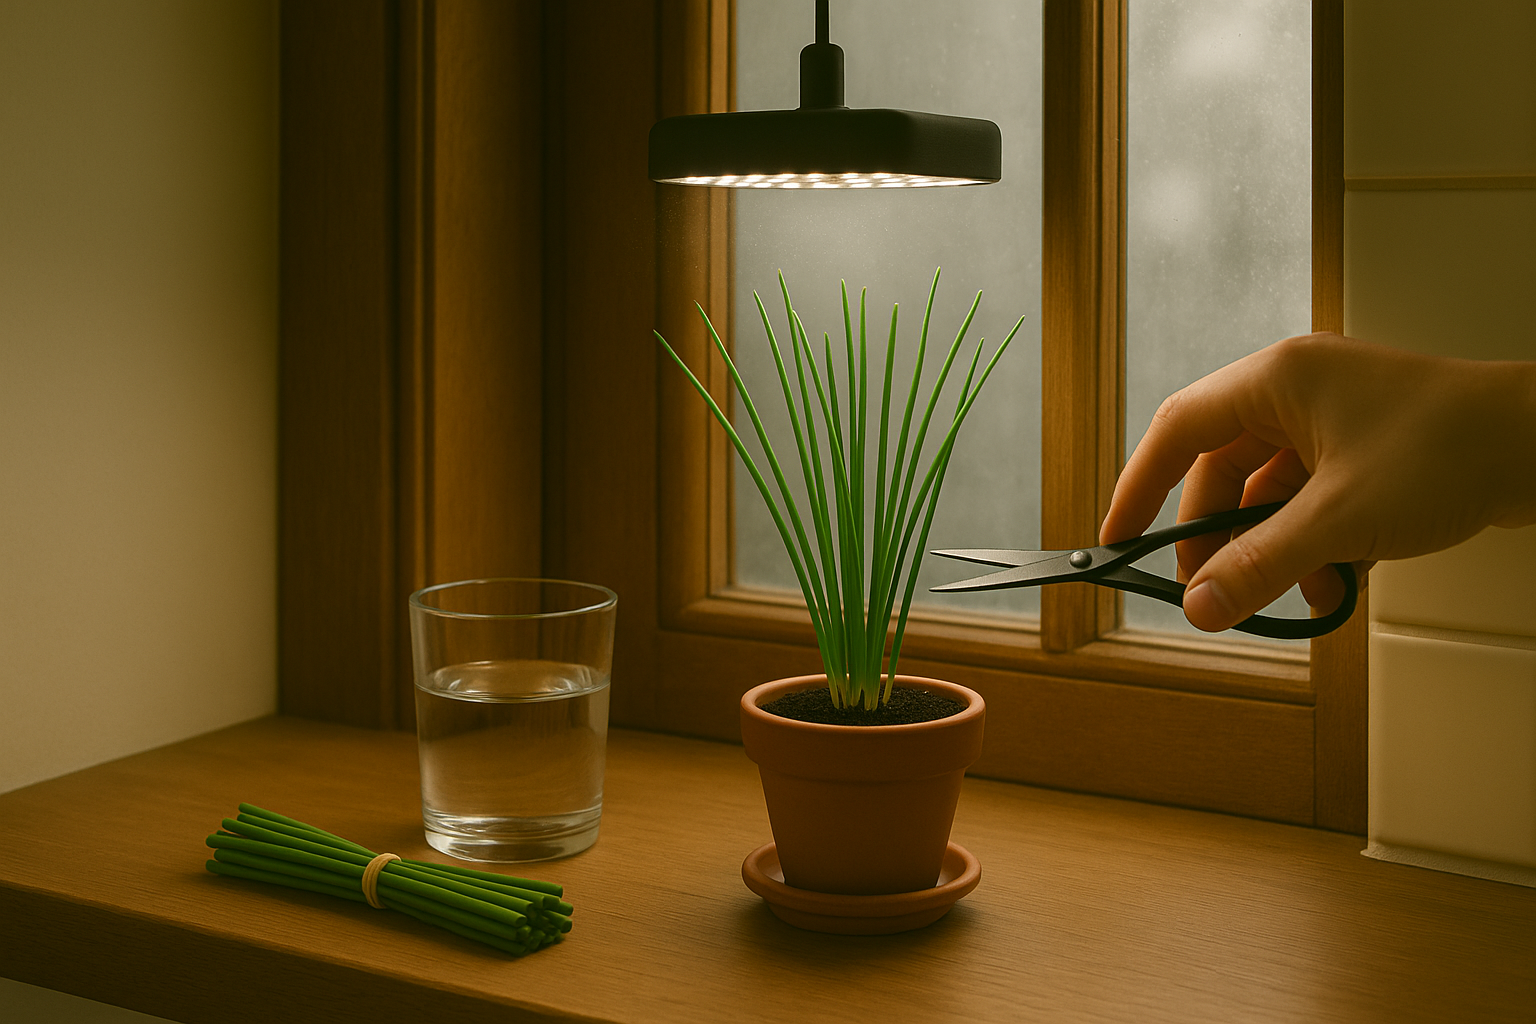
A sunny, south-facing windowsill is ideal—just make sure the spot gets at least 6 hours of direct sunlight, or supplement with a simple grow light positioned a few inches above the plants. Indoors, chives appreciate consistent room temperature and regular watering, but be careful not to overwater since pots dry out more slowly in winter.
Outdoor Growing
Outdoor chives can handle winter conditions with mulch and insulation, but their growth slows, and fresh cutting is limited. They mostly go dormant but require only occasional attention, like clearing snow and checking soil moisture.
Comparing Yield and Maintenance
- Indoor chives grow slower in winter due to lower light but provide fresh greens for garnishing and small recipes.
- Outdoor chives remain mostly dormant but come back lush and strong in spring.
- Indoor maintenance involves monitoring dry air and pests.
- Outdoor care is minimal, focusing on protecting and checking soil during harsh weather.
If you have bright indoor light or limited outdoor space, growing chives on your windowsill is rewarding and space-efficient. For gardeners with more space and patience, letting chives overwinter outside offers ease with minimal effort and a lush harvest as soon as spring arrives.
Essential Winter Chive Care
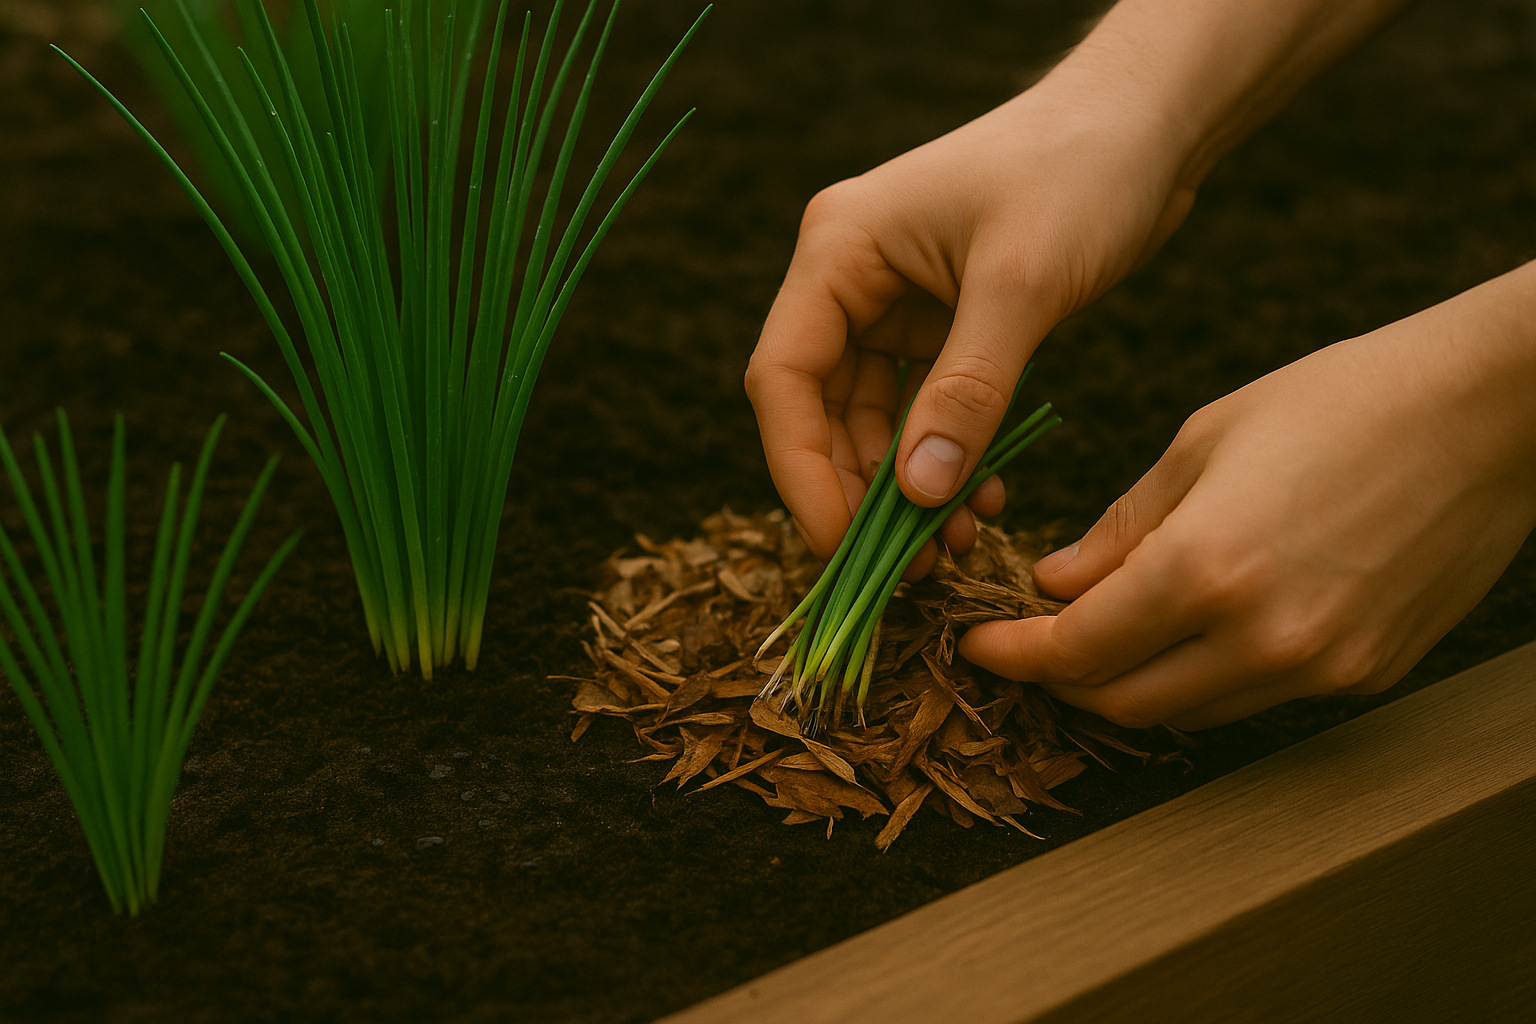
Caring for chives through winter takes just a few extra steps to keep them healthy and flavorful. For outdoor chive patches, protect the roots from freezing by spreading a generous layer of mulch—like straw, shredded leaves, or pine needles—over the soil once temperatures drop. If a deep freeze is expected, cover the plants with frost cloth or overturned buckets for extra insulation.
Potted chives are especially vulnerable to extreme cold, so move containers near a sheltered wall or into a bright, cool spot indoors where temperatures stay above freezing. Indoors, place chive pots in a sunny window or under grow lights to give them at least six hours of light a day.
Be mindful when watering: chives don’t like soggy feet, so allow the soil surface to dry between waterings and make sure pots drain well. Since indoor air gets dry in winter, mist your chives occasionally or place a tray of water nearby to maintain humidity.
Watch for stress signals like drooping leaves or yellow tips, which often mean too much or too little water, poor drainage, or inadequate light. Adjust care as needed—move the pot, tweak your watering schedule, or add supplemental lighting.
Don’t be afraid to snip chives even in winter; regular harvesting encourages new growth and prevents the plant from going dormant. Feed with a diluted liquid fertilizer about once a month to support steady health.
These simple steps will keep your chives thriving and ready for all your winter recipes.
Overwintering and Perennial Chive Maintenance
Overwintering is the process of preparing plants to survive the colder months, and it’s especially important for perennials like chives, which naturally return year after year when properly cared for. Chives are hardy herbs that can tolerate chilly conditions, but their clumps can become dense and crowded over time.
Every three to four years in the fall, gently dig up and divide these clumps, separating them into smaller sections. Replant them at least six inches apart to prevent overcrowding and encourage vigorous growth.
As the season winds down and the first frost approaches, cut chive leaves back to about two inches above the soil. In colder climates, add a layer of mulch, such as straw or shredded leaves, to insulate the roots without smothering the plants.
If your garden space is limited, consider relocating a few divisions to pots and bringing them indoors to a sunny windowsill, allowing you to harvest fresh chives all winter.
Regularly check for pests like aphids and remove any diseased or yellowing foliage to maintain plant health. By dividing, tidying, and protecting your chives every fall, you’ll keep your patch thriving and productive for many seasons to come.
Forcing Chives for Early Harvest
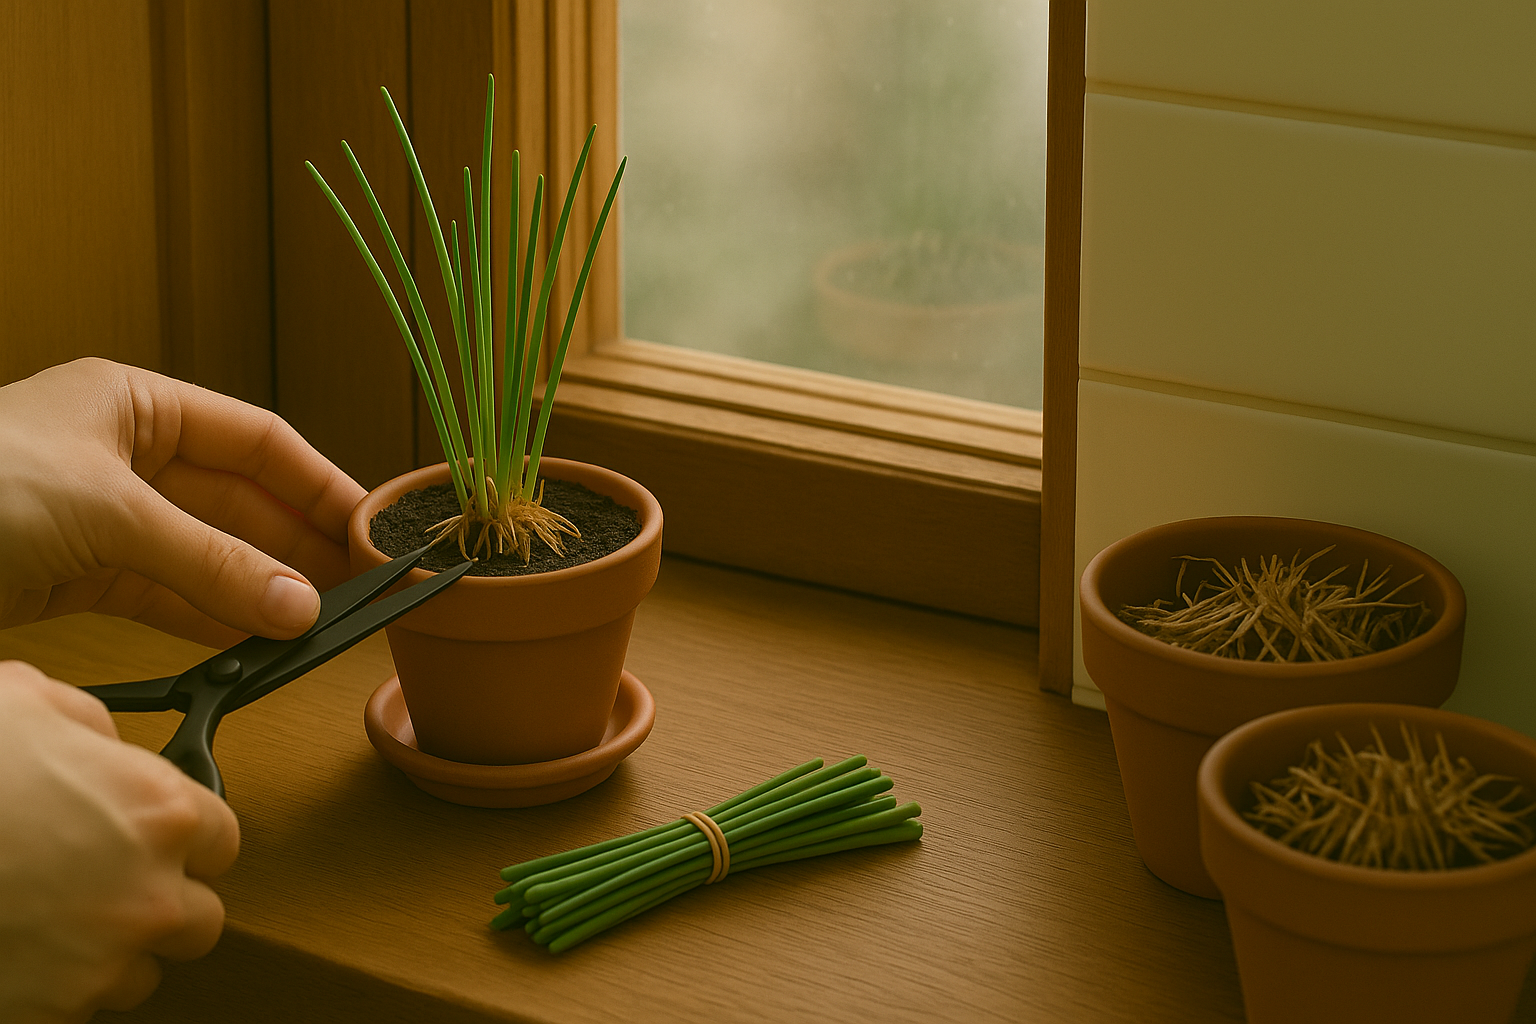
Forcing chives for an early harvest is a clever way to enjoy fresh, homegrown herbs indoors, even before spring arrives. The process is simple and rewarding: start by digging up mature chive clumps from your garden in the fall, or use established potted chives.
Trim the leaves back to about two inches, then place the roots in a dark, cool spot—such as an unheated garage or basement—with temperatures around 35-45°F for about four weeks. This chilling period mimics winter and signals the plant to rest.
Once chilled, replant the roots in pots with fresh soil and bring them inside to a sunny windowsill or under grow lights. With good light and regular watering, chives will send up bright green shoots in as little as two to three weeks, delivering the same mild, delicate onion flavor you love.
Keep the soil lightly moist and rotate your pots to ensure even growth.
Forcing chives not only brings a burst of flavor to your winter kitchen—perfect for omelets, soups, and salads—but also lifts spirits with the sight of vibrant green herbs when fresh garden produce feels months away. It’s a simple project that rewards you with both taste and the pleasure of gardening through the coldest months.
Harvesting and Using Winter Chives
When harvesting winter chives, always use clean, sharp scissors or garden shears to snip the outer leaves close to the base, leaving at least one-third of the plant intact. This encourages regrowth and keeps the plant healthy throughout the cold months.
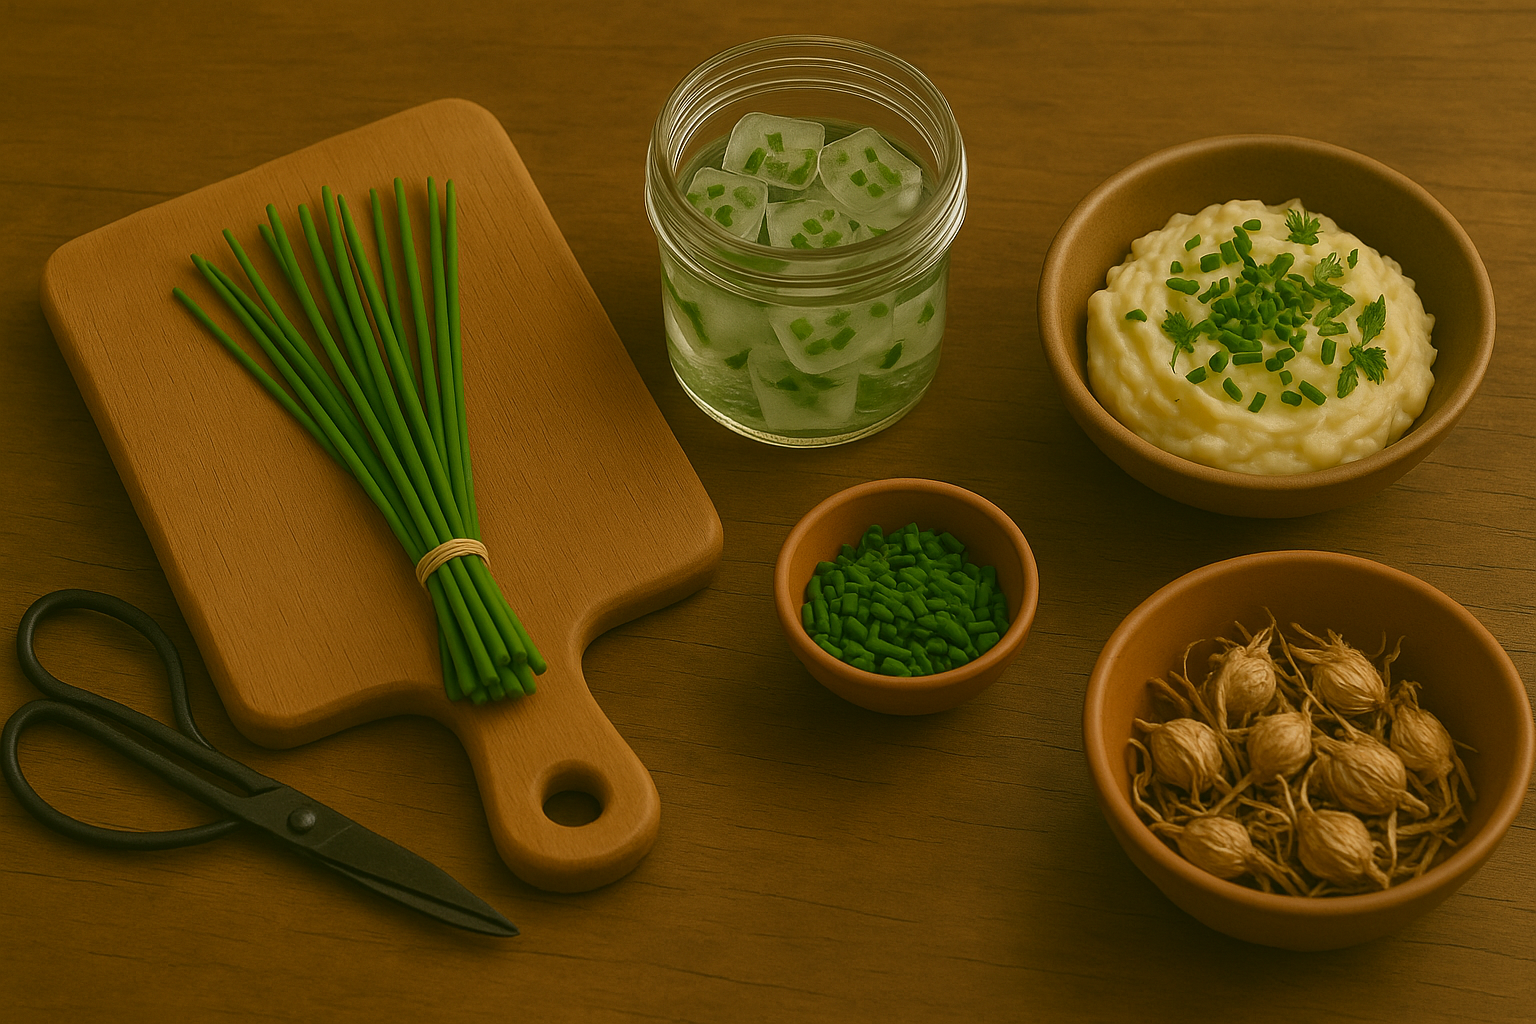
For storing harvested chives, you can keep them fresh in the fridge by wrapping them loosely in a damp paper towel inside a resealable bag for up to a week. If you have a surplus, freezing is a great option:
- Chop the chives and spread them on a baking sheet until frozen.
- Transfer the frozen chives to an airtight container.
- Alternatively, you can put chopped chives into ice cube trays with a splash of water or oil.
Drying is another method—bundle and hang the chives, or use a food dehydrator—then crumble and store them in a jar.
Chives brighten up winter dishes like mashed potatoes, omelets, or soups with their mild onion flavor. They’re perfect for sprinkling over creamy pasta, warm baked bread, or adding a fresh punch to homemade dips and butters.
Common Winter Chive Problems and Solutions
Winter can bring several challenges for chive growers, but most issues are easy to tackle with a few smart strategies. Fungal diseases like powdery mildew often appear in damp, poorly ventilated areas. To prevent this, make sure your chive pots get plenty of air circulation and avoid overhead watering.
Poor growth is common when plants don’t get enough nutrients or sunlight. Feed your chives with a diluted liquid fertilizer every few weeks, and position them near the brightest window you have. If lack of natural light is a problem, a simple LED grow light can keep your chives happy and productive all winter.
Regularly snip off any yellowing leaves to encourage fresh, healthy growth. Growing chives indoors through the colder months is a rewarding way to enjoy homegrown flavor year-round—taking a little extra care now will pay off in fresh herbs at your fingertips, even on the dreariest days.