Introduction to Growing Chives Indoors
Growing chives indoors is a rewarding way to keep your kitchen stocked with fresh, zesty flavor no matter the season. Chives, a hardy perennial herb in the onion family, are perfectly suited to indoor herb gardening thanks to their compact size and resilience. Their slender, hollow leaves add a punch to soups, salads, eggs, and countless dishes—plus, they look beautiful on a sunny windowsill.
For busy home cooks and gardening beginners alike, chives offer major advantages: they’re low-maintenance, require minimal space, and are highly forgiving if you’re new to growing herbs. By nurturing your own indoor chive pot, you gain instant access to fresh greens on demand, avoid plastic-wrapped supermarket herbs, and brighten up your living space with vibrant greenery.
In this guide, you’ll discover step-by-step instructions for growing chives indoors—whether you have a spacious kitchen windowsill or just a small countertop. We’ll cover choosing the right containers, the best soil and lighting conditions, simple watering tips, and ways to encourage lush, continuous growth. You’ll also learn how to harvest chives so they keep producing, troubleshoot common issues like pests or wilting, and get creative ideas to use homegrown chives in your cooking.
Ready to bring the taste of a summer garden right into your kitchen? Let’s dig in and explore everything you need to know about successfully growing chives indoors, with practical tips to help you harvest flavorful herbs all year round.
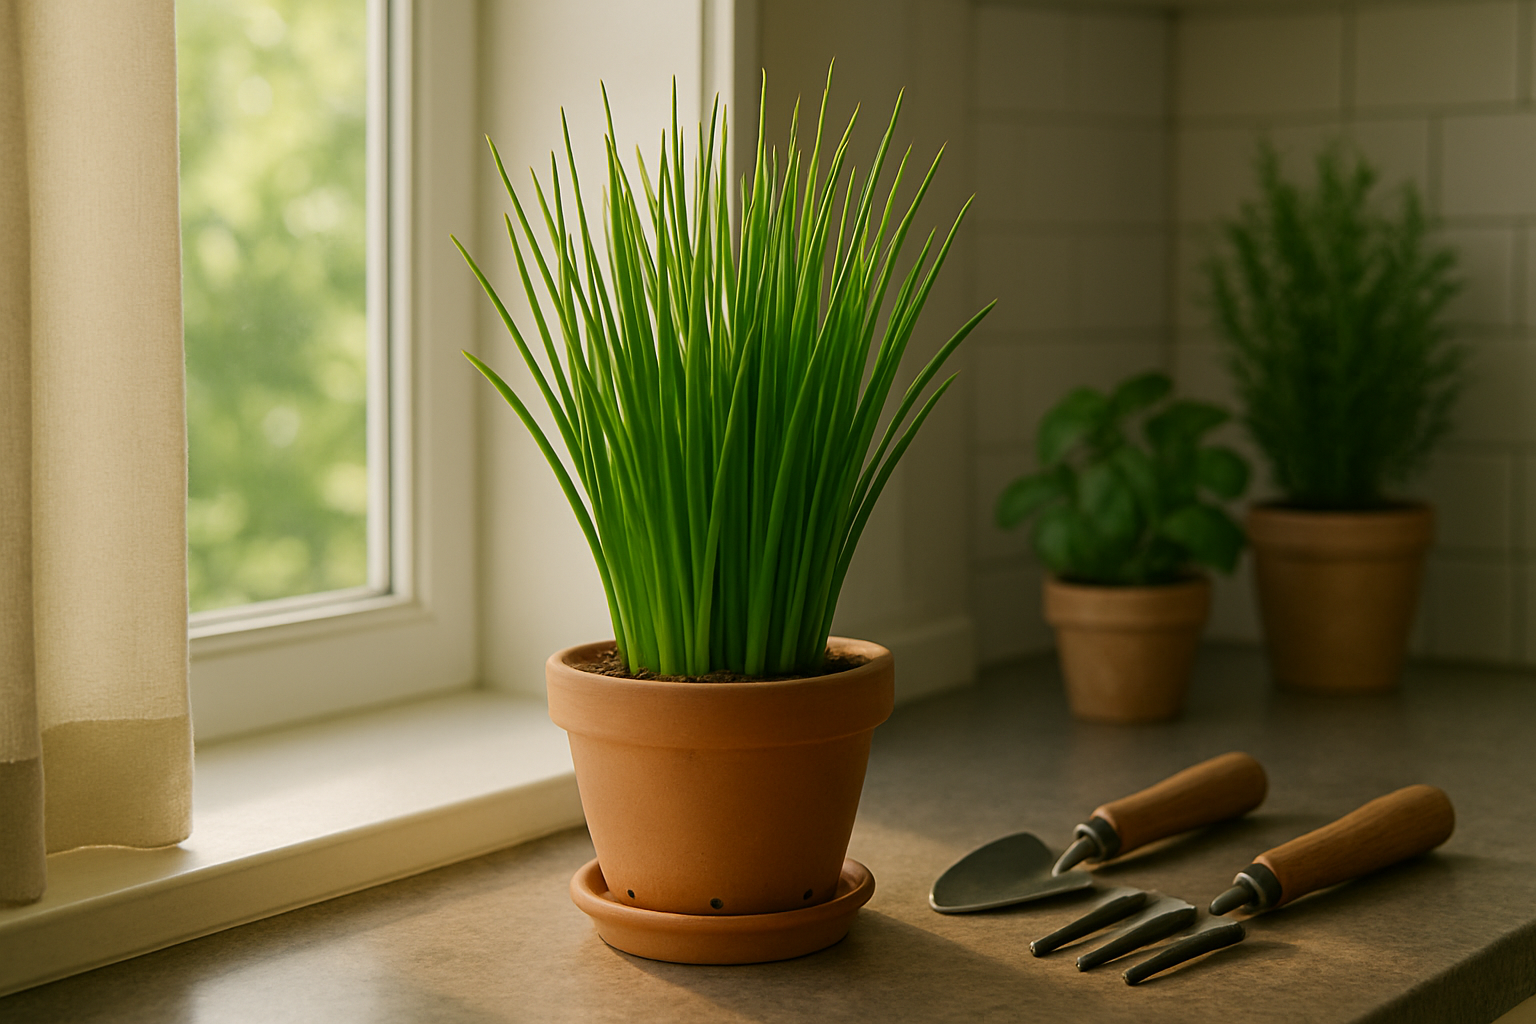
Choosing the Right Container and Location
Selecting the right container and spot for your indoor herb garden makes all the difference in how well your plants thrive. When it comes to containers, aim for pots at least 6 to 8 inches in diameter with drainage holes at the bottom—herbs don’t like “wet feet,” so stagnant water can quickly cause root rot.
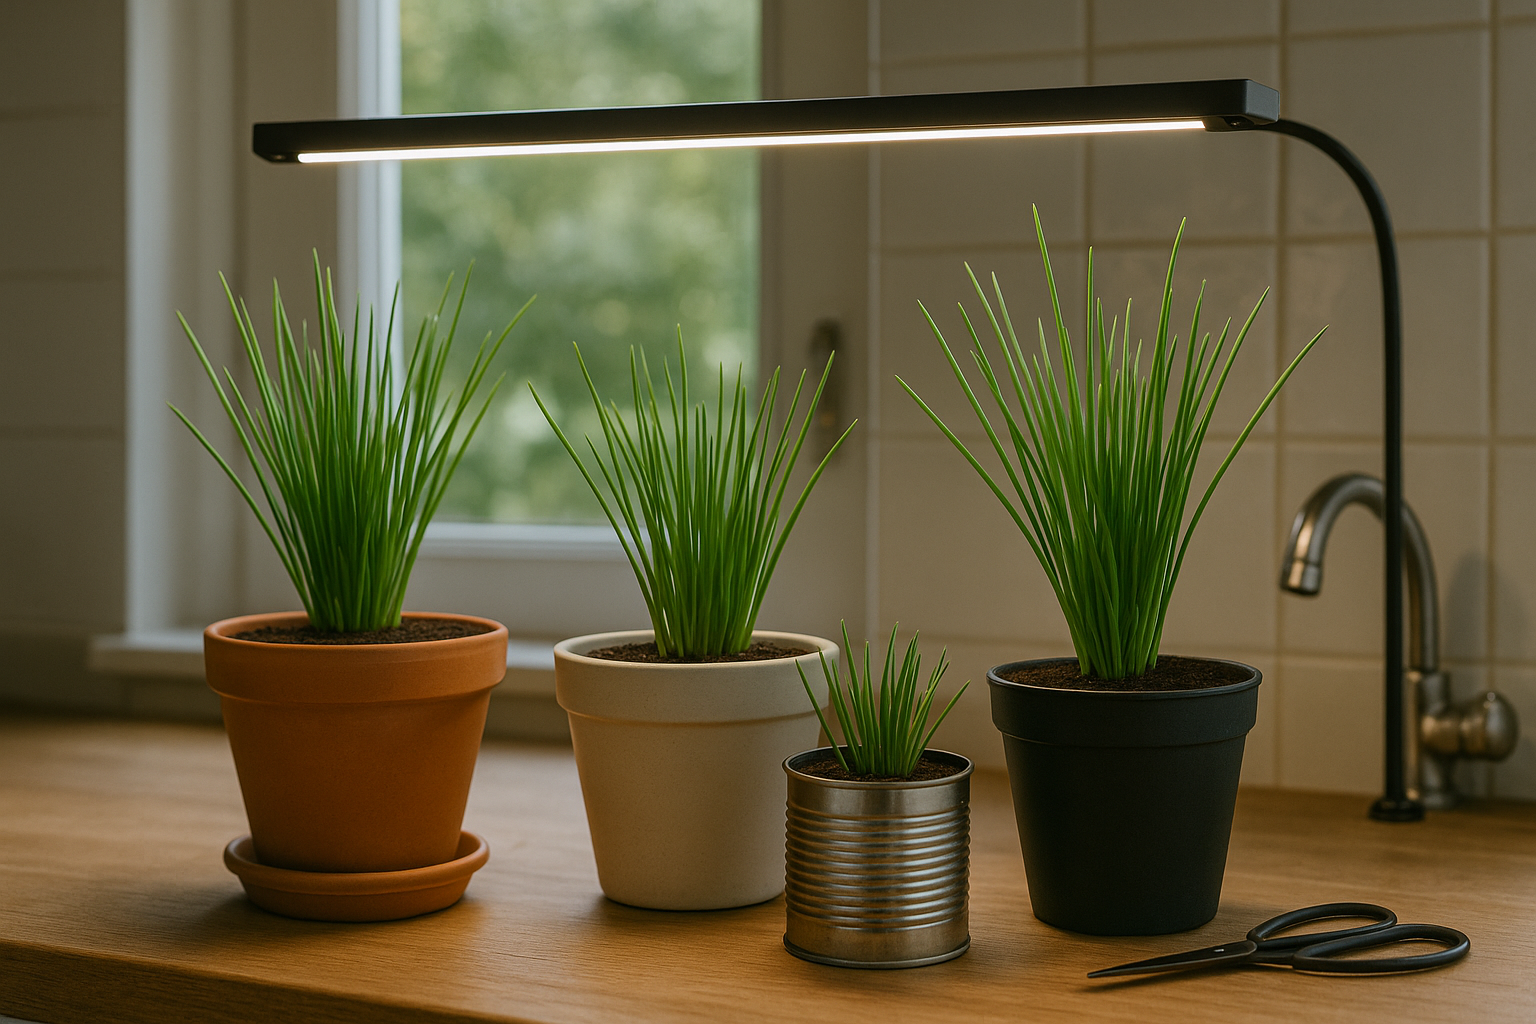
Terracotta pots are classic and allow soil to breathe, while ceramic or plastic options can work as long as they offer good drainage. For a more eco-friendly choice, consider repurposed containers like tin cans or glass jars, but be sure to add gravel at the bottom and poke drainage holes if possible.
Placement is equally important; herbs crave about 6 hours of sunlight daily, so a south- or west-facing kitchen windowsill is ideal. If your natural light is lacking, supplement with affordable grow lights or LED strips, positioning them a few inches above the plants for 12–14 hours each day.
Even in low-light kitchens, you can boost light exposure by placing reflective surfaces like white tiles, a glossy backsplash, or mirrors behind your containers to bounce light onto your plants. Remember, airflow matters as well, so don’t crowd your pots—give each herb a little space to let leaves breathe and reduce mold risk.
With the right container and a prime spot, even the smallest kitchens can support thriving, fresh herbs year-round.
Soil, Planting, and Starting Your Chives
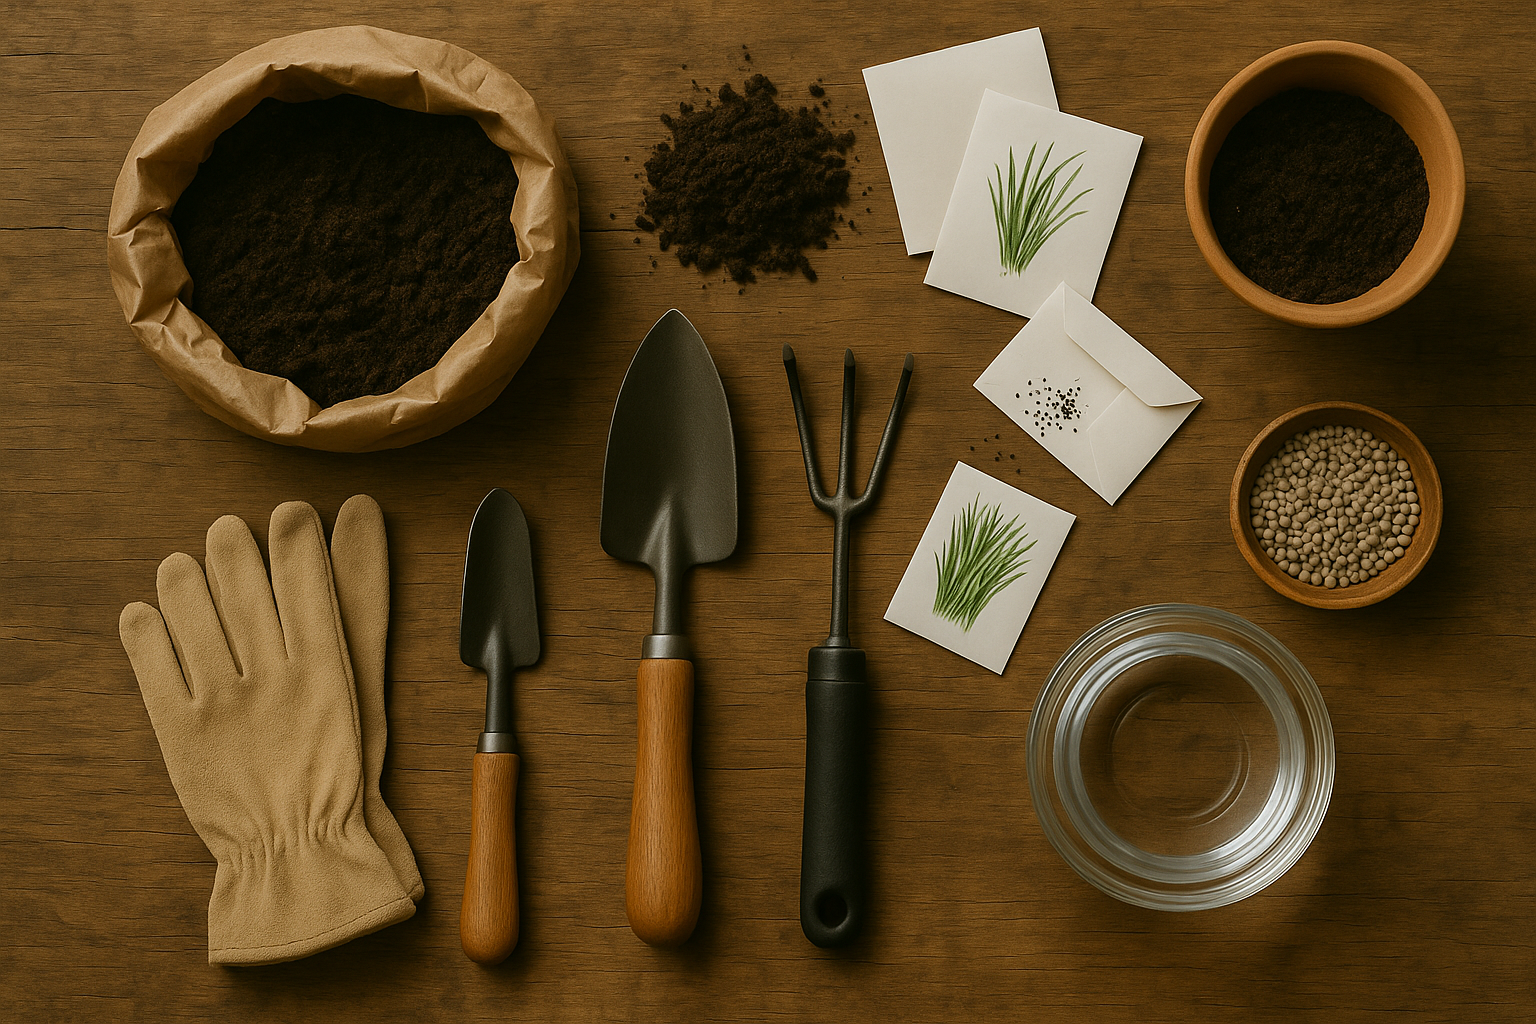
Chives are easygoing herbs, but they thrive best in well-draining soil that’s rich in organic matter. For container-grown chives, choose a high-quality potting mix instead of garden soil, which can compact in pots and restrict root growth. Aim for a soil pH between 6.0 and 7.0—you can test this with an inexpensive soil pH tester from the garden center.
If your potting mix isn’t already enriched, mix in a balanced slow-release granular fertilizer—look for an N-P-K ratio like 10-10-10—or blend in some compost before planting.
For those planning to grow from seeds, sprinkle them lightly over moist soil and barely press them in; chive seeds are tiny and shouldn’t be buried deep. With garlic chives, the process is similar, though their seeds are a bit larger and can take longer to germinate.
Starting with nursery transplants is quicker and more reliable, especially for beginners, since it skips the delicate seedling stage. Just dig a small hole and place the transplant so the base sits level with the soil surface.
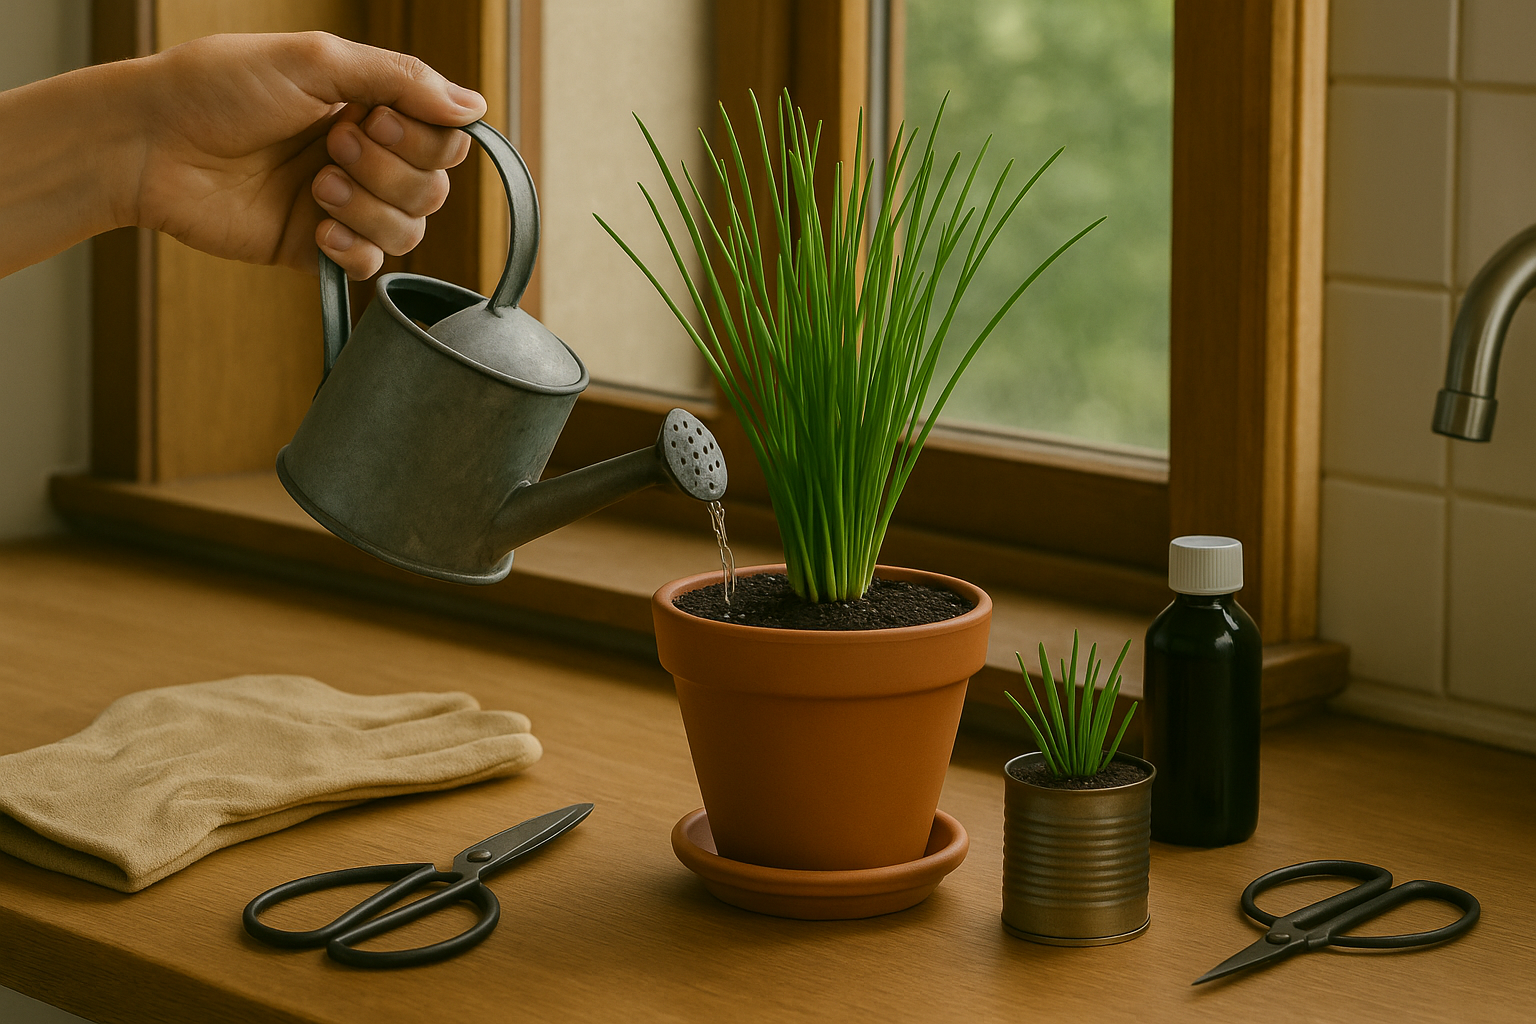
Immediately after planting, water thoroughly so the soil is evenly moist but not soggy—chives hate sitting in waterlogged soil, which can cause root rot. Place your container in a spot that receives at least six hours of sunlight daily.
To help seeds germinate, keep the soil consistently moist by misting the surface gently every day. For transplants, water when the top inch of soil feels dry, and avoid splashing leaves to minimize disease risk.
As a real-world tip, placing your chive pot near the kitchen door makes harvesting for fresh dishes quick and easy. This encourages you to clip them regularly, which in turn keeps the plants healthy and bushy.
Indoor Chive Care
Caring for indoor chives doesn’t have to be complicated, but a few essential habits will keep your plants thriving. Start with watering: chives like their soil consistently moist but never soggy. For most homes, watering once or twice a week is ideal—just check the top inch of soil and water only when it feels dry to the touch.
Avoid common mistakes like letting them sit in standing water, which can cause root rot, or letting the soil dry out completely, leading to wilting and weak flavor.
Chives grown in containers benefit from light feeding. Use a balanced liquid fertilizer diluted to half strength every four to six weeks during the growing season. Over-fertilizing can make leaves floppy and reduce their characteristic taste, so stick to a modest schedule and avoid high-nitrogen formulas.
Watch for Common Problems
If your chives look leggy or sparse, they probably need more sunlight—move them to a south-facing window or supplement with a grow light. Yellow leaves often mean overwatering, too little feeding, or poor drainage, so adjust accordingly and consider repotting your chives if water isn’t draining well.
Pests like aphids or spider mites are rare indoors but can show up. If you spot sticky leaves or tiny insects, rinse the plant gently in a sink or spray with insecticidal soap. Trim off any weak, yellowing, or pest-damaged leaves to encourage healthy, dense regrowth.
Maintaining Healthy Growth
To keep your chive plant looking bushy, use kitchen scissors to snip stems regularly—harvesting encourages new shoots and discourages floppy, tangled growth. By tuning in to your plant’s signals and tweaking your care routine, you’ll have year-round access to fresh, flavorful chives right from your windowsill.
Harvesting and Using Chives in the Kitchen
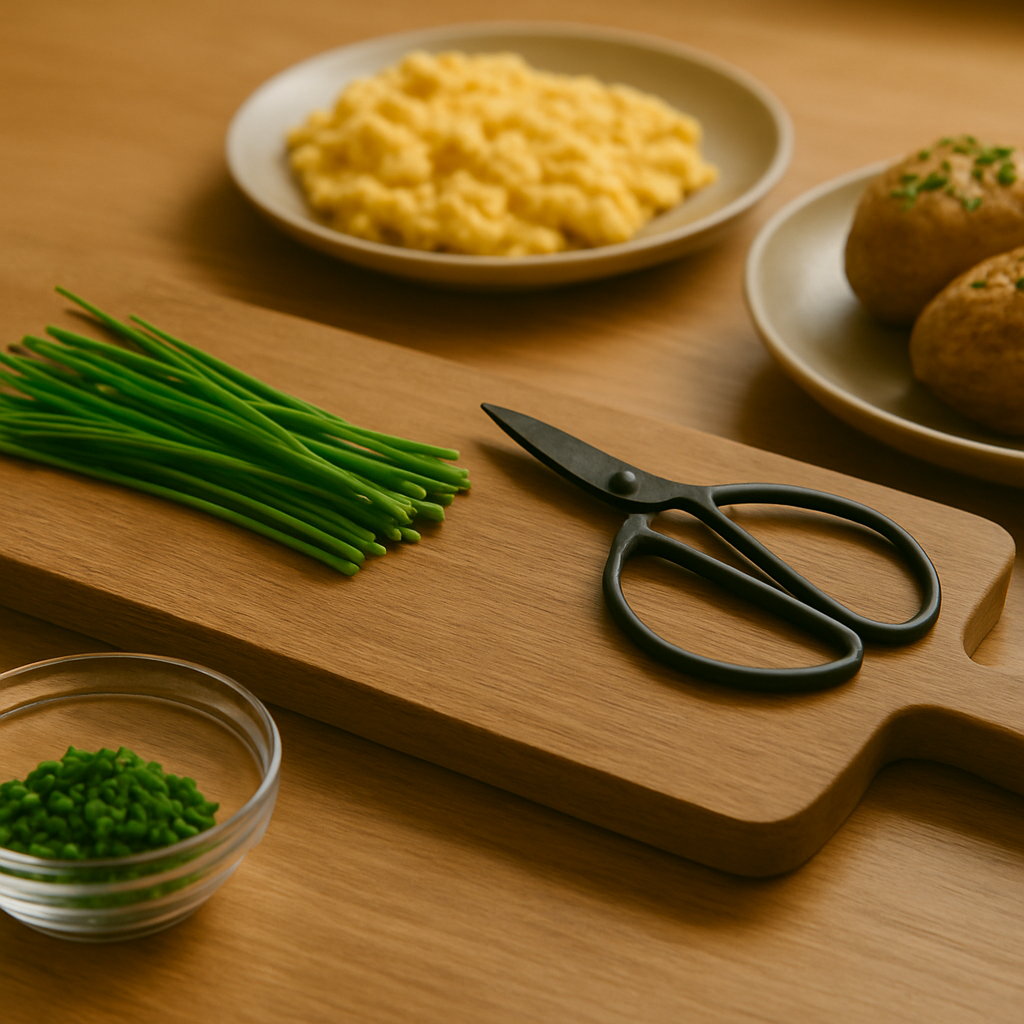
Harvesting chives at the right time not only delivers the best flavor but also encourages your plants to keep growing strong. The ideal moment is in the morning, just after the dew has dried but before the sun gets too hot. Use sharp, clean scissors or garden shears to cut the leaves, snipping them about 1-2 inches above the soil line.
Avoid cutting more than a third of the plant at once; this gives the chives enough energy to regrow quickly, ensuring a steady supply throughout the season. If you notice flower buds starting to form, pinch them off early—this redirects the plant’s energy back into leaf production, resulting in a longer and more abundant harvest.
In the kitchen, freshly snipped chives add a mild onion flavor to everything from scrambled eggs and baked potatoes to salads and soups. For longer storage, try freezing chopped chives in an airtight container, or freeze them in ice cube trays with water or olive oil for easy, measured portions later.
Drying chives is possible, but keep in mind that this process can diminish their delicate flavor. For the best results, freeze them when you can. You can also create chive butter or chive vinegar for unique condiments that last several weeks in the fridge.
With thoughtful harvesting and preserving techniques, you’ll be able to enjoy the mild, fresh taste of chives all year round—straight from your garden to your table.
FAQs and Extra Tips for Thriving Indoor Chives
When it comes to indoor chives, curious gardeners often wonder about the little purple flowers that pop up. Are they edible? Absolutely—chive flowers add a mild oniony kick and a beautiful pop of color to salads, soups, and even butter blends.
Another common question is whether chives regrow after cutting. The answer is yes: just snip the leaves about an inch above the soil, and your chives will bounce back with new, tender shoots in no time. If you’re trying to maximize harvests, avoid cutting all the leaves at once; instead, take just what you need from the outside and let the center keep growing.
For a bushier plant, regular trimming encourages healthy, dense foliage, and pinching off flower buds before they fully bloom can push the plant’s energy back into leaf production. Pest management is usually simple, but if you spot aphids or fungus gnats, try a gentle spray of soapy water or set out sticky traps—indoor chives are far less troubled by pests than their outdoor cousins.
Rotate your pots occasionally for even growth, and don’t overwater; chives like well-drained soil and bright, indirect light.
Above all, have fun experimenting with your indoor chive harvest! Toss snipped chives onto baked potatoes, mix into cream cheese, or chop them fresh over scrambled eggs. Even if you only have a sunny windowsill, growing chives indoors means you can enjoy their flavor and vibrancy all year long. With a little care and creativity, your kitchen will always have a splash of green and a burst of taste within arm’s reach.