“`html
Understanding Chives and Their Varieties
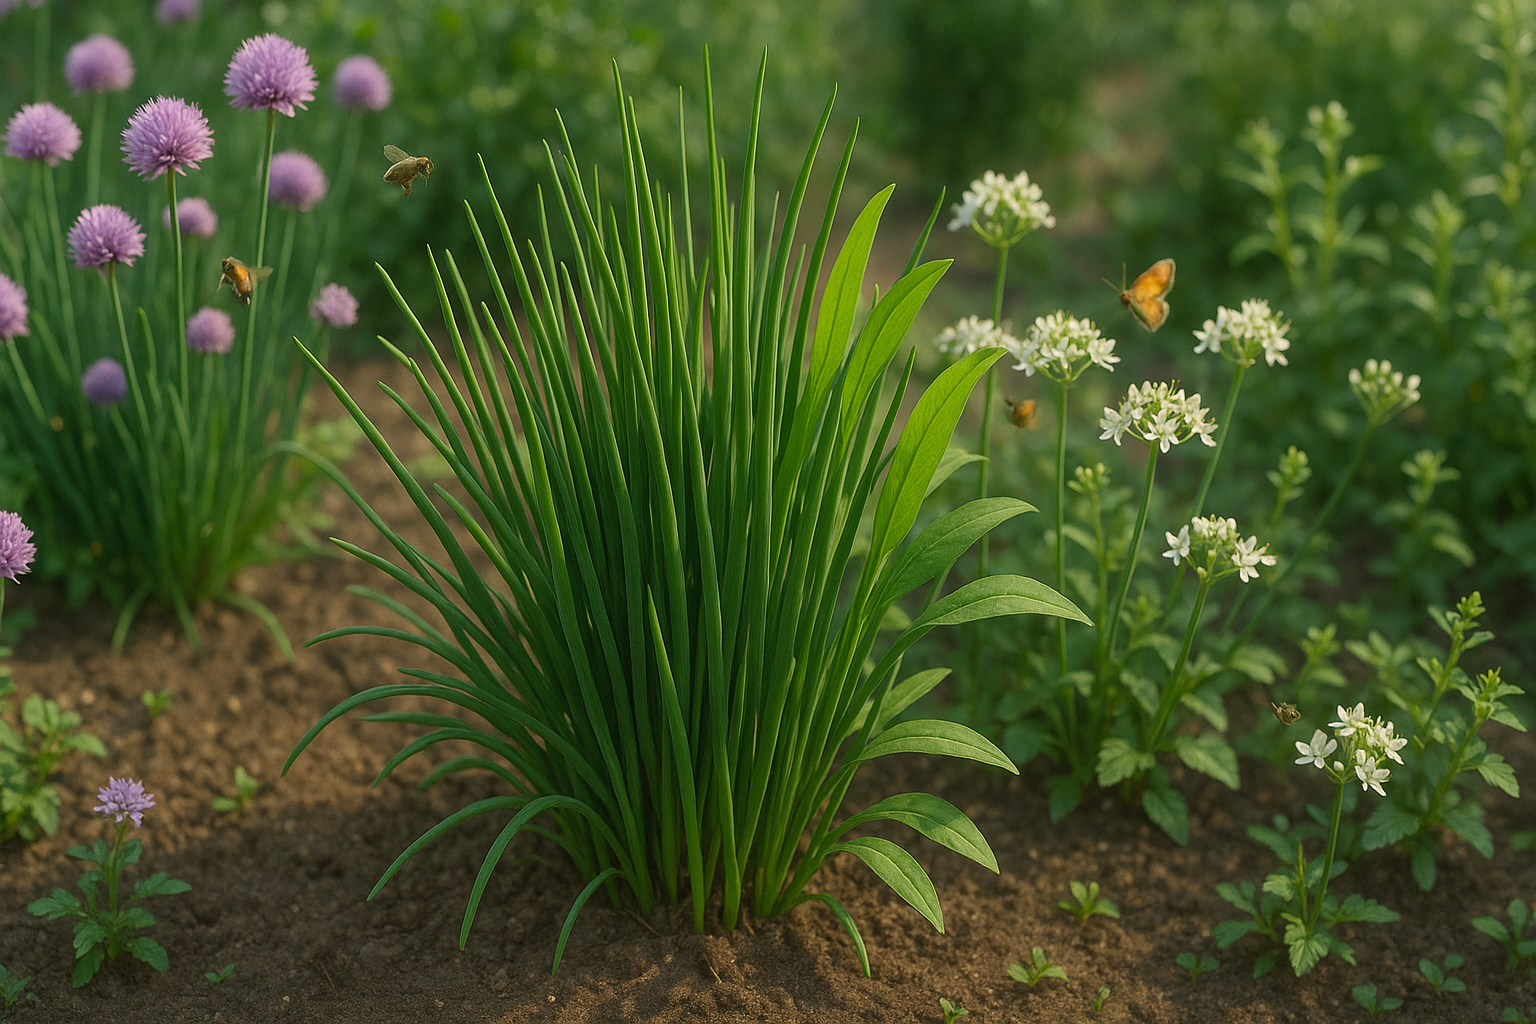
Chives are a beloved herb in kitchens and gardens around the world, prized for their delicate onion flavor and ease of use. Botanically, chives belong to the Allium family—the same group as onions, garlic, and leeks. The two main species you’ll encounter are common chives (Allium schoenoprasum) and garlic chives (Allium tuberosum).
Common chives have hollow, grass-like stems and a subtle onion taste, making them perfect for sprinkling over salads, soups, baked potatoes, and egg dishes. Garlic chives, by contrast, have flat blades and a mild garlic flavor that works well in stir-fries, dumplings, and savory pancakes. Both types are perennial, meaning they return year after year with minimal care.
This makes chives an excellent choice for cold climates—they’re hardy and can survive winter frosts, popping back up with fresh shoots in early spring. In addition to their culinary perks, chives pull double duty in the garden. Their attractive purple or white flowers attract pollinators, while their oniony aroma helps deter some insect pests—making them ideal companion plants for veggies like carrots and tomatoes.
For gardeners, chives’ resilience and low maintenance needs are a big win: just plant them in a sunny spot with decent soil, and they’ll thrive with little intervention. Whether you’re looking to boost your dishes’ flavor or add beauty and function to your garden beds, chives are a versatile, dependable choice for cooks and gardeners alike.
“`
“`html
When and Where to Plant Chives in Cold Regions
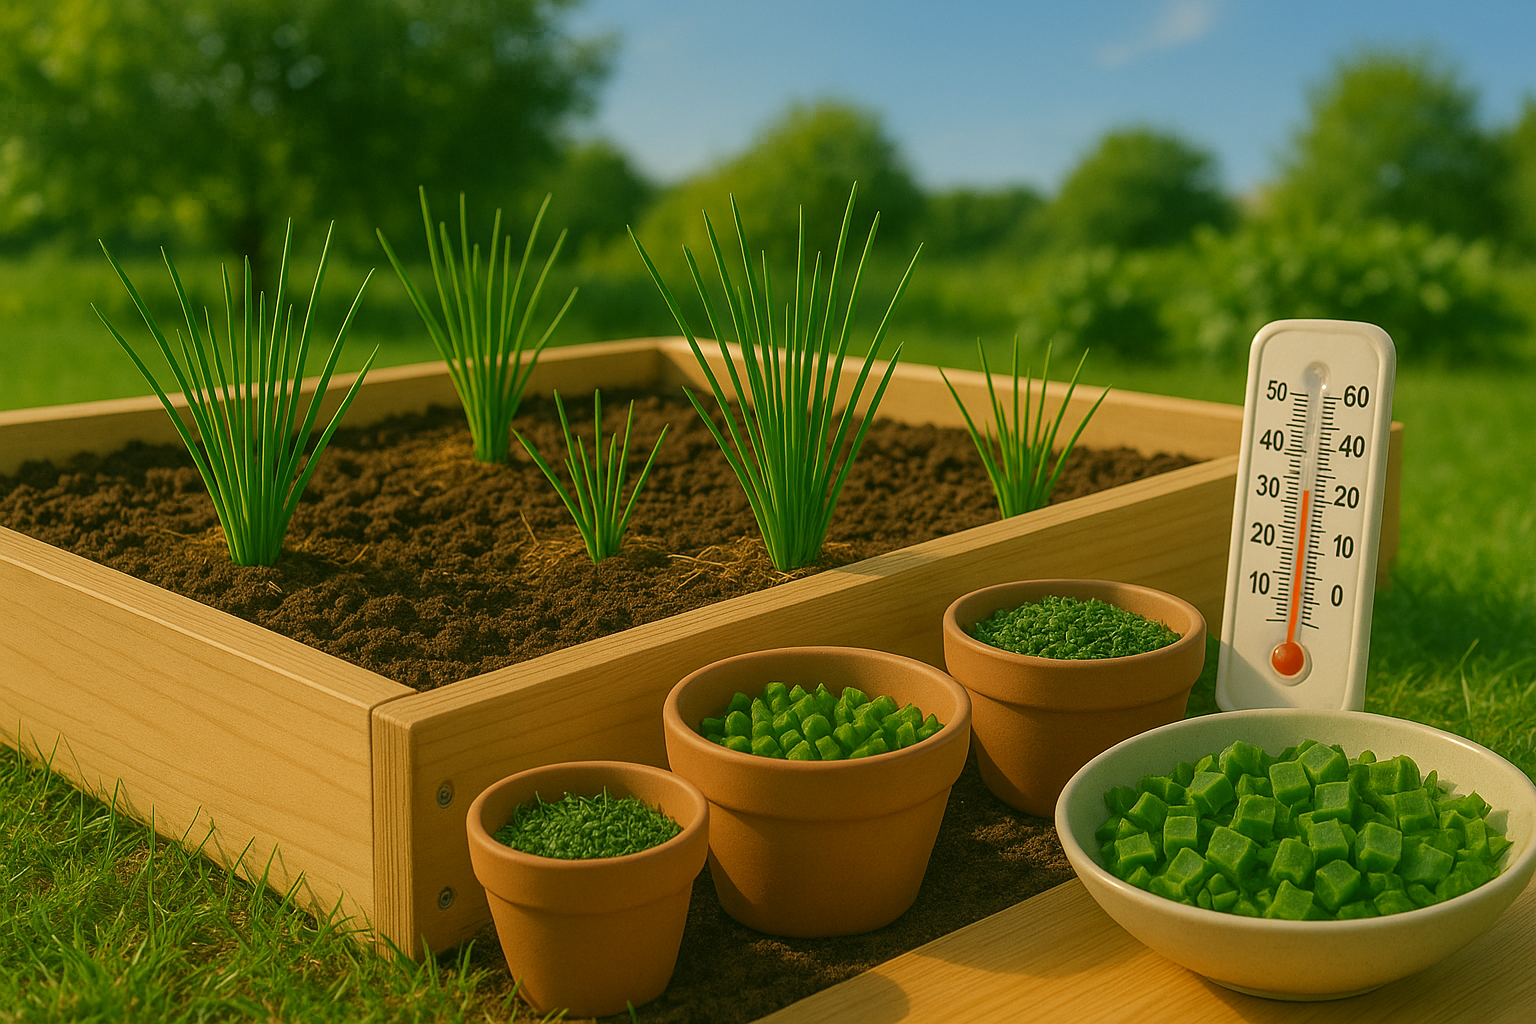
Chives are cold-hardy perennials that thrive best when daytime temperatures consistently range between 60°F and 70°F (16°C to 21°C). In cold regions with frosty winters, it’s safest to sow chive seeds indoors 6–8 weeks before your last expected spring frost. This jump-starts growth and protects delicate seedlings from sudden cold snaps.
Once the danger of frost passes and the soil has warmed—usually when nighttime temperatures reliably stay above 50°F (10°C)—transplant the seedlings outdoors. For direct seeding, wait until after the last spring frost since chive seeds germinate poorly in chilled, soggy soil.
Sunlight is essential: choose a spot that gets at least 6 hours of direct sun daily. More sunlight means fuller leaves and a stronger flavor. Chives perform well in well-drained, rich soil with a neutral pH around 6.0–7.0. Amend heavy soil with compost to prevent waterlogging.
In cold climates, containers and raised beds are excellent options for growing chives:
- Containers warm up faster in spring, helping plants get an earlier start.
- Raised beds offer improved drainage and make it easier to amend soil.
If you choose containers, use pots that are at least 6 inches deep and wide. Bring them near your kitchen in late fall so you can keep harvesting chives even after the first frosts. Mulching around the plants helps maintain moisture and insulates roots from temperature swings.
By choosing the right planting window and location, you’ll enjoy a steady supply of fresh chives, no matter how long the winter lasts.
“`
Starting Chives
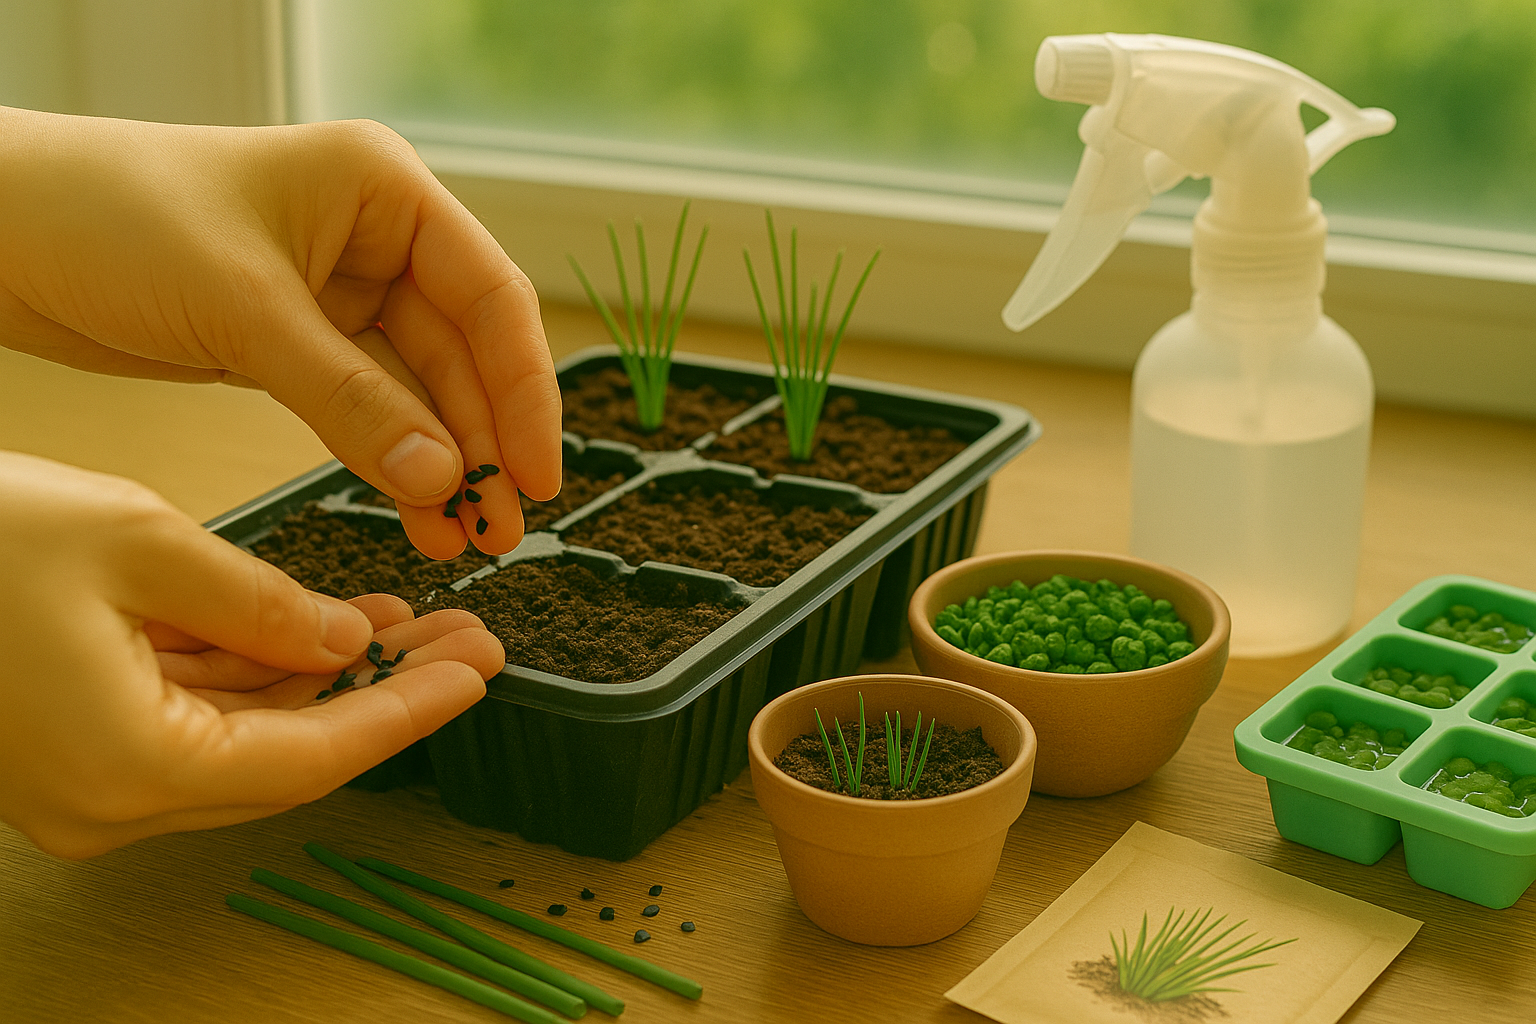
Starting chives is simple and flexible, making them a great choice for both new and experienced gardeners. You can grow chives from seeds, start with transplants, or propagate from existing clumps.
If you’re growing from seeds, begin indoors about 8–10 weeks before your last expected frost. Scatter seeds over moist seed-starting mix and lightly cover them, then keep the soil consistently damp. Chive seeds typically germinate in 10 to 14 days at temperatures around 65–70°F.
Once the seedlings are a few inches tall and the chance of frost has passed, harden them off by gradually exposing them to outdoor conditions over a week. Then transplant them outside, spacing each clump about 6–8 inches apart.
Alternatively, buying young chive plants from a nursery can save time, letting you skip the seedling stage and get a jump start on your herb garden.
For expanding an existing chive patch or sharing with friends, propagation by division is incredibly effective. Simply dig up a mature chive clump in early spring or fall, gently separate it into smaller sections (making sure each has roots attached), and replant at least six inches apart. Water newly planted sections well, and you’ll have fresh chives from these divisions in no time.
By using any combination of these methods, you can quickly cultivate a generous supply of chives for kitchen use or to beautify garden borders, ensuring you always have these mild, onion-flavored herbs on hand.
Caring for Chives Through the Seasons
Caring for chives year-round doesn’t have to be complicated, but a few smart routines can help your plants thrive. Start with rich, well-drained soil—mix in compost or aged manure before planting to give them a nutrient boost. Chives prefer soil that stays slightly moist but not soggy.
During hot spells, water more often, aiming for about an inch per week. Let the top inch of soil dry out between waterings to prevent root rot. Adding a layer of straw or shredded leaves as mulch helps retain soil moisture, keeps roots cool, and suppresses weed growth throughout the growing season.
In early spring, be ready for temperature swings by covering your chives with row covers or cloches overnight if frost threatens. The same approach works in late fall, extending your harvest as the first chills arrive.
When your chives start to flower, pinch off the blooms unless you want seeds. Removing flowers encourages leafy growth and keeps the plants tidy. Harvest chives regularly by snipping leaves at the base; this not only provides a steady supply but also stimulates new shoots, keeping your patch lush.
To avoid stress from sudden temperature drops or heat waves, try planting chives in a spot with morning sun and afternoon shade, or use light fabric covers during extreme weather. Fertilize lightly in spring with an all-purpose organic blend, but avoid heavy feeding, which can cause lanky, weak growth.
After each cut or harvest, a light sprinkle of compost helps chives bounce back. These simple steps ensure hearty, flavorful chives season after season, whether you’re growing a small kitchen pot or a backyard bed.
Overwintering Chives
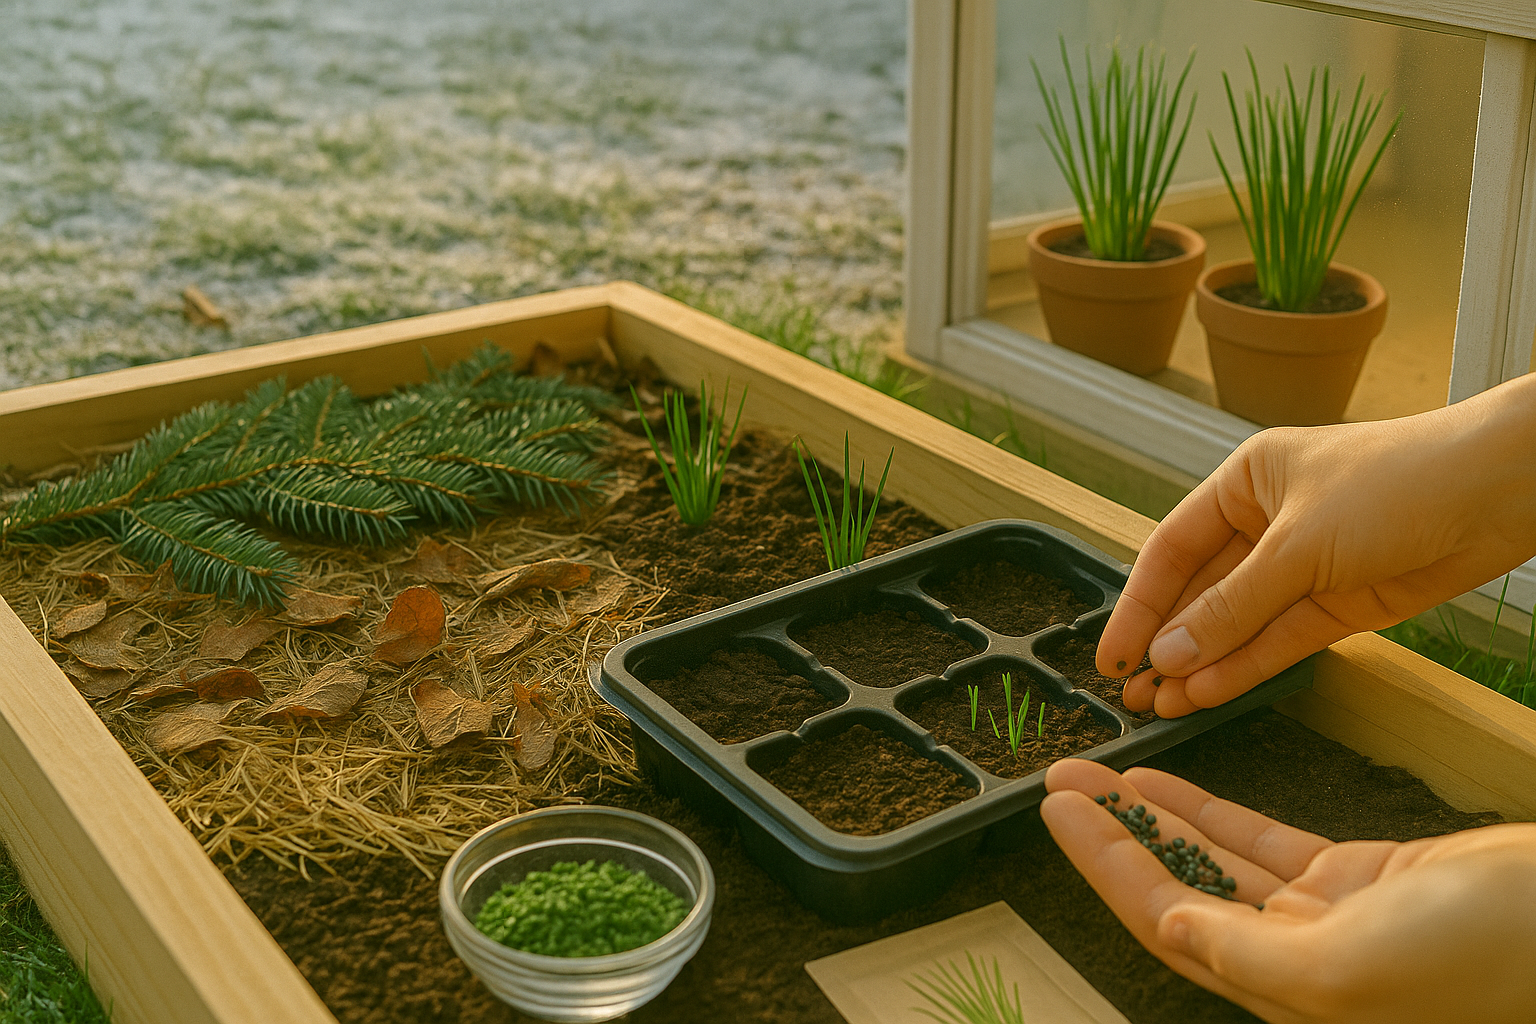
Successfully overwintering chives ensures a fresh supply of their onion-flavored leaves year after year, even in cold climates. For chives planted in the ground, start by cutting back the spent foliage after the first frost. Then, add a thick 2-4 inch layer of mulch such as straw, dry leaves, or shredded bark. This insulation helps stabilize soil temperature and protects roots from freeze-thaw cycles.
If your winters are especially harsh, consider placing evergreen boughs or a frost blanket on top of the mulch for extra protection.
Chives grown in containers are more vulnerable since their roots are above ground. Move pots to an unheated garage, cold frame, or a sheltered spot close to your house. If you have indoor space, place containers on a sunny windowsill and reduce watering, letting the soil dry just slightly between waterings.
Keep in mind that chives are hardy perennials (zones 3-9). With proper winter protection, both in-ground and potted plants should return in spring.
As the weather warms, gradually remove mulch to allow shoots to emerge. Begin watering when the top inch of soil feels dry. Start feeding with a balanced, all-purpose fertilizer or compost once new growth reaches a couple of inches tall.
Don’t worry if chives look sleepy early on—they’re often among the first herbs to bounce back when temperatures rise. With these simple steps, you’ll keep your chive patch thriving from one season to the next, no matter how frosty it gets outside.
Common Problems
Growing chives is generally easy, but pests and diseases can still cause issues. Common pests include aphids, thrips, and onion flies, which may cause chives to yellow, curl, or show stunted growth. To control aphids, gently spray plants with a mix of water and mild liquid soap, or introduce beneficial insects like ladybugs for natural pest reduction.
Diseases such as fungal leaf spot and powdery mildew appear as yellow streaks or white powdery patches. Trim off infected leaves and ensure your chives get good airflow to prevent further spread.
For cold-related problems, watch for chive leaves turning brown or mushy after frosty nights, which indicates cold damage. Protect chives over winter by applying a layer of organic mulch, like straw or dried leaves, to insulate roots, and move potted plants indoors when possible.
Companion planting with carrots or tomatoes can help discourage pests, while sprinkling crushed eggshells or placing marigolds nearby acts as a natural deterrent. Additionally, practicing crop rotation and regular garden clean-up keeps chives healthy season after season. Focusing on organic solutions ensures your herbs stay safe and chemical-free.
Harvesting, Storing, and Using Chives

Chives are best harvested in the early morning after the dew has dried but before the heat of the day sets in, as this helps preserve their delicate flavor and texture. Use clean, sharp scissors to snip the outer leaves about two inches above the soil, leaving the inner growth untouched—this encourages continual regrowth for multiple harvests throughout the season. Avoid cutting back more than a third of the plant at once to maintain its vigor and yield.
To store fresh chives, wrap them loosely in a damp paper towel, place them in a resealable bag, and keep them in the crisper drawer of your refrigerator for up to a week. Alternatively, you can freeze snipped chives by spreading them on a baking sheet, then transferring them to an airtight container.
For drying, tie small bunches together and hang them upside down in a dark, well-ventilated spot, or use a dehydrator. Once dry, crumble the leaves into an airtight jar and store in a cool cupboard, though keep in mind that dried chives have a more subtle flavor than fresh ones.
In the kitchen, chives shine as a garnish on scrambled eggs, soups, baked potatoes, or salads, adding a mild onion flavor. But don’t stop there—try adding a handful of snipped chives to homemade herb butters or infuse them into vinegars for a fragrant, flavorful kick.