Introduction to Growing Chives in Raised Beds
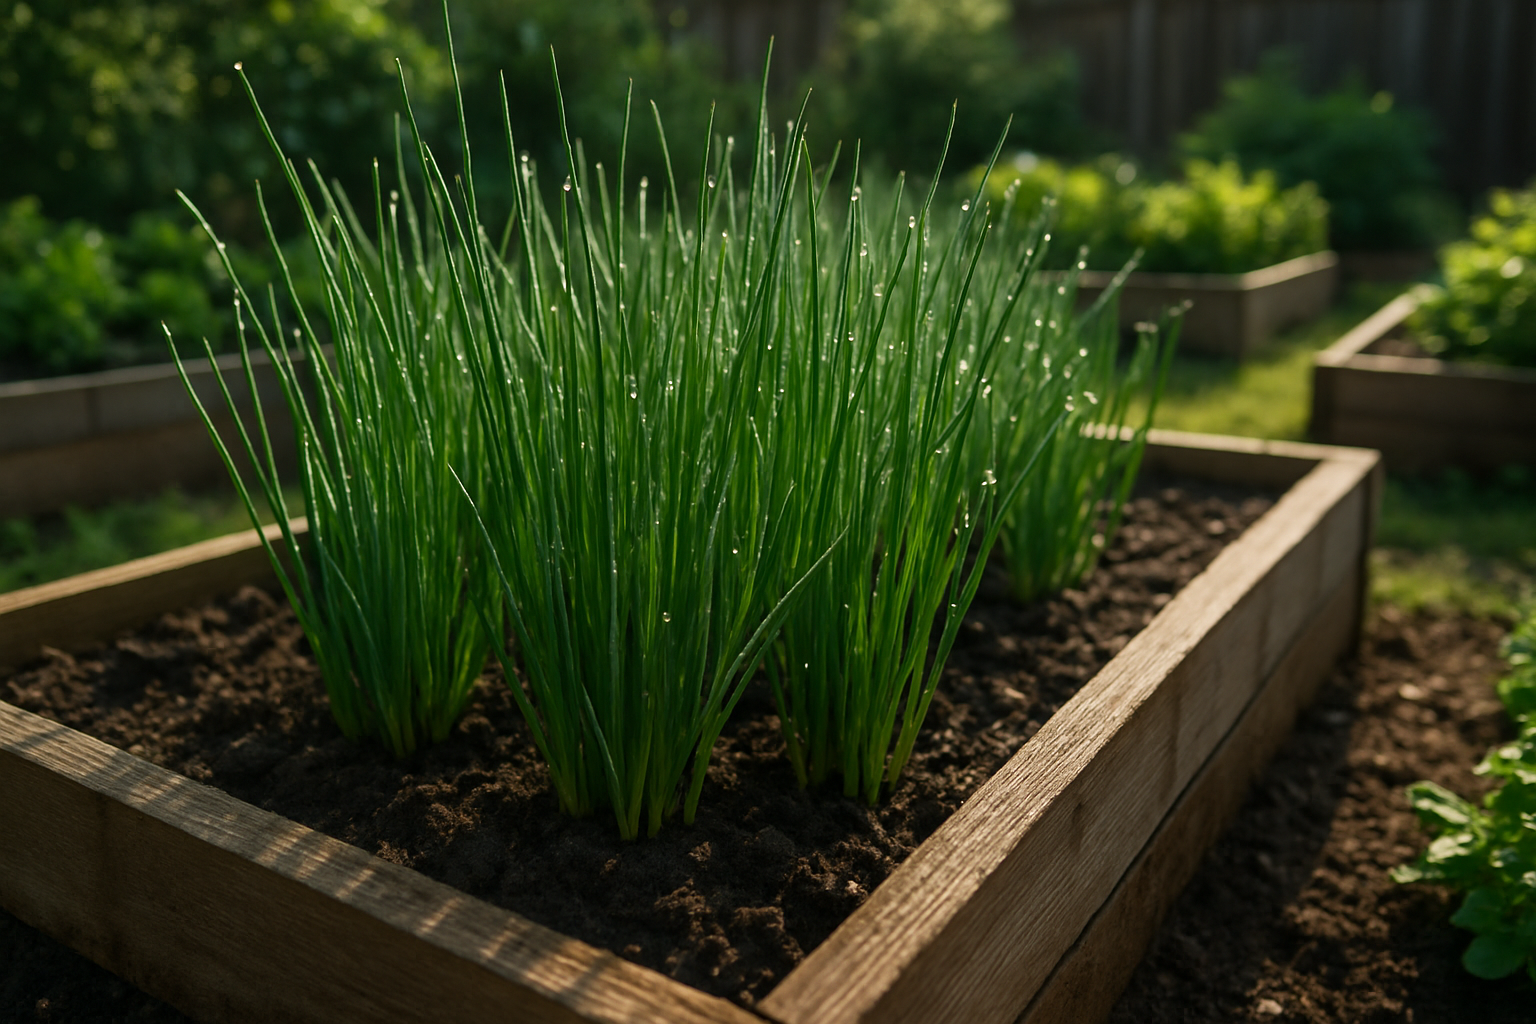
Chives in raised beds are a winning combination for any home gardener looking to add fresh flavor and easy-care herbs to their garden space. With their delicate onion taste and bright green blades, chives thrive in the rich, well-draining soil that raised beds provide. Raised beds not only improve drainage—which is crucial for preventing soggy roots—but also make it easier to control soil quality, minimize weeds, and manage pests.
If you’re short on space, dealing with tough ground, or want to avoid constant bending, raised beds make chive gardening much more accessible. In this article, you’ll learn how to select the best location for your raised bed, tips for preparing the perfect soil mix, and step-by-step planting instructions. We’ll also cover essential care routines—from watering strategies to harvesting advice—and share tricks for keeping your chives coming back year after year.
Whether you’re a first-time herb grower or a seasoned gardener, learning how to grow chives in raised beds promises a more manageable, abundant, and flavorful harvest right outside your door.
Choosing the Best Soil & Location for Chives

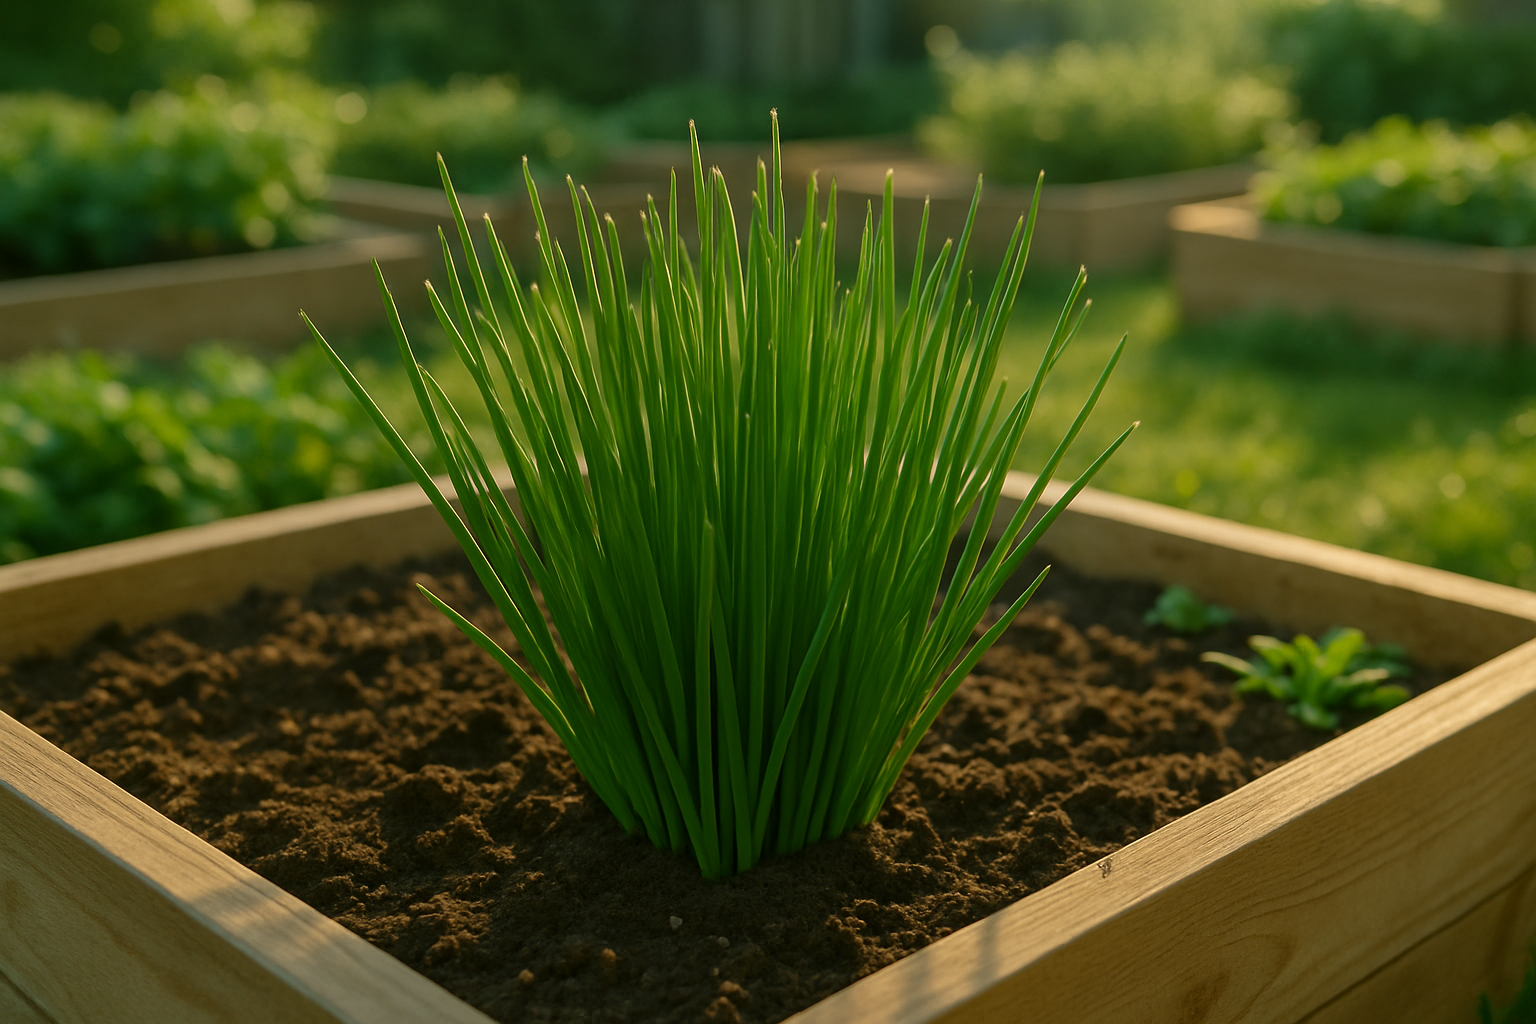
To grow the healthiest chives in your raised bed, start by focusing on the right soil—a well-drained, loamy mix rich in organic matter is ideal. Chives thrive in soil with a pH between 6.0 and 7.0, so test your soil with a simple kit from the garden center. Add lime if the pH is too low or sulfur if it’s too high.
Organic matter is key: blend a generous amount of compost or well-rotted manure into your soil before planting. This not only boosts nutrients but also helps keep the soil loose and airy, which is crucial for chive roots.
For location, pick a spot in the raised bed that receives at least six hours of direct sunlight each day. Chives love full sun but will tolerate partial shade, especially in hotter climates where some afternoon shade helps prevent scorching.
Good drainage is essential. If your raised bed tends to hold water, mix in some sand or perlite to improve drainage and prevent root rot. Before planting, rake the soil so it’s smooth and crumbly, and remove any rocks or large debris.
Taking the time to prep your raised bed with these steps not only helps chives establish faster but also results in stronger, more flavorful harvests throughout the season.
How to Plant and Space Chives in Raised Beds
Chives are a fantastic addition to raised beds, offering a mild onion flavor and easy care. You can start chives either from seeds or young transplants, each with its pros and cons. Seeds take longer—up to three weeks to germinate and several months before harvest—but they’re budget-friendly and allow you to grow plenty of plants at once. Transplants, on the other hand, give you a head start, letting you harvest much sooner, though they’re a bit pricier per plant.
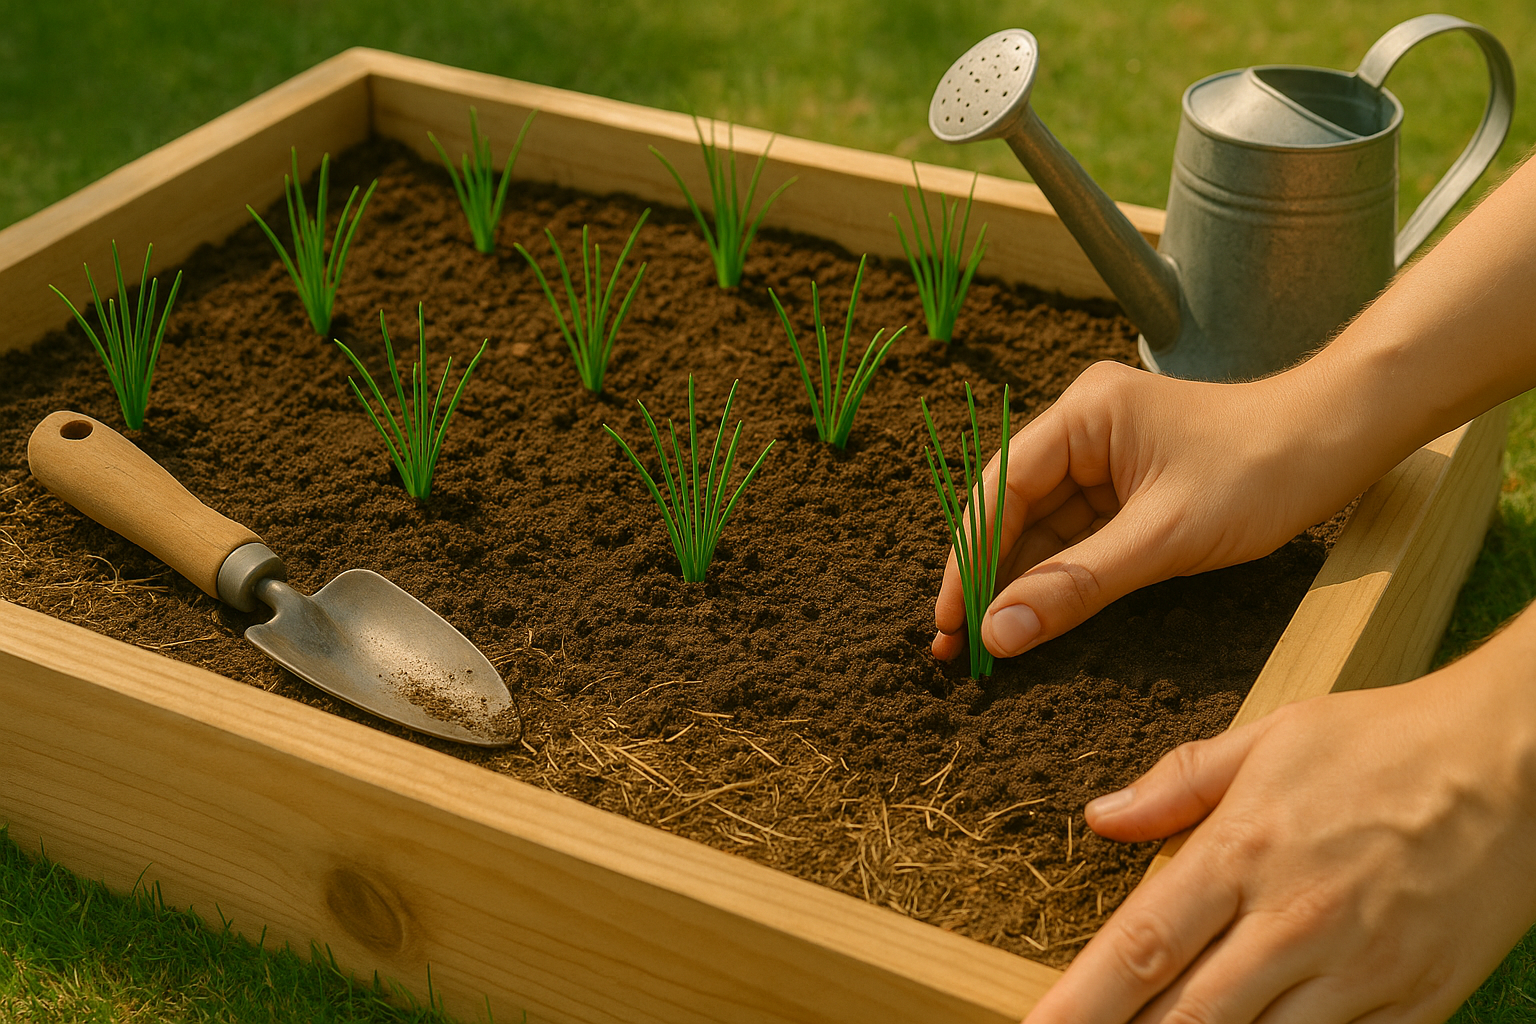
Aim to plant chives in spring as soon as the risk of frost has passed and the soil is workable. For spacing, give each chive plant about 6 to 8 inches apart in all directions; this gives their roots and leaves plenty of room to expand without crowding.
Sowing Seeds
Scatter seeds thinly in shallow rows about 1/4 inch deep and cover them lightly with soil, or plant a pinch of seeds every 6 inches if direct sowing. Water gently with a fine spray to keep the soil consistently moist but not soggy.
Planting Transplants
Dig small holes 6 to 8 inches apart, place each seedling at the same depth it grew in its pot, and firm the soil around it. Water well after planting to help roots settle in.
Consider adding a layer of mulch to help retain moisture and suppress weeds. With proper spacing and care, your chives will thrive and quickly become a dependable crop in your raised bed garden.
Caring for Chives
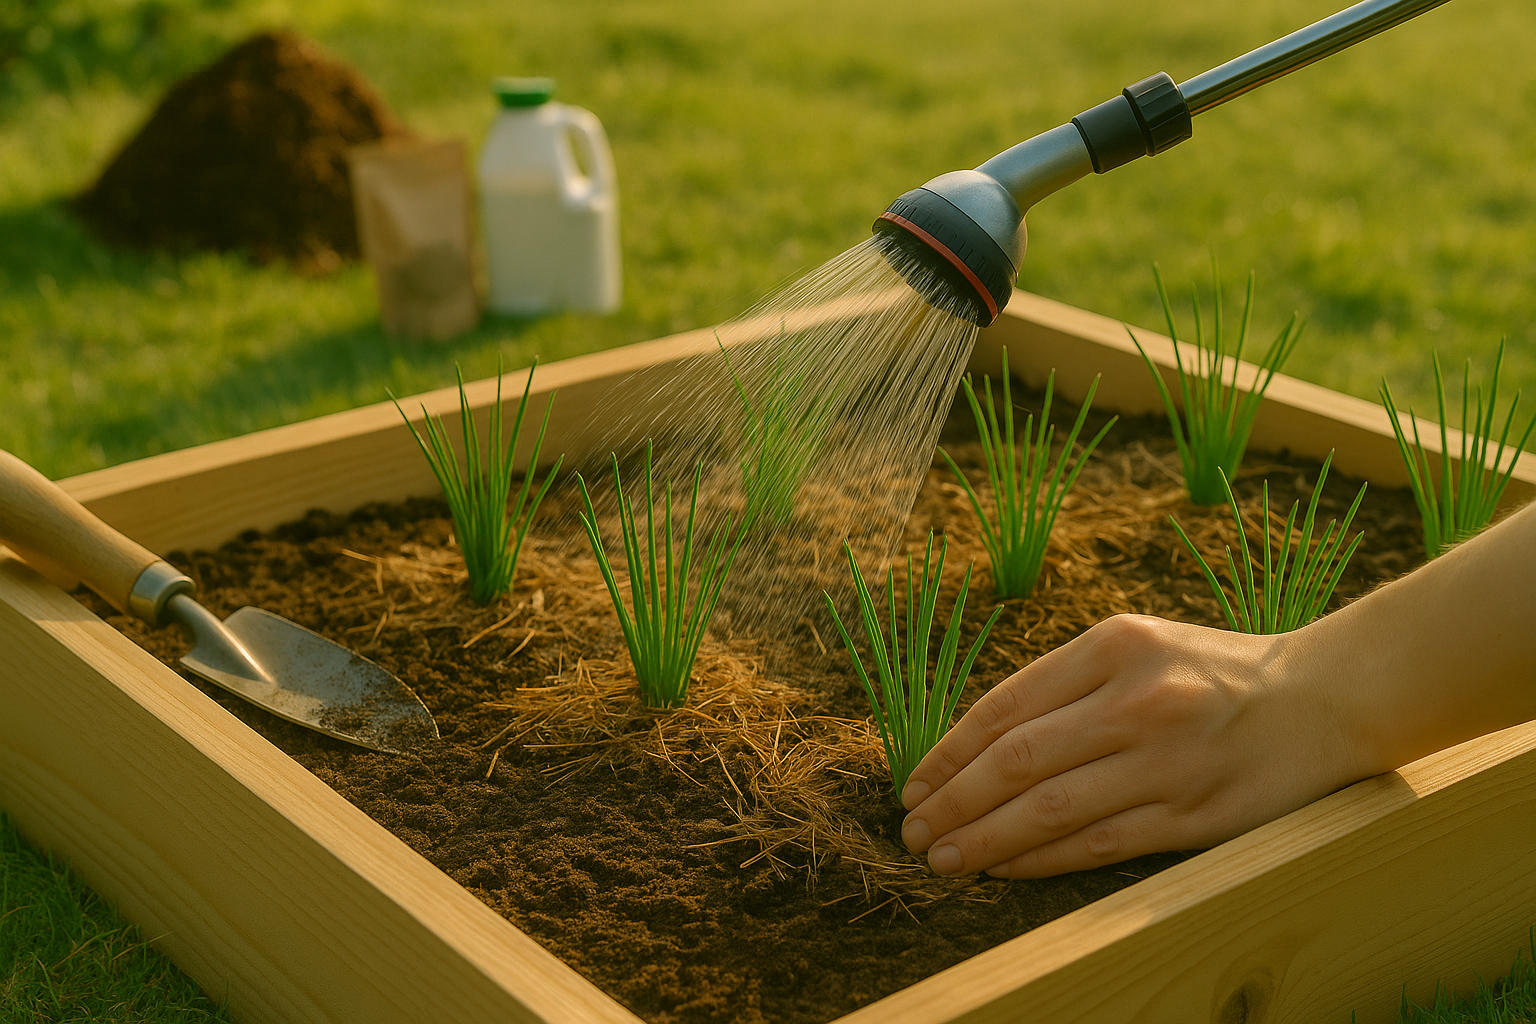
Chives thrive with consistent, even moisture, especially in raised beds where soil can dry out faster. Aim to water them about 1–2 times a week, depending on rainfall and temperature. Check soil moisture by poking your finger an inch deep; if it’s dry, it’s time to water.
Drooping or yellowing leaves signal underwatering, while limp, overly soft, or yellowed chives may point to soggy, overwatered roots.
Chives aren’t heavy feeders but appreciate a spring boost—work in a balanced organic fertilizer or a couple of inches of well-aged compost at planting and midseason. Products like fish emulsion or seaweed extracts work well every 4–6 weeks if growth seems slow.
Maintaining chive clumps is straightforward:
- Snip spent flowers promptly to encourage more foliage and prevent self-seeding, which can get messy.
- Apply a layer of organic mulch, like shredded straw or leaf mold, to retain moisture and keep weeds at bay.
- Seasonally, cut chives back to about two inches above the soil in late fall; this tidies the bed and lets the plants bounce back fresh in spring.
- Mulch lightly before winter to offer extra root protection in colder climates.
With these basic practices, your chives will stay healthy, productive, and ready for kitchen use throughout the growing season.
Dealing with Pests, Diseases, and Companion Planting
Chives grown in raised beds are generally hardy, but common pests like aphids, thrips, and onion maggots can cause issues. Watch for sticky residue or twisted leaves as warning signs. Fungal diseases such as downy mildew and rust often result from overcrowding or overly wet conditions, so be sure to space your chive plants well and water early in the day to avoid soggy leaves overnight.
For natural pest prevention, gently hose off aphids, inspect the undersides of leaves weekly, and consider using neem oil or insecticidal soap if infestations persist. Companion planting definitely boosts your chives’ health—pair them with carrots, tomatoes, strawberries, or roses to deter pests and help neighboring plants thrive. Chives’ natural sulfur compounds repel harmful insects, making them valuable allies in mixed beds.
Avoid planting chives near legumes like beans and peas, which don’t do well beside alliums. Lastly, keep your chive bed healthy by removing dead foliage, mulching to suppress weeds and maintain even moisture, and dividing overcrowded clumps every few years. A little extra attention goes a long way—healthy chives are more resilient and can provide both delicious flavor for your table and natural protection for your garden.
Harvesting and Using Chives from Your Raised Bed
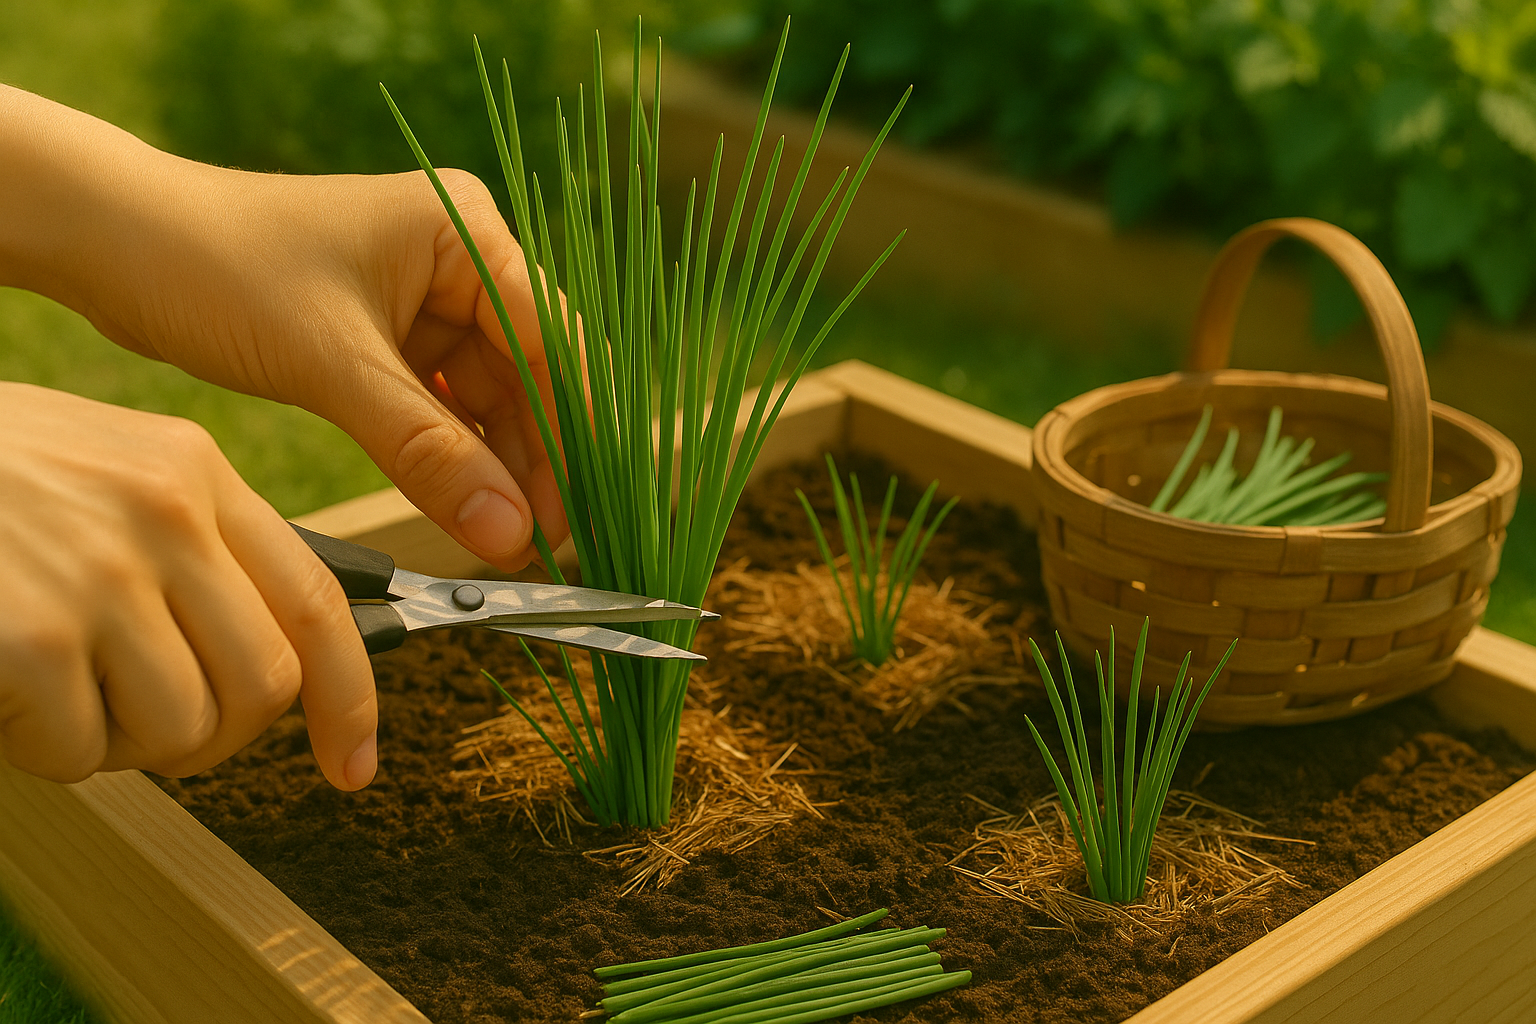
Harvesting chives from your raised bed is easy and rewarding when you know the right technique. For the best flavor and continuous growth, start harvesting once the plants reach about six inches tall—usually in late spring or early summer.
Use sharp scissors to snip the leaves about one to two inches above the soil, taking only what you need and leaving at least half the plant intact. This encourages healthy regrowth and prevents shock.
Fresh chives are a versatile kitchen staple, perfect for:
- topping baked potatoes
- folding into scrambled eggs
- sprinkling onto salads
- mixing into creamy dips and dressings
Their mild onion flavor enhances soups and marinades without overpowering dishes.
If you have more chives than you can use immediately, store bunches in the refrigerator by wrapping them in a damp paper towel and placing them in a plastic bag for up to a week.
For long-term storage, chop chives and freeze them in airtight containers or ice cube trays with a bit of water or oil—ideal for adding straight to recipes without thawing.
Drying is another option, but frozen chives retain more of their delicate flavor and vibrant green color.
Conclusion & Final Tips
Growing chives in raised beds offers excellent drainage, fewer weeds, and healthy, flavorful harvests all season long. Chives are easy to grow—even for beginners—and add a fresh, oniony taste to countless dishes, making them a practical herb for any kitchen garden.
Whether you’re just starting out or have years of gardening experience, you’ll appreciate how little maintenance chives require and how pretty their purple flowers look in raised beds.
Ready to try it yourself? Share your chive-growing tips or questions in the comments below—we’d love to hear about your experiences!