Understanding Mint’s Growth Habits
Mint is famous for its vibrant, refreshing aroma, but many gardeners quickly learn it’s also notorious for its aggressive spreading habits. This tenacity comes from its underground rhizomes, which are specialized stems growing just below the surface. Rhizomes continuously send out new shoots and roots, allowing mint plants to pop up feet away from where you first planted them.
Unlike annuals or more well-behaved perennials, mint’s growth is relentless; if left unchecked, it can take over an entire garden bed in just one season. Its shoots emerge rapidly in spring, often outpacing nearby plants and forming dense mats of roots and stems that choke out other flowers or vegetables. Even regular cutting or harvesting won’t slow it down—mint quickly regenerates from tiny root fragments left in the soil, a persistence that frustrates even experienced gardeners.
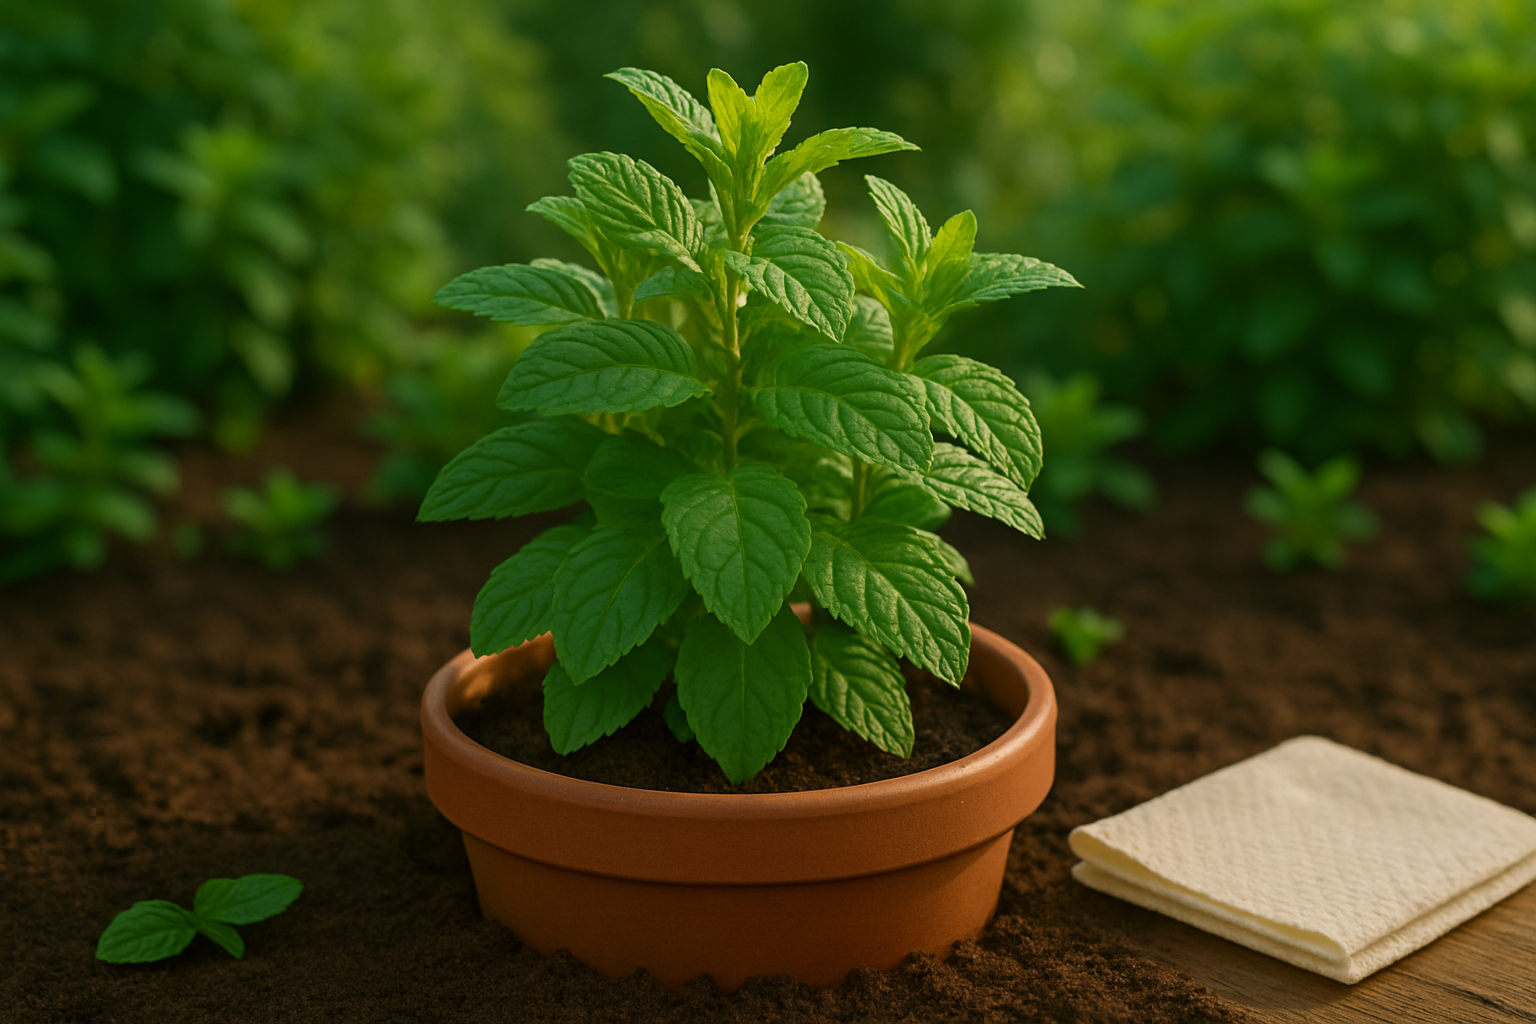
To enjoy mint’s culinary and aromatic benefits without it becoming a garden bully, it’s essential to use physical barriers when planting. A popular tip is to grow mint in a pot sunk into the ground, leaving about two inches of the rim above soil level to block rhizomes from escaping. Alternatively, dedicate a separate container or raised bed solely to mint to keep it confined.
Regularly check the edges for runners sneaking out, and don’t compost pulled mint roots, as they might regrow. By respecting mint’s natural urge to spread and taking simple containment steps, you can keep your garden both productive and beautiful—enjoying fresh mint for teas and recipes without worrying about it overwhelming your entire plot.
Best Locations and Soil Preparation for Mint
When choosing a spot to plant mint, think carefully—this hardy herb spreads fast and can quickly take over garden beds if given the chance. The best way to control its growth is to plant mint in containers or raised beds with barriers, which keep the roots from creeping into unwanted areas.
If you prefer to plant mint in the ground, opt for secluded corners of your yard and consider installing root barriers at least a foot deep to limit underground runners.
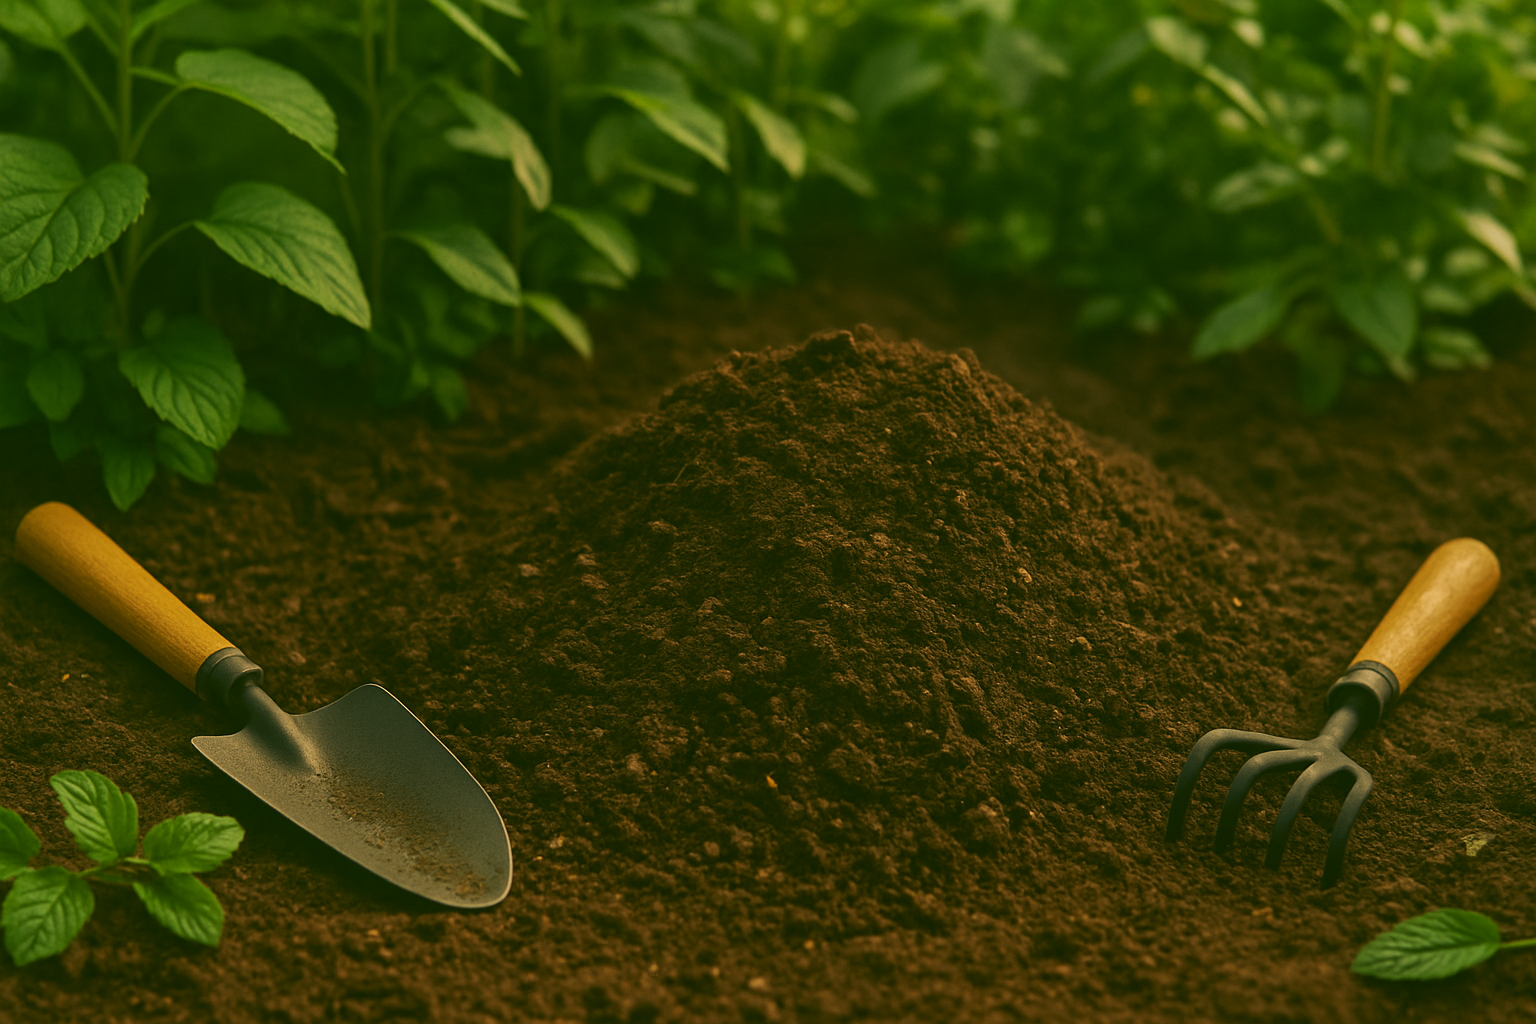
Mint thrives in rich, well-draining soil with a neutral to slightly acidic pH (6.0 to 7.0). Before planting, amend heavy or compacted soil with compost or aged manure to improve drainage and boost nutrients—healthy soil translates to vigorous, flavor-packed plants.
For example, gardeners in areas with clay-heavy soil often mix in coarse sand or perlite to prevent soggy conditions, which mint dislikes. Even in containers, check that pots have drainage holes and use quality potting mix.
When planning your garden, avoid placing mint near more delicate herbs or vegetables, as its aggressive growth can crowd out neighbors. Some gardeners tuck container-grown mint into flower beds, letting the leaves spill over for a lush look without risking a full-on takeover.
By selecting the right location and preparing your soil thoughtfully, you’ll enjoy a steady supply of fresh mint without the headache of garden invasion.
Physical Barriers and Container Growing
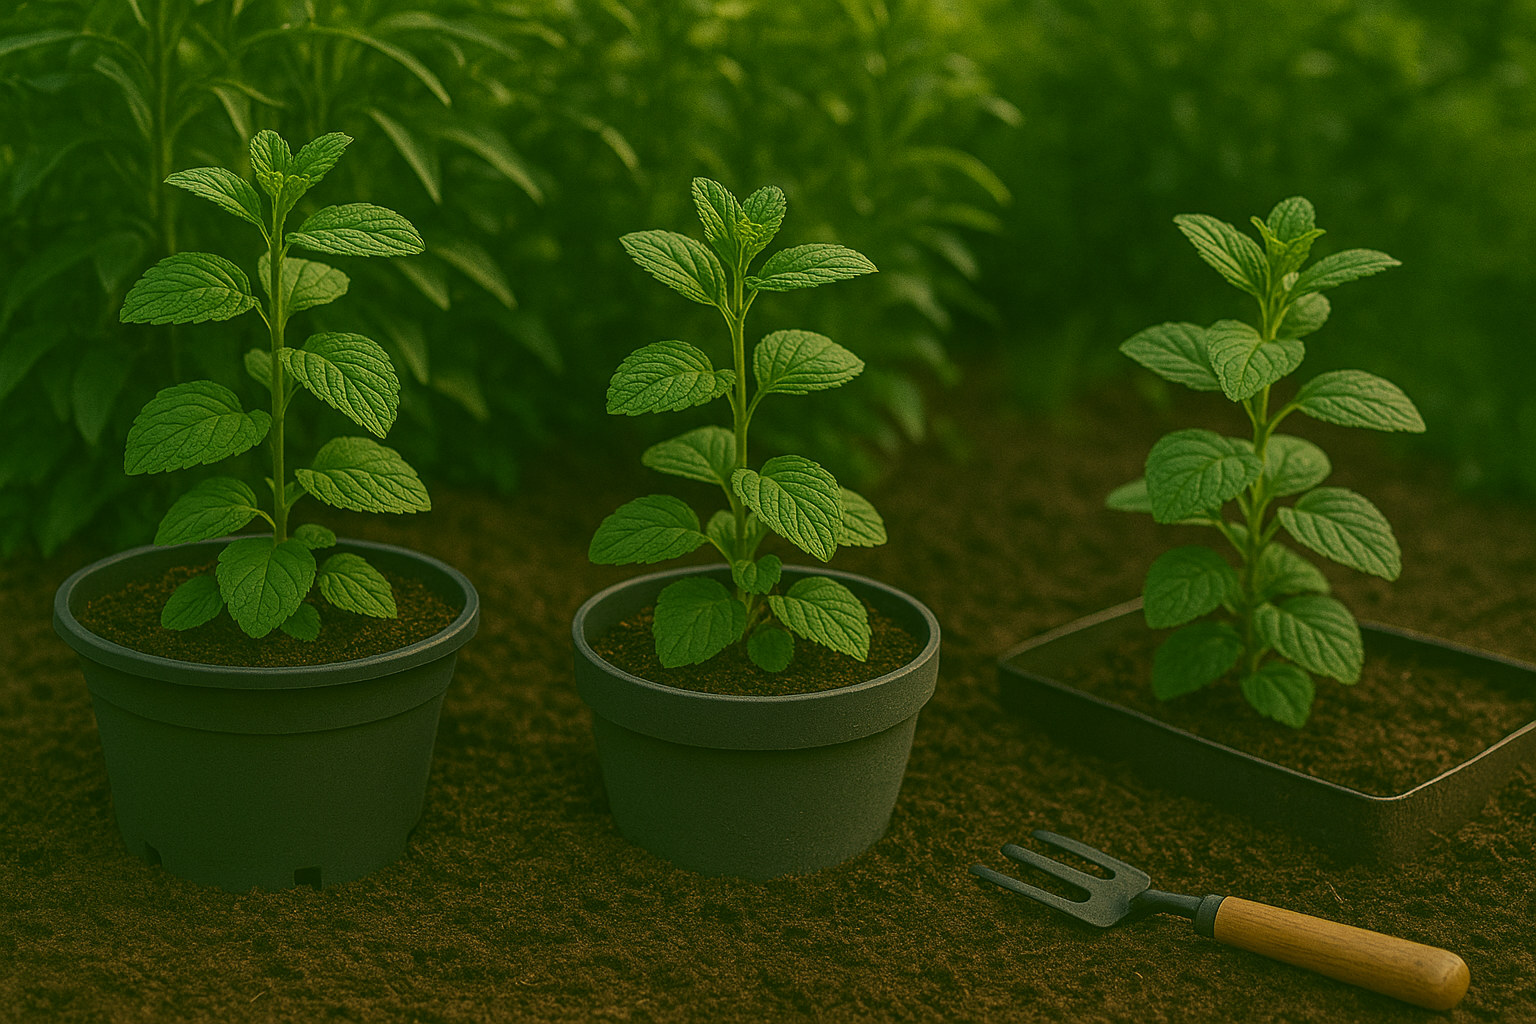
Growing mint can be tricky due to its aggressive root system, which tends to sprawl and take over garden beds if left unchecked. One of the most effective ways to control mint’s spread is by using containers like pots or planters. Containers act as a physical barrier, keeping roots contained and making maintenance a breeze.
Choose pots that are at least 12 inches deep and wide enough to support robust growth, and make sure they have drainage holes to prevent root rot. If you prefer growing mint in the ground but want to avoid a mint invasion, try a DIY approach using bottomless buckets or large nursery pots. Simply cut off the bottom of the container and sink it into the ground so the rim sits slightly above soil level; this prevents roots from escaping and creeping into adjacent beds while still allowing good water flow.
Another in-ground solution is garden edging—heavy-duty plastic, metal, or brick barriers dug 12–18 inches deep can help, though determined roots might still sneak underneath if not monitored.
Each method has trade-offs:
- Container growing offers maximum control and is great for patios or small spaces, but pots dry out faster and may need frequent watering during summer.
- In-ground containers can look more natural in a landscape and allow for larger plants, but you’ll need to check that roots aren’t escaping beneath the barriers every season.
- Regular edging can work for a border of mint in a dedicated bed but isn’t as foolproof as a true container.
For most home gardeners, especially those new to herbs, starting mint in a pot or sunken container is the simplest way to enjoy fresh harvests without an ongoing root battle.
Regular Maintenance and Pruning Practices
Regular maintenance and pruning are essential to keeping your garden healthy, attractive, and well-contained. Start by routinely deadheading spent flowers—simply pinch or snip off blooms that have faded. This not only tidies up plants but also encourages new growth and more blooms.
If you have fast-spreading plants like strawberries or mint, trimming runners—the long stems that creep away from the main plant—helps prevent them from overtaking your beds. Try to cut runners back to the base before they root, limiting their spread and helping neighboring plants thrive.
Pruning stems is equally important, especially for shrubs and perennials. Removing old, diseased, or crossing stems opens up the plant to more light and air, reducing the risk of disease. Don’t forget about the roots: dividing overgrown clumps or root pruning invasive plants once every few years can stop unwanted expansion and rejuvenate growth.
To stay on top of these tasks, consider setting up a seasonal schedule—early spring is ideal for most pruning, while late summer or fall works well for thinning out perennials. Use reminders or a garden journal to note when and what you’ve pruned to ensure nothing gets missed.
For example, many gardeners walk their plots with a pair of sharp pruners every other week to snip as needed, making maintenance less daunting and more manageable. Regular attention, rather than sporadic heavy pruning, leads to healthier plants and a neater landscape.
In summary, combining frequent deadheading, strategic trimming, and scheduled check-ins is the most effective way to control plant growth and enjoy a thriving, beautiful garden with minimal stress.
Harvesting Mint Without Encouraging Extra Growth
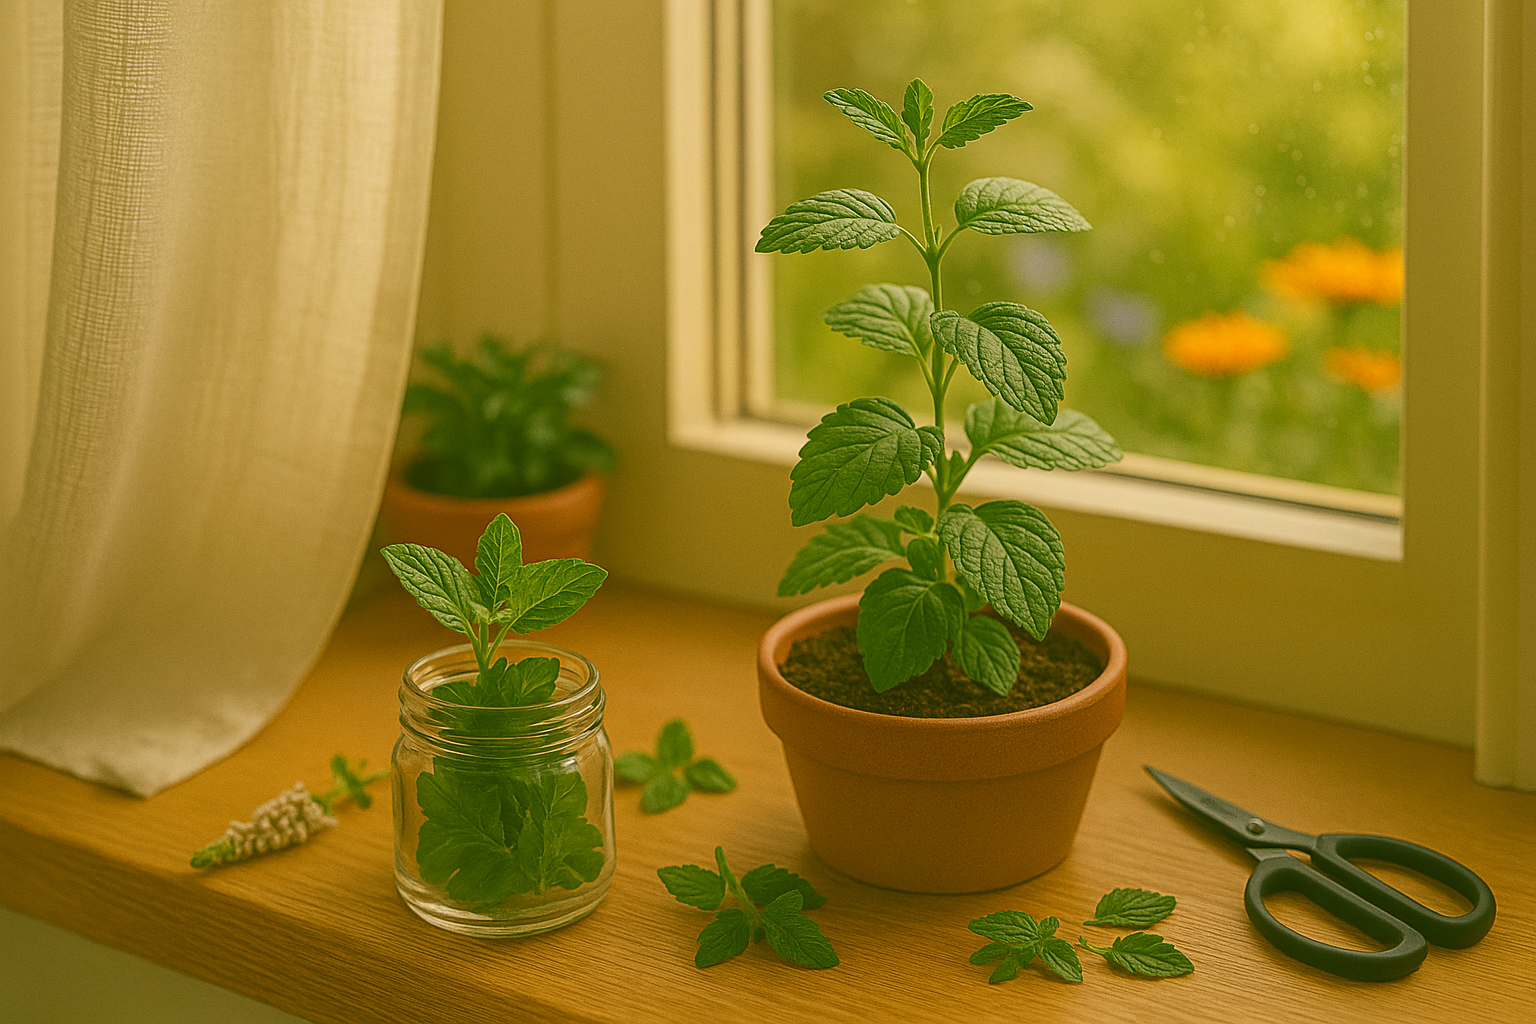
To harvest mint without encouraging extra growth or unwanted spreading, focus on selective picking rather than aggressive pruning. Instead of cutting large swathes of stems down to the base, pinch or snip just the top few leaves or sprigs from the outer edges of the plant using clean scissors. This prevents the mint from responding with rapid, bushy regrowth that can quickly get out of hand.
Time your harvests in the morning, after the dew has dried but before the day heats up, as this preserves essential oils for maximum flavor and fragrance. Limit harvesting to about one-third of the plant at a time—this keeps the plant healthy but doesn’t send it into overdrive.
For ongoing control, make harvesting a regular habit instead of letting stems become leggy or flower. A weekly light harvest can satisfy your kitchen needs while helping you monitor and manage spread—simply walk through your mint patch every few days, taking only enough for your immediate uses.
If your mint is grown in-ground and shows signs of escaping its bounds, snip back runners at the edge and consider using barriers to keep it in check.
By following these simple techniques, you’ll enjoy a steady supply of fresh mint without letting it take over the garden.
What to Do if Mint Escapes
If you discover mint spreading beyond its designated spot, act quickly to regain control. Start by pulling up visible mint runners, making sure to remove as much of the root system as possible, since even small leftover roots can regrow. Use a garden fork rather than a shovel to gently loosen the earth and avoid breaking roots, digging at least six inches deep around and under the patch.
For stubborn areas, try solarization: after removing the mint, water the soil thoroughly, then cover it with clear plastic sheeting for six to eight weeks during hot weather—this “bakes” any remaining roots and seeds.
For long-term prevention, install a physical barrier like edging or deep-rooted weed barriers around your mint bed, extending at least 12–18 inches below the soil.
If you’re dealing with mint that’s taken over your lawn or flowerbeds, mow repeatedly to weaken the plants, then monitor for new growth. Spot-treat regrowth with boiling water or a targeted organic herbicide, always taking care to protect nearby plants.
Once the mint is under control, reintroduce native or desired plants to restore ecological balance—dense ground covers or healthy turf can outcompete stray mint shoots.
Regular monitoring and quick action are crucial; a few minutes each week spent checking for rogue mint can save you hours of work later. By combining these methods, you’ll not only remove unwanted mint but also create a garden that’s balanced and easier to maintain.
Summary and Quick Preventative Tips
To keep your mint under control, plant it in a pot or raised bed instead of directly in garden soil—this creates a physical barrier for the roots. If you prefer growing mint in the ground, bury a deep plastic or metal edging around the plant to prevent runners from escaping.
Regularly check for and trim any stray stems or roots, and harvest leaves frequently to keep the plant bushy and less aggressive. Make monitoring part of your gardening routine to catch unwanted spread early.
With just a little ongoing attention, you can enjoy fresh mint for teas and recipes without worrying about it overrunning your garden. A bit of planning goes a long way to keep this flavorful herb in check.