Can You Regrow Sage From Store-Bought Cuttings?
Regrowing sage from store-bought cuttings is an appealing idea for home gardeners, especially if you cook often and want a steady supply of this aromatic herb. The basic process involves taking fresh, healthy sprigs from a bundle you purchase at the grocery store, trimming the stems just below a leaf node, and placing them in water or moist soil to encourage root growth.
However, not all store-bought sage is ideal for propagation; successful regrowth depends heavily on the freshness, source, and prior handling of the herb. Sage that’s wilted, yellowing, or has woody stems is much less likely to root. Herbs from farmers markets or organic suppliers often have a better chance than those from big-box stores that prioritize long shelf life over plant vitality.
It’s also important to note that some commercial sage is treated with preservatives or grown hydroponically, which can further reduce the chances of rooting.
Many new gardeners hope for a high success rate, imagining their kitchen bundles transforming quickly into lush, new plants. In reality, only a portion of cuttings will root—sometimes none at all—so it’s smart to start with several stems and be patient. Even when roots do form, transitioning the new plantlets to soil and encouraging robust growth takes time and care.
Regrowing sage is certainly possible and rewarding when it works, but it’s best approached as a fun experiment rather than a failproof shortcut to a never-ending herb supply.
How to Prepare and Select Your Store-Bought Sage for Propagation
When selecting store-bought sage for propagation, begin by choosing stems that feel firm and aren’t flimsy or wilted. Healthy firmness indicates that the plant is still vital and more likely to root successfully. Avoid branches with yellowing or black spots; the best stems should be vibrant green to gray-green, reflecting good health.
Look for stems with a somewhat woody texture at the base—not too soft or green—as semi-woody stems strike the perfect balance between flexibility and maturity, encouraging strong root development.
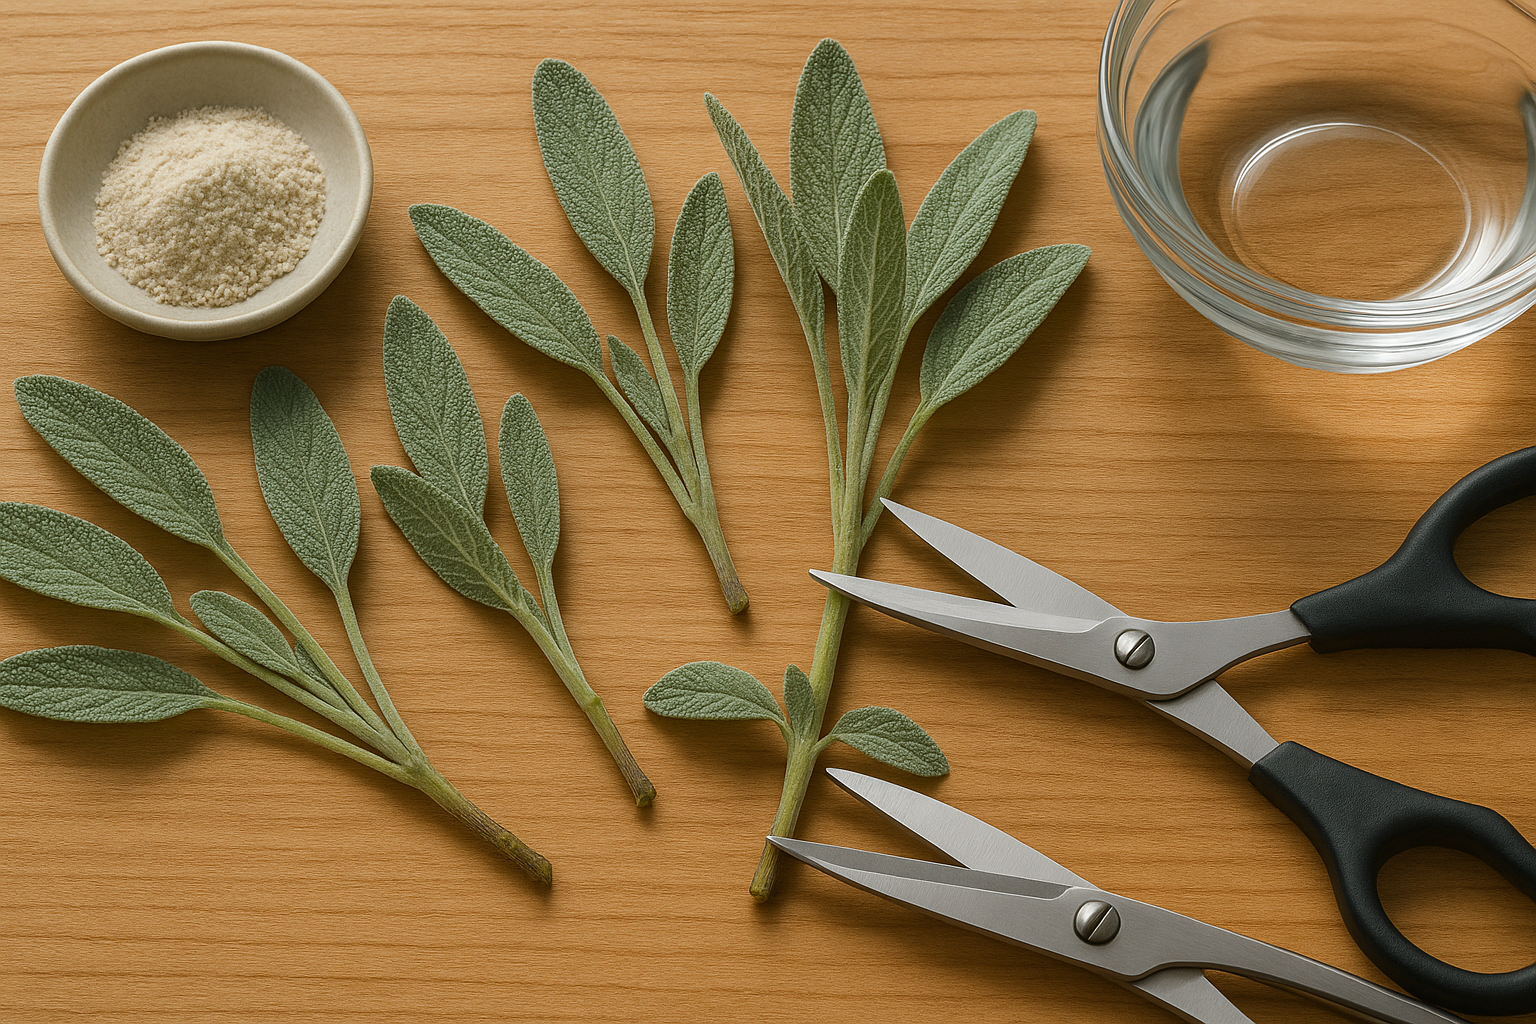
Once you have your sage, rinse it gently under cool water to remove any potential residue or pests. Use sterile scissors to trim each stem just below a leaf node, ideally selecting sections about 4–6 inches long. Strip off the lower leaves but leave a few pairs near the top; this helps the cutting focus its energy on growing roots instead of maintaining leaves.
For the best rooting results, pick organic or locally grown sage whenever possible, as commercial herbs from big box stores or supermarkets are often treated with growth inhibitors and chemicals that can hinder propagation. If organic isn’t available, try finding sage from specialty grocers or farmers’ markets.
Before planting, you can increase your success rate by dipping the cut end in rooting hormone, though this step isn’t strictly necessary. Remember, fresher is always better, so start the propagation process as soon as you bring your sage home for the highest chance of success.
Propagation Methods
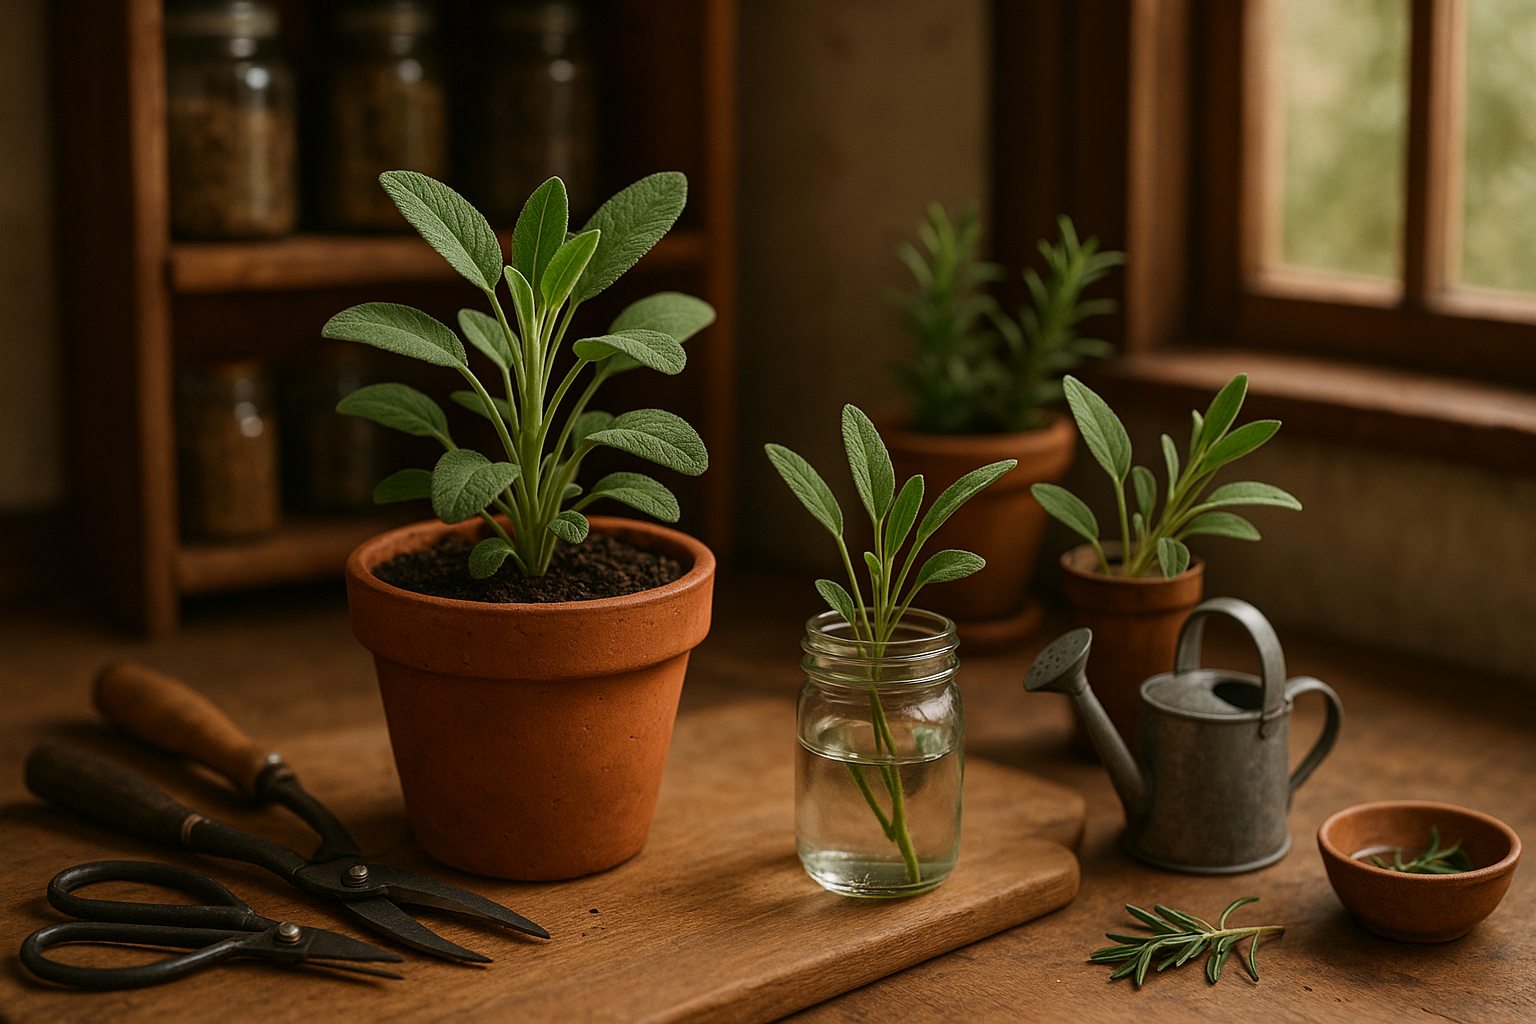
Growing sage from cuttings is a satisfying and cost-effective way to expand your herb garden. You have two main propagation options: rooting in water or directly in soil.
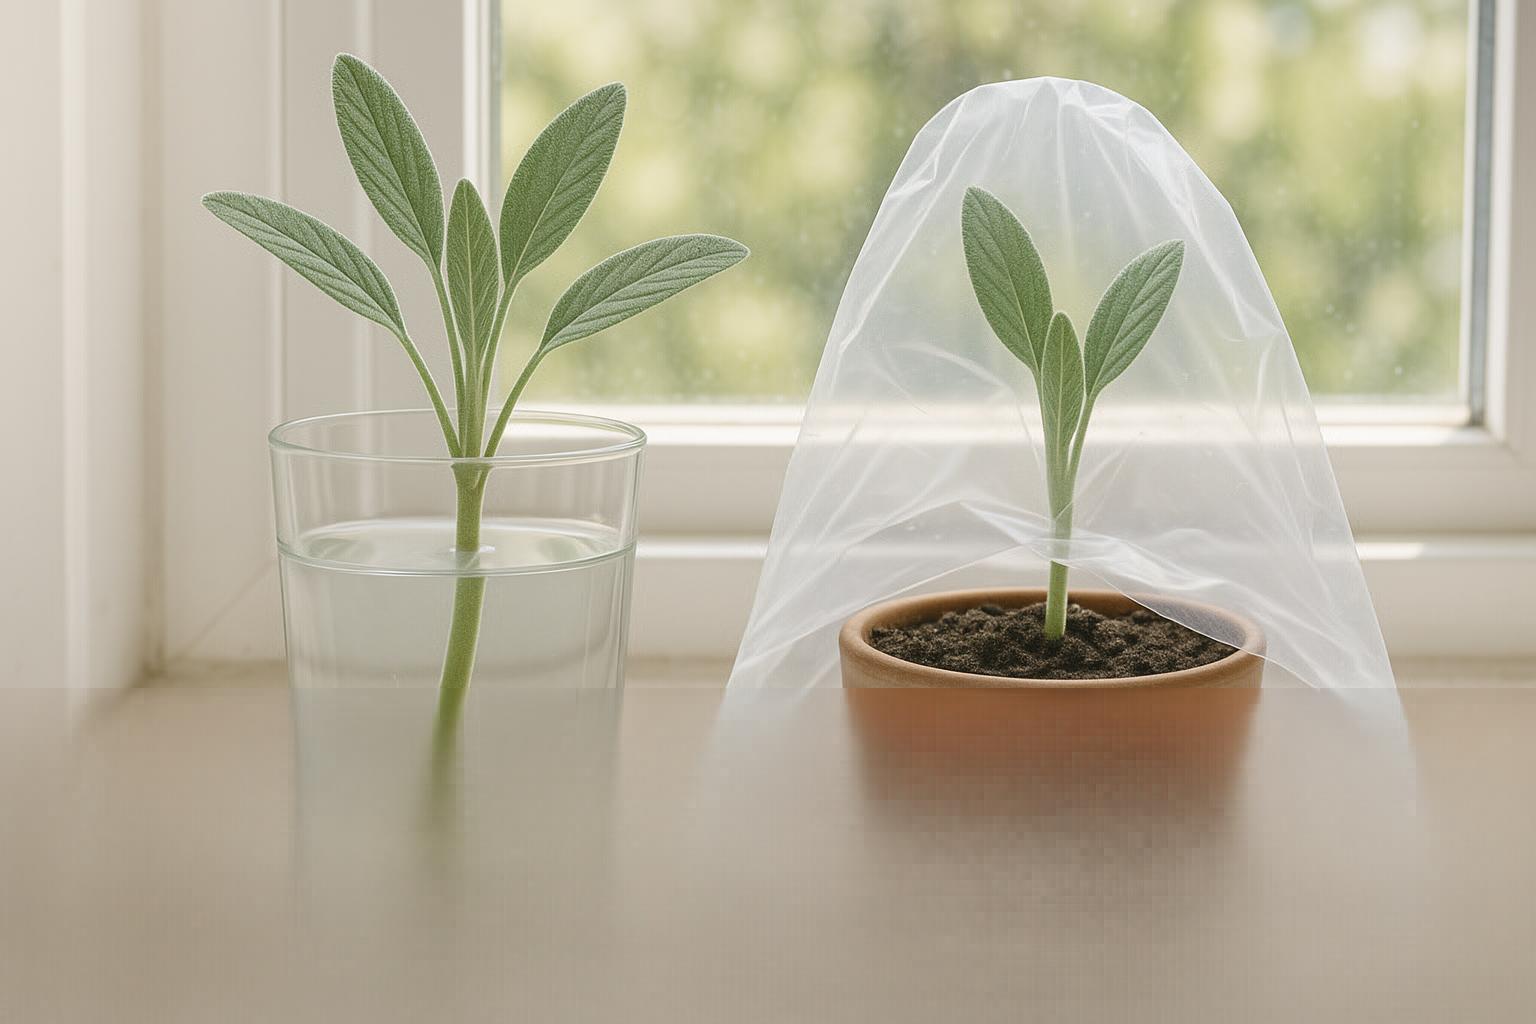
Water propagation is often preferred by beginners because it’s simple and allows you to clearly monitor root growth. Just snip a healthy four-inch stem below a leaf node, remove the lower leaves, and place it in a glass of clean water on a bright windowsill. Change the water every few days to prevent rot. Roots usually appear in 2–3 weeks, where you’ll notice fine, white roots emerging. Once they’re a couple of inches long, transfer your cutting into soil. The downside is that water roots can be fragile, and cuttings sometimes struggle with the transition to soil.
Soil propagation, on the other hand, involves placing your prepared cutting directly into moist, well-draining potting mix. Firm the soil around the stem and keep it humid by loosely covering it with a plastic bag. This technique helps the plant adapt directly to soil-based growth and often reduces transplant shock. Cuttings in soil may take a little longer—about 3–5 weeks—to show roots, but you can gently tug the stem to feel resistance, which is a sign roots are developing.
Using a rooting hormone is optional but can boost your success rate with both methods. Simply dip the cut end into the powder before placing it in water or soil for quicker, stronger root development.
Whichever method you choose, be patient. Look for new leaves or sturdy growth as signs that your sage cutting has taken root and is ready for its permanent home.
Best Conditions for Growing Healthy Sage Plants
Sage thrives when young plants receive plenty of bright, direct sunlight—at least six hours daily. Position them near a sunny window indoors or in a south-facing spot outdoors. Keep the temperature between 65-75°F (18-24°C), as cool temperatures can slow growth and extreme heat can stress seedlings. Humidity should be moderate; excessive moisture increases the risk of fungal infections and damping-off, common problems for young sage.
To reduce these risks, use a sterile seed-starting mix and ensure containers have good drainage holes. Water lightly only when the top inch of soil dries out, and avoid leaving seedlings sitting in water. Overwatering is a common mistake that can quickly lead to root rot.
Once seeds or cuttings have developed healthy roots—usually after three to four weeks—transplant them carefully into larger pots or directly into the garden. Choose a sandy, well-draining soil enriched with a bit of compost; heavy, wet soils can smother roots and invite disease.
When moving sage plants outside, harden them off by gradually exposing them to outdoor conditions over a week. In garden beds, provide at least 18 inches between plants to allow airflow and prevent moisture-loving fungi from taking hold. Mulch lightly with gravel or straw to keep weeds down, but avoid piling mulch against the stems.
By keeping soil on the drier side, maintaining good airflow, and providing plenty of light, you’ll give sage the healthy head start it needs for a productive, aromatic life.
Caring for and Harvesting Regrown Sage
Once your sage plant starts to regrow, a few simple care practices will keep it healthy and productive. Water sage when the soil feels dry to the touch, but avoid overwatering—sage prefers its soil to dry out between waterings. Fertilize sparingly, using a balanced, organic fertilizer once in early spring to avoid overwhelming the plant with nutrients.
Prune your sage regularly by trimming any leggy stems; this encourages bushier growth and helps prevent diseases. Keep an eye out for common pests like aphids or spider mites. If you spot them, spray with a mild solution of dish soap and water, or use neem oil as an eco-friendly remedy. Sage is also susceptible to powdery mildew, especially if airflow is poor, so make sure to space your plants adequately.
Harvesting Your Sage
Wait until your sage plant is well-established—usually after it has grown at least six inches tall and has a few sets of mature leaves—before harvesting. Morning is the best time to harvest, as the leaves are most aromatic before the day’s heat.
Use sharp scissors or garden shears to snip off the top few inches, but never remove more than a third of the plant at once to ensure ongoing healthy growth.
Storing Surplus Sage
For surplus sage, tie small bunches and hang them upside down in a warm, well-ventilated place until dry. Alternatively, lay leaves flat on a screen or use a dehydrator. Once the leaves are crisp, store them in an airtight jar away from direct sunlight to preserve their flavor for months to come.
Troubleshooting and Advice for Success
Propagation failure with store-bought sage often happens because supermarket herbs are typically grown for fast turnover rather than long-term health. These plants may be stressed, overcrowded, or have weak root systems, making them difficult to root from cuttings.
One common mistake is overwatering—sage prefers soil that’s barely moist, so let the surface dry out between waterings. Using low-quality potting mix or skipping rooting hormone can also reduce your chances of success.
If a cutting wilts or rots, don’t be discouraged—this process often takes several attempts, especially for beginners. If cuttings keep failing, try starting sage from seed instead (using a warm, sunny spot helps seedlings thrive), or look for healthy nursery plants as a strong head start.
Once you succeed, maximize your homegrown sage by drying leaves for winter, infusing oils for cooking, or blending fresh leaves into herbal butters. Don’t let setbacks halt your gardening journey—every gardener experiences a few dead cuttings!
For more how-tos, online communities like the r/herbgardening subreddit or books such as The Complete Book of Herbs by Leslie Bremness offer plenty of tricks and support for growing resilient sage and other flavorful herbs.