What Is Lemon Balm and Why Grow It?

Lemon balm is a fragrant herb in the mint family, prized for its bright, citrusy aroma and gentle lemon flavor. You’ll find it in kitchens and apothecaries alike, swirled into calming teas, snipped fresh into garden salads, or used to infuse sauces and desserts with subtle zest.
In herbal traditions, lemon balm is valued for its soothing properties—many people brew it into tea to ease stress or aid sleep, and it’s a popular gentle remedy for digestive troubles and cold sores.
Using fresh lemon balm intensifies these flavors and benefits; a handful of just-picked leaves adds a lively, refreshing kick to drinks, dressings, or even homemade sorbet—far superior to dried versions.
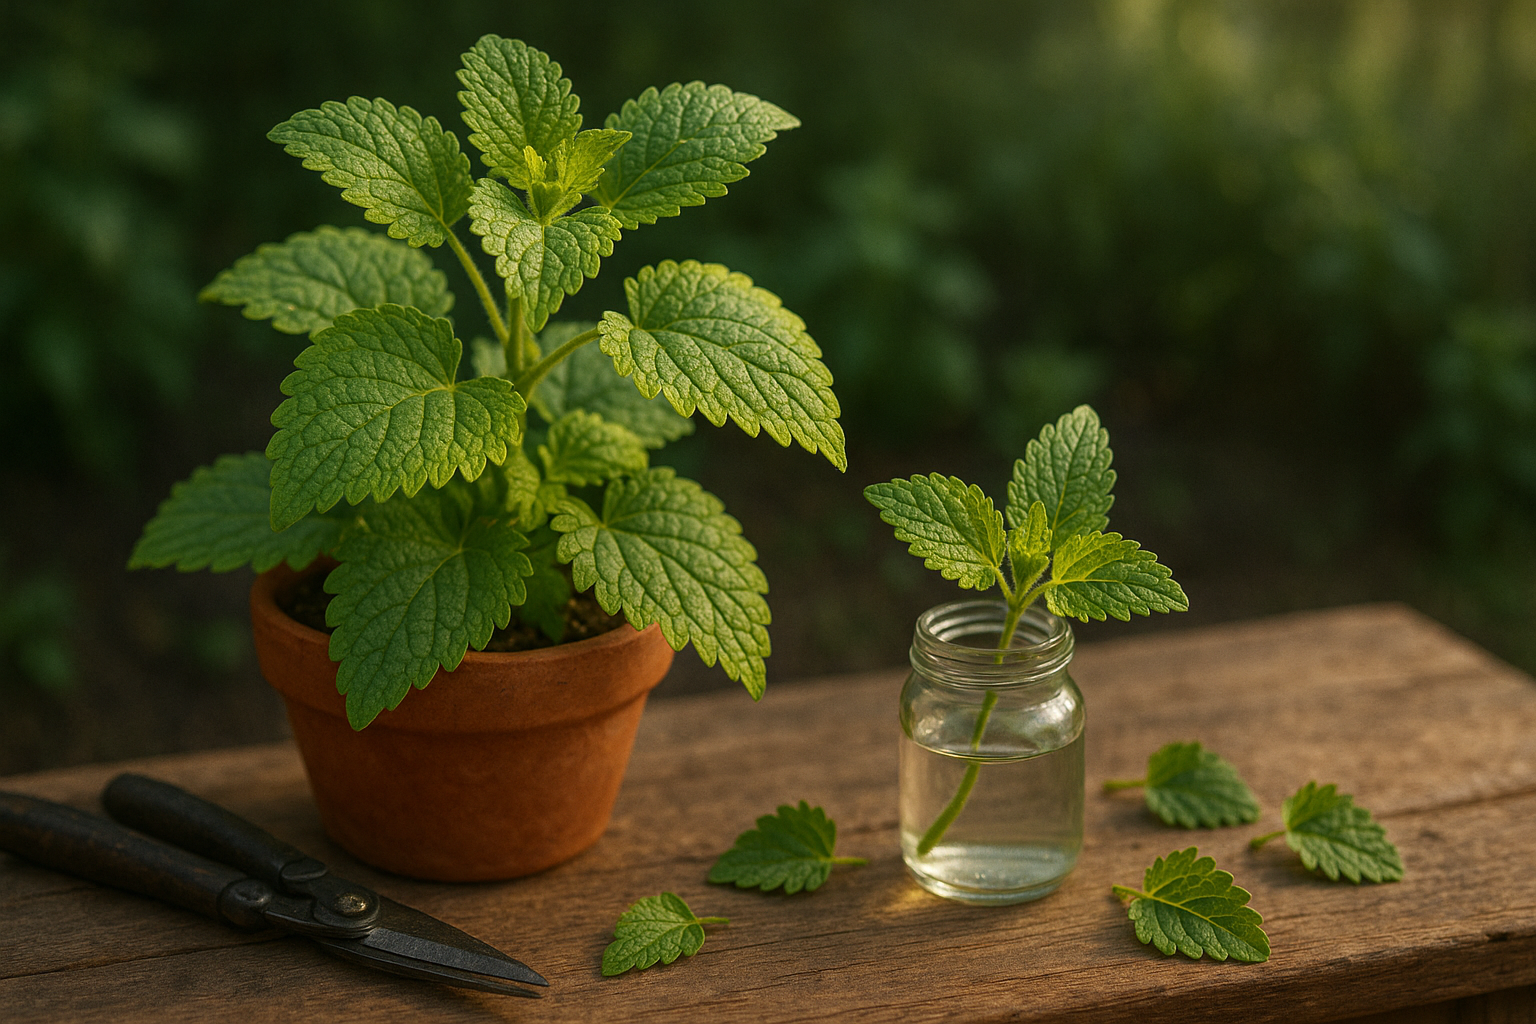
What’s even better is that lemon balm is incredibly easy to propagate, especially from grocery store herb bundles. Simply choose a fresh stem, trim the lower leaves, and pop the cut end in water on a sunny windowsill. Within a week or two, you’ll see roots, and after planting, a thriving herb bush is well within reach.
This means almost anyone, regardless of gardening experience or outdoor space, can grow their own endless supply for culinary experiments and natural home remedies. Plus, tending to lemon balm offers its own reward—a pot of lush, lemon-scented green that’s just as lovely to look at as it is to use.
Can You Regrow Lemon Balm from Grocery Store Cuttings?
Yes, regrowing lemon balm from grocery store cuttings is absolutely possible and can be a surprisingly effective way to boost your herb garden—often faster than starting from seed and more affordable than buying nursery plants.
When you take a fresh stem cutting, ideally one that has not wilted and shows healthy, green growth, you give it a solid head start. Look for stems with a few leaf nodes (the small bumps along the stem where leaves grow); these nodes are where roots are most likely to sprout once submerged in water or tucked into moist soil. Remove any lower leaves that might sit under water to prevent rot, and give your cutting a clean, angled snip just below a node.
Place the stem in a jar of clean water on a windowsill with indirect sunlight, and you should see roots forming within a week or two.
However, not all grocery store herbs are created equal—some are treated with chemicals to prolong shelf life or prevent pest problems, which can slow or stop root growth entirely. Sometimes, store-bought bunches have been trimmed from older, woody parts of the plant, which are harder to root, or mushy, low-quality stems that simply won’t thrive.
If you try once and have no luck, hunt for another bunch with crisp, bright leaves and check for chemical scents or residues.
While rooting from cuttings takes a little patience and trial and error, it’s worth the effort—especially if seeds fail to germinate or you want an instant patch of lemon balm on your windowsill.
Give it a try, and you might find yourself with a whole new plant for pennies, plus the satisfaction of turning kitchen scraps into a living, growing herb.
Step-by-Step Guide to Propagating Lemon Balm from Cuttings
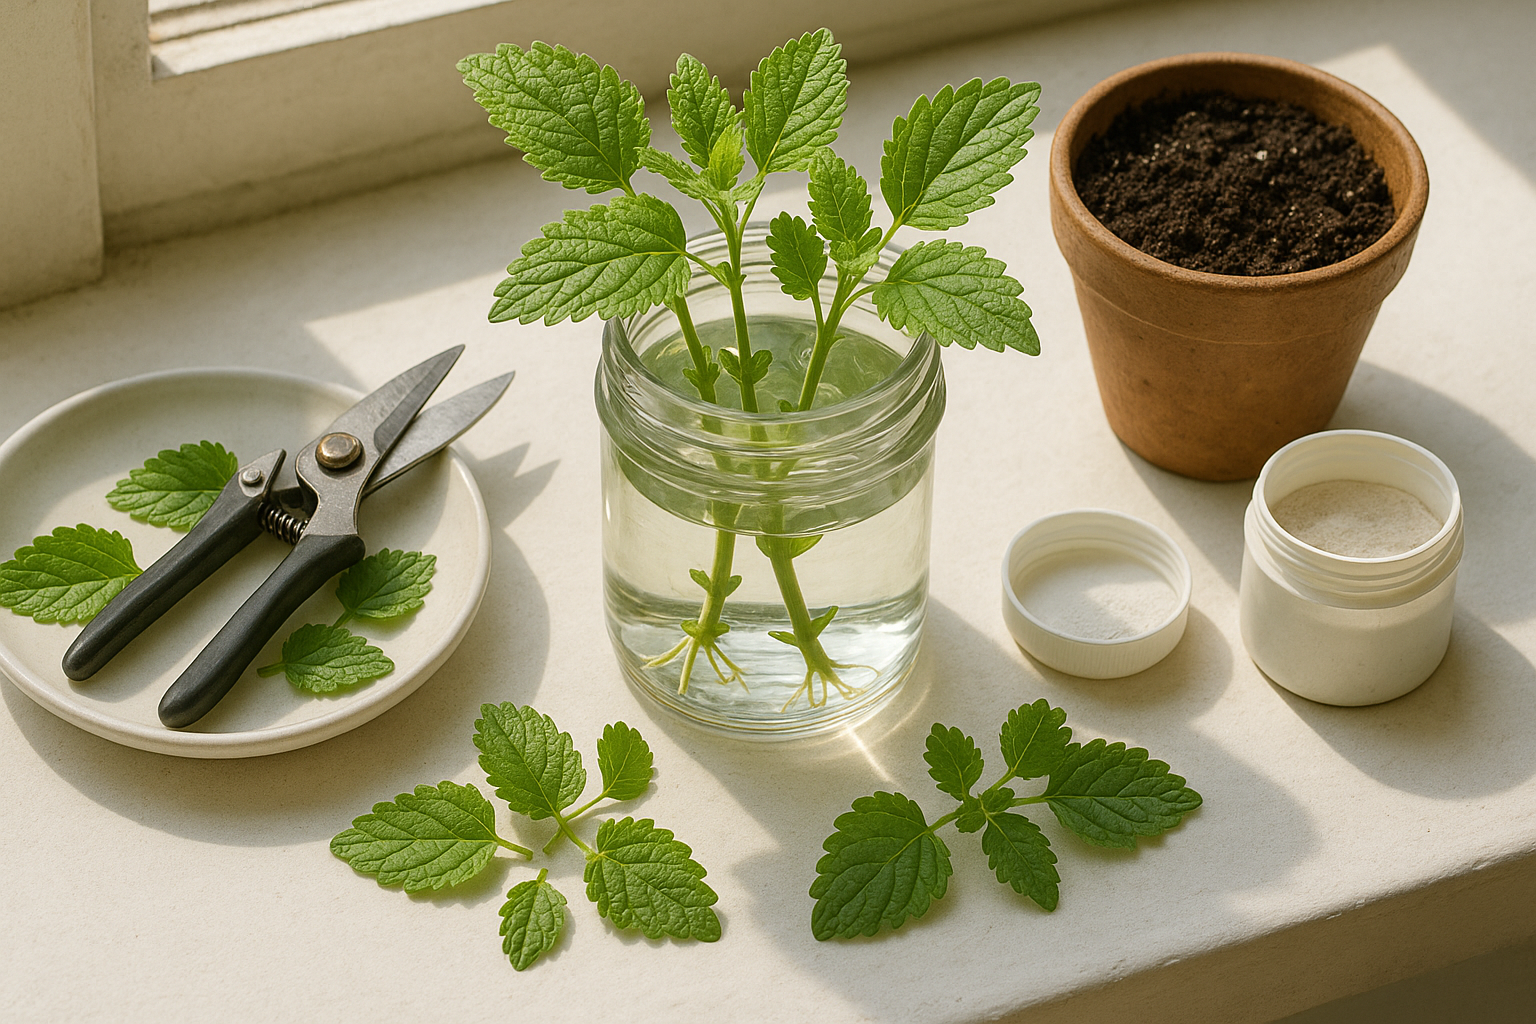
To successfully propagate lemon balm from cuttings, you’ll need a few basic tools: clean scissors or pruning shears, a jar or glass of water, small pots, and well-draining potting mix.
First, inspect your lemon balm plant and choose healthy, non-flowering stems about 4 to 6 inches long—avoid woody or yellowing stems. With sanitized scissors, cut just below a leaf node (the spot where leaves join the stem); nodes are where new roots form most readily.
Strip off the leaves on the lower half of each cutting to keep them out of the water or soil, which helps prevent rot.
Rooting in Water
Place your cuttings in a clear jar filled with enough fresh water to cover the nodes, and position them in bright, indirect light. Change the water every two days to avoid stagnation and bacteria growth.
Rooting in Soil
If you prefer starting the cuttings in soil, dip the cut end in rooting hormone (optional) and stick it into a pot filled with moist, lightweight potting mix. Covering the pot with a clear plastic bag can help maintain humidity, but make sure it doesn’t touch the cuttings and remove it daily for some air exchange.
Whichever method you use, roots typically begin to form in 10–14 days. When several healthy roots (at least one inch long) have developed, transplant the cuttings into individual pots with fresh soil and gradually introduce them to more direct sunlight.
To promote robust root growth:
- Don’t let the medium dry out completely, but avoid waterlogging.
- Avoid overwatering, which is a common mistake that leads to rot.
Be patient: not every cutting takes, so it’s wise to start a few extras to increase your chances of success. Regular gentle care will soon reward you with thriving new lemon balm plants.
Ideal Growing Conditions for Lemon Balm Success
Lemon balm thrives in well-draining, loamy soil with a neutral pH (6.5–7.0), making it easy to grow both indoors and outdoors. When planting outdoors, choose a spot that receives at least four to six hours of sunlight daily—morning sun is ideal, as intense afternoon sunlight can scorch the leaves.
Indoors, place your lemon balm near a south-facing window or use a grow light to mimic natural sunlight. Water when the top inch of soil feels dry, but be careful to avoid soggy conditions, as overwatering can lead to root rot and drooping foliage.
If you notice yellowing leaves, first check for drainage issues or overwatering; allow the container to dry out slightly before watering again. For outdoor beds, lightly mulch to maintain consistent moisture.
Pests like aphids or spider mites are rare but manageable: a quick rinse under the tap or a spritz of insecticidal soap usually does the trick. If your lemon balm looks leggy or pale, it likely needs more sunlight—try rotating the pot or moving it closer to a window.
To transition a water-started lemon balm to soil, wait until the roots are a few inches long. Gently rinse off the water roots, plant in moist, loose soil, and keep it in indirect light for several days. Gradually introduce brighter conditions to avoid transplant shock.
With a bit of attention to soil, sun, and water, your lemon balm should flourish in any setting.
Harvesting and Using Your Regrown Lemon Balm
For the freshest, most flavorful lemon balm leaves, harvest in the morning just after the dew has dried but before the heat of the day, when essential oils are at their peak. Simply snip the leafy stems with sharp scissors, taking care not to remove more than a third of the plant at once. This helps keep it healthy and encourages bushier new growth.
Fresh lemon balm’s bright, citrusy zing brings life to homemade teas—just add a handful of leaves to boiling water, steep, and enjoy hot or iced. You can also:
- Tear leaves into green salads for a hint of lemon.
- Muddle them into infused water for a refreshing drink.
- Use as a soothing addition to homemade balms and tinctures for a calming remedy.
For long-term care, prune flower heads as they appear to prevent bitterness and encourage leaf production. Trim the plant back after flowering to promote more compact growth. In colder climates, cut the plant back in late fall and mulch well to protect the roots over winter.
Every few years, dig up and divide mature clumps in spring to keep your lemon balm vibrant and productive. These divisions also make wonderful gifts for fellow herb lovers. With regular harvesting and a little care, your regrown lemon balm will thrive for years, providing ongoing harvests and fresh inspiration in the kitchen and beyond.
Common Questions About Growing Lemon Balm from Cuttings
Many gardeners wonder how long it takes for lemon balm cuttings to root, whether rooting hormone is necessary, and if you can grow them in water alone. Typically, lemon balm cuttings root within 2 to 4 weeks, though factors like light, temperature, and humidity can affect this timeline.
Rooting hormone isn’t essential—lemon balm is naturally eager to grow—but dipping the cut ends in powdered rooting hormone can speed things along if you have it. If you’d rather skip the soil, you can root lemon balm in a cup of water placed on a sunny windowsill. Just make sure to change the water every few days to prevent rot.
If your cuttings seem slow to root or look unhealthy, double-check that you’re using a clean, sharp tool for cutting and remove any lower leaves to avoid submersion. Soggy leaves rot quickly and can spread fungus. Also, ensure your water or soil isn’t too cold; room temperature works best for rooting.
Don’t get discouraged if your first attempt is slow—lemon balm is known for its resilience and ability to bounce back. Even beginners often find success, so keep your process simple and watch for those first roots as a sign you’re on the right track!