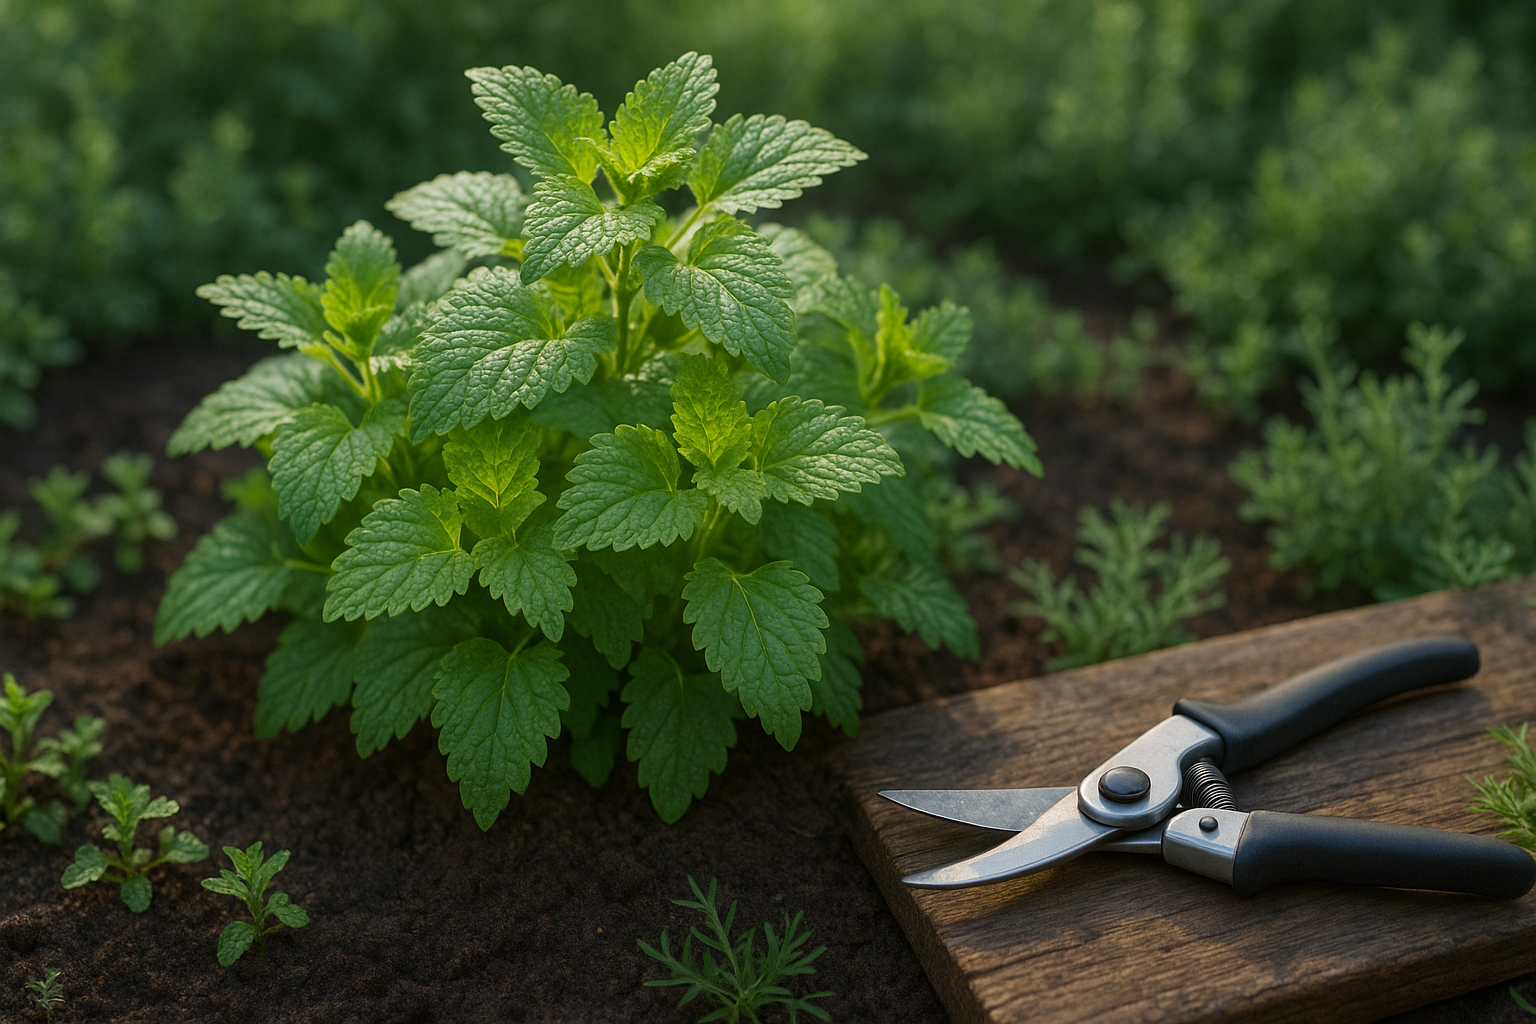
Introduction to Lemon Balm and Its Growth Needs
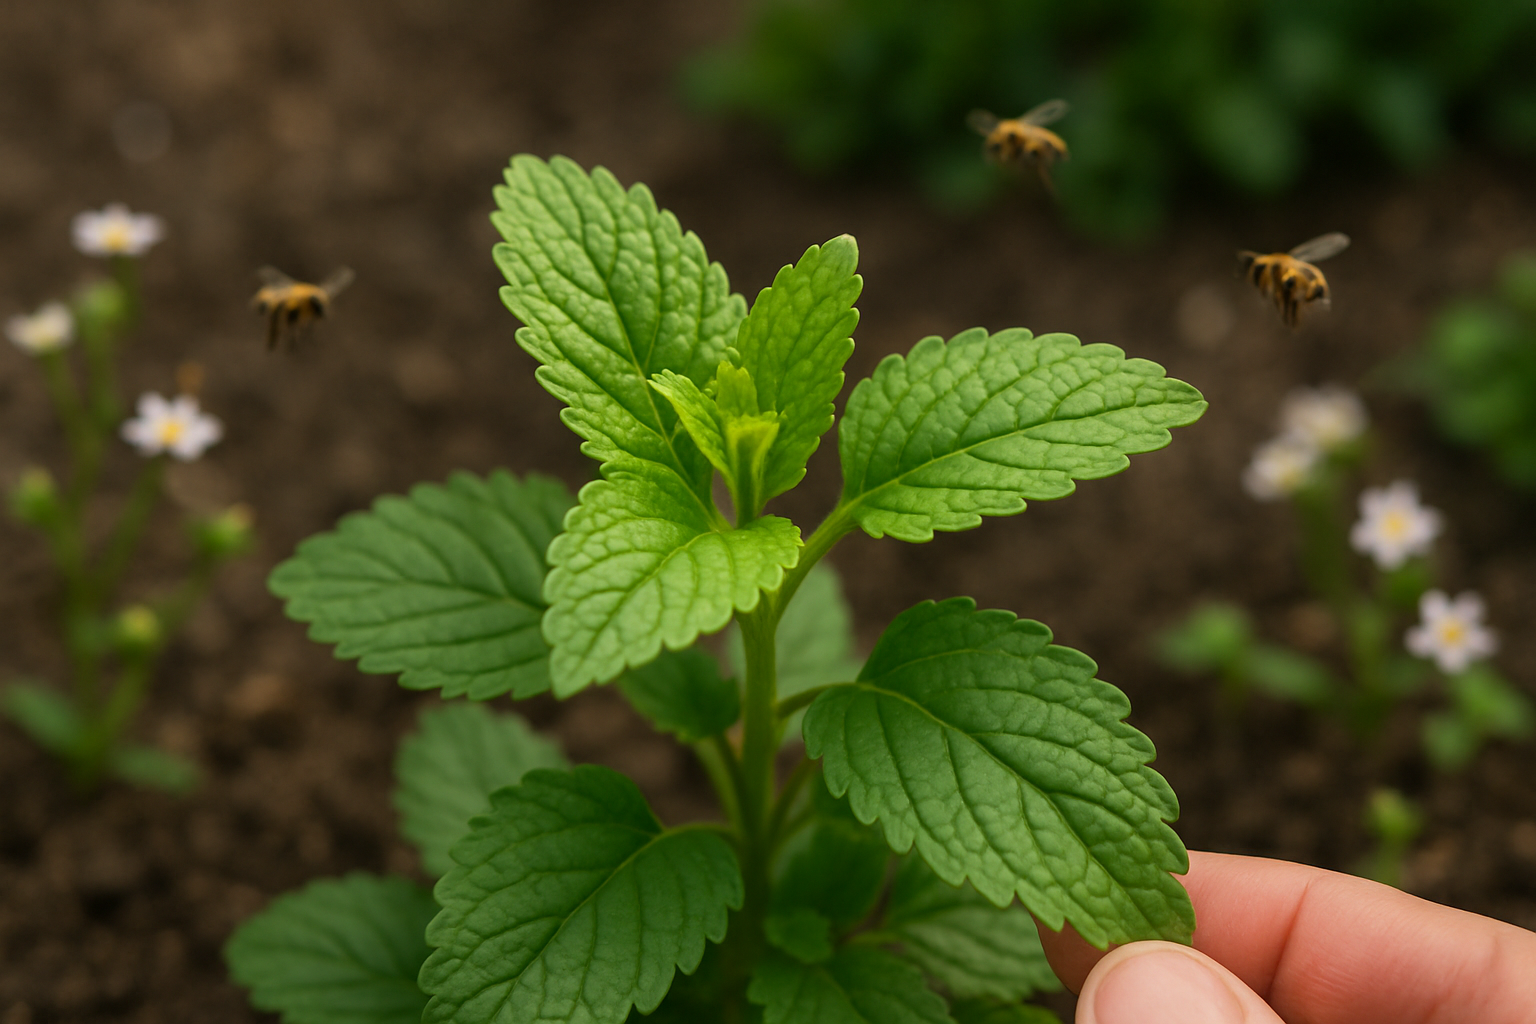
Pruning lemon balm is an essential practice for any gardener wanting to enjoy the full benefits of this versatile herb. Lemon balm, known scientifically as Melissa officinalis, is a fragrant perennial prized for its uplifting lemon scent and multiple uses. Whether you’re snipping its leaves for soothing tea, adding fresh zest to culinary dishes, or simply enjoying how it attracts bees and butterflies to your garden, lemon balm has earned its place as a household staple.
However, as vigorous as it can be, unchecked growth may cause your plant to become leggy, woody, or less productive over time. That’s where regular and proper pruning makes all the difference. By trimming it back thoughtfully, you encourage dense, bushy foliage and prevent the plant from flowering too early—helping it channel its energy into lush, flavorful leaves.
In this post, you’ll learn how a little timely pruning not only keeps your lemon balm healthy and vibrant but also extends your harvest throughout the growing season. Whether you’re a new or experienced gardener, these easy tips will ensure your lemon balm thrives year after year—right alongside your favorite recipes and relaxing herbal remedies.
Why Pruning Lemon Balm Matters
Pruning lemon balm isn’t just about keeping your herb patch tidy—it’s the key to a thriving, healthy plant. Regular pruning encourages new leaf growth, resulting in bushier plants bursting with fragrant, tender leaves for your tea or recipes. By trimming away old stems, you also reduce the risk of disease, since airflow improves and pests have fewer places to hide.
Plus, proper pruning extends the harvest season, letting you enjoy a constant supply of fresh leaves well into late summer or even early fall. Neglecting this simple task often leads to common issues like leggy growth, where stems stretch thinly toward light and leaves become sparse, making the plant less attractive and less productive.
Poor airflow due to overgrowth can also create humid pockets among the stems, inviting fungal diseases that turn beautiful green leaves brown or spotty.
Types of Pruning Cuts
When it comes to pruning, not all cuts are the same:
- Pinching: Using your fingers to remove tender tips—perfect for encouraging branching in young plants.
- Light trimming: Using scissors or shears to shape the plant and maintain its size.
- Hard pruning: Cutting back a significant portion, usually in early spring, to rejuvenate older or unruly lemon balm.
Mixing these approaches ensures your plant stays lush, healthy, and productive—so don’t be afraid to grab your garden shears regularly!
When Is the Best Time to Prune Lemon Balm?
The best time to prune lemon balm depends on your goals and growing conditions, but most gardeners find early spring and mid-summer to be ideal.
In early spring, just as new growth appears, prune your lemon balm to shape the plant and remove any dead or damaged stems left from winter. This encourages fuller, bushier growth throughout the season.
Summer, especially after the first flush of vigorous leaves, is another key time for pruning—particularly if you’re harvesting fresh leaves. Cutting back at this stage not only gives you a flavorful crop but also prevents the plant from becoming woody and unproductive.
Watch for signs that your lemon balm needs pruning:
- If it starts to flower (which can make the leaves less tasty)
- If it gets leggy or sparse
- If it begins overcrowding neighboring plants
In warmer climates, you might need to prune lightly throughout the growing season to control rampant growth. In cooler regions, stick to major cutbacks in spring with a lighter summer trim.
No matter where you grow it, regular pruning keeps lemon balm healthy and productive. Adjust your schedule based on how quickly your plant bounces back after each cut.
How to Prune Lemon Balm
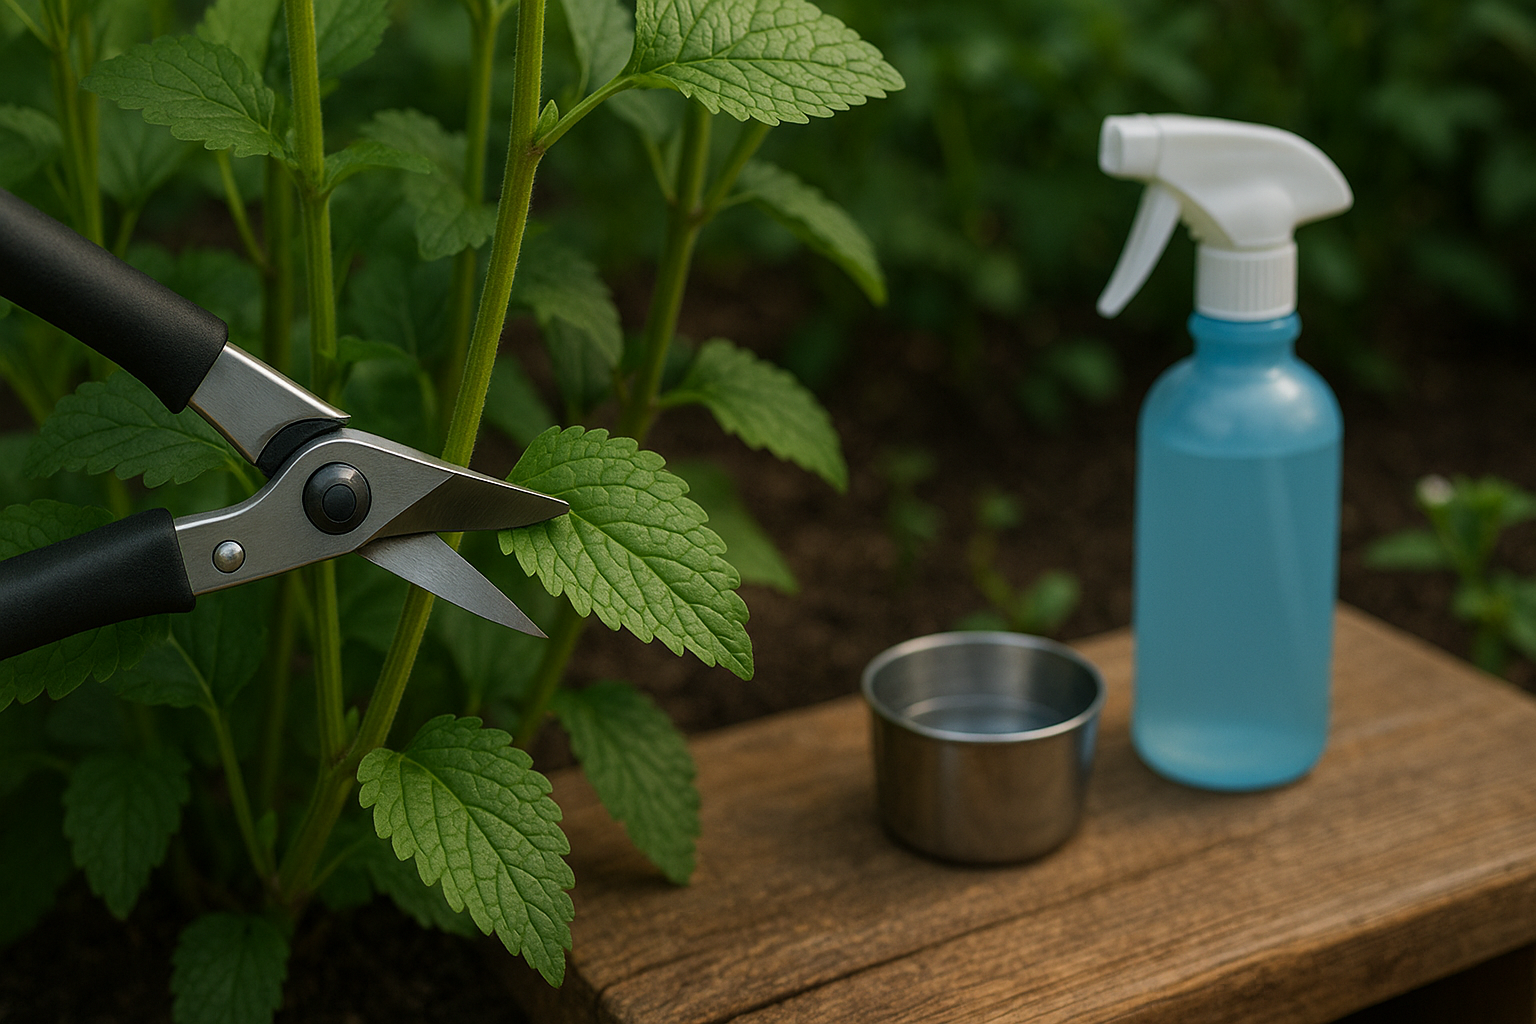
Pruning lemon balm is easier than you might think. With just a pair of clean scissors or pruning shears, you can keep your plant bushy and healthy all season long.
Start by sterilizing your cutting tool with rubbing alcohol—this simple step helps prevent the spread of disease. Always prune just above a leaf node (the small bump where leaves grow from the stem); this encourages the plant to send out fresh, bushy growth and keeps it looking full.
If you notice spent flowers or browning stems, snip them off to redirect the plant’s energy toward producing flavorful leaves instead of seeds.
For dense clumps, thin about one-third of the interior stems using your fingers or shears. This allows more light and air to reach the center, reducing pests and mildew.
Shaping the plant is easy: make your cuts at an angle and work around the outer edges, trimming back any leggy or unruly stems to maintain a neat, rounded shape.
For beginners, remember: never remove more than a third of your lemon balm at once. Over-pruning can shock the plant and slow growth, so it’s better to prune lightly and regularly.
Aim to trim your lemon balm every four to six weeks during the growing season, or whenever it starts looking wild. This regular upkeep helps your herb thrive and gives you plenty of fresh leaves for the kitchen.
With just a few mindful snips, you’ll keep your lemon balm lush, tidy, and productive all summer long.
Dealing with Common Pruning Mistakes and Recovery Tips
Pruning is a key part of garden care, but even experienced gardeners can make mistakes. One common error is cutting too low on the stem, which removes vital growth nodes and slows regrowth. Another frequent problem is making uneven or jagged cuts, which leave plants vulnerable to disease and pests. There’s also the risk of spreading diseases by using dirty pruners, which can quickly harm your garden’s overall health.
If you realize you’ve over-pruned or stressed your plant, don’t panic. The best recovery approach is to give your plant time to bounce back—hold off on more cuts, ensure it’s properly watered, and consider applying a diluted, balanced fertilizer to support new growth. Keep a close eye out for wilting, and minimize handling to reduce stress.
When pruning, use sharp, clean tools and make smooth, angled cuts just above a node or bud. Remember, gentle pruning is better for long-term health—removing no more than one-third of the plant at a time helps avoid shock and stunted growth. If you spot a mistake early, applying a natural pruning sealer can protect exposed wood while the plant heals.
With a little patience and care, most plants recover well from common pruning errors.
Aftercare
After you’ve finished pruning, how you care for your plants can make a big difference in their recovery and future growth. Watering is essential, especially during the weeks immediately after pruning, as the plant works to heal and produce new shoots. Be sure to water deeply but allow the soil to dry out between sessions to prevent root rot.
Mulching is another effective step—try adding a 2–3-inch layer of organic mulch around the base of the plant, making sure to keep it a few inches away from the stems. This helps retain moisture, regulate soil temperature, and suppress weeds, giving your plant a healthier growing environment.
Fertilizing is also crucial, but timing is key; wait until you see signs of new growth before applying a balanced fertilizer so you don’t stress the recovering plant.
Don’t forget to monitor your plants regularly for any pests or signs of disease. New growth is particularly vulnerable, so check leaves and stems for spots, chewed edges, or wilting, and treat promptly if you spot an issue.
Finally, incorporate occasional light maintenance trimming to remove any dead or crossing branches as your plant regrows. This ongoing care supports strong, healthy regrowth and helps your plants thrive through the growing season.
Maximizing Lemon Balm Growth and Uses After Pruning
After pruning your lemon balm, don’t let those fresh green clippings go to waste. The leaves you harvest are perfect for drying—simply bundle the stems and hang them in a well-ventilated area away from direct sunlight for a week or two. Once dry, the leaves retain their soothing lemony fragrance and can be stored in an airtight jar for months of use in teas or homemade infusions.
Fresh lemon balm is also wonderful in cooking; try adding chopped leaves to salads, fish dishes, or as a zesty garnish for desserts.
The pruned stems aren’t just kitchen treasures—they’re the start of your next generation of plants. Simply snip healthy, non-flowering stems about four inches long, strip the lower leaves, and root them in water or moist soil. In a few weeks, you’ll have thriving new lemon balm plants to expand your herb garden or share with friends.
Regular pruning not only gives you an ongoing supply of fragrant leaves but also keeps your plant bushy and productive by encouraging new growth. With smart harvesting and a little propagation, you can enjoy vigorous lemon balm plants year-round and discover endless uses for every snipped stem.