Introduction to Marjoram & Plant Overview
Understanding the marjoram growth timeline is essential for gardeners eager to enjoy fresh herbs from their own backyard. Marjoram (Origanum majorana) is a fragrant, tender perennial herb prized in kitchens worldwide for its sweet, slightly floral flavor—perfect for seasoning meats, salads, soups, and stews.
Unlike its bolder cousin oregano, marjoram’s delicate leaves add a subtle touch to Mediterranean and Middle Eastern dishes, making it a versatile staple for home cooks. Growing marjoram at home offers numerous benefits: the plant thrives in containers or garden beds, requires minimal maintenance, and rewards you with a continual supply of aromatic, flavorful leaves just a pinch away.
It’s also an excellent companion plant, attracting pollinators and adding visual interest to herb gardens. While there are several marjoram varieties, such as wild marjoram and pot marjoram, sweet marjoram is the most popular due to its superior culinary qualities and gentle taste.
Whether you’re an experienced gardener or just starting out, learning about marjoram’s growth cycle will help you plan your harvest and make the most of this delightful herb’s versatility in your favorite recipes.
Starting Marjoram: Seeds or Transplants?
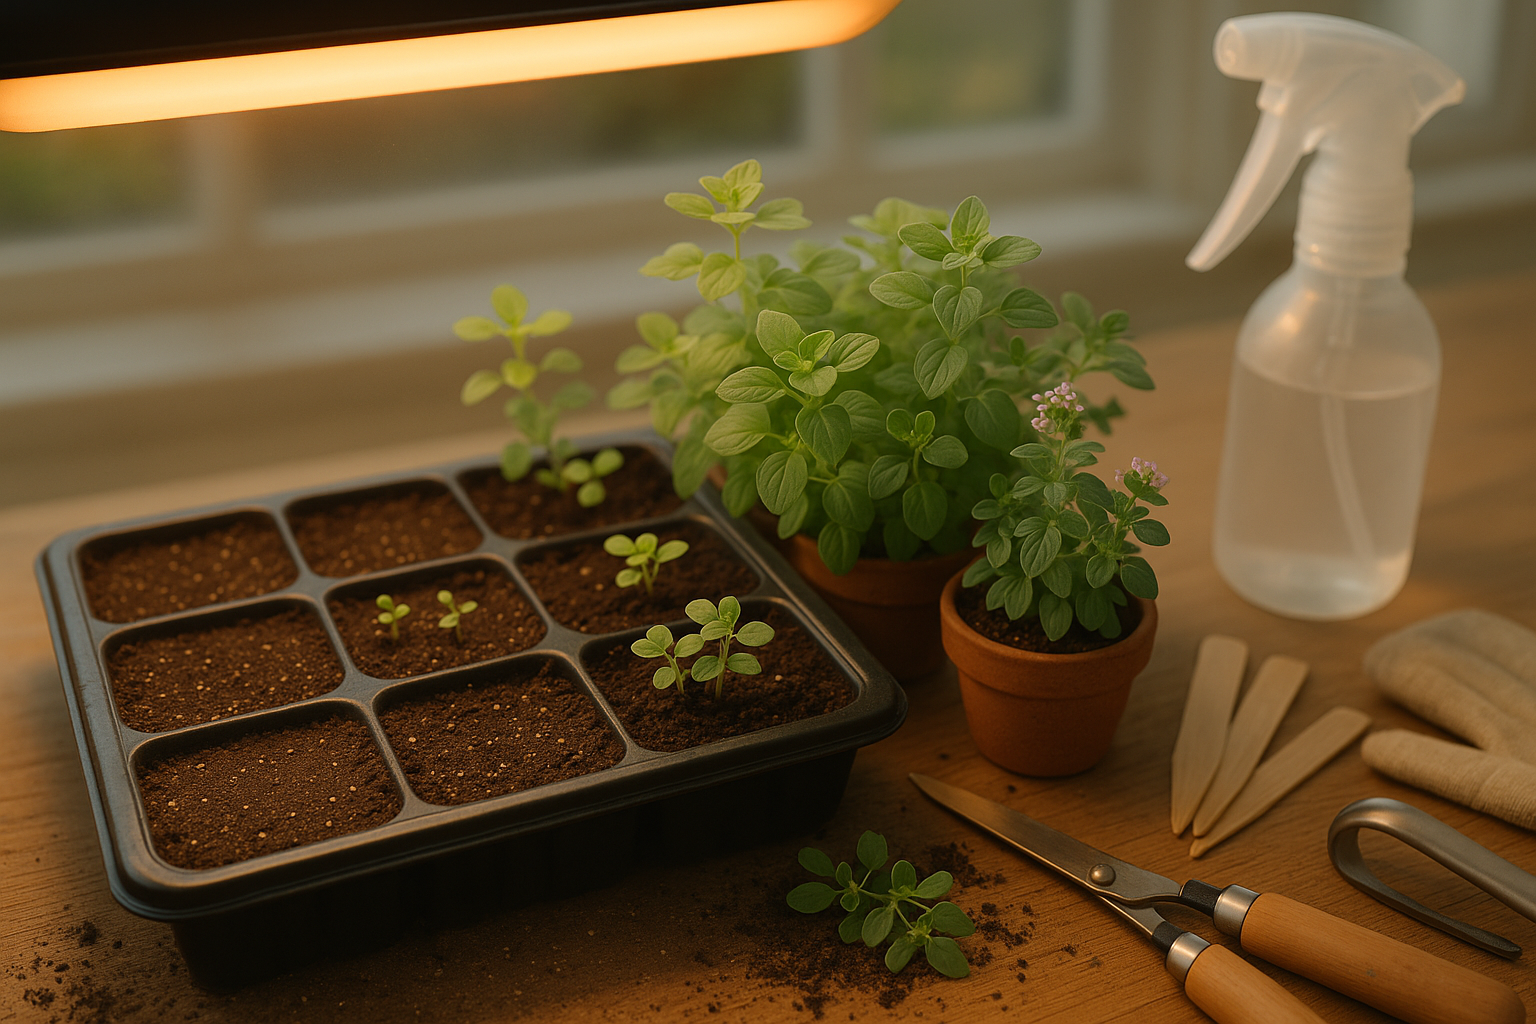
When deciding whether to start marjoram from seeds or buy young transplants, consider your gardening goals and timeline. Seeds are budget-friendly and offer a wider variety of options, but they require patience and attention to detail.
To start marjoram from seed, sow them indoors 6-8 weeks before your last expected frost. Because marjoram seeds are tiny, scatter them lightly on the soil surface and press gently—don’t bury them too deep. Place trays somewhere warm (70°F is ideal) and provide plenty of bright, indirect light; a sunny windowsill or grow light works well. Keep the soil consistently moist but not soggy, as marjoram dislikes “wet feet.”
If you prefer convenience, local nurseries or garden centers often sell healthy marjoram transplants, allowing you to skip the germination phase and move faster to harvest.
When your seedlings have at least two sets of true leaves and nighttime temperatures stay above 50°F, they’re ready to head outdoors. Acclimate them gradually over a week by putting them outside for a few hours each day.
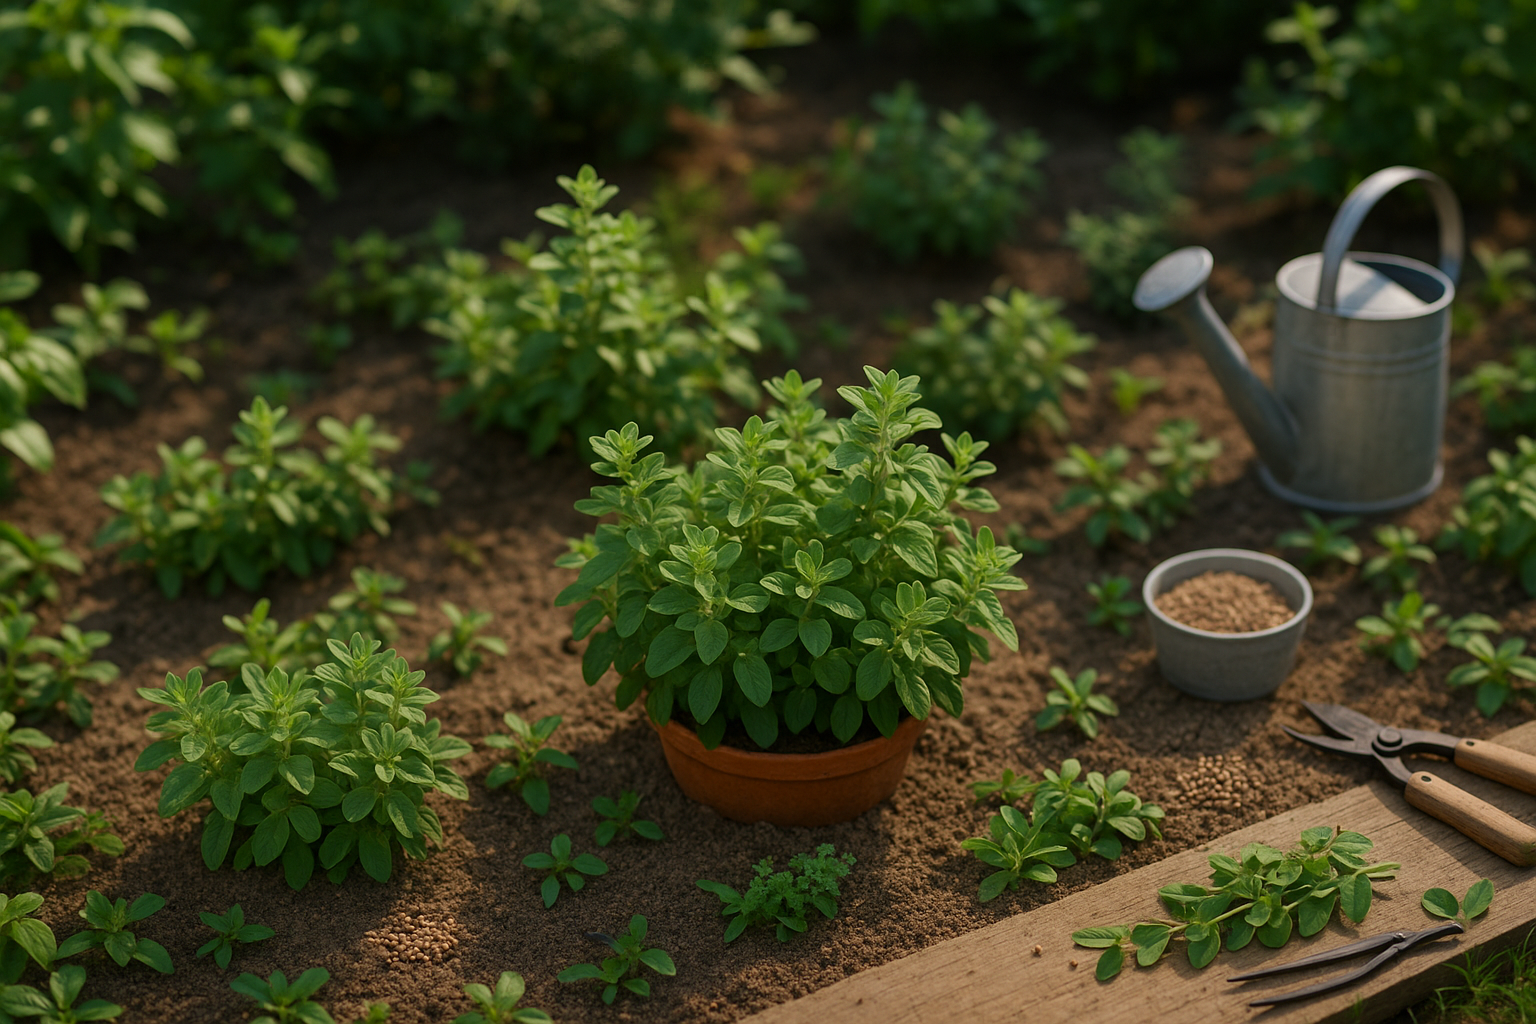
Select a sunny garden spot with well-draining soil—marjoram thrives in full sun and doesn’t tolerate heavy, waterlogged ground. Improve clay soil with added compost or sand. Space plants about 8-12 inches apart and water them in well.
Whether you choose to start from seed or purchase transplants, careful planning and attention to detail will help your marjoram flourish.
Care and Growing Requirements
Marjoram thrives best in well-draining soil with a sandy or loamy texture, as it strongly dislikes soggy roots. Aim for a neutral to slightly alkaline pH, ideally between 6.5 and 7.5. If your soil is too acidic, you can incorporate a handful of garden lime.
When it comes to watering, marjoram prefers to dry out a bit between sessions; water deeply but infrequently, letting the top inch of soil dry out before watering again. Overwatering is the quickest way to stress or kill a marjoram plant, so avoid letting it sit in water-logged soil. Marjoram is quite forgiving of dry spells, making it drought-tolerant once established.
For fertilization, marjoram doesn’t need much—use a balanced liquid fertilizer at half strength only once a month during the growing season, or apply a light dose of granular organic fertilizer at planting, which will usually suffice.
Space marjoram plants about 10-12 inches apart; this gives them room to spread but allows for good airflow, which helps prevent disease and mildew. Dense plantings or crowded pots invite fungus and reduce growth.
Pruning is key for a lush, bushy plant: pinch back young stems regularly, and trim the growing tips every few weeks to encourage branching rather than vertical, leggy growth. Deadhead any flowers if you want to prolong leaf production, as marjoram’s flavor peaks before it blooms.
All these steps help you grow healthy, productive marjoram that stands up well in kitchen gardens or sunny windowsills.
Common Growing Problems & Solutions
Many plant lovers face common growing problems like overwatering, root rot, pests, and diseases, but you can often prevent or tackle these issues with a few simple habits.
Overwatering is one of the biggest missteps—yellowing, droopy leaves are telltale signs. Let your soil dry slightly between waterings, and make sure pots have drainage holes.
Root rot, caused by soggy soil, leads to stunted growth and a foul smell from the roots. Repotting into fresh, well-draining soil can save plants that are only mildly affected.
Pests such as aphids and spider mites show up as tiny dots, webbing, or sticky residue on leaves. Combat them by spraying your plants with a diluted mix of water and dish soap or neem oil, and check the underside of leaves regularly.
Diseases like powdery mildew look like a white, powdery coating on leaves. To prevent this, space your plants for good airflow and avoid wetting the foliage. Remove and dispose of affected leaves promptly.
Healthy plants have firm, vibrant leaves with steady new growth, while unhealthy ones display spots, wilting, or discoloration. Routine observation helps you catch issues early.
By adjusting your care habits and using natural solutions, you can keep your plants thriving and your indoor jungle looking its best.
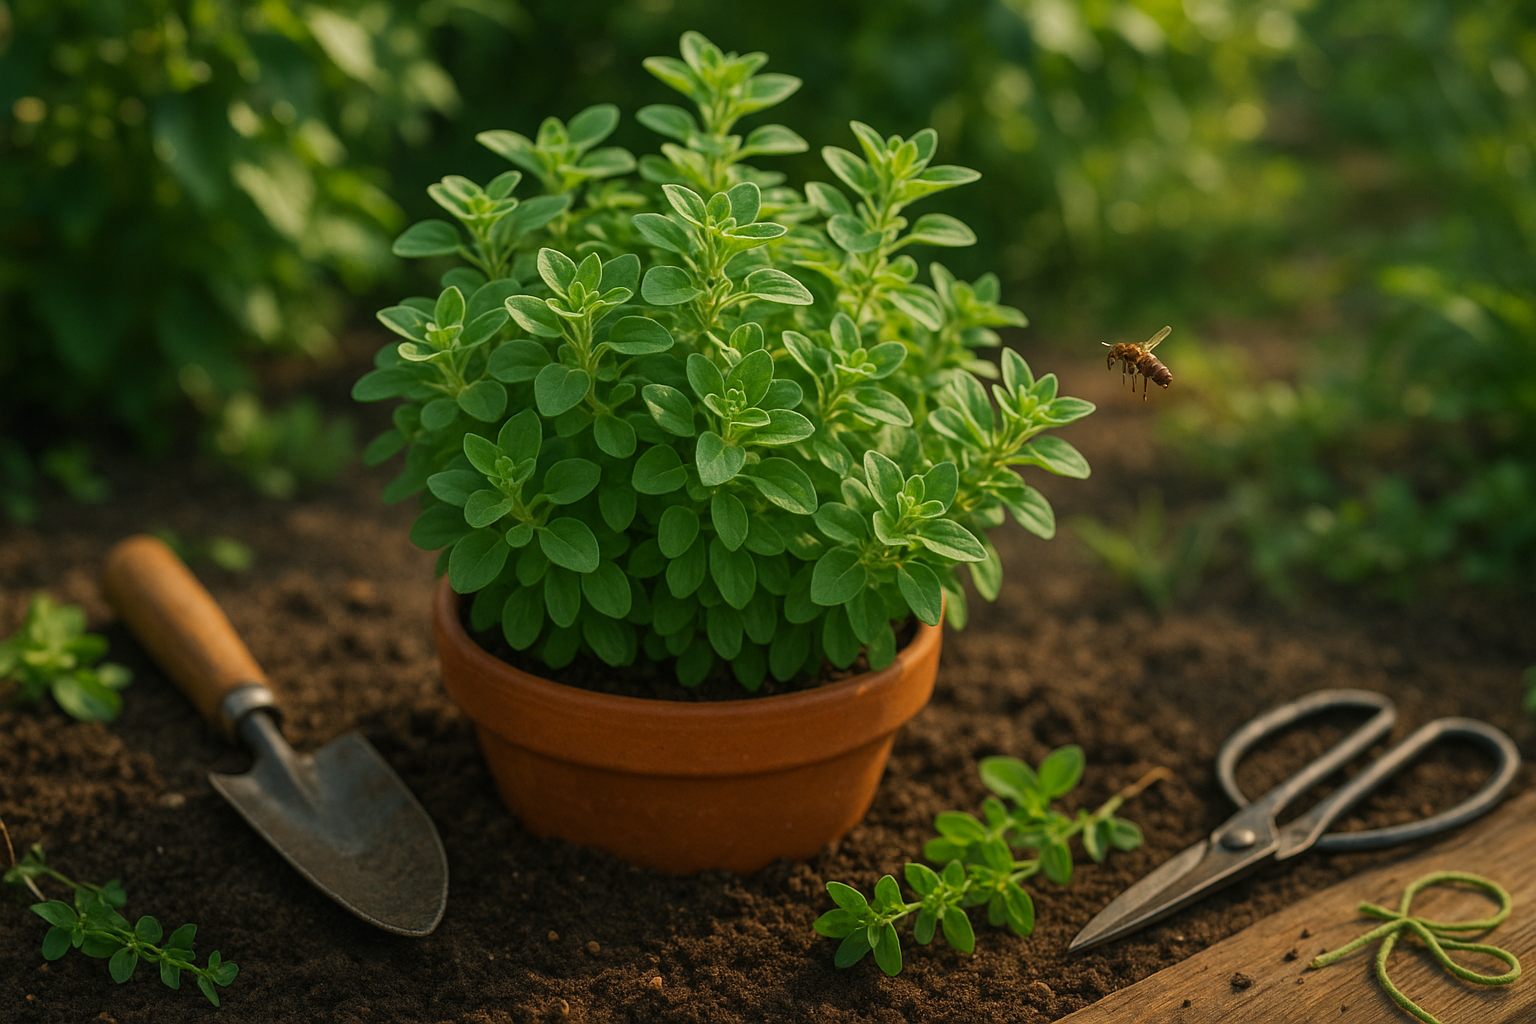
How & When to Harvest Marjoram
Harvesting marjoram at the right time is the secret to getting the most flavorful leaves from your plant. The best time to harvest is just before the tiny flower buds open, as this is when the essential oils in the leaves are at their peak, delivering the strongest aroma and taste.
Aim to pick marjoram in the morning, after the dew has dried but before the midday heat, to lock in those delicate flavors. Use clean, sharp scissors or garden shears to snip sprigs, cutting just above a leaf node (where a pair of leaves grows from the stem). This technique encourages the plant to branch out and produce even more leafy stems, ensuring a steady supply throughout the season.
Regular harvesting and gentle pruning not only keep your plant looking tidy but also stimulate lush regrowth. You can expect a healthy marjoram plant to bounce back after each trim, extending your harvest period well into fall.
Using and Preserving Marjoram
For immediate use, simply pick fresh sprigs as needed and strip the leaves right before cooking for the best flavor.
If you want to preserve marjoram, try air drying by bundling stems and hanging them upside down in a well-ventilated area away from direct sunlight, or use a dehydrator for quicker results. Once dried, crumble the leaves and store them in airtight containers.
Alternatively, you can freeze fresh leaves by chopping them and placing them in an ice cube tray with a little water or olive oil—handy for tossing into soups and stews year-round.
With regular care and thoughtful harvesting, your marjoram plant will keep rewarding you with aromatic leaves for months to come.
Storing and Using Marjoram
To keep your marjoram flavorful long after harvest, start with proper storage. Drying is the most common method—simply tie fresh sprigs together and hang them upside down in a cool, dark place until the leaves are crisp. Then, crumble and store them in an airtight jar away from sunlight.
For a fresher taste, freezing works well. Chop the leaves and freeze them in ice cube trays with a bit of water or olive oil to lock in their aroma. You can also preserve marjoram by submerging clean, dry leaves in olive oil, which both flavors the oil and extends the herb’s usability for months.
In the kitchen, marjoram’s gentle, slightly sweet flavor shines in:
- Soups like chicken or vegetable
- Mixed into salads
- Sprinkled over roasted vegetables and meats
- Stirred into tomato sauces
- Classic Mediterranean stuffing and sausage
Beyond cooking, marjoram has traditional uses in herbal teas for soothing digestion and relaxation, as well as in folk remedies for relieving minor aches.
To maintain maximum flavor, always harvest marjoram before it flowers, preferably in the morning after the dew dries, and store it in airtight containers away from heat and moisture. If using dried leaves, crush them just before adding to dishes to release their essential oils.
Quick FAQs & Final Tips
Many beginners wonder if marjoram is a perennial herb—they’ll be happy to know it is! In mild climates, marjoram comes back year after year. But if you live in a colder zone, grow it as an annual or bring it indoors for winter; a sunny windowsill works perfectly.
Another common question is about how fast marjoram grows. Expect to harvest fresh leaves in as little as 6–8 weeks after planting seeds.
For best results:
- Use well-draining soil
- Avoid overwatering, since marjoram dislikes soggy roots
- Pinch the growing tips to help the plant stay bushy and promote more flavorful leaves
If you’re just starting out, don’t stress—marjoram is quite forgiving. Just give it sun, warmth, and a little attention, and you’ll enjoy delicious, aromatic herbs right from your garden or kitchen all season long.