Introduction to Hydroponic Marjoram
Hydroponic marjoram is gaining attention among seasoned gardeners and curious beginners alike, thanks to the rising popularity of hydroponic gardening. Unlike traditional soil-based methods, hydroponics involves growing plants in nutrient-rich water, allowing for precise control over their environment.
This innovative approach is catching on fast—urban dwellers, hobbyists, and even chefs are turning to compact hydroponic systems for fresh produce, no matter the season. Marjoram, a fragrant and versatile herb commonly used in Mediterranean dishes, is exceptionally well-suited to hydroponic cultivation.
Why? It thrives in controlled conditions, responding with fast, healthy growth. Imagine snipping fresh marjoram leaves for your recipes anytime throughout the year, straight from your kitchen countertop or indoor garden.
Unlike outdoor beds, hydroponic setups dramatically reduce pest problems, as there’s no soil to harbor bugs or diseases. Plus, the ability to fine-tune nutrient levels often means your marjoram will grow faster than plants in traditional gardens, yielding more leaves per plant.
Whether you’re short on outdoor space or want to ensure a steady supply of fresh herbs, hydroponic marjoram offers a practical, rewarding twist on home gardening. In this article, we’ll dive into what makes marjoram a hydroponic standout and whether investing in a system is truly worth it for your culinary needs.
Choosing and Starting Marjoram for Hydroponics
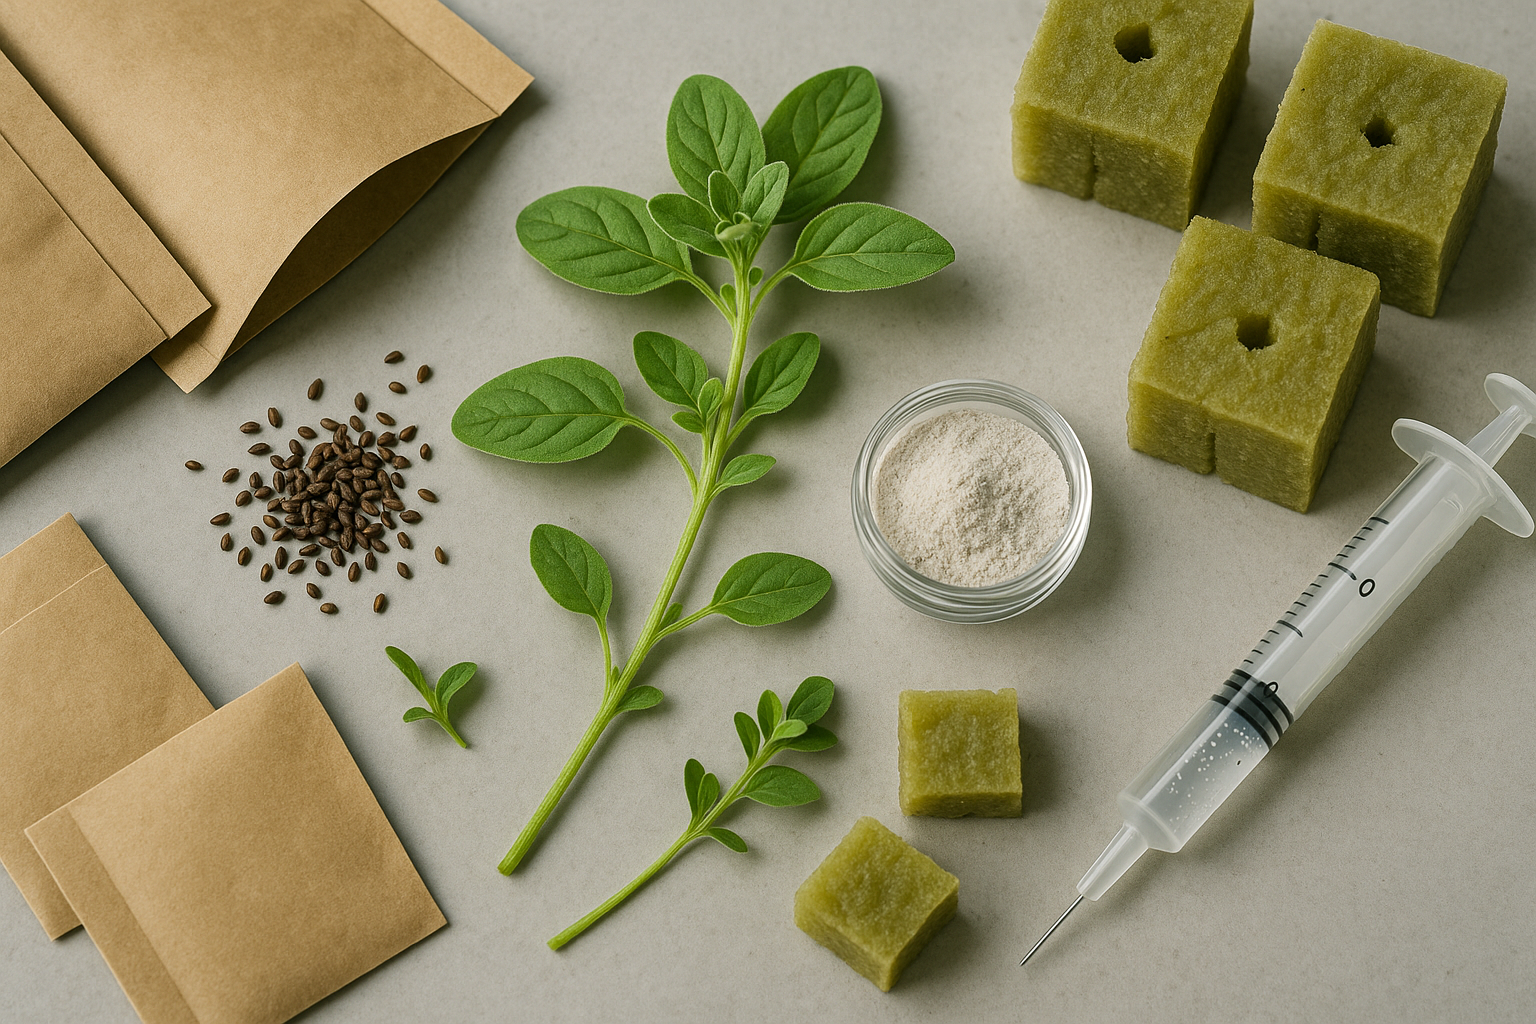
When starting marjoram in a hydroponic system, you can propagate it either by sowing seeds or using stem cuttings. Each method has its pros and cons. Growing marjoram from seeds is cost-effective and allows for a larger number of plants, but seeds have a slower germination rate and can be picky about moisture and temperature, sometimes leading to inconsistent growth.
On the other hand, stem cuttings—taken from a healthy mother plant—root more quickly and reliably in hydroponic setups, letting you clone plants with desirable traits, but they require access to a mature plant.
Seed and Cutting Selection
For seed selection, choose fresh, high-quality seeds from a reputable supplier; avoid old or discolored seeds, which are less likely to sprout. If choosing cuttings, look for non-flowering stems about 4-6 inches long, with healthy, green leaves and no signs of disease or pests.
Starting Marjoram in Hydroponics
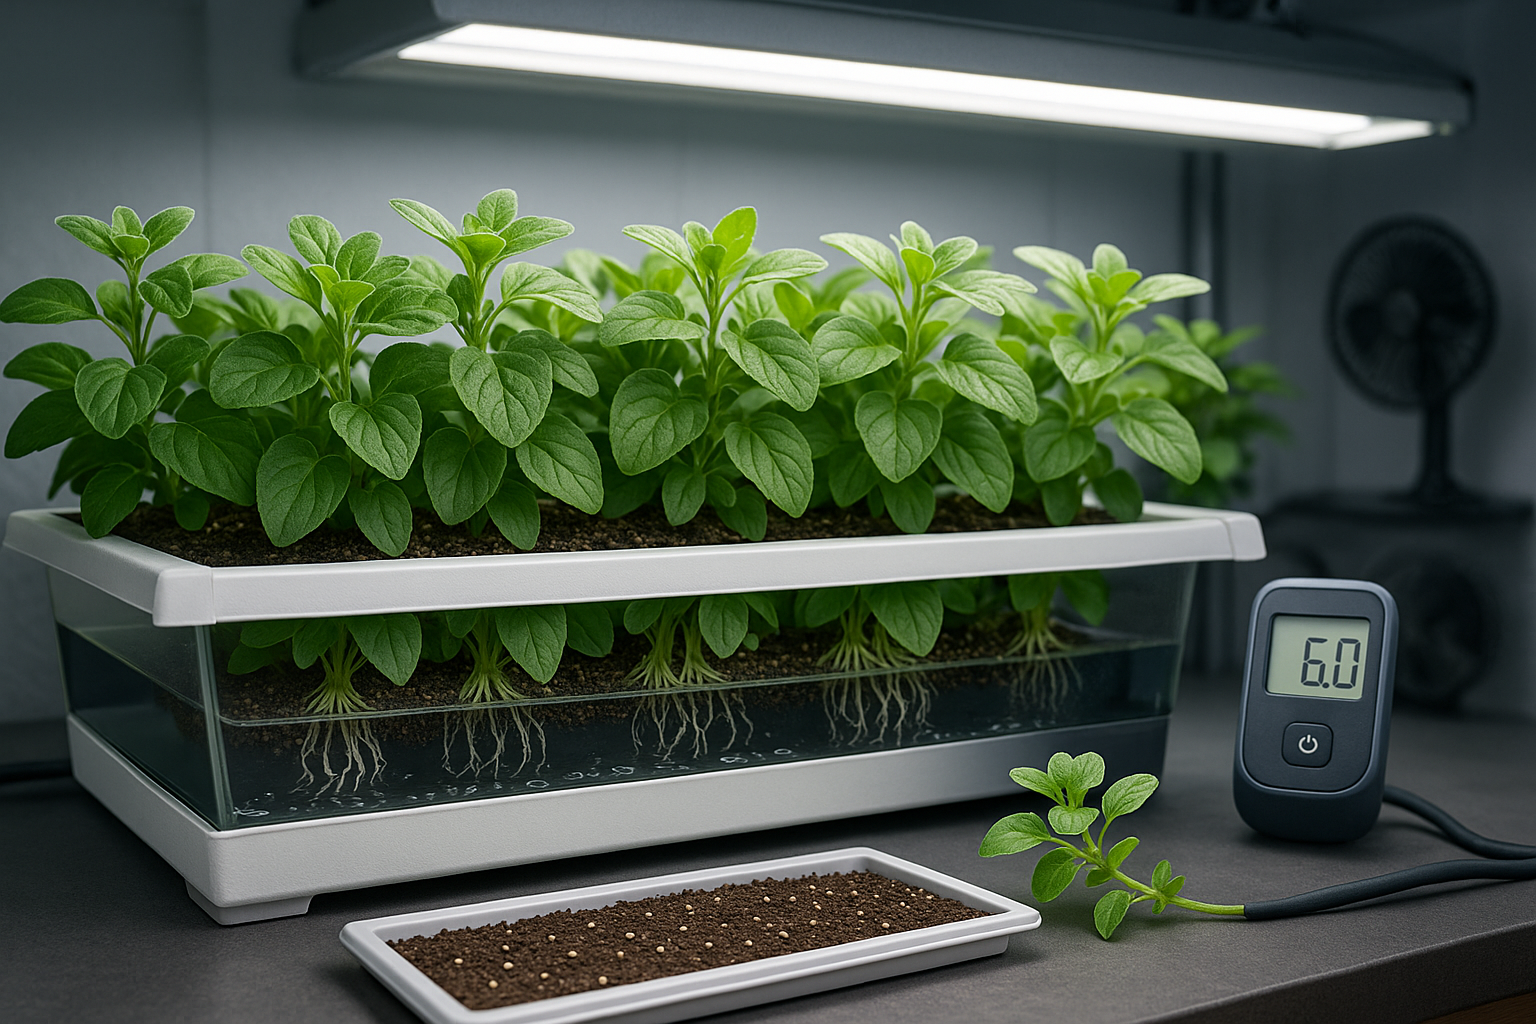
To start marjoram in hydroponics:
- Germinate seeds in a moist medium like rockwool or rapid rooters, maintaining warmth (70–75°F) and gentle light until seedlings emerge—usually in 7–14 days.
- For cuttings, strip lower leaves, dip the stem in rooting hormone, and place it into your moist medium until roots develop.
- Once the roots are well-formed, transfer seedlings or rooted cuttings into your hydroponic system, being careful not to damage the fragile roots.
Common Pitfalls to Avoid
Watch out for common issues such as:
- Overwatering, which can cause damping-off and rot.
- Neglecting water pH—marjoram thrives in slightly acidic conditions around 5.5–6.5.
- Overcrowding, which limits airflow and light.
Start small, monitor growth closely, and you’ll set your marjoram up for healthy, aromatic success.
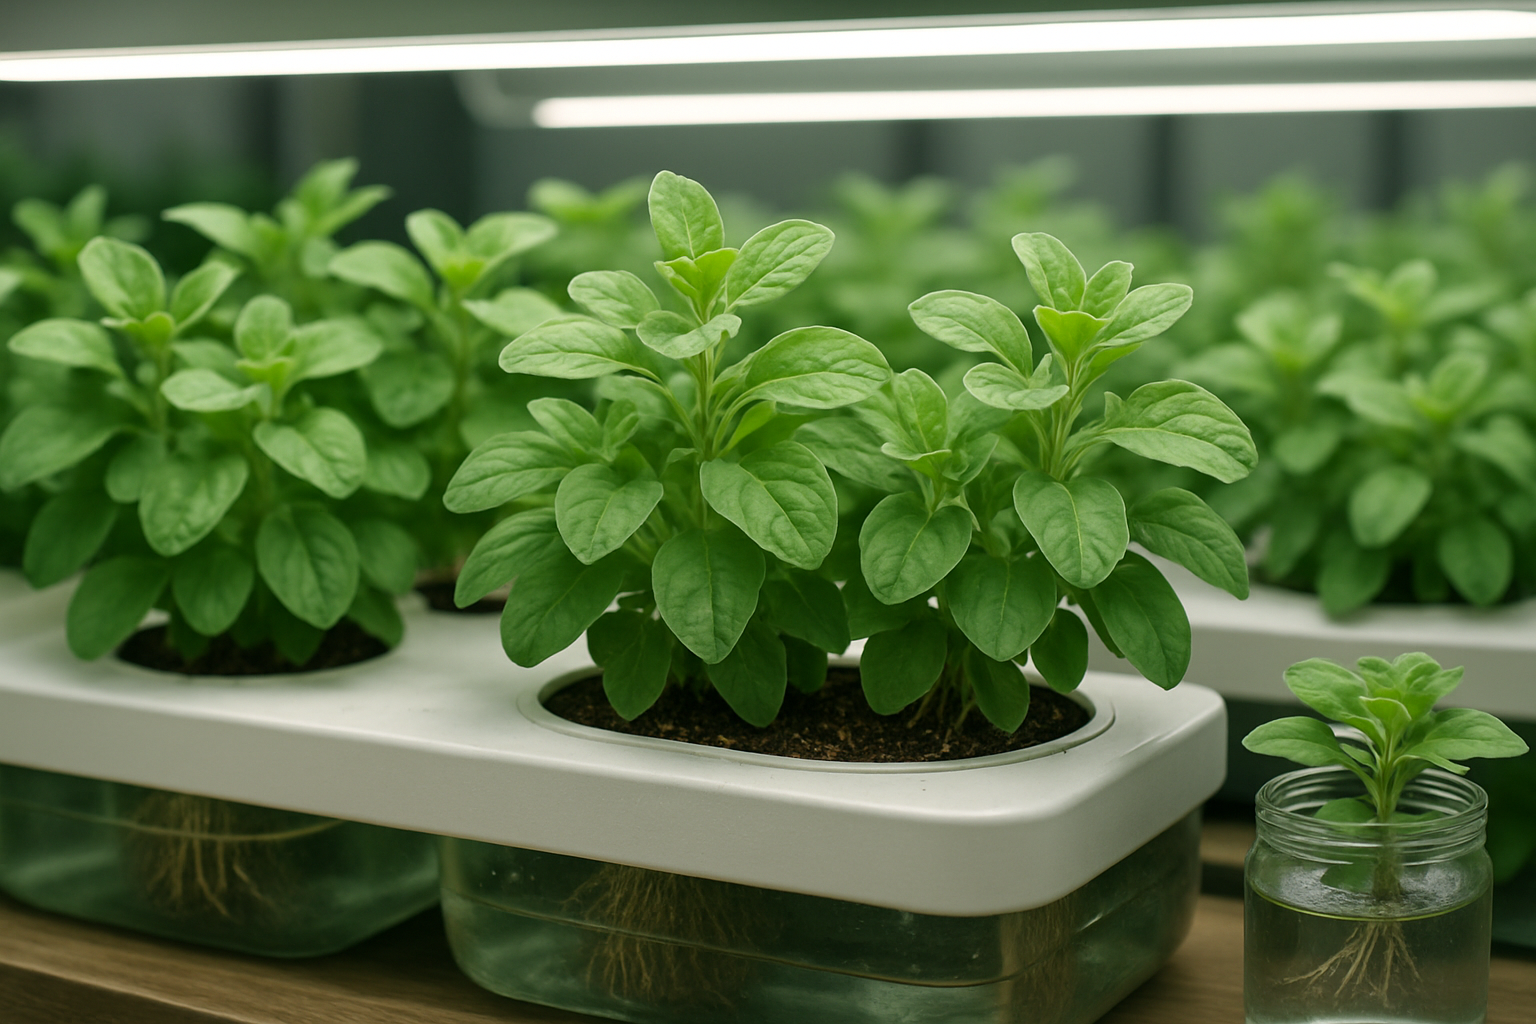
Setting Up Your Hydroponic System for Marjoram
Growing marjoram hydroponically is surprisingly straightforward, and you can choose from several systems depending on your space and budget. For beginners, the Kratky method—a passive, no-pump setup using containers—works well for small-scale herbs.
If you’re looking for greater yield and don’t mind a bit more setup, try Nutrient Film Technique (NFT), where a thin film of nutrient-rich water runs past the roots, providing steady nutrition and oxygen. Deep Water Culture (DWC) systems are also a great fit, suspending marjoram roots in aerated water.
No matter which system you choose, aim for a water pH between 6.0 and 7.0, and use a hydroponic nutrient solution formulated for leafy greens or herbs. Marjoram craves at least 12 to 14 hours of bright light daily—LED grow lights are an efficient way to meet this need indoors.
For plant spacing, keep at least 6 to 8 inches between each marjoram plant to encourage airflow and prevent overcrowding, which can invite fungal diseases. Install a small fan near your growing area to improve air circulation, and always check leaves for signs of mildew or pests.
Sterilize containers and tools before use, and consider adding a mild hydrogen peroxide solution to the water for occasional root protection. With these tips, your hydroponic marjoram can thrive and deliver aromatic, flavorful leaves year-round.
Daily Care and Maintenance of Hydroponic Marjoram
Taking care of hydroponic marjoram involves a few simple daily and weekly habits that can make a big difference in your plant’s health. Start by checking the water reservoir every morning to ensure it’s not low or cloudy, which could signal algae or root problems.
Test and adjust the nutrient solution regularly, aiming for a balanced mix designed for herbs—marjoram thrives best when given consistent nutrients, so don’t let the levels get too high or too low.
Make it a routine to inspect your grow lights daily; marjoram needs 12-16 hours of bright but indirect light. If the leaves look pale or growth is leggy, try moving lights closer or increasing their duration.
Weekly, wipe down any exposed surfaces to prevent algae buildup, and clean your water pumps and air stones for optimal oxygen flow.
Watch for signs of trouble like yellowing leaves (which could mean a nutrient deficiency), wilting (often from low water or root issues), or spots and fuzz (possible fungal infections). If you spot these, act fast—flush the system and replace the nutrient solution, or isolate sick plants if needed.
Lastly, keep a close eye on temperature (ideally 65-75°F) and humidity (40-60%). Too much heat or dampness can stress marjoram or invite disease, so use fans or dehumidifiers if needed.
With these small daily checks and weekly resets, your marjoram should stay lush and fragrant all season long.
Harvesting and Using Your Hydroponic Marjoram
Harvest your hydroponic marjoram just as the plant begins to flower—this is when its leaves are packed with the most essential oils for peak flavor. Use clean scissors to snip stems in the morning, once any dew has dried but before the midday heat. This helps retain their natural aroma and extends shelf life. Only cut about a third of the plant at once to encourage healthy regrowth.
Fresh marjoram is wonderfully versatile in the kitchen; sprinkle it on roasted vegetables, blend it into salad dressings, or add it at the end of cooking soups and sauces to preserve its delicate, sweet flavor.
Beyond the kitchen, marjoram tea can be brewed to help soothe digestion or relieve cold symptoms—just steep a few fresh sprigs in hot water for several minutes.
Storing Your Marjoram
To store marjoram, keep bunches in a glass of water on your countertop for up to a week, or wrap them in a damp paper towel inside a sealed bag in the fridge.
If you have a surplus, dry the leaves by hanging bunches upside down in a warm, dry spot, or use a dehydrator. Once dried, crumble the leaves and store them in an airtight jar away from sunlight for up to six months—perfect for flavoring dishes all winter long.
Common Problems and Solutions for Hydroponic Marjoram
Growing marjoram hydroponically offers many benefits, but some common problems can interfere with a thriving harvest. Nutrient imbalances are a frequent issue—yellowing leaves often indicate too little nitrogen or magnesium in your solution. To fix this, test your nutrient levels regularly and adjust accordingly, using a balanced hydroponic fertilizer formulated for leafy herbs.
Root rot is another problem, usually caused by poor system aeration or stagnant water. To prevent it, make sure your water pumps are working properly and your roots remain suspended with plenty of airflow. Trim any brown, mushy roots you find and replace contaminated water immediately.
Pests like spider mites and aphids sometimes sneak in, especially in warm, indoor environments. Keep your grow area clean, inspect plants weekly, and treat infestations with neem oil or insecticidal soap at the first sign of trouble.
After harvesting marjoram, snip stems above a leaf node using sterilized scissors to minimize stress and encourage bushy regrowth. This not only keeps your plants healthy but also ensures multiple harvests throughout the season.
For post-harvest care, immediately place cut stems in cool, clean water or refrigerate them in a resealable bag to preserve flavor and extend shelf life.
By staying attentive and following these practical steps, you’ll enjoy vibrant marjoram with minimal setbacks in your hydroponic setup.