Introduction
If you’re curious about how to harvest chives while keeping your plant lush and thriving, you’re not alone—chives are one of the most popular and beginner-friendly herbs found in home gardens and kitchen windowsills worldwide. Their mild onion-like flavor makes them a versatile garnish, and their tidy, grass-like shoots add both beauty and taste to your meals. But with each snip, many gardeners worry they might accidentally damage the plant or halt its growth. The good news? Learning how to harvest chives without harming your plant is simple, and doing it properly actually encourages fuller, healthier regrowth for months or even years to come.
When harvested the right way, chive plants bounce back rapidly, providing a steady supply for everything from baked potatoes to omelets. By snipping just the right amount, at the right time, and from the right spot, you’ll keep your chives vigorous—and your kitchen stocked. With regular, gentle harvesting, you can enjoy those fresh green shoots again and again without ever depleting your plant. In this guide, we’ll break down real-world tips and easy techniques to help you maximize your chive harvest while ensuring your plant stays productive and healthy season after season.
When Are Chives Ready to Harvest?
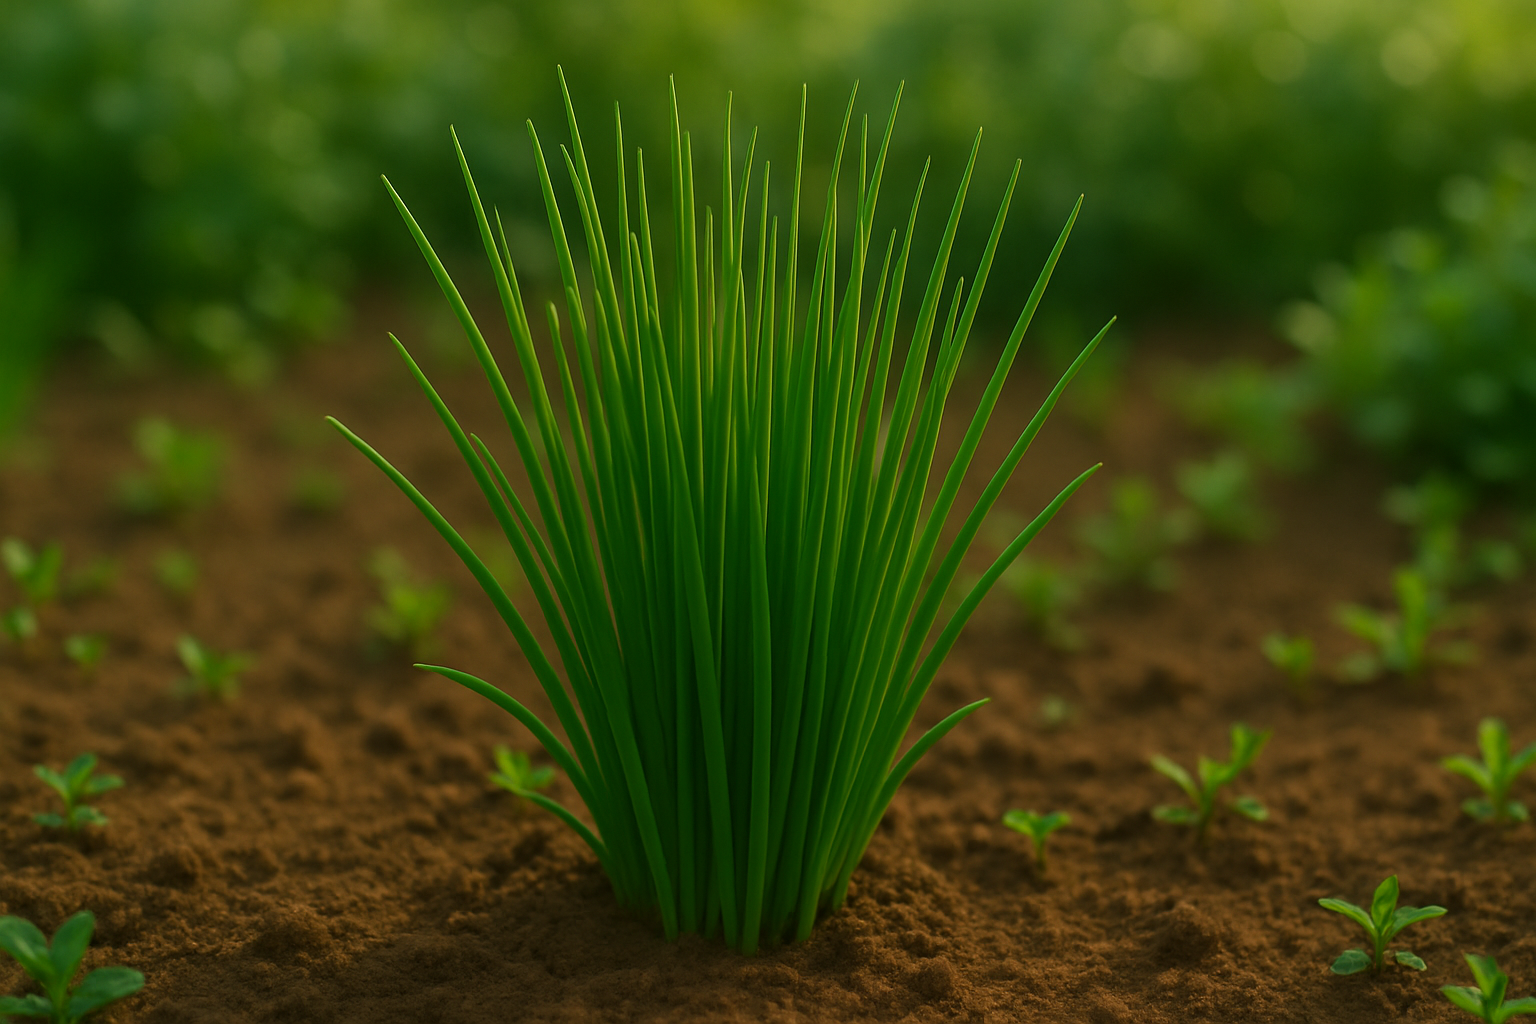
Chives are best harvested when their leaves reach about 6 to 8 inches tall and feel firm and upright, not floppy. At this point, you’ll notice the leaves are a vibrant green and roughly the thickness of a pencil lead, signaling peak flavor and tenderness.
Spring and early summer are ideal for harvesting because the plants grow vigorously with cooler temperatures and moderate sunlight. You can snip chives every few weeks—as soon as they’ve regrown to about 6 inches—without harming the plant.
Regular harvesting not only keeps your chive patch healthy but also encourages fuller, bushier growth. Environmental factors like temperature, sunlight, and soil moisture play a big role in timing. For instance, chives may grow more slowly in prolonged heat or drought, so check the soil and avoid harvesting too aggressively if the plants look stressed or the leaf tips start browning. In wetter, cooler periods, chives often rebound quickly and can be picked more frequently.
To avoid weakening your plants, always leave at least a third of the stems intact after each harvest. With a bit of attention to these signs and seasonal cues, you’ll enjoy a steady supply of fresh, flavorful chives from spring right through to fall.
Step-by-Step Guide
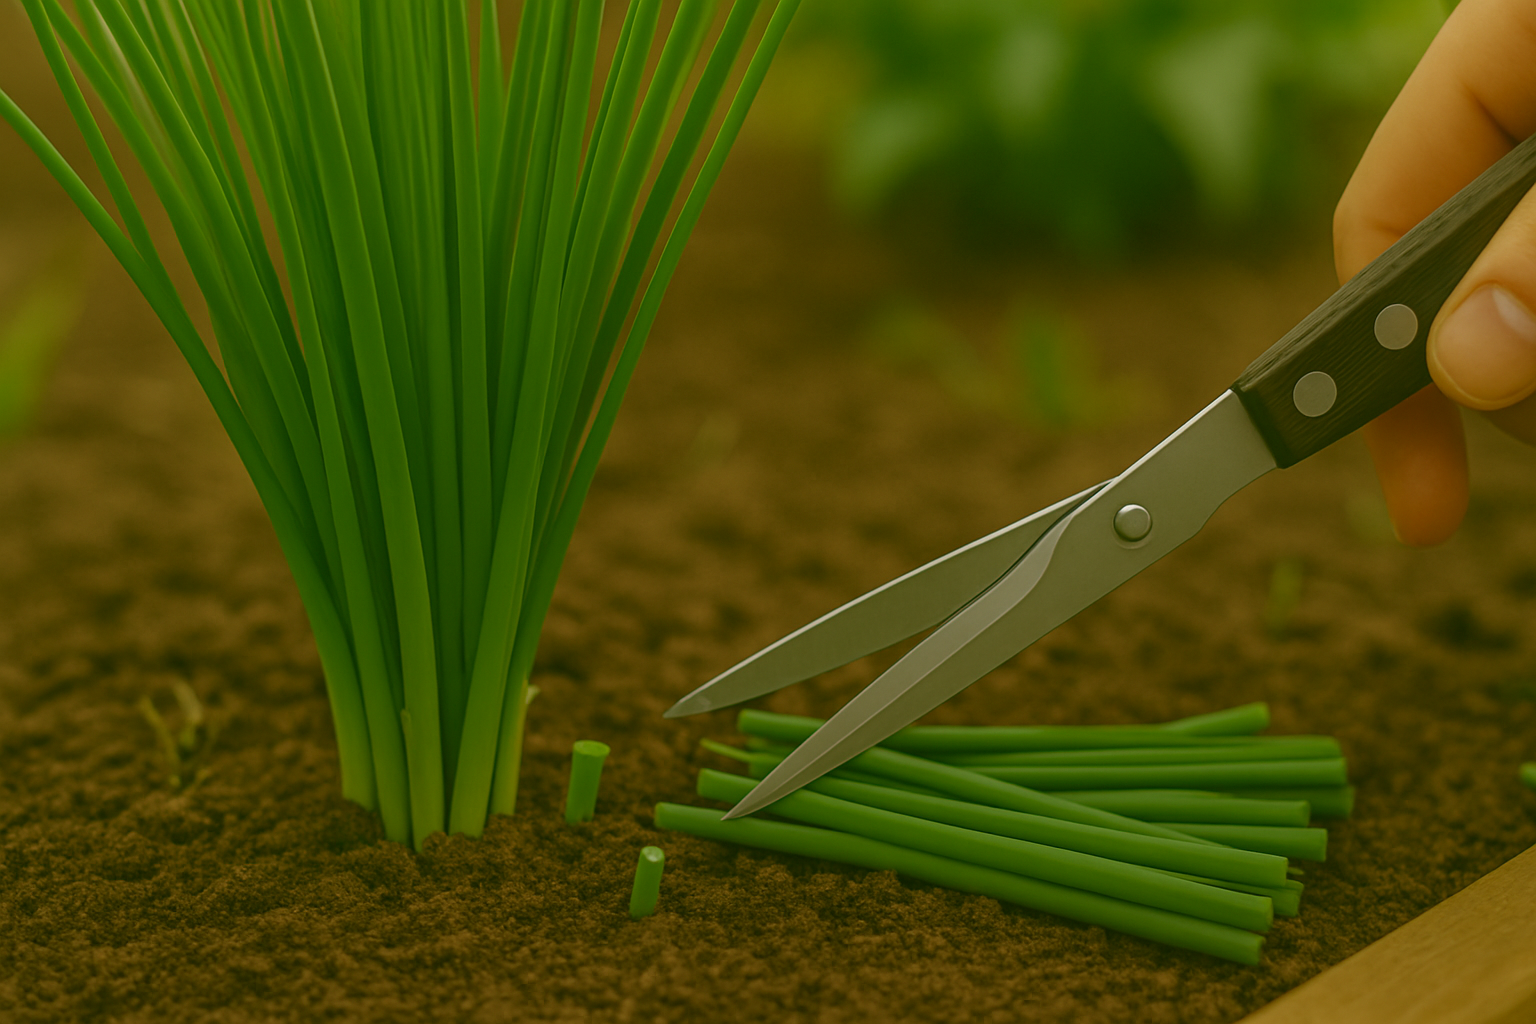
Harvesting chives is simple and satisfying, but there’s a knack to doing it right so your plant stays healthy and productive. Start by using clean, sharp scissors or simply pinch off the chive leaves with your fingers—either works well, but scissors give a neater cut.
Always snip the leaves about 1 to 2 inches above the soil line; never pull them out from the root or cut at ground level. This ensures the remaining stems and base can keep growing new shoots. It’s important not to be too aggressive—a good rule is to harvest no more than a third to half of the chive plant at a time. This leaves plenty of foliage behind for photosynthesis, keeping your plant strong.
For example, if you have a lush bunch of chives, cut from all over rather than taking leaves from just one spot. This helps keep the plant looking tidy and healthy. Regular, light harvests every few weeks are much better than cutting everything at once. Frequent trimming encourages bushier, more vigorous growth while preventing the plant from flowering too soon or becoming tough.
If your chives start to flower, snip off the blooms so the energy goes back into leaf production. After harvesting, water your chives lightly to help them recover, and every so often, add a little compost around the base to replenish nutrients.
This cycle of mindful cutting, not overharvesting, and gentle care can keep a small patch of chives thriving all season, giving you a steady supply for salads, soups, and garnishes without ever running short.
Special Tips for Harvesting Chive Blossoms
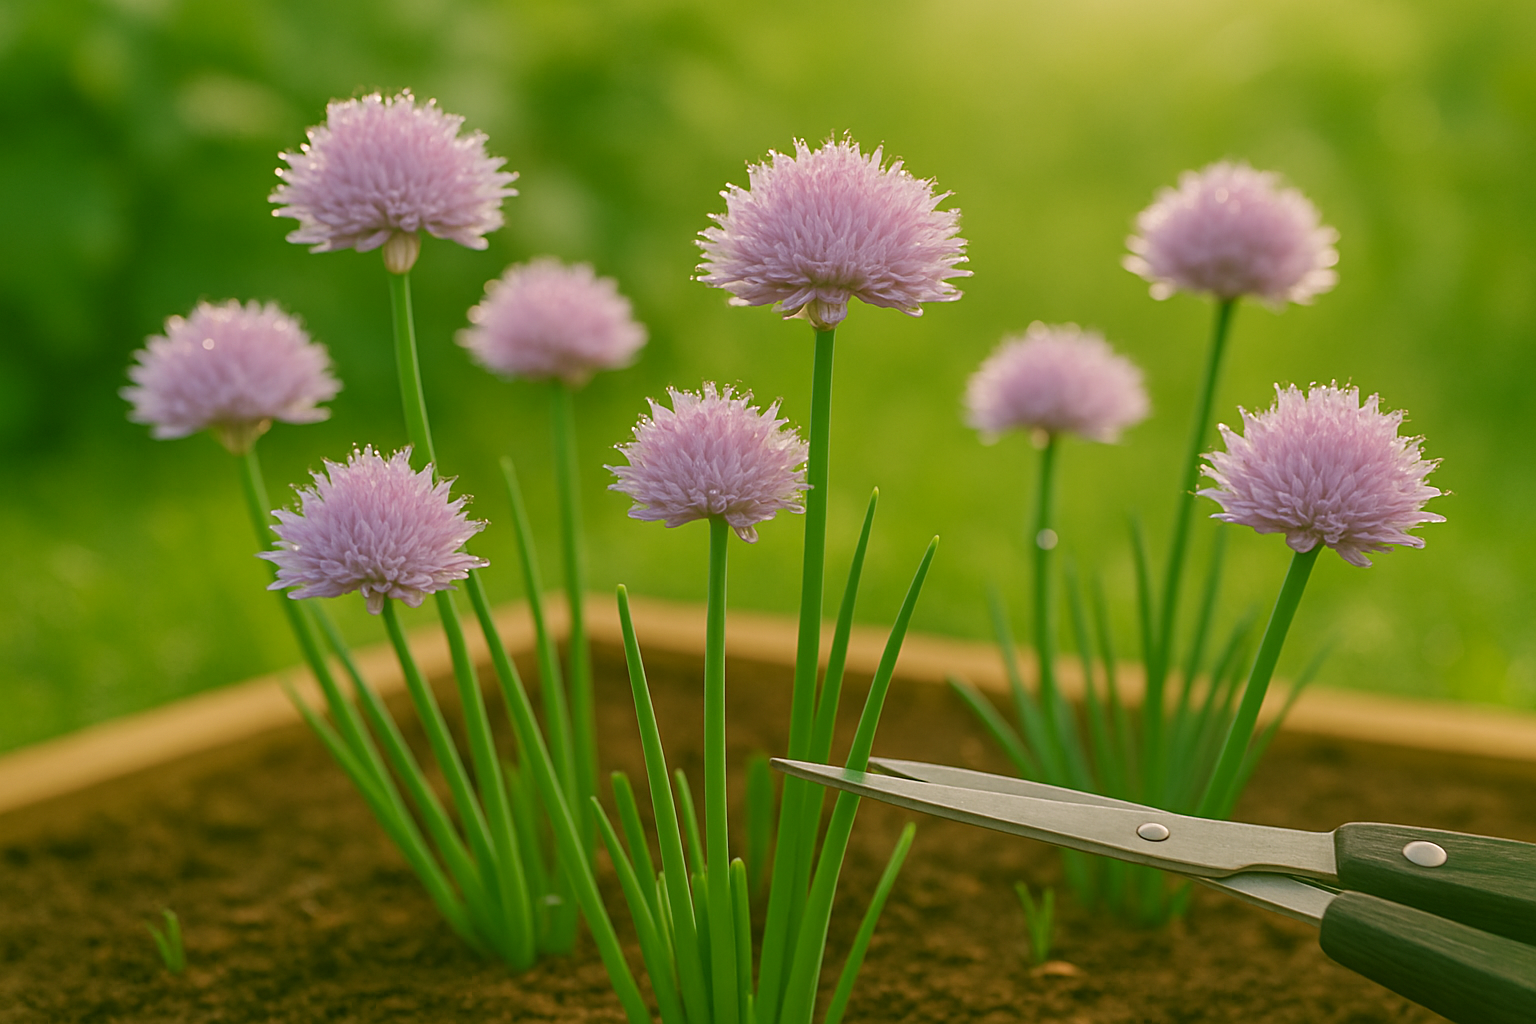
Harvesting chive blossoms adds a pop of color and a mild onion flavor to your dishes while encouraging your chive plants to grow lush and healthy. The best time to pick chive flowers is in late spring to early summer, just as the buds first open and the petals show a vibrant lilac hue—this is when they taste freshest.
To harvest without harming your plant, use clean, sharp scissors and snip each blossom at the base of its stem, being careful not to cut into the main leaves or crown. Aim to collect blossoms in the morning after any dew has dried, as this preserves their delicate flavor and texture.
Chive blossoms aren’t just pretty—they’re edible and versatile. You can:
- Scatter the petals onto salads for a mild onion kick,
- Infuse vinegar with whole flowers to create a subtly savory condiment, or
- Use them as a unique garnish for soups, scrambled eggs, and creamy cheeses.
Promptly harvesting flowers also prevents the plant from going to seed too early, encouraging more leafy growth throughout the season. With just a little care, you’ll enjoy both ornamental blooms and delicious additions to your meals.
How to Store and Preserve Freshly Harvested Chives
Storing freshly harvested chives properly ensures you enjoy their delicate, oniony flavor for as long as possible.
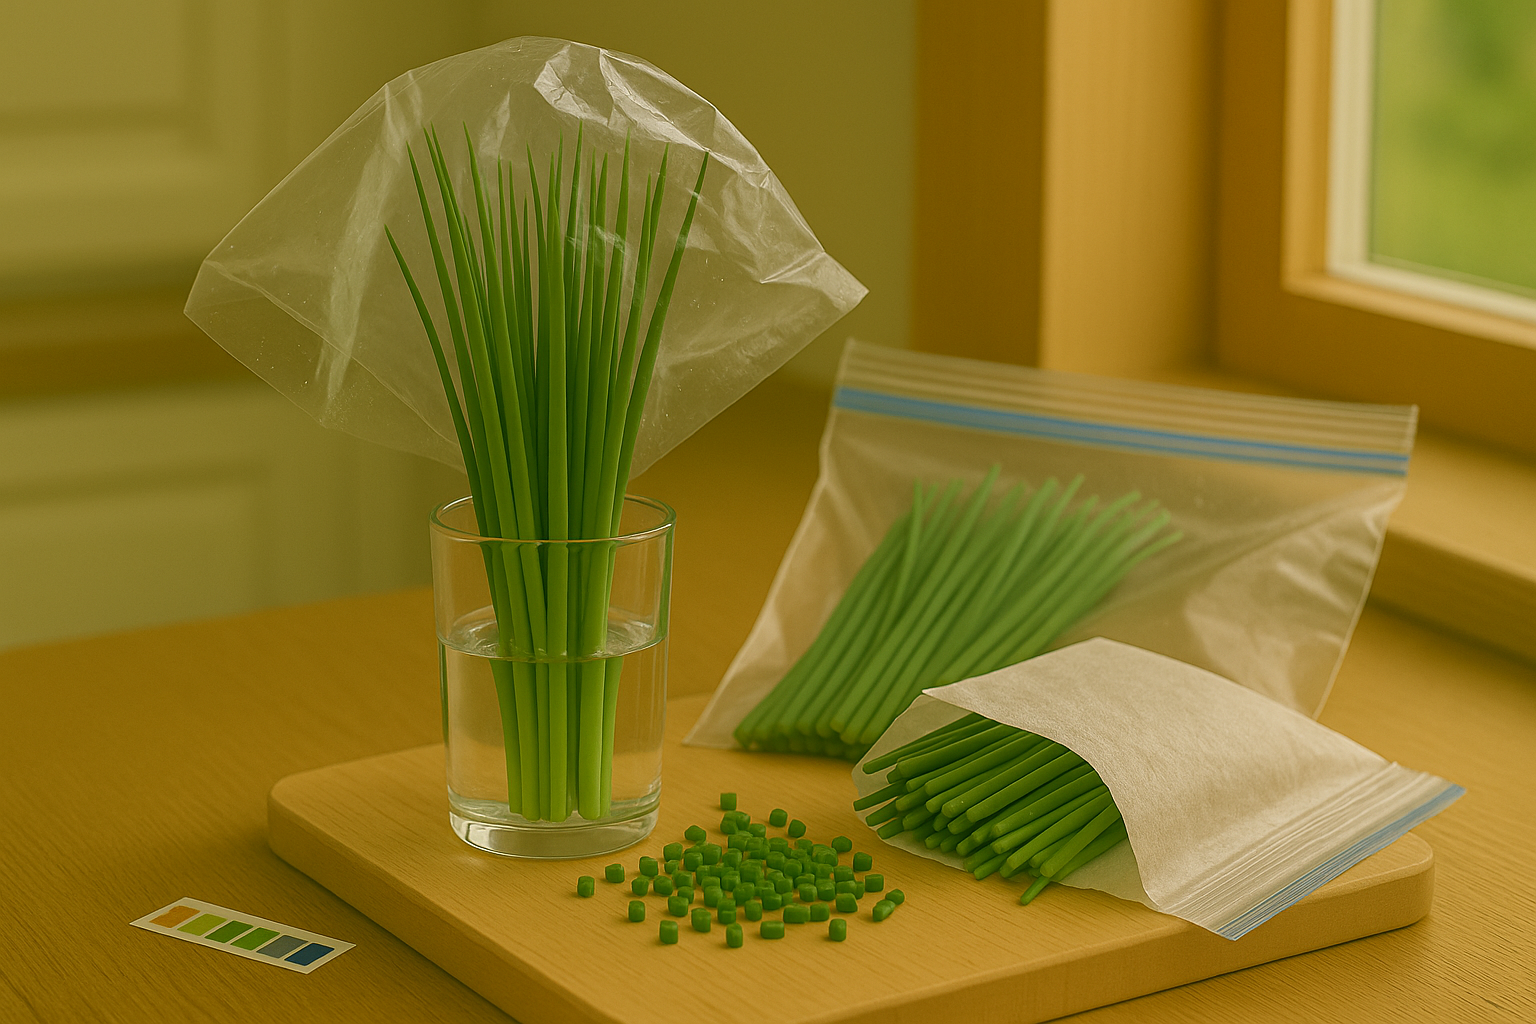
For short-term storage, refrigerate chives by wrapping them loosely in a damp paper towel and placing them inside a sealed plastic bag; this keeps them hydrated and fresh for up to a week. Alternatively, you can place the stems upright in a small glass with a bit of water—just like fresh flowers—and then loosely cover them with a plastic bag before storing in the fridge. Remember to change the water every couple of days to prevent wilting.
If you have a bigger harvest, long-term preservation is easy:
- Chop clean, dry chives and freeze them in airtight containers or ice cube trays with a touch of water. This locks in color and flavor for months.
- Drying chives is another smart option. You can either air dry by hanging bunches upside down in a warm, airy spot or use a food dehydrator for faster results. Store dried chives in a dark, airtight container, away from sunlight.
To maximize flavor retention, always avoid washing chives until right before use, and handle them gently to prevent bruising. By following these simple steps, you can extend the shelf life of your chives and keep them tasting garden-fresh.
Common Mistakes to Avoid During Harvest
One of the most common mistakes gardeners make during harvest is over-harvesting their chive plants. It’s tempting to snip large bunches at once, especially when you’re excited to use fresh herbs, but taking more than a third of the plant at one time can stress the chives and stunt regrowth.
Another frequent error is cutting too close to the base—leaving less than an inch of stem exposed—which can hinder the plant’s ability to photosynthesize and recover. Always use sharp, clean scissors and aim to cut each stalk about 1–2 inches above the soil.
Watch out for warning signs of stress, like yellowing leaves, wilting, or unusually slow regrowth—these often indicate that your plants need a break. Remedy this by spacing out harvests and making sure the chives get adequate sunlight and water, but avoid overwatering, which can compound stress.
To maintain healthy, productive chive plants, harvest sparingly and rotate the areas you cut so no section becomes overly depleted. Feeding your plants with a mild, balanced fertilizer every few weeks can also help them bounce back and keep those leaves robust and flavorful.
Remember, patience and gentle care pay off in the form of lush, continuous harvests all season long.
Frequently Asked Questions About Harvesting Chives
Many gardeners wonder if chives can still be harvested after flowering—good news: yes, you absolutely can! The flowers themselves are edible, offering a mild onion flavor and a pop of color in salads. However, for the most tender leaves, it’s best to snip chives regularly before they flower.
If you’re curious about chive bulbs, note that chives are typically grown for their leaves. Unlike onion or garlic bulbs, chive bulbs are small and not commonly harvested or eaten.
To keep your chive plant thriving, only cut about one-third at a time, using clean scissors to shear the leaves about 1–2 inches above the soil. Do this every two to three weeks during the growing season. Regular harvesting encourages fresh, flavorful growth and helps prevent the plant from getting tough and woody.
For year-round use, you can freeze chopped chives in airtight containers or even grow an extra pot indoors on a sunny windowsill. Don’t be afraid to snip often—chives are resilient and actually grow better with frequent trims.
With these tips, you’ll enjoy a steady supply of fresh chives to boost your cooking anytime.