Introduction
If you’ve ever wished you could fill your garden with aromatic, kitchen-ready sage without the long wait, learning how to grow sage from cuttings is your shortcut. Unlike growing from seeds, which can be unpredictable and slow, propagating sage from existing plants has clear advantages: it’s faster, more reliable, and preserves the exact flavor profile you love.
Many gardeners struggle with seed-started sage since it can take weeks—sometimes months—for seedlings to mature, and you never quite know if the results will match your favorite plant. Taking cuttings, on the other hand, not only speeds up the process but also creates a genetic clone of the healthy, vibrant sage you already trust in your kitchen.
Plus, it’s cost-effective. Instead of buying fresh seedlings each season, you can quickly and affordably multiply your sage supply. In this post, you’ll discover real-world tips for rapid, successful propagation. Whether you’re a balcony gardener or managing a full backyard patch, this guide will equip you to enjoy an abundant, healthy harvest of sage—faster than ever before.
Get ready for a step-by-step method anyone can follow, and say goodbye to the guesswork of growing sage from scratch.
Why Grow Sage from Cuttings?
Growing sage from cuttings offers several practical benefits, especially compared to starting from seeds. For one, cuttings root quickly—often in just two to four weeks—while seeds can take much longer and don’t always sprout reliably.
Seeds often produce variable plants since sage can cross-pollinate, but cuttings are genetic clones, ensuring you retain the color, leaf shape, or scent you love. Home gardeners enjoy a faster harvest with cuttings, sometimes within a single season, versus the months needed to grow sage from seed to harvestable size. This speed means you’ll have fresh leaves for cooking much sooner—whether you want to flavor roast chicken or brew a calming tea.
Another major plus is disease resistance. By choosing cuttings from a healthy, robust plant, you avoid some common soil-borne problems that can trouble young seedlings. Additionally, this cloning method helps preserve heirloom or unique varieties that might not breed true from seed. So, if you’ve found a sage with especially fragrant leaves or compact growth, you can keep those traits thriving in your garden.
Growing sage from cuttings also supports sustainability—fewer seed packets and less plastic waste—as well as the ability to share healthy, homegrown plants with neighbors or friends. With a few thriving sage plants, you’ll have access to fresh, flavorful herbs all year round, cutting down on grocery trips and food miles, and keeping your recipes vibrant no matter the season.
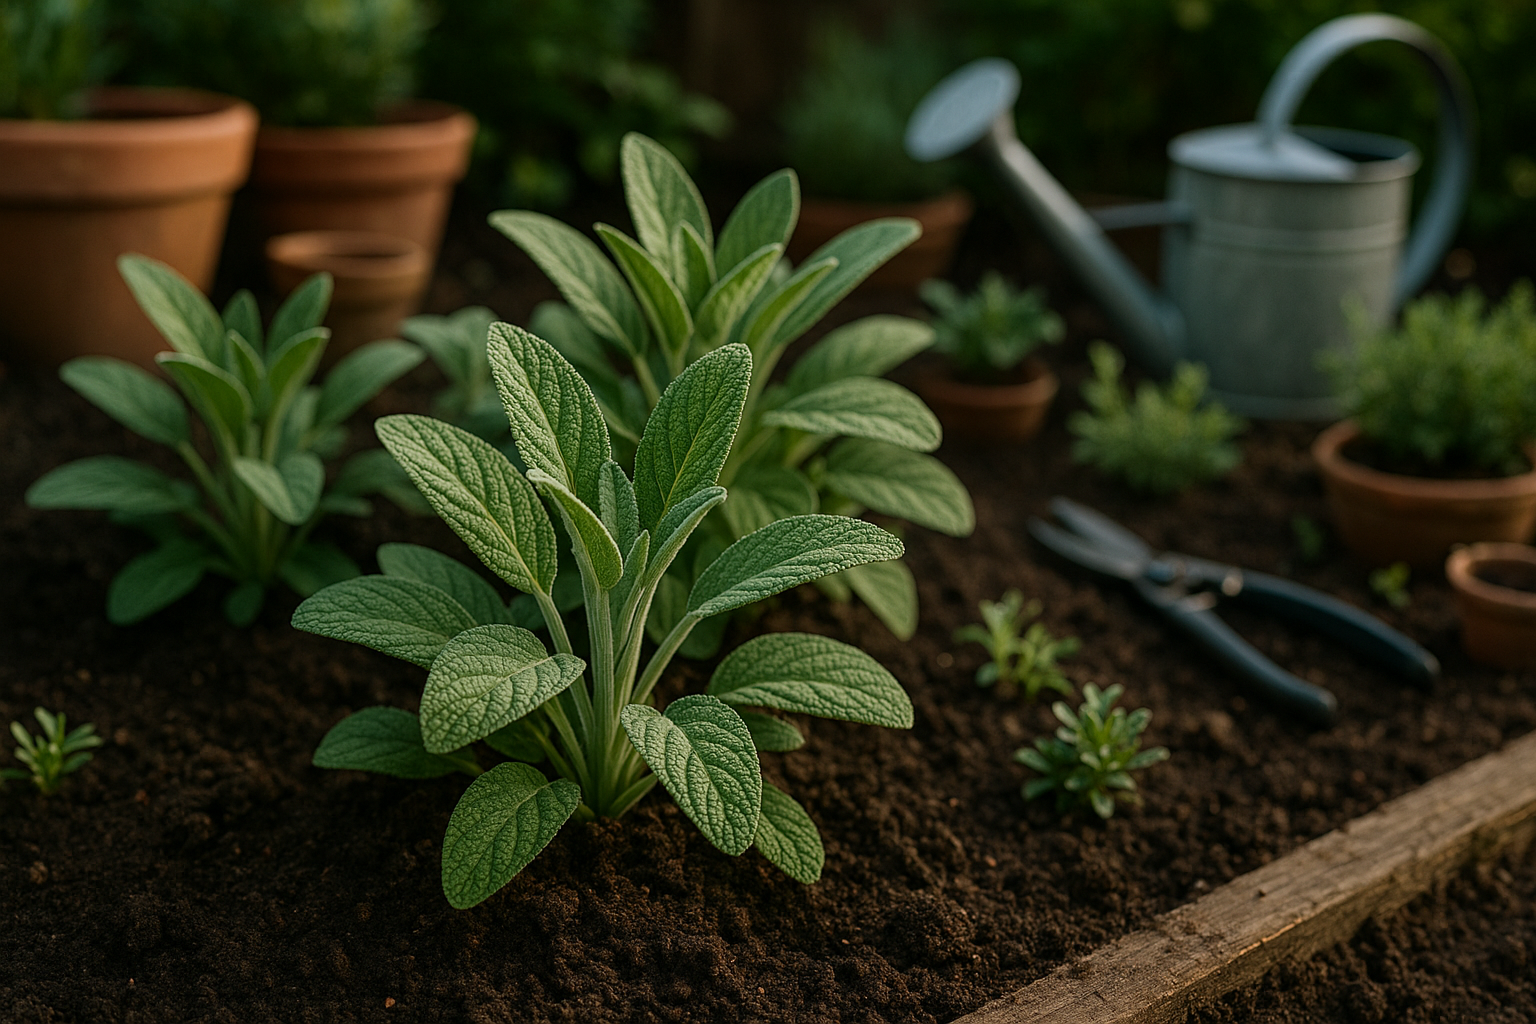
When and How to Take the Best Sage Cuttings
For the best results with sage cuttings, timing is key. Aim to take your cuttings in late spring to early summer, when sage plants produce semi-hardwood tips—these stems are mature enough to root well but not too woody. Look for non-flowering stems with a vibrant green hue and healthy leaves, as flowering stems tend to be less successful for propagation.
Always select a parent plant that looks robust, pest-free, and vigorous. Avoid any stems that appear weak, discolored, or infested with insects, as these will likely produce poor cuttings or transmit disease.
Once you’ve found the right plant, use clean, sharp scissors or pruners to snip a stem about 4 to 6 inches long, making the cut just below a leaf node—this is where roots are most likely to develop. Remove the lower leaves on the stem, leaving two or three pairs of leaves at the top to give your cutting energy to focus on root growth. If the leaves are particularly large, trim them in half to minimize moisture loss.
Place each cutting in a pot filled with moist, well-draining compost or seed-starting mix, burying the cut end just below the surface. Keep the cuttings in a warm spot out of direct sunlight, and cover with a clear plastic bag or propagator lid to maintain humidity. Mist the cuttings lightly to keep them moist but not soggy.
In a few weeks, gently tug on the stems—if you feel resistance, roots have started to form. With patience and a little care, you’ll have healthy new sage plants ready to thrive in your garden.
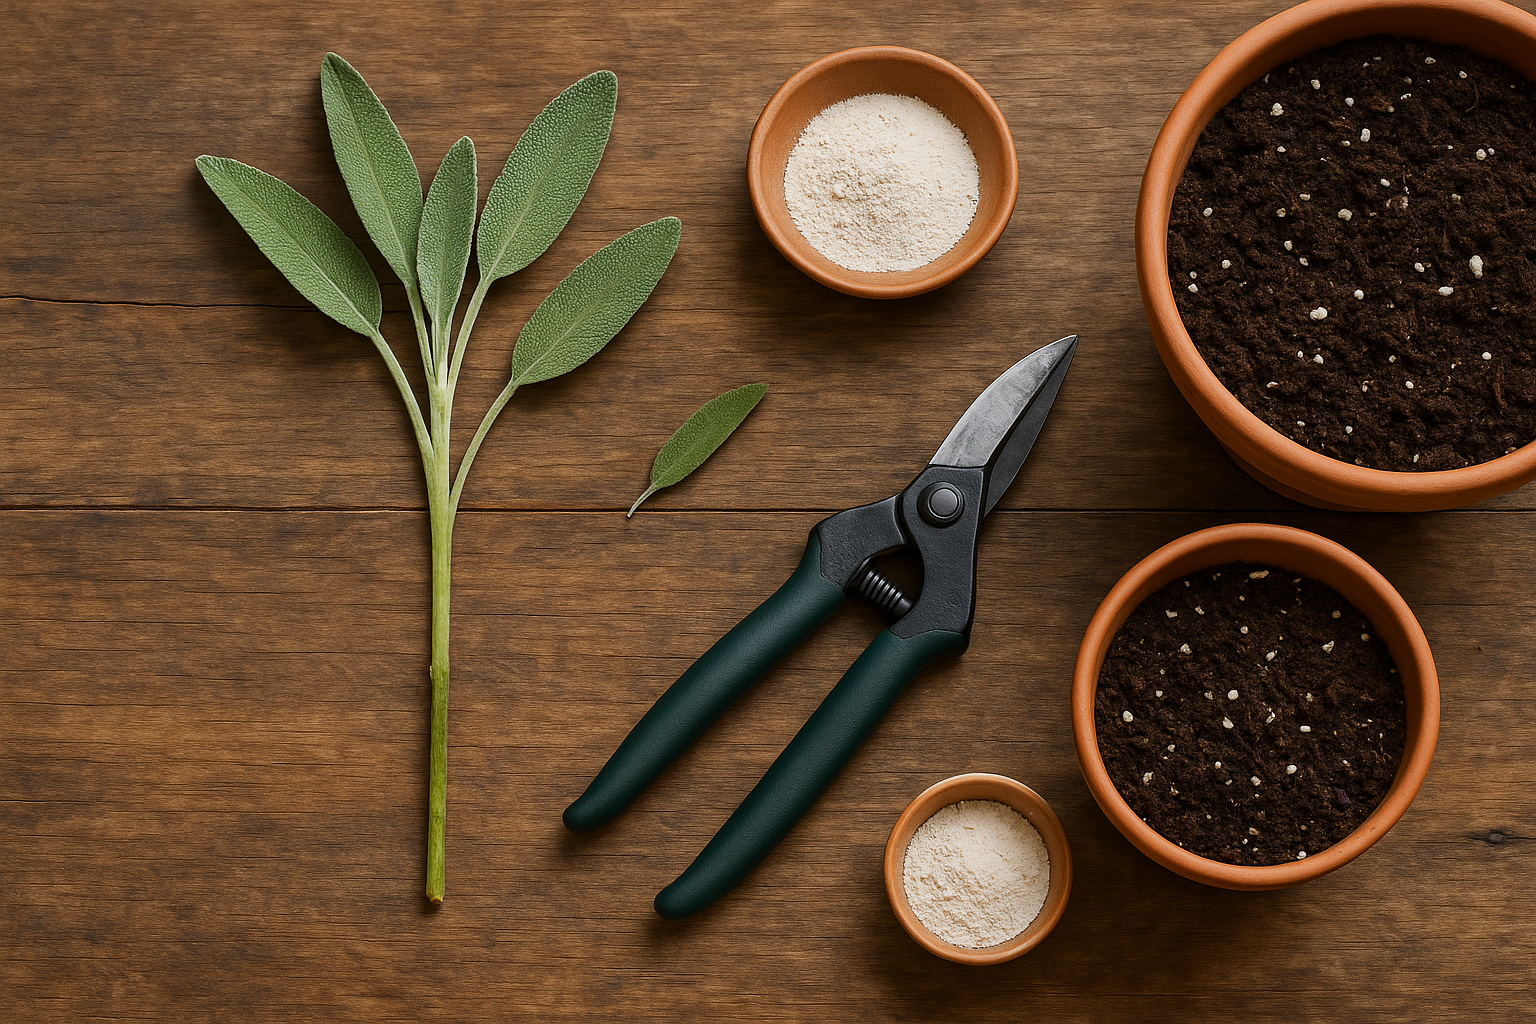
Quick Setup
Setting yourself up for propagation success starts with gathering the right supplies: you’ll need a pair of sharp, clean scissors or pruning shears, small containers or pots with drainage holes, a suitable potting mix (try a blend of perlite and peat moss for good root aeration), and optionally, a bottle of rooting hormone to speed up the process.
Once you have your workspace ready, focus on preparing your cuttings for optimal growth. Begin by selecting healthy stems from the plant and cutting just below a node where new roots are most likely to emerge. Carefully strip off the leaves from the lower half of the cutting—this prevents them from rotting inside the soil or water. If you’re using rooting hormone, dip the freshly cut end into the powder or gel, tapping off any excess before planting.
As you fill your containers with lightly moistened potting mix, make a hole with a pencil or your finger for each cutting to avoid bruising the stems as you plant them. Proper moisture is crucial: the soil should feel like a wrung-out sponge, neither soggy nor bone dry.
One often-overlooked but vital tip for rooting success is cleanliness—wash your hands thoroughly, sterilize your cutting tools with rubbing alcohol or boiling water before and after each use, and always use fresh potting mix to prevent fungal diseases. Setting clear labels for each plant variety helps avoid mix-ups, especially if you’re propagating multiple types.
Finally, provide consistent humidity by loosely covering your cuttings with a plastic bag or using a clear plastic dome (just be sure to vent daily to prevent mold), and place them in a bright spot out of direct sunlight for the best results. Following these simple steps can dramatically improve your chances of turning a single cutting into a strong, thriving new plant.
Rooting Cuttings in Water vs. Soil
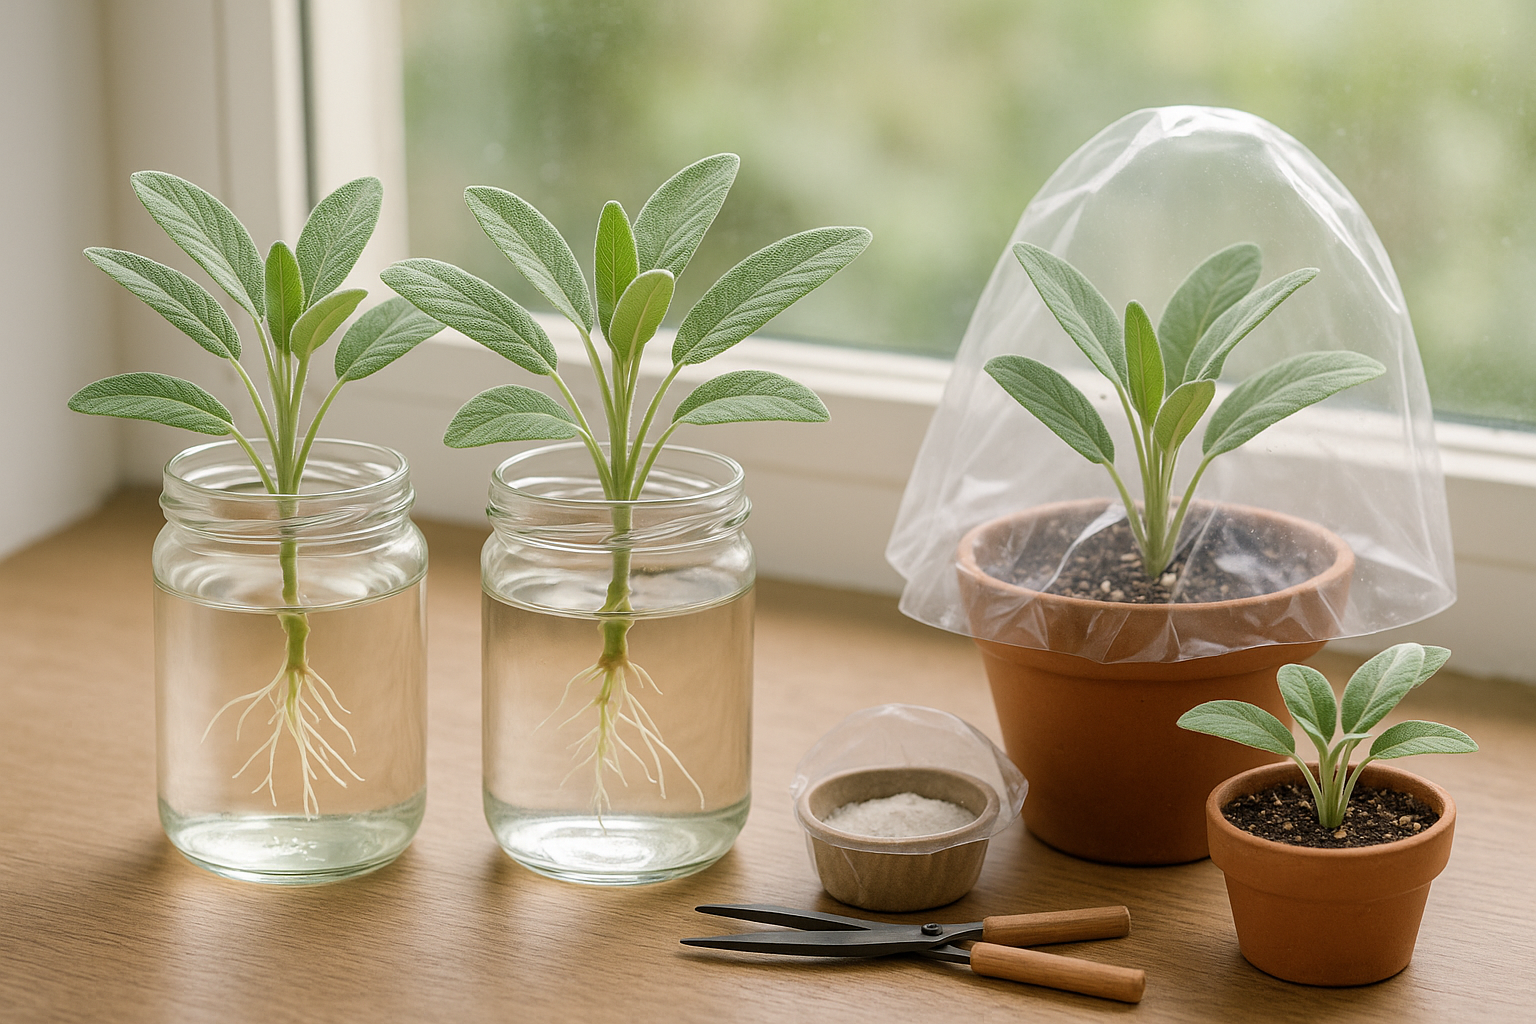
When propagating plant cuttings, many gardeners wonder whether water or soil offers a faster, more reliable route to root growth. Water propagation lets you closely monitor your progress—the roots are visible, making it easy to spot when they reach transplanting size (typically 1-2 inches long).
Glass jars or clear cups work best because you can easily keep tabs on root development and replace the water every few days to prevent bacterial buildup. Keep your container out of direct sun to avoid algae, and maintain a stable room temperature (65-75°F) to encourage rooting.
In contrast, soil propagation is more of a waiting game: you tuck the cutting into a well-draining, sterile seed-starting mix in a small pot, then keep the soil just barely moist—not soggy. Covering the setup with a clear plastic bag can help hold humidity, but be sure to vent occasionally to prevent mold. Place it in bright, indirect light and keep temperatures steady, as you would with water rooting.
For speed, many leafy cuttings root a bit faster in water, showing visible results in a week or two. However, they often struggle a little when transitioning to soil due to the differing support and oxygen levels their roots experience. Soil-rooted cuttings, while slower to show active root growth (often 2-4 weeks), typically transplant with less shock because their roots adapt early on to their growing environment.
Watch for warning signs like mushy stems (rot) or fuzzy growth at the base (mold), which indicate too much moisture or poor airflow. If you see these, trim damaged parts, replace the water or soil, and improve airflow.
A successful root system will anchor the cutting firmly, produce new top growth, and offer gentle pull resistance. Whichever method you choose, patience and attention to detail will maximize your propagation success.
Transplanting and Aftercare for Fast, Healthy Growth
Transplanting rooted cuttings at the right time is key to ensuring fast, healthy growth. Once roots are well developed and visible through the bottom of the container, typically after several weeks, you’re ready to move them to larger pots or directly into prepared garden beds. Choose a cool, cloudy day or transplant in the late afternoon to minimize transplant shock.
When removing the cuttings from their nursery pots, handle the fragile roots gently—grasp the plant by its leaves rather than its stem to avoid crushing delicate tissues. If planting in the garden, space them according to the mature size of the plant and enrich the soil with compost for a strong start.
After transplanting, water thoroughly but avoid waterlogging; moist, well-draining soil helps roots establish without suffocating them. Begin by placing transplants in a sheltered spot with indirect sunlight for the first few days, gradually increasing their exposure to outdoor conditions—a process called hardening off. This step is crucial for preventing sun scorch and helping the plants adjust to wind, temperature fluctuations, and direct sunlight.
For the first week, watch closely for signs of wilting or leaf burn and shield plants if necessary. Mulch around the base to retain moisture and deter weeds, and apply a diluted, balanced fertilizer a few days after transplanting to encourage fresh growth. Check the soil moisture daily but water only when the top inch feels dry to the touch.
Keep an eye out for rapid new leaf or stem growth, which signals the roots are settling in. Prune any damaged leaves or stems to direct energy toward healthy development. With gentle handling, gradual acclimation, and careful early care, your rooted cuttings will quickly take off, establishing strong, vibrant plants ready to thrive in their new home.
Quick Harvest Tips and Maintaining Your New Sage Plant
When it comes to harvesting sage for the first time, patience is key—wait until your plant is well established with several inches of leafy growth, usually after the first year if grown from seed. Use sharp scissors or garden shears to snip off the top few inches of each stem, always leaving at least two-thirds of the plant intact. This gentle approach encourages bushier, healthier regrowth and prevents stress.
For ongoing maintenance, establish a routine by watering the sage deeply whenever the soil is completely dry, usually every 7-10 days depending on climate. Avoid overwatering, as sage likes its roots on the dry side. Light pruning throughout the growing season promotes airflow and keeps the plant compact; just remove any leggy or dead stems.
Fertilizing isn’t a must for sage, but if growth seems sluggish, feed with a balanced, diluted organic fertilizer just once in early spring. To keep pests and diseases at bay, check leaves regularly for aphids or powdery mildew, especially in humid conditions. Remove affected leaves promptly and consider using neem oil spray if infestations persist.
Planting sage in well-drained soil with good air circulation helps prevent fungal problems. Rotating sage with other herbs in the garden each year is another smart trick to discourage disease buildup. With a little mindful care and timely harvesting, your sage plant will not only yield fragrant leaves for your kitchen but also stay strong and productive for seasons to come.
Conclusion & FAQs
Propagating sage from cuttings is an easy way to multiply your plants and enjoy fresh herbs at home. Start by taking healthy, non-flowering stem cuttings about 4 inches long. Remove the lower leaves and dip the cut end in rooting hormone for a faster root boost, though this step is optional—many gardeners successfully root sage without it.
Plant the cuttings in a moist, well-draining mix and keep them in a warm spot with bright, indirect light. Mist regularly to maintain humidity until roots form, usually within 2–4 weeks. Curious about when to harvest? Once your new plants are well-established with strong growth, typically after a couple of months, you can start snipping leaves as needed.
FAQs
- Do I need rooting hormone? It helps speed up rooting but isn’t required.
- What are the ideal conditions? Warm temperatures (65–75°F), consistent moisture, and indirect sunlight work best.
- When can I harvest? Wait at least 2–3 months, or until the plant is bushy and established.
Don’t be afraid to experiment, as every garden is different! Growing sage at home is rewarding, flavorful, and a fun project for gardeners of all skill levels—so dive in and watch your kitchen benefit from homegrown herbs.