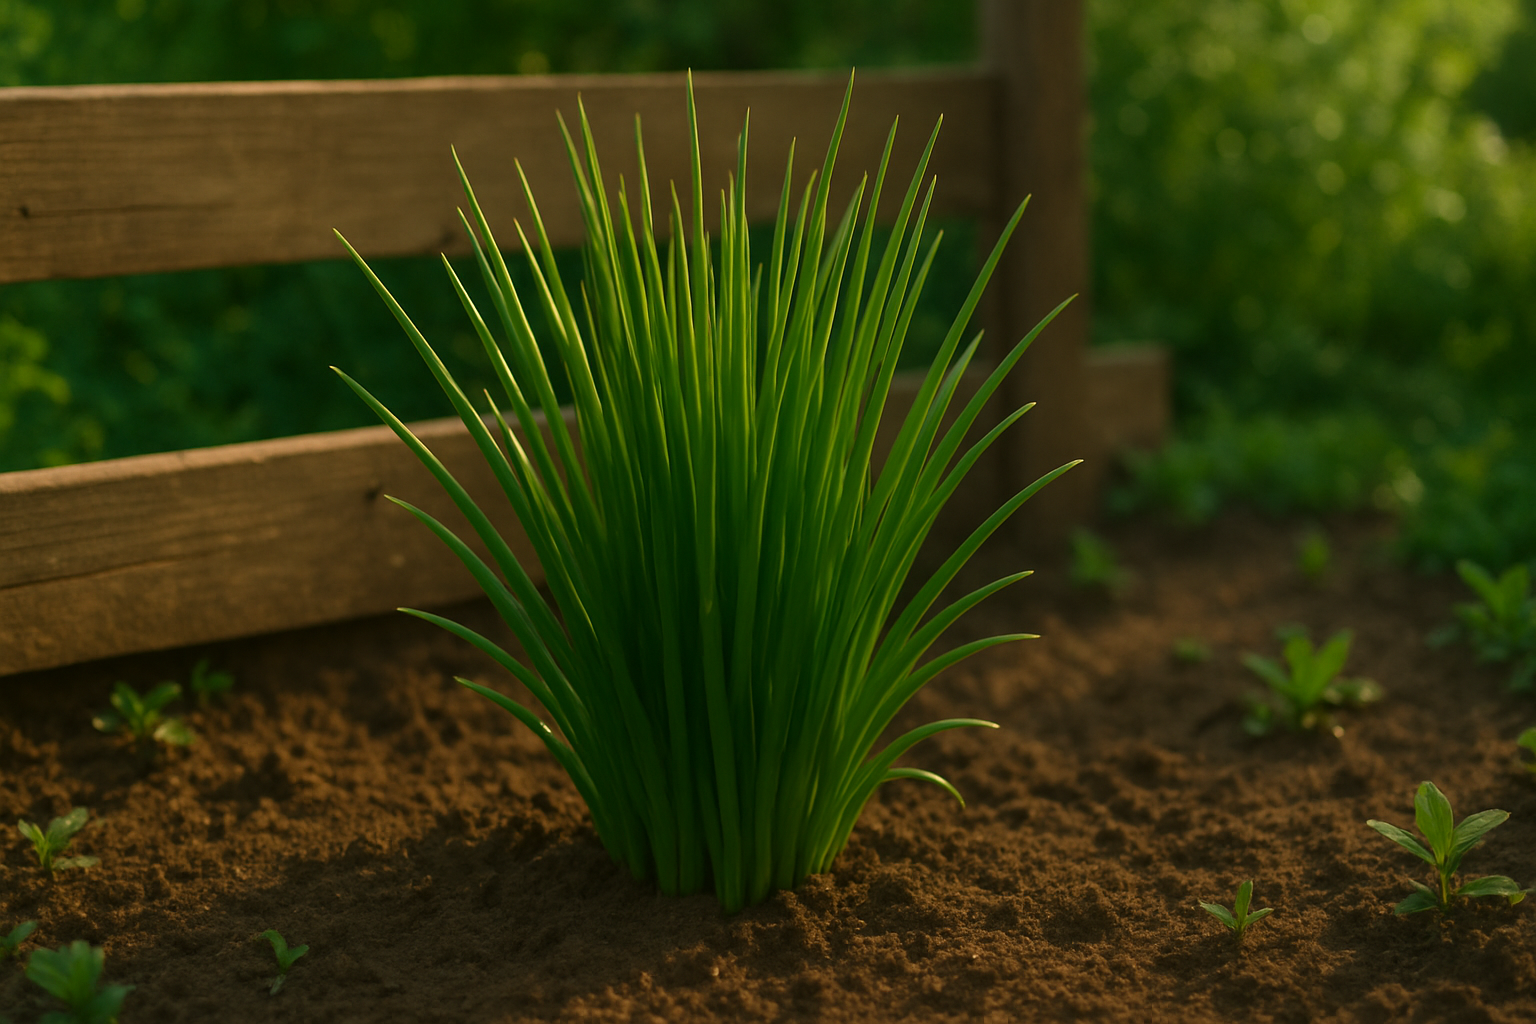
Choosing the Wrong Planting Location
Chives thrive in sunlight, needing at least six hours of direct sun each day to produce those flavorful, vibrant green stems we love in cooking. Sunlight fuels photosynthesis, giving chives the energy to grow strong and develop their signature taste. If you plant chives in a shaded spot or behind a tall fence, you’ll likely notice thin, pale leaves and slower growth—they simply won’t get the energy they need.
Windy areas can stress the plants, causing leaf damage and drying out the soil too quickly. Indoors, another common mistake is choosing a windowsill that doesn’t get much sunshine or squeezing chives into a crowded herb pot where they must compete for light and nutrients.
For best results, pick a spot in your garden or on a balcony that gets plenty of morning or midday sun, shielded from harsh winds whenever possible. Inside, use south- or west-facing windowsills, provide space around each plant, and rotate pots weekly for even sun exposure.
Before planting, use this quick checklist:
- At least six hours of direct sunlight
- Protection from strong wind
- Ample space between plants
- Rich, well-drained soil
Keeping these factors in mind means your chives will reward you with lush, aromatic growth season after season.
Neglecting Soil Quality and Drainage
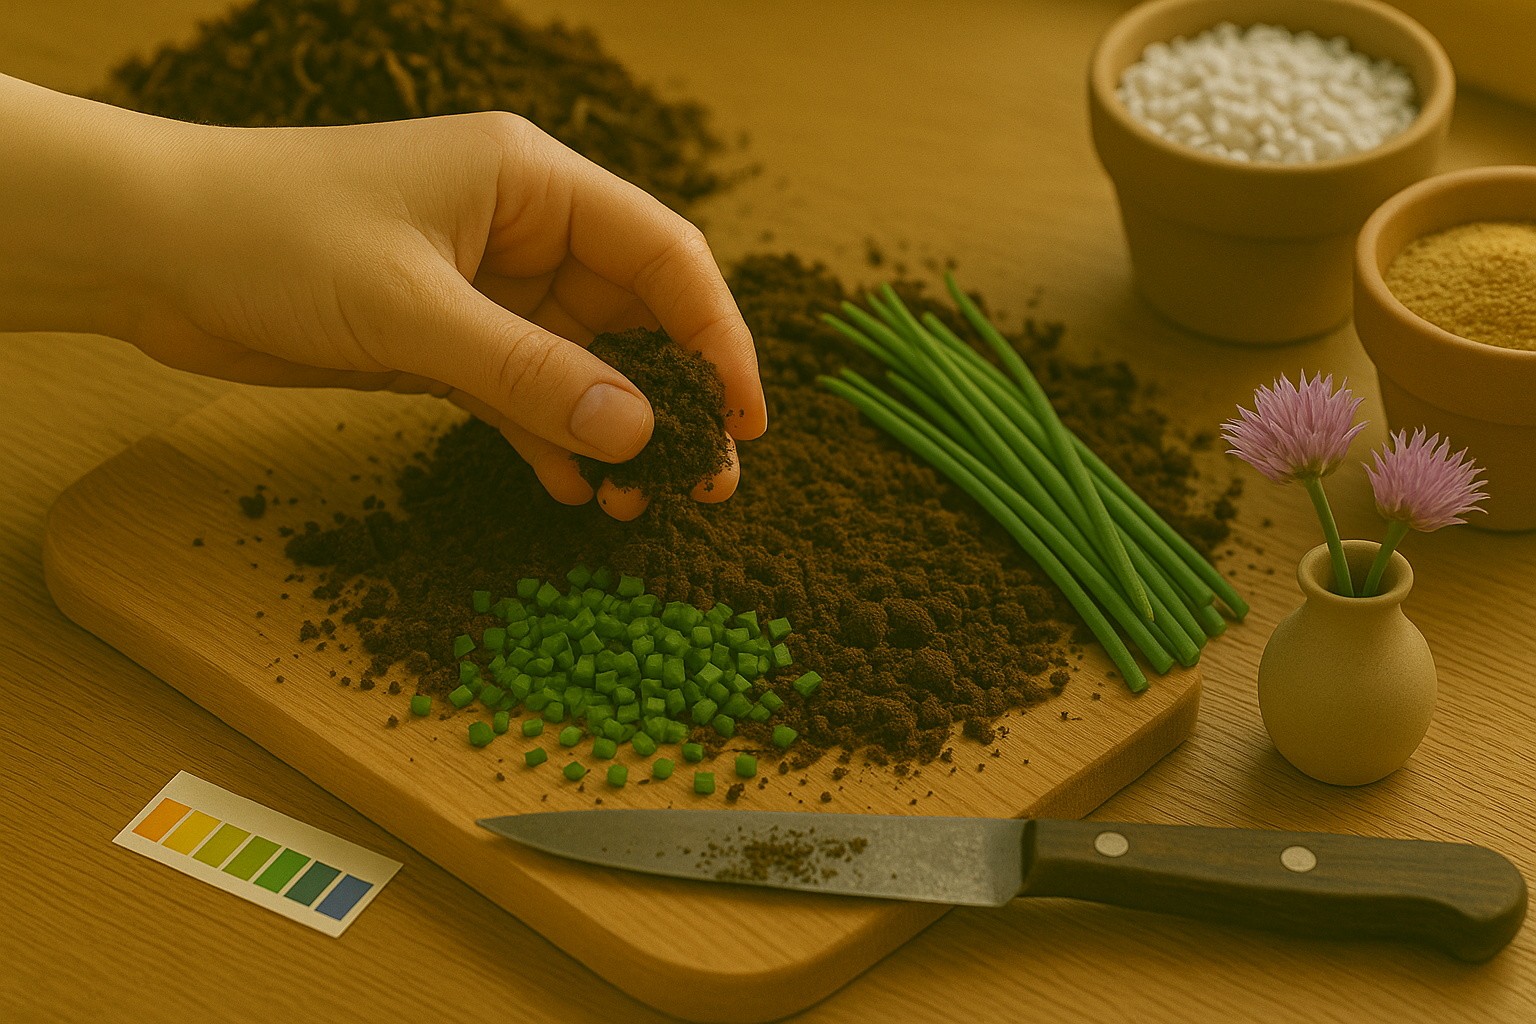
One of the most common reasons chives fail to thrive, especially for new gardeners, is neglecting soil quality and drainage. Heavy clay soils tend to compact easily, trapping water and depriving chive roots of the oxygen they need. Meanwhile, nutrient-poor or highly acidic soils don’t provide the essential minerals these hardy herbs require for healthy growth.
If your soil feels sticky after rain or water puddles on the surface, your chives are at risk of root rot or stunted growth. That’s why planting chives in loose, well-draining soil is a must—they need soil that crumbles in your hands, allowing roots to breathe and excess moisture to escape.
Relying solely on generic potting mixes without adjusting them to your local garden conditions can backfire because these mixes sometimes lack the proper structure or pH balance chives need. Basic soil preparation makes a world of difference:
- Check your garden soil with a pH test kit, aiming for a slightly acidic to neutral range (about 6.0–7.0).
- Mix in a generous amount of compost to improve texture and provide slow-release nutrients.
- If you notice compacted patches, blend in some coarse sand or perlite to promote drainage.
A little attention upfront creates the foundation for lush, flavorful chives all season long.
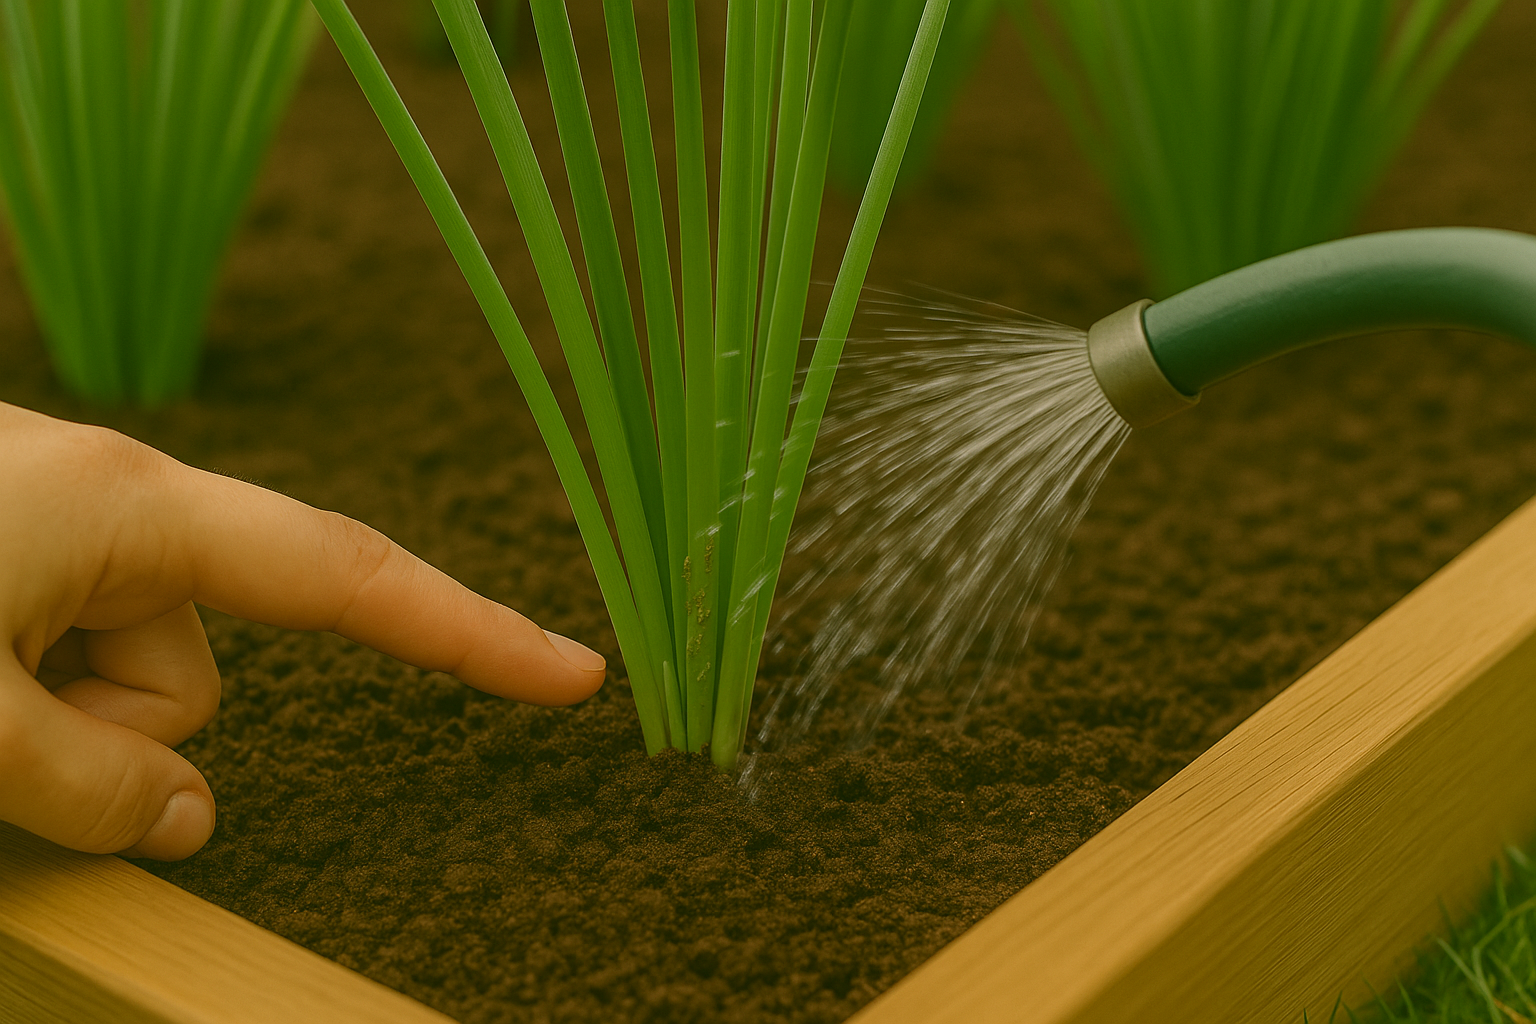
Watering Chives Incorrectly
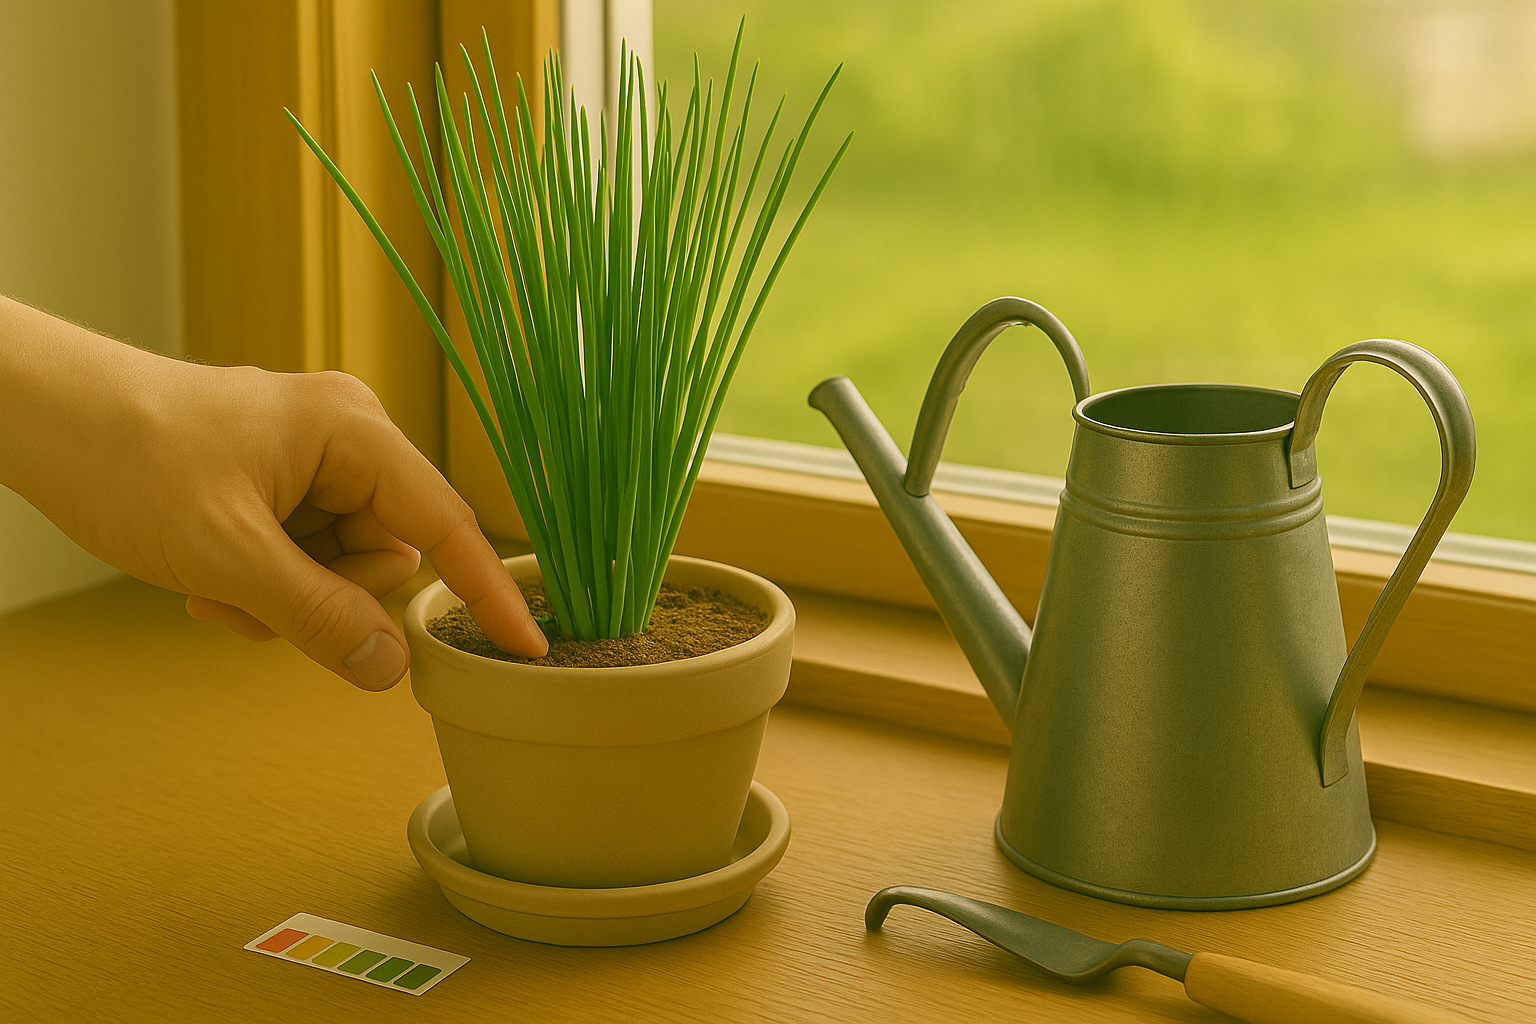
Watering chives incorrectly can quickly harm their health and flavor. Overwatering is a common mistake, often indicated by yellowing, wilting, or mushy leaves—symptoms sometimes mistaken for thirst rather than stress. If the soil remains soggy, chive roots can rot, and fungal diseases may develop, leaving the plants vulnerable to sudden collapse.
On the other hand, underwatering causes its own problems. When chives don’t receive enough moisture, growth slows noticeably, leaf tips or entire leaves can turn yellow or brown, and their signature sharp, onion-like flavor becomes muted or bland.
To avoid these issues, aim for consistent but moderate watering. Chives thrive when their soil is kept damp but never soaked; allow the top inch of soil to dry out before watering again. An easy test is to poke your finger into the soil up to the first knuckle—if it feels dry at that depth, it’s time to water.
Self-watering pots or drip trays can also help regulate moisture, especially for forgetful or busy gardeners. By adjusting your routine and monitoring the soil moisture closely, your chives will reward you with lush growth and unbeatable flavor.
Overlooking Fertilization and Nutrient Needs
One of the most common mistakes gardeners make when growing chives is either over-fertilizing or forgetting to feed them altogether. Overdoing it with fertilizers often leads to lush but weak, floppy chive leaves that lack flavor and resilience. On the flip side, neglecting to fertilize can result in slow, stunted growth and pale foliage.
Chives are light feeders and thrive best with a gentle touch. A balanced, slow-release fertilizer or a sprinkle of natural compost in early spring provides the nutrients they need. To keep them healthy, add a small amount of fertilizer or compost every four to six weeks during the growing season.
Always avoid strong chemical fertilizers, which can burn the tender roots. Remember, consistency is key—light, scheduled feedings fuel sturdy, flavorful chives without overwhelming them, helping your plants stay upright and robust throughout the season.
Ignoring Pests and Disease Prevention
Neglecting pest and disease prevention in your chive patch can quickly lead to unhealthy, underperforming plants. Common issues like aphids, fungal infections, and leaf spots often start small but can escalate fast. Watch for warning signs such as yellowing leaves, chewed edges, or dark blotches—these may indicate aphid feeding or fungal problems.
To prevent outbreaks, space plants adequately to improve air circulation and always water at the base, keeping foliage dry to deter fungi. Make it a habit to inspect your chives once a week, lifting leaves to spot pests early.
If aphids appear, spray them off with a strong blast of water or use a mild solution of dish soap and water. For fungal leaf spots, remove affected leaves promptly and sprinkle a little cinnamon at the base—an easy, natural anti-fungal remedy. Consistent care keeps your chives vibrant and your harvest healthy.
Harvesting Chives the Wrong Way
Harvesting chives incorrectly can harm your plants and reduce future yields. Cutting chives too short—below about 2 inches from the soil—can stress the plant and stunt regrowth. Accidentally pulling up chive bulbs removes the plant entirely, preventing it from regrowing at all!
Overharvesting, such as taking too many leaves at once or harvesting every week, weakens the plant and leaves it unable to recover. To keep your chive patch healthy, always use clean scissors to cut leaves about 2 inches above the base. Trim no more than one-third of the plant at a time, and aim to harvest chives every 3-4 weeks, especially during the peak growing season.
This approach allows the plant to photosynthesize and build strength for future cuttings. Also, regularly remove any yellow or floppy leaves to encourage fresh, vigorous growth. With gentle care, your chives will reward you with lush, flavorful greens all season long.
Not Planning for Year-Round Success
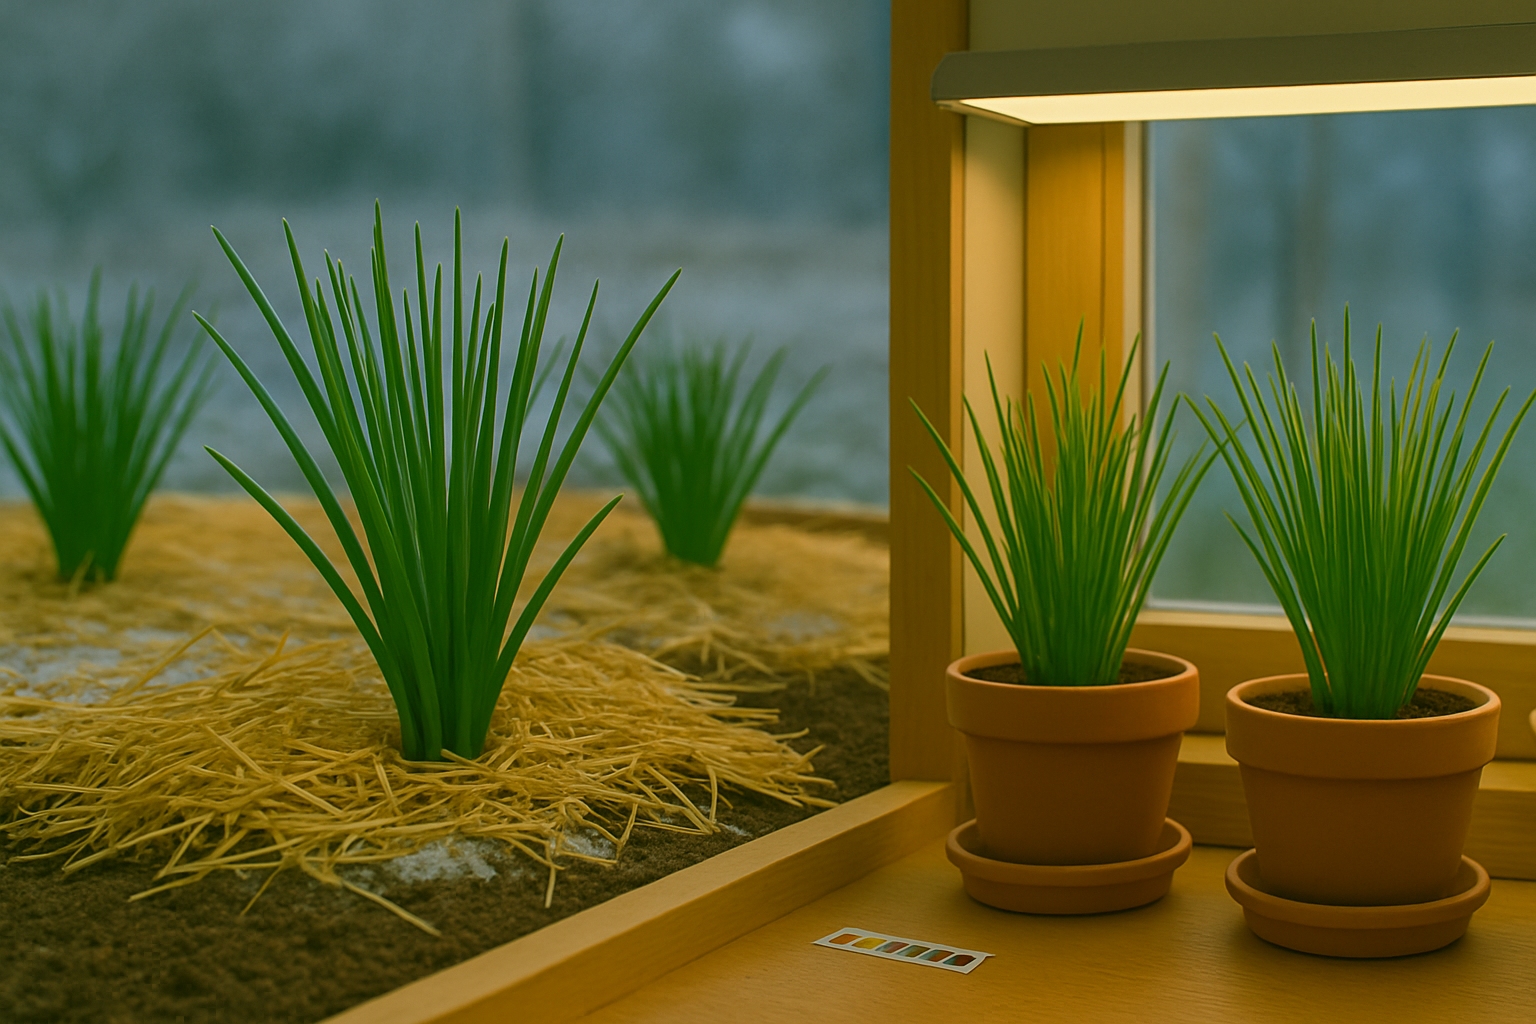
To keep your chives thriving through winter, apply a thick layer of mulch—such as straw or shredded leaves—around outdoor plants to insulate their roots from frost. For potted chives, simply move the containers indoors before freezing temperatures arrive.
Indoors, place chives in a sunny window where they’ll receive at least six hours of light each day, or use a grow light if needed. Water them lightly, allowing the soil to dry out a bit between waterings, and keep the plants away from cold drafts or hot radiators.
Consistent, gentle care throughout the year ensures a steady supply of fresh chives for your kitchen, even during the coldest months.