Introduction
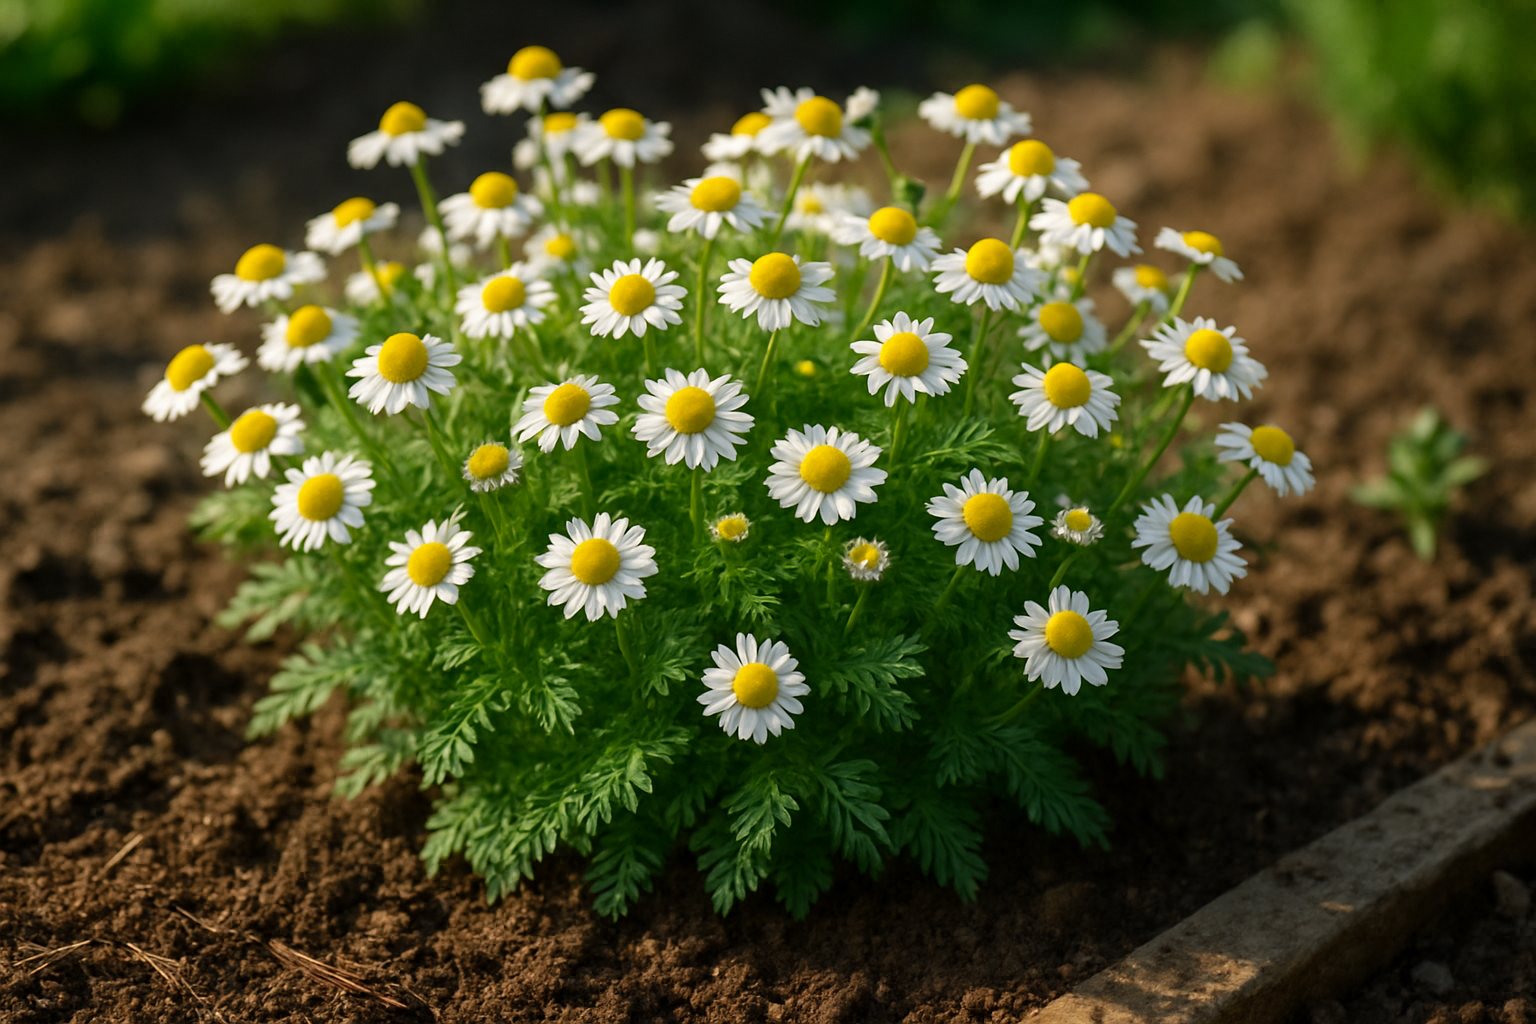
Chamomile growing mistakes are surprisingly common, even among gardeners who adore this gentle, fragrant herb for its cheerful blooms and calming benefits. Chamomile has become a superstar in home gardens thanks to its beautiful daisy-like flowers and its reputation as a natural stress reliever—perfect for steeping into soothing teas or crafting homemade remedies.
There’s something especially rewarding about harvesting your own fresh chamomile to enjoy in a cup, use in homemade skincare, or simply let brighten your backyard with its sunny blossoms. Healthy chamomile plants don’t just look pretty—they’re a powerhouse for any wellness enthusiast, offering support for sleep, digestion, and relaxation, all from a low-maintenance patch of green.
But getting chamomile to thrive can trip up even experienced gardeners. Issues like overcrowded plantings, poor soil, overwatering, or neglecting regular harvesting can all lead to weak plants with fewer blooms or bland flavor. Knowing what to avoid is just as important as knowing what to do!
Whether you’re eager to fill your teacup or stock your pantry with homegrown herbal remedies, sidestepping these common pitfalls is the key to lush, vibrant chamomile—full of flavor, fragrance, and health benefits you can truly savor.
Overwatering and Poor Drainage
Overwatering is one of the most common mistakes gardeners make, leading to problems like root rot, yellowing leaves, and disappointing flowering in both houseplants and outdoor gardens. When soil stays constantly soggy, plant roots can’t get the oxygen they need, making them weak and vulnerable to fungi that cause root rot—a condition marked by mushy, brown roots or a foul smell in the soil.
You’ll often notice leaves turning yellow or dropping too soon, and blooms failing to form as the plant’s health declines. To avoid this, check if the top inch of soil feels dry before watering again. For most plants, watering once a week is a good starting point, but it’s important to adjust based on your plant’s specific needs and seasonal changes. For instance, succulents need much less water than ferns or annual flowers.
Proper drainage is key:
- Test your garden or container by digging a small hole, filling it with water, and noting how long it takes to drain. A healthy spot should absorb water within a few hours.
- If water pools on the surface for more than four hours, the site may have poor drainage.
- Choose containers with drainage holes, and avoid letting pots sit in saucers filled with stagnant water.
- Outdoors, plant in raised beds or berms if your soil is heavy clay, and consider adding gravel or organic compost to improve drainage.
These steps ensure your plants get the hydration they need—without drowning their roots.
Getting Light and Temperature Right for Chamomile
Getting the light and temperature just right is crucial for healthy chamomile growth, but it’s easy to get wrong. Too little light leads to leggy, weak stems as the plant stretches for sunshine, causing it to flop over and produce fewer flowers.
On the flip side, too much intense sunlight—especially in scorching afternoon heat—can burn the delicate leaves, leaving them crispy or bleached. Chamomile thrives in full sun outdoors, ideally six to eight hours a day, but in hotter climates, a spot with gentle morning sun and some afternoon shade helps prevent overheating.
Indoors, place chamomile near a bright, south-facing window, or use a grow light if natural light falls short. Keep lights about six inches above the plant to avoid burning the foliage.
Temperature Tips
Chamomile prefers mild temperatures, doing best between 60°F and 68°F (15°C to 20°C). Sudden temperature swings—often caused by placing indoor pots too close to heaters, drafty windows, or AC vents—can stress the plant and stunt its growth.
Outdoors, chamomile is hardy enough to tolerate cool spring or fall weather, but frost or long heatwaves can damage its growth. Give extra protection with row covers during late frosts, and move potted plants indoors or to shaded patios during harsh summer spells.
Remember, a little attention to where you place your chamomile will reward you with healthier, bushier plants and blooms perfect for homemade tea.
Poor Soil Preparation and Nutrition Mistakes
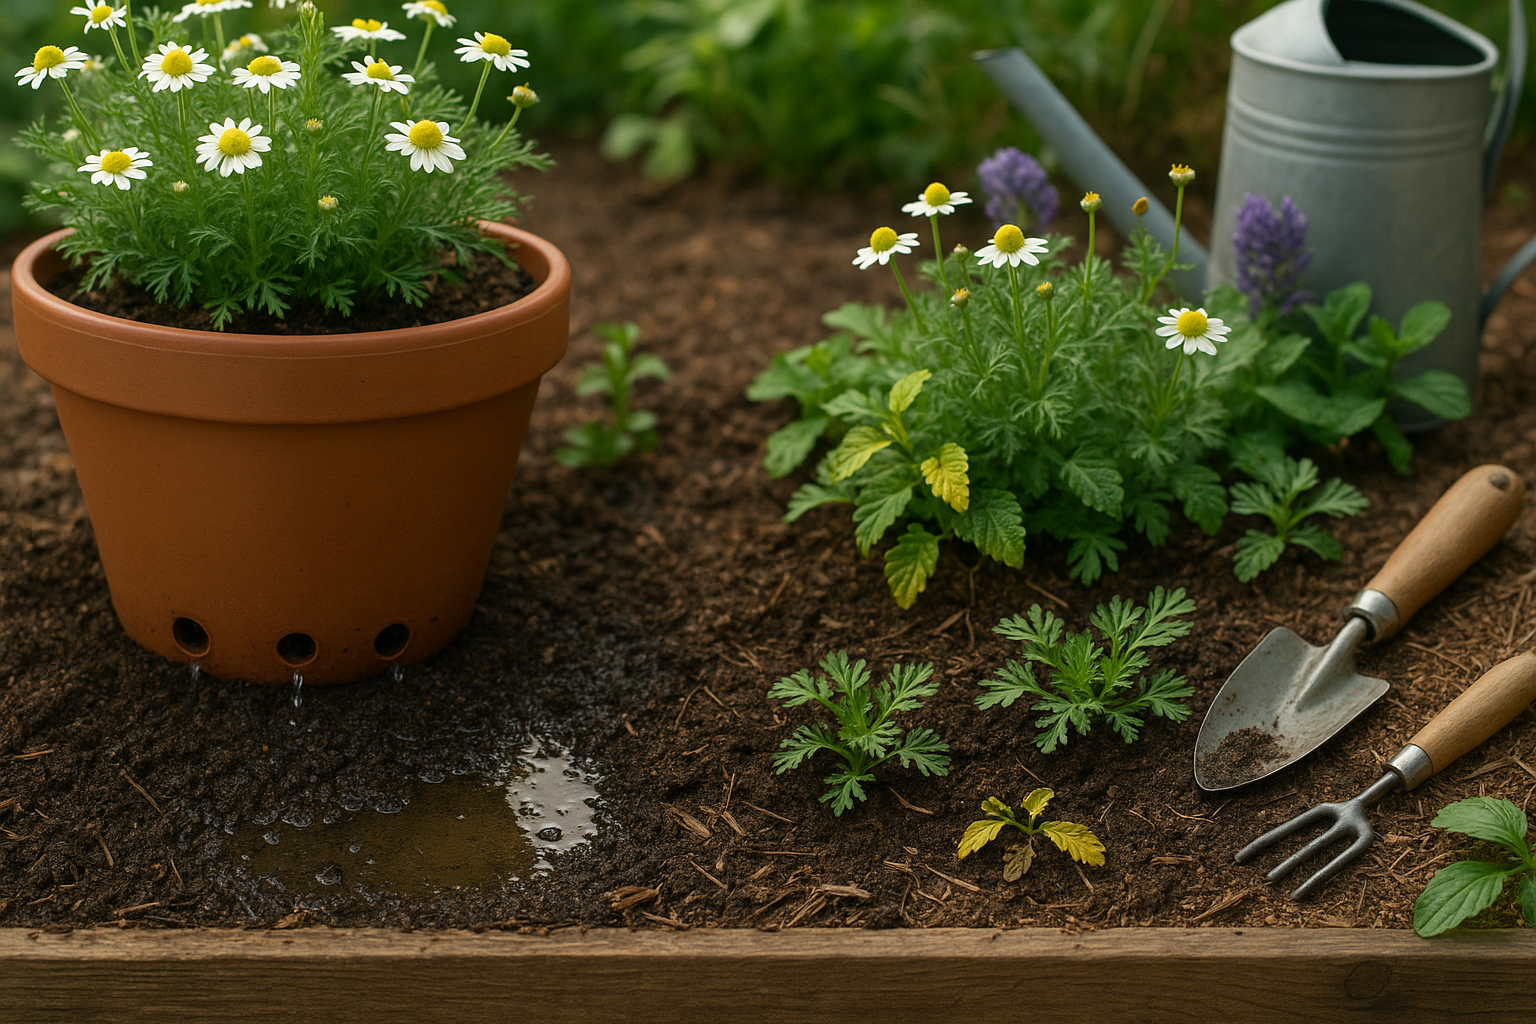
Poor soil preparation is a common pitfall that can stunt chamomile growth before you even see those delicate, daisy-like blooms. Chamomile naturally prefers well-draining, loose soil; planting in heavy clay or compacted ground can cause soggy roots and poor nutrient absorption.
Always check your soil’s texture by squeezing a handful—if it clumps tightly, it’s too clay-heavy. Amend such soil with compost, sand, or aged manure to boost drainage and fertility.
Equally important is the soil’s pH, as chamomile prefers it slightly acidic to neutral (about 5.6 to 7.5). Use an inexpensive home soil test kit to check pH and nutrient levels, especially if you notice limp, yellowing leaves—a telltale sign of nutrient imbalance.
For pots or raised beds, select a high-quality, organic potting mix that lists good drainage and fertility as benefits.
As for fertilizing, less is often more with chamomile: work in a light scattering of balanced, slow-release fertilizer or compost when planting, then top up lightly only if plants look pale or stunted. Signs of overfeeding include lush, floppy foliage with few flowers, while underfeeding causes weak growth and pale leaves. Avoid high-nitrogen fertilizers, which encourage leaf growth over blossoms.
By improving your soil from the start and keeping a light hand with feeding, you’ll give your chamomile its best chance to flourish.
Ignoring Pest and Disease Troubles
Ignoring pests and diseases can quickly turn a thriving garden into a struggling one. Watch for common pests like aphids, which cluster under leaves and excrete sticky honeydew, or small thrips that cause silvering or distorted plant growth. Early detection is key, so check both sides of leaves and stems regularly for tiny bugs or webbing.
On the disease front, look out for fungal leaf spots—often brown or yellow circles—and wilting, which can indicate issues like root rot or bacterial infection. Root rot typically causes yellowing leaves and a mushy, foul-smelling root system.
To prevent problems, always water at the base of plants to avoid splashing soil onto leaves, provide adequate spacing for airflow, and rotate crops each season.
For gentle, natural treatment, try spraying plants with a diluted solution of neem oil or soapy water to manage insects—just make sure to cover all leaf surfaces. Remove and dispose of infected leaves promptly, and if you see mold or mildew, a simple homemade spray of baking soda and water can help slow its spread.
Keeping a vigilant eye on your garden and acting quickly at the first sign of trouble can save you plenty of hassle down the road.
Timing and Harvesting Errors
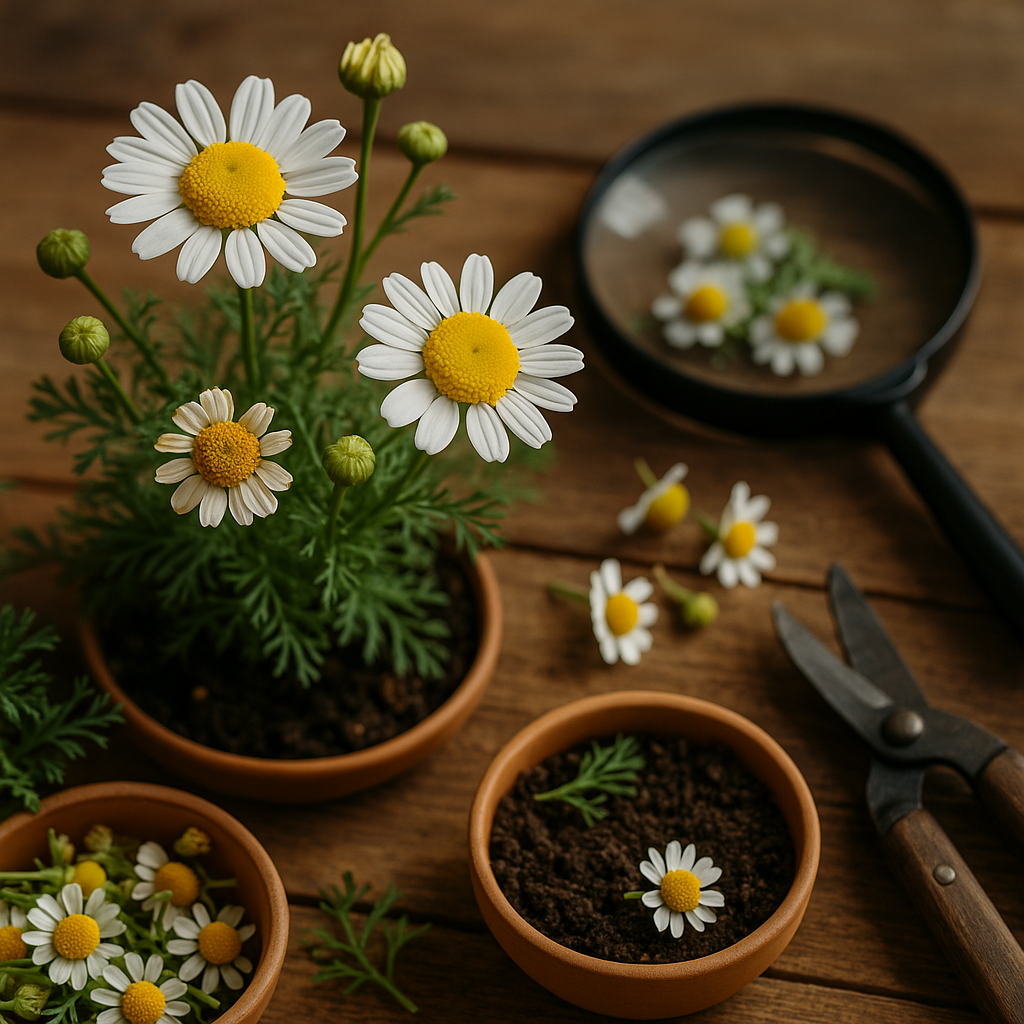
One of the most common mistakes growers make is harvesting their blooms too early or too late, both of which can drastically affect quality. Cutting too early might seem like a shortcut to a quick yield, but premature buds often lack potency, flavor, and the full spectrum of essential oils or terpenes. On the other hand, waiting too long can lead to degraded cannabinoids, an unpleasant harsh taste, and an increased risk of mold or pest damage.
To avoid these errors, pay close attention to visual cues: check your plant’s pistils and trichomes using a magnifier. When most pistils change from white to orange or brown, and trichomes shift from clear to a milky, cloudy hue with a few turning amber, it’s a reliable sign that it’s time to harvest. If you wait until too many trichomes turn amber, your blooms will have more of a sedative effect and may lose some desired flavors.
Mistimed harvesting also stresses your plants, stalling growth if you plan to re-flower or affecting future production cycles. For consistently high-quality harvests, observe your plants closely, track their changes day by day, and resist the urge to rush or delay the process.
Pruning, Maintenance, and Ongoing Care
Pruning is a key part of plant care, but it’s easy to make mistakes—either by forgetting to prune altogether or by cutting back too much at once. Neglecting pruning often leads to leggy, weak stems and reduced flowering, while over-pruning can shock the plant and stunt growth.
To get the balance right, start by removing dead, damaged, or diseased branches first. Then focus on shaping your plant by cutting just above a leaf node to encourage bushier growth. Never remove more than a third of the plant’s foliage at a time, as this can stress the plant and reduce its vigor. Use clean, sharp pruning shears to make clean cuts and avoid spreading disease.
Weekly maintenance goes beyond pruning; check soil moisture and water deeply if needed, especially during dry spells. Remove weeds and fallen leaves around the base to prevent pests. Inspect for signs of insects or disease, and address problems early for best results.
Feeding your plants with a balanced fertilizer every other week helps keep them strong. With consistent, thoughtful care, your plants will reward you with healthy growth and vibrant blooms all season long.
Conclusion
Growing chamomile at home is easier than many people think, as long as you avoid common mistakes like overwatering, planting in heavy shade, or overcrowding your seedlings. Make sure your soil drains well, choose a sunny spot, and thin out the plants to ensure healthy airflow.
If you’re new to gardening, don’t worry—chamomile is forgiving and resilient, making it a great herb for beginners. Ready to keep learning? Try joining online gardening forums or checking out reputable YouTube channels that offer step-by-step care guides. With a little care and curiosity, you’ll soon be confidently harvesting your own fragrant chamomile blooms.