
Introduction to Bay Leaf as a Hedge or Shrub
The bay leaf hedge is quickly becoming a garden favorite, and for good reason. Laurus nobilis, commonly known as the bay leaf plant, is earning its place in outdoor spaces not just as an attractive decorative shrub but also as a practical, easy-care hedge. With its glossy, evergreen leaves and naturally dense growth, a bay leaf hedge brings year-round beauty and structure to any landscape, whether outlining a walkway or acting as a natural privacy screen.
Gardeners are embracing this versatile plant for more than its looks: bay leaves are a staple in kitchens worldwide, infusing soups, stews, and sauces with their distinctive aroma and flavor. Establishing a bay leaf hedge means enjoying lush greenery through every season, while also having fresh, homegrown bay leaves within arm’s reach.
This dual purpose—ornamental appeal and edible rewards—sets bay leaf apart from typical hedge plants, making it a smart choice for those who want a beautiful, functional, and low-maintenance addition to their outdoor spaces. If you’re looking for a shrub that’s as practical as it is pretty, bay leaf is a timeless and rewarding option to consider.
Choosing the Right Location and Soil
Bay leaf plants thrive best in a site that offers full sun to partial shade; aim for at least six hours of sunlight each day for robust, aromatic leaves. If you live in a hotter climate, a spot with afternoon shade can help prevent leaf scorch.
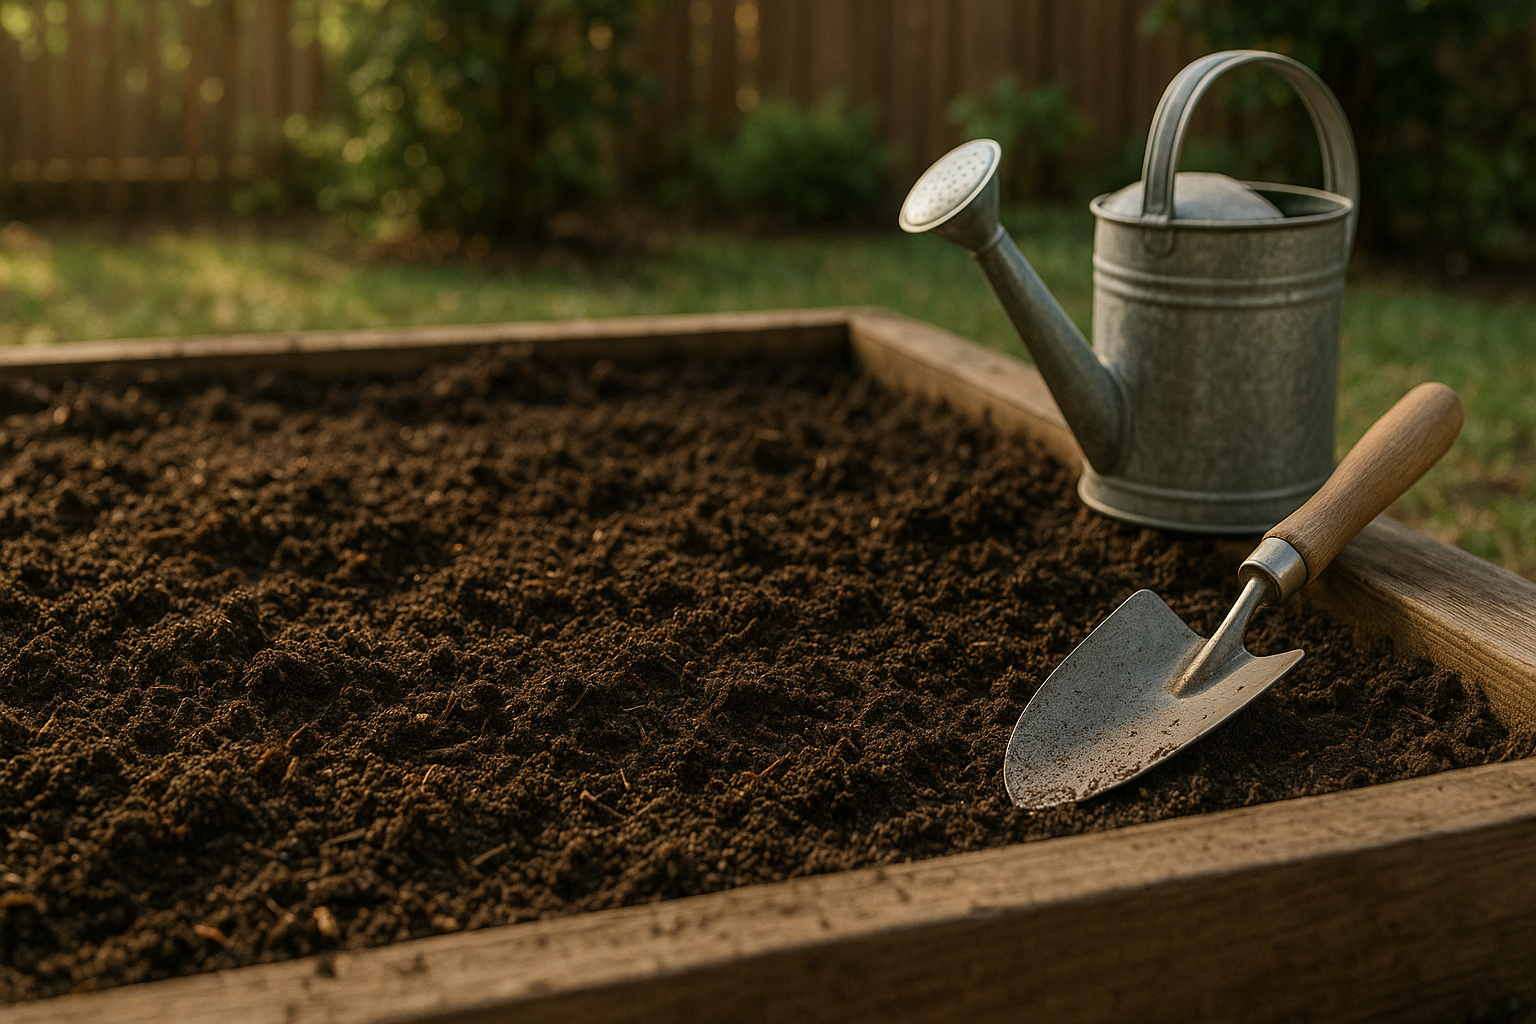
The soil is equally important—bay laurel prefers rich, well-drained soil to avoid root rot and help the plant access key nutrients. Before planting, loosen the soil to a depth of at least 12 inches and mix in plenty of compost or well-rotted manure to improve fertility and drainage.
If your garden soil is clay-heavy or tends to retain water, consider creating a raised bed or mixing in sand and organic matter to enhance drainage.
When picking the location, also look for areas sheltered from strong winds. Bay leaf plants can suffer broken branches or excessive moisture loss if exposed to harsh weather. Planting near a fence or wall can offer valuable protection.
Finally, give your bay laurel space—these shrubs need room for their roots to spread and enough air circulation to help keep pests and diseases at bay. A spacing of at least 3 to 4 feet from other plants is ideal.
With these steps, you’ll set up your bay leaf plant for healthy, vigorous growth and a steady supply of fresh, flavorful leaves right from your own garden.
Planting and Spacing Bay Leaf Shrubs

Planting bay laurel (Laurus nobilis) is best done in early spring or fall when temperatures are mild, allowing roots to establish before the stress of summer heat or winter cold. While bay can technically be grown from seed, most gardeners prefer buying healthy container-grown bay laurel plants since they are easier to manage and offer quicker results.
When planting, choose a location that receives full sun to part shade and has well-draining soil—bay doesn’t like soggy roots.
Spacing Bay Laurel Plants
If you want to create a classic bay hedge, space plants about 3 feet (90 cm) apart; this allows the dense, bushy growth to fill in and create a neat, living screen. For growing individual bay shrubs with fuller, rounded shapes and good air circulation to help prevent disease, give each plant 4 to 6 feet (1.2 to 1.8 m) of space on all sides.
Mulching and Companion Planting
Incorporate a layer of organic mulch around each plant to retain moisture and suppress weeds, but keep it a few inches away from the trunk. When designing borders or mixed hedges, bay pairs beautifully with other Mediterranean herbs such as rosemary, lavender, or sage, offering a variety of textures and aromas.
For a striking, evergreen border, alternate bay plants with boxwood or holly, or highlight their upright form by flanking paths and entryways. In smaller gardens, bay laurels can also be pruned into topiary shapes for added structure or grown in large pots alongside compact herbs like thyme or oregano for a decorative and edible feature.
Remember, patience is key—bay is slow-growing but rewards your care with glossy, fragrant leaves for years to come.
Essential Care
Ensuring your plants thrive starts with smart watering. For young plants, keep the soil evenly moist but not soggy; their roots need consistent hydration to establish, yet overwatering can quickly lead to root rot. Use your finger to check the top inch of soil—if it feels dry, it’s time to water. Mature plants often require less frequent watering but in larger volumes, allowing roots to soak up what they need.
Always choose well-draining soil and containers with holes at the base, especially for hedges or dense groupings, as standing water is one of the quickest ways to invite disease and diminish plant vigor.
When it comes to feeding, opt for a balanced, slow-release fertilizer during spring and midsummer—look for formulations with fairly equal ratios like 10-10-10 or 14-14-14, which support steady leaf and stem growth. Liquid fertilizers are great for a quick boost, but granular types provide longer-lasting nourishment. For established hedges or ornamental shrubs, feed every six to eight weeks during the growing season, always watering after application to distribute nutrients and avoid fertilizer burn.
Pruning is just as crucial for lush, shaped plants. Use clean, sharp shears or hedge trimmers, and prune in late winter or early spring before new growth starts—this encourages dense, fresh foliage and helps create formal shapes or neat hedges. For informal, natural-looking hedges, prune only the tips to maintain a soft outline.
If you want ornamental forms, such as topiaries, trim regularly throughout the growing season to maintain crisp figures, but avoid cutting into old, woody stems, as these rarely regrow new leaves. Good pruning also removes any dead or diseased branches, which supports overall plant health and prevents future problems.
By tuning into these core care habits, you’ll enjoy robust, attractive hedges or show-worthy ornamental shapes year after year.
Common Problems and How to Manage Them
Bay plants, though generally hardy, can fall victim to several common pests and diseases that compromise their health and appearance. Scale insects and aphids are frequent culprits, often appearing as tiny bumps or clusters on stems and leaves, sucking sap and weakening the plant.
For a natural remedy, wipe them off with a damp cloth or spray neem oil, repeating weekly until the population is controlled. For severe infestations, an insecticidal soap or horticultural oil can be effective—just follow the label directions carefully.
Bay sucker is another pest to watch for, causing curled or distorted leaves. Prune and destroy affected areas, then look out for pale, sticky residues as an early warning sign.
Diseases like root rot typically result from overwatering or poor drainage, showing up as wilting, yellow leaves and mushy roots. To prevent this, ensure your pot or garden bed drains well and let the top inch of soil dry out before watering again. Use fungicide only as a last resort and always address the underlying moisture problem first.
Early detection is crucial: check the undersides of leaves regularly for insects and remove any yellowing or curled leaves right away. Maintaining plant health with adequate sunlight, good air circulation, and periodic pruning helps your bay plant resist most pests and diseases—think of these basics as your best line of defense.
Consistent, gentle observation is often all it takes to catch issues early and keep your bay thriving.
Harvesting Bay Leaves and Extra Uses
Harvesting bay leaves is simple, but timing matters for the best flavor. The ideal time is mid-morning on a dry day, once the dew has evaporated but before the afternoon sun wilts the leaves—this helps capture the strongest aroma. Use sharp, clean scissors to snip mature, healthy leaves from older stems, avoiding young shoots to let the plant continue thriving.
Always take only a few leaves from each section, never more than a third of the plant at once, to keep your bay bush full and healthy. After picking, rinse the leaves gently and pat them dry, then lay them flat or hang small bunches in a cool, dark, well-ventilated place for up to two weeks until they’re papery. Store dried bay leaves in airtight containers, away from direct light or heat, to preserve their essential oils for months.
Beyond classic soups and stews, try using dried bay leaves in homemade bouquet garni bundles for broths, adding a subtle layer of flavor to roasts or grains. For a natural touch, weave fresh branches into wreaths or tuck them into flower arrangements—the leaves’ rich scent repels pests and gives your space a Mediterranean freshness that lasts long after the season.
Conclusion and Decorative Inspiration
Bay laurel stands out as a classic choice for gardeners, offering glossy evergreen leaves, fragrant foliage, and natural resilience that make it a versatile hedge or ornamental shrub. Its neat shape and rich color complement both formal and informal garden designs, seen in everything from the clipped parterres of Renaissance Italy to modern urban patios.
Imagine lining a pathway with bay shrubs for a structured, timeless look, or letting a single bay plant grow in a decorative pot by your entryway—easy to shape and fragrant year-round. Some designers even use bay laurel as living topiary, crafting elegant spheres or cones for a touch of artistry.
With just a sunny spot and well-drained soil, you can grow bay laurel at home, enjoying both its beauty and the convenience of fresh leaves for cooking. Whether in a backyard border or a compact container, bay laurel is a practical, low-maintenance investment in your garden’s style.